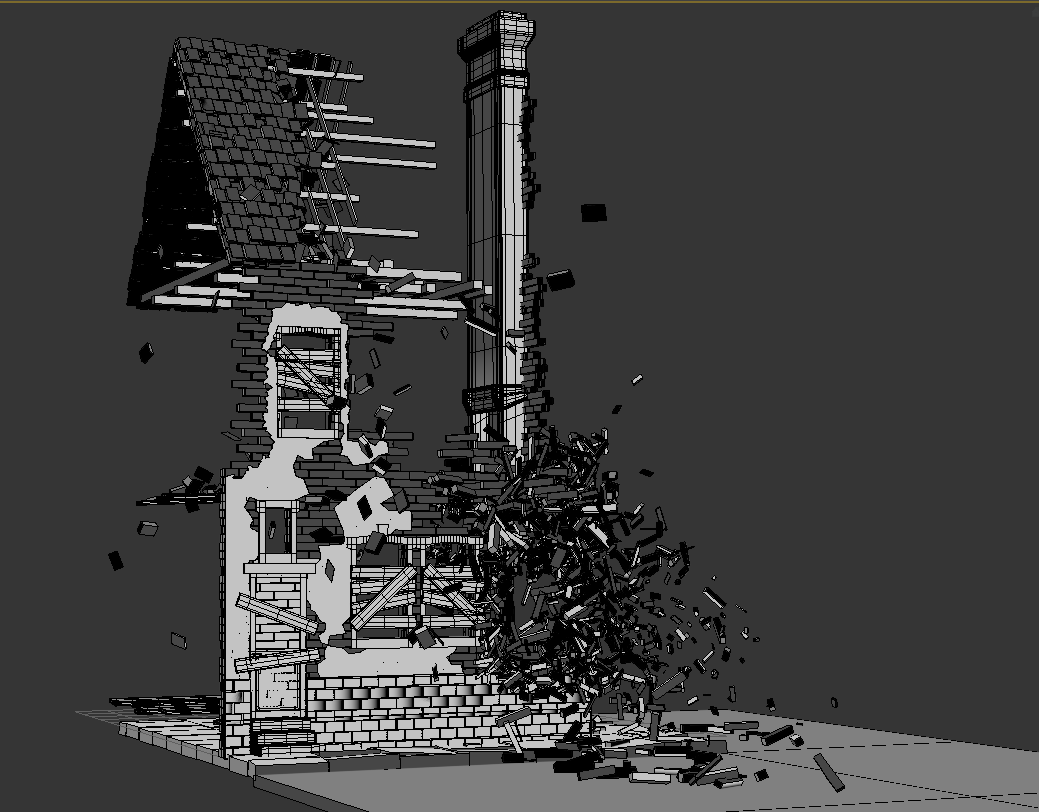
making hard edges in 3ds max for exporting to mudbox
I recently made a really complex model of a destroyed wwii house using the rayfire plugin, so every brick is a standalone box, and i now need to export it to mudbox. The issue is swift loops are not possible because it would take weeks to add them to every box, and if i try to select all edges and chamfer them the application crashes.
I would really appreciate your help because i'm quite of a newbie and this is my first serious project.
I would also appreciate if someone could help me to figure out why some of the bricks at the base have some shade at the right side and why some parts became darker after uvwunwrapping.
Thanks a lot for your help and any other suggestions are welcome.
I would really appreciate your help because i'm quite of a newbie and this is my first serious project.

I would also appreciate if someone could help me to figure out why some of the bricks at the base have some shade at the right side and why some parts became darker after uvwunwrapping.
Thanks a lot for your help and any other suggestions are welcome.
Replies
But now i exported it to mudbox, i got a message saying that two or more faces share more than one edge...is there any way to clean up geometry in 3ds max?
Unfortunately as with all automatic procedures, depending on your geometry this can actually create some unwanted artifacts so sometimes some manual cleanup is necessary.
What is actually going on under the hood is that Max is using this concept of Smoothing Groups to control the vertex normals attributed to those groups. Faces which have the same number, will have their normals averaged. When a face's adjacent has a different number, the normal will be split to provide a hard/sharp edge.
Smoothing Groups are a Max (or Max inspired) only thing. They don't necessarily translate to other software well (though Maya can read them and reproduce similar results). You can check the resulting vertex normals by applying an Edit Normal modifier, then go back down the stack and modify the smoothing groups, so that the faces share the same ID's or differ. Then go back to the Edit Normal modifier and see the resulting blue vectors have changed.