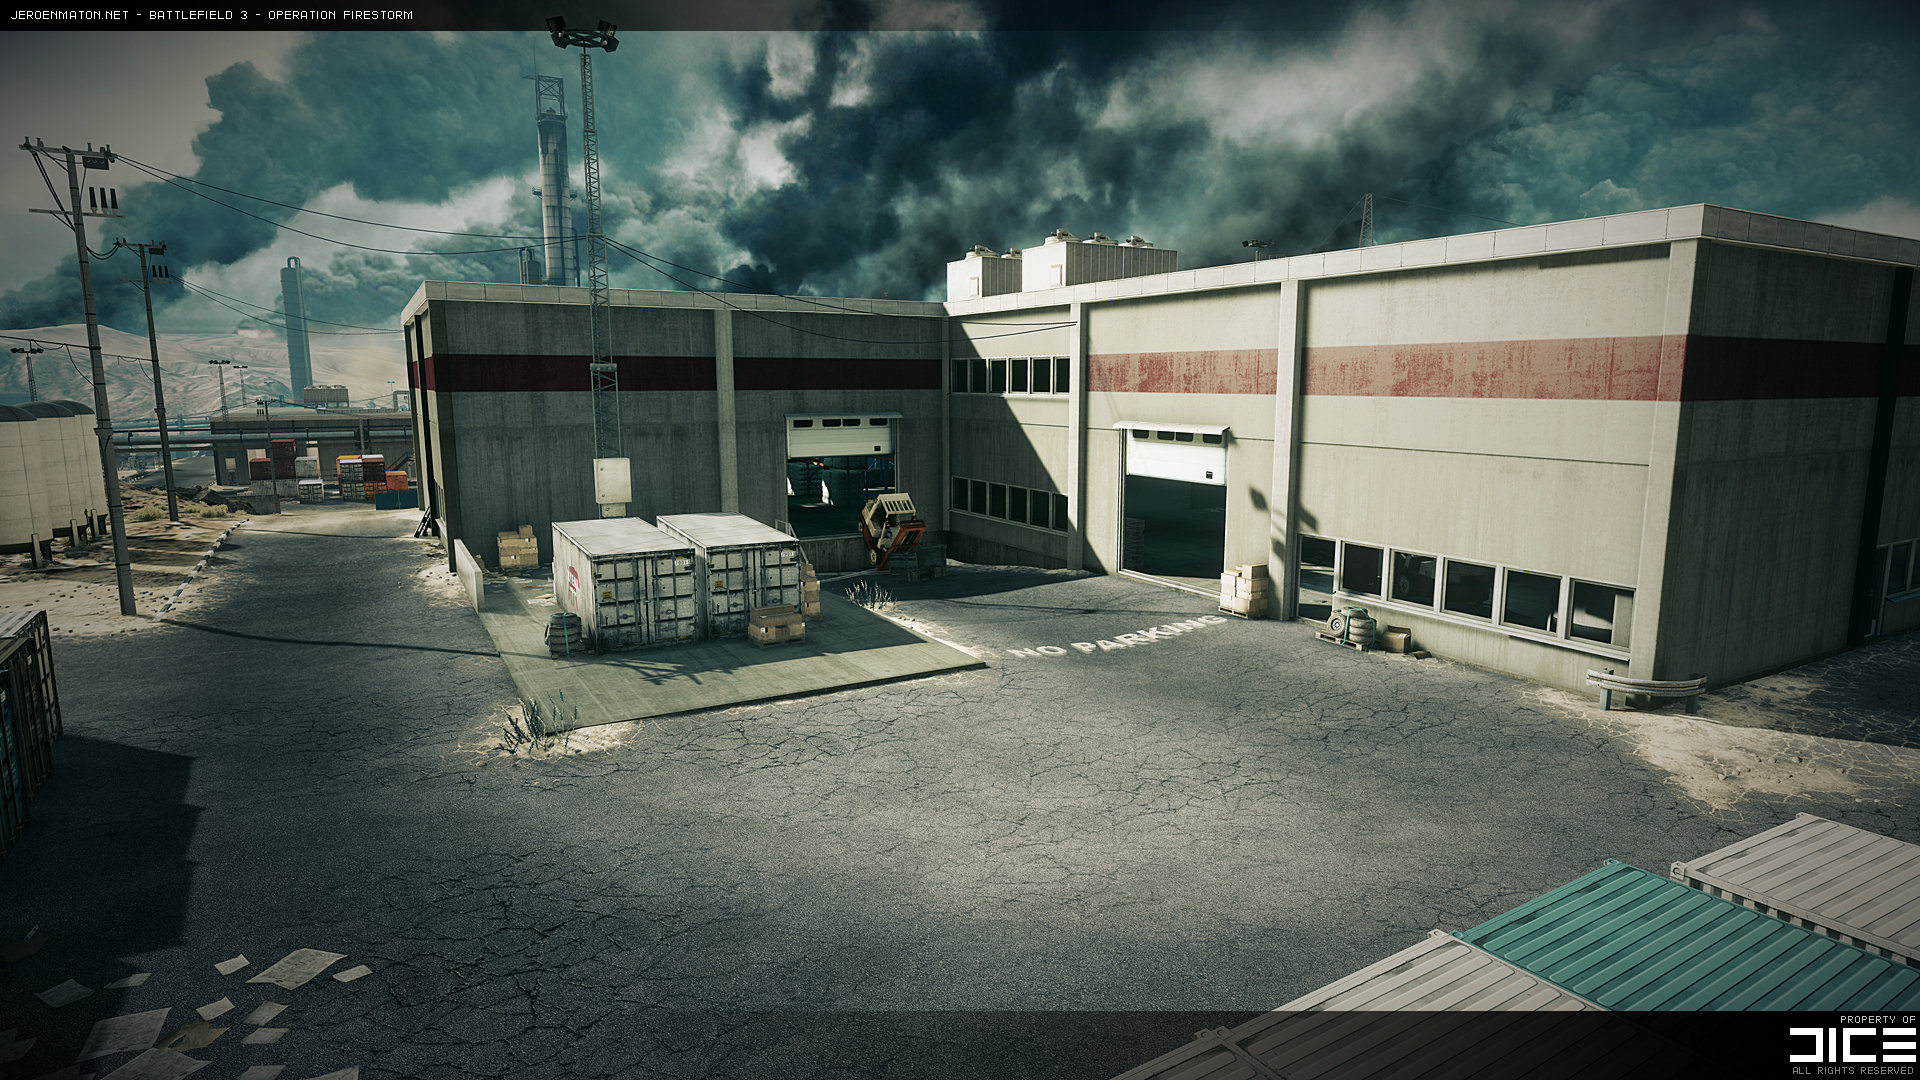
How to texture this lowpoly building?
Hello.
I'm a little confused how to texture the lowpoly building in this picture

The image is from this page https://www.artstation.com/artwork/ba6yo
I'm still learning modeling, and the building itself is really simple, nothing special to it. But the texturing always confuses me.
If you are texturing this building, where would you put the seems? Is every wall piece has its own texture map?
I'm sorry if this post is in the wrong forum, if it is please tell me where should I've posted it, and be easy on me, English is not my first language
I'm using blender by the way, thanks for your help.
I'm a little confused how to texture the lowpoly building in this picture

The image is from this page https://www.artstation.com/artwork/ba6yo
I'm still learning modeling, and the building itself is really simple, nothing special to it. But the texturing always confuses me.
If you are texturing this building, where would you put the seems? Is every wall piece has its own texture map?
I'm sorry if this post is in the wrong forum, if it is please tell me where should I've posted it, and be easy on me, English is not my first language
I'm using blender by the way, thanks for your help.
Replies
I'm not a huge Blender user, but what would you typically do is select the edge -> Mark Seam -> Repeat, and after you're done with them, you just press A to select all the faces and go Unwrap (Ctrl+U if I remember correctly)
How to put a texture on your UV map is completely another topic and it can be done in many different ways, it can be done in Blender (if I remember correctly), Substance Painter, Mudbox and even using Photoshop with your UV map snapshot.
You can make a quick test seamless texture in Photoshop by using Filter > Render > Clouds.
Apply this image to a plane in max/maya/unreal/wherever and then increase a setting called UV tiling in the texture's options. You will see it duplicate itself many times. This tiling is a very handy feature to have lots of high detail in large objects.
The wrong way to texture this would be to unwrap this and apply one large 8K texture on it. It will still be blurry close up.
You can tile the texture in many different ways. The simplest way is as I described earlier, increase the tiling.
A more controlled approach would be to use something similar to the "Divide Bricker Polygons" setting in Houdini to divide up the mesh into tiles and then overlay these in correct sections of the texture map. For a really large building such as this, that would probably be the way that I would go.
For a really really really reaaaaaally impressive use of tiling textures check out Tor 'Snefer' Frick's Scifi Lab
He goes way overboard here but you can really see how much detail you can get from such a small texture map being cleverly positioned and tiled.