My normal map look triangulated !
Hello dear polycount community,
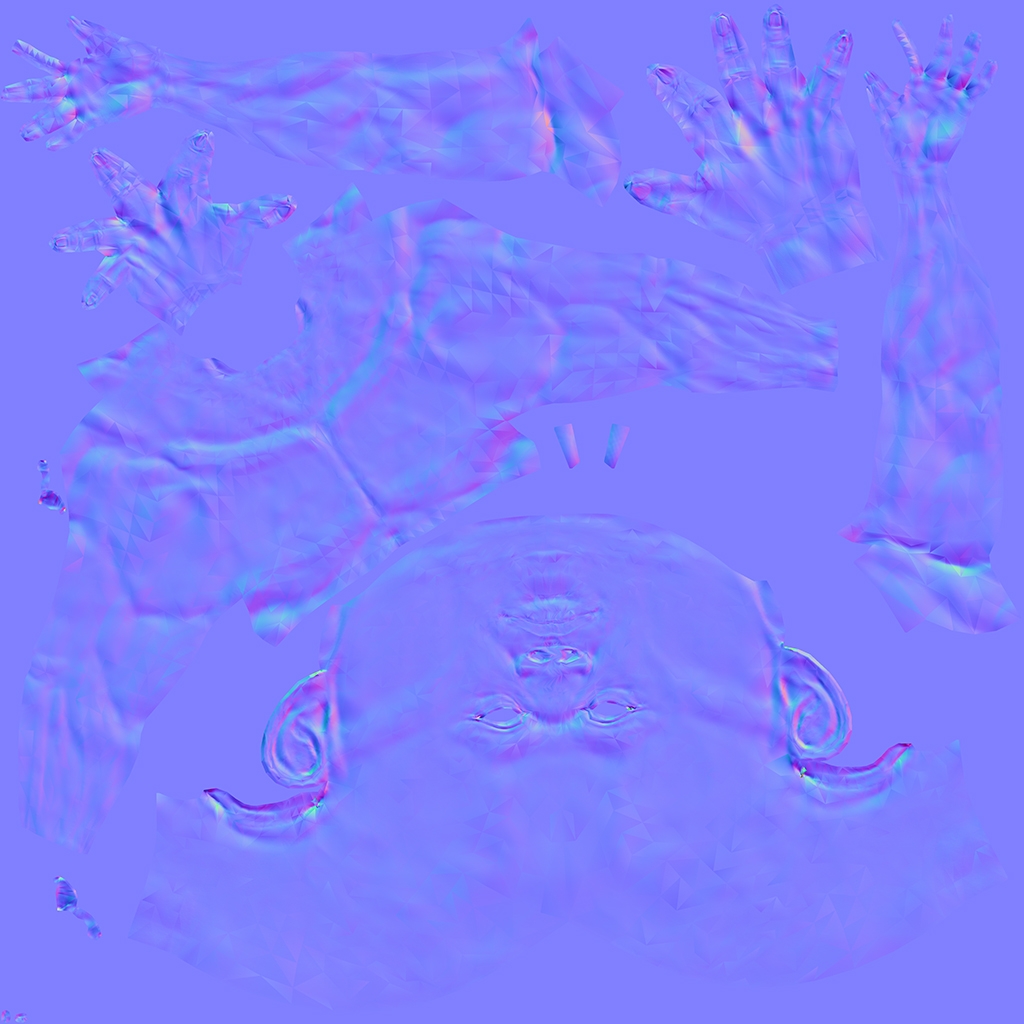
Recently I have been busy doing a character for the bi monthly challenge. However, a weird issue happened to me : My normal map look triangulated, as if the low poly was baked along with the hi poly on the map.
I tried reimporting Hipoly. Its a simple bake, with a hi poly, a low poly and a cage, I don't understand where I screwed up. Smoothing group are on one group in Max. The export setting for LP and cage was in FBX : with smoothing group, turbosmooth and preserve edge orientation options.
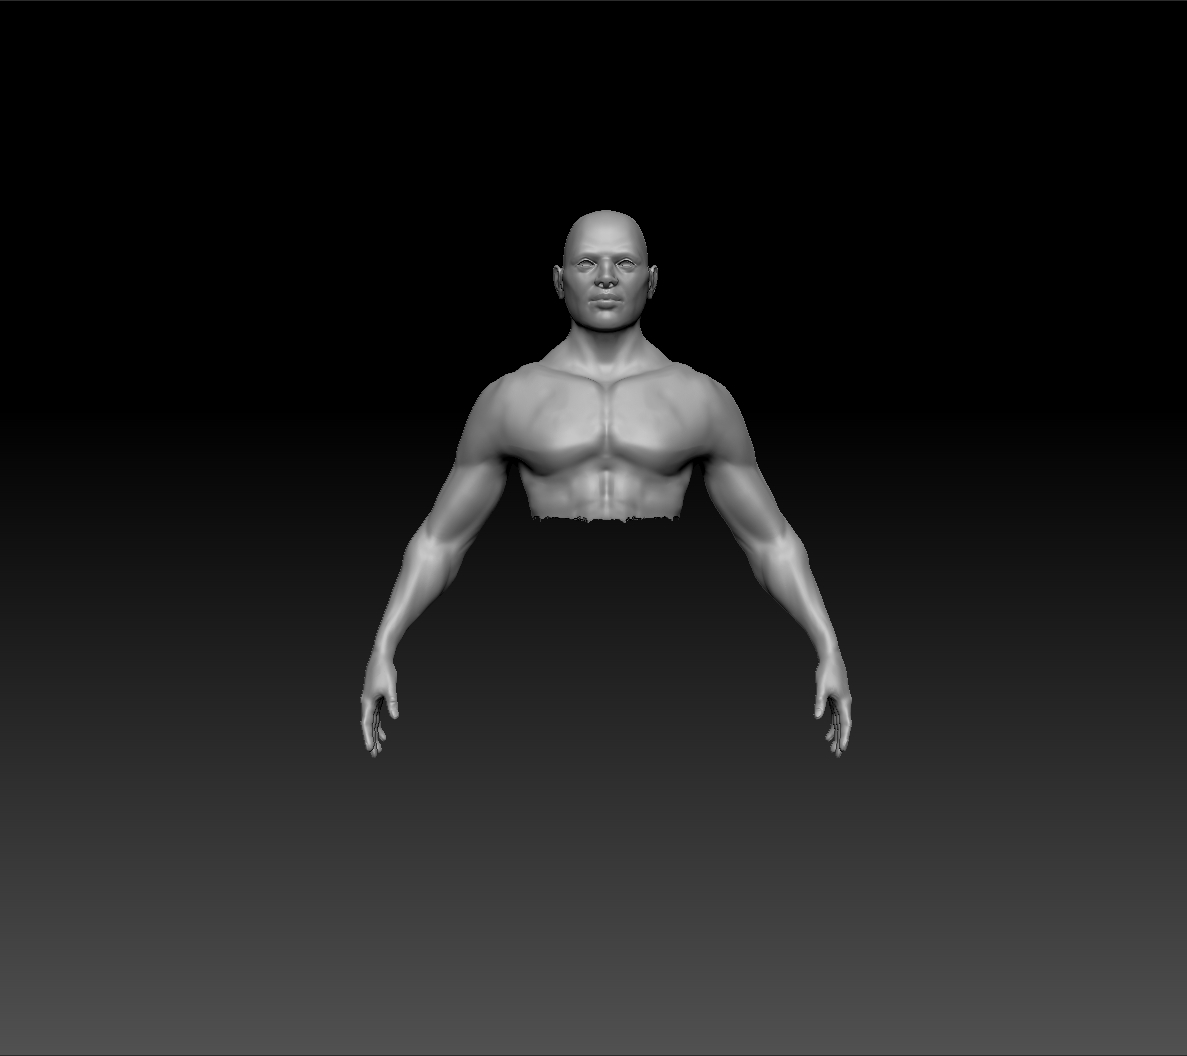
Here is the hipoly directly imported fromZbrush. No triangular pattern.
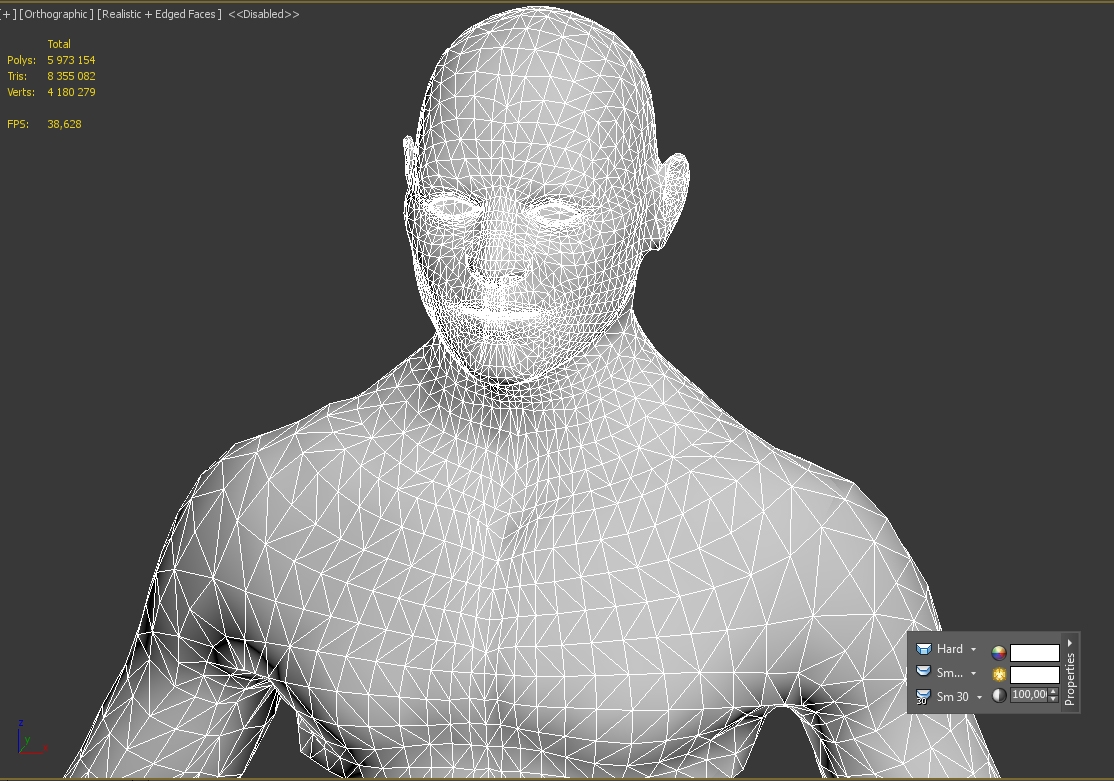
The lowpoly.
Waiting for your insight !
Recently I have been busy doing a character for the bi monthly challenge. However, a weird issue happened to me : My normal map look triangulated, as if the low poly was baked along with the hi poly on the map.
I tried reimporting Hipoly. Its a simple bake, with a hi poly, a low poly and a cage, I don't understand where I screwed up. Smoothing group are on one group in Max. The export setting for LP and cage was in FBX : with smoothing group, turbosmooth and preserve edge orientation options.


Here is the hipoly directly imported fromZbrush. No triangular pattern.

The lowpoly.
Waiting for your insight !
Replies
OP why are you enabling the turbosmooth option on your LP export? Disable it upon export and bake again.
Yes, if there are odd faceted edges it could be faces on top of each other, unwelded mesh verts or UV verts, or they have flipped face/vert normals which aren't being properly displayed in viewport.
Additionally you can try an STL Check modifier, it can solve these kind of issues.
If you messed with editing normals, you can add an Edit Poly modifier, it resets modified normals.
We also don't know what your UVs look like. Not so much the layout, but where edges are cut (seams).
And if nothing seems to fix it, export it as an OBJ with the preset to Maya (do not use zbursh preset). In a new empty scene, import the model, if the smoothing isn't fixed then it's not a mesh display issue, there is something actually wrong with the geometry. Exporting as OBJ should "clean" the mesh of these kinds of oddities.
Thanks everyone for your feedback! I Did my UV again, disabled turbosmooth options, and I used my quadrangulated low poly instead of triangulating it, and that solved it, simply... Still, I'm puzzled and curious on how this could happen.
@Throttlekitty I checked, everything is welded , it might be my savage triangulation that disrupted Max shading (or it might be Max shading just going wild).
@Musashidan I never had any issue with turbosmooth uptil now, its only import it when there is a turbosmooth on modifier stack. I did disable it for a new bake though !
@Noren Just checked, my old UV aren't triangulated. Guess that ll remain a mystery along with socks disappearance and bermuda triangle.
The UV layout
There are a couple of lost poly : these are cut from behind the eyes that I will prolly delete later, and the nostrils holes.
Its the first time I do UV for a character with naked torso, so if there is a better way to cut seams I'm eager to know it !
As for the Unwrap, it looks fine now, no seam edges in unexpected areas.
If the end goal is for film, then hide your seams and reduce them as much as possible. Hide seams in areas under the arm and legs, where shadows occur more often. Because he's naked there's only so much that can be done, otherwise the texture and normals need to do the rest of the work in hiding seams.
If the goal is games, then the goal is resolution and packing UVs to use as much UV space as possible - we don't want empty areas in the UVs, that's wasted memory space when the texture gets loaded. Get the texel density consistent, then pack UV's with density in mind. You can also save on space by only unwrapping half the model first, then duplicating the geo for the other half. The UVs will be in the same spot (they're also flipped because of the symmetry flipping) which means both arms reuse the same area of the texture. You can keep the head unwrapped without symmetry if you have asymmetrical features there.
Lastly, as a general UV habit to get into, keep your UVs easy to read. The head is upside down for instance. Any similar elements (the palms in this case) should layout the same. Even if you want everything laid out uniquely it's still beneficial to unwrap half, duplicate a new half, weld verts and work from there - remember to flip the UVs for the new half. Ignore small or unimportant UVs while packing, then place those unimportant elements in you UVs.
@Butthair Thank you for explaining it thoroughtly ! Its for a real time game asset, aiming for two texture (prolly 2 or 4 K rez) and roughtly 30-40k poly, to match up next gen standards . At first I wanted to make a unique texture on both arms, but well you're right, better to same some space for rez and more important spots . Nice trick to unwrap in symmetry then weld, thanks, I'll work more smartly from now on !