Summer Work (Critiques Welcomed)

polycounter lvl 8
Hi I am a 17 year old student trying to get better at creating game assets.
I am going to try and update this thread every day with new pieces of work I am doing this because I am current in my summer holiday where I am moving from collage to the university of Hertfordshire to study games art.
I am creating a scene in unreal that will showcase all of my summer work so I can see my own progression
Today's Creation
Replies
Did you use reference? if so, care to show? if not, FIND some and try to match it!
I only used one substance material and even that was edited I try to use the least amount of prebuilt materials as possible if I can
and as for reference this is what I used.
Thanks for the great feedback guys.
Here is the master material I created It is very simple.
during this project I am also learning Maya because the university I am going to uses it instead of 3DS Max which is what I am used to.
This is today's progress on the model.
I still have alot to do.
I still have a bit to do like fixing the hub caps ad adding bolts to it but it is mostly done.
I started working on the front axle of the car
as well as redoing the base of the interior and adding a quick steering wheel.
This is the low poly with a quick normal map bake.
I also created the cages for each of the low polys models
how many UV sets are you planning on having?
I was going to go for one 4k map for most of the vehicle and a 512 for the windows.
Tomorrow I will focus on creating the textures.
As far as the textures are concerned this is where you need to study the reference a hell of a lot! I think you could do with less mud/dirt and more dust! The reflectence values don't look sport on either, some nice sun bleaching would be great too.
Depending on whether you want this to be more of a hero asset or not, I think a few aspect could use some geometry as opposed to just a normal, Like the ventilation on the front. Either that or you need to push the texturing more, it kind of looks like someones drawn it on with a marker.
and @Youshi yes I think I will add some more geometry on the vents.
and I also took some more neutral renders with a sudo setup I created with UE4 (Which consts of 4 spotlights)
This is still not finished
textures loom much better though.
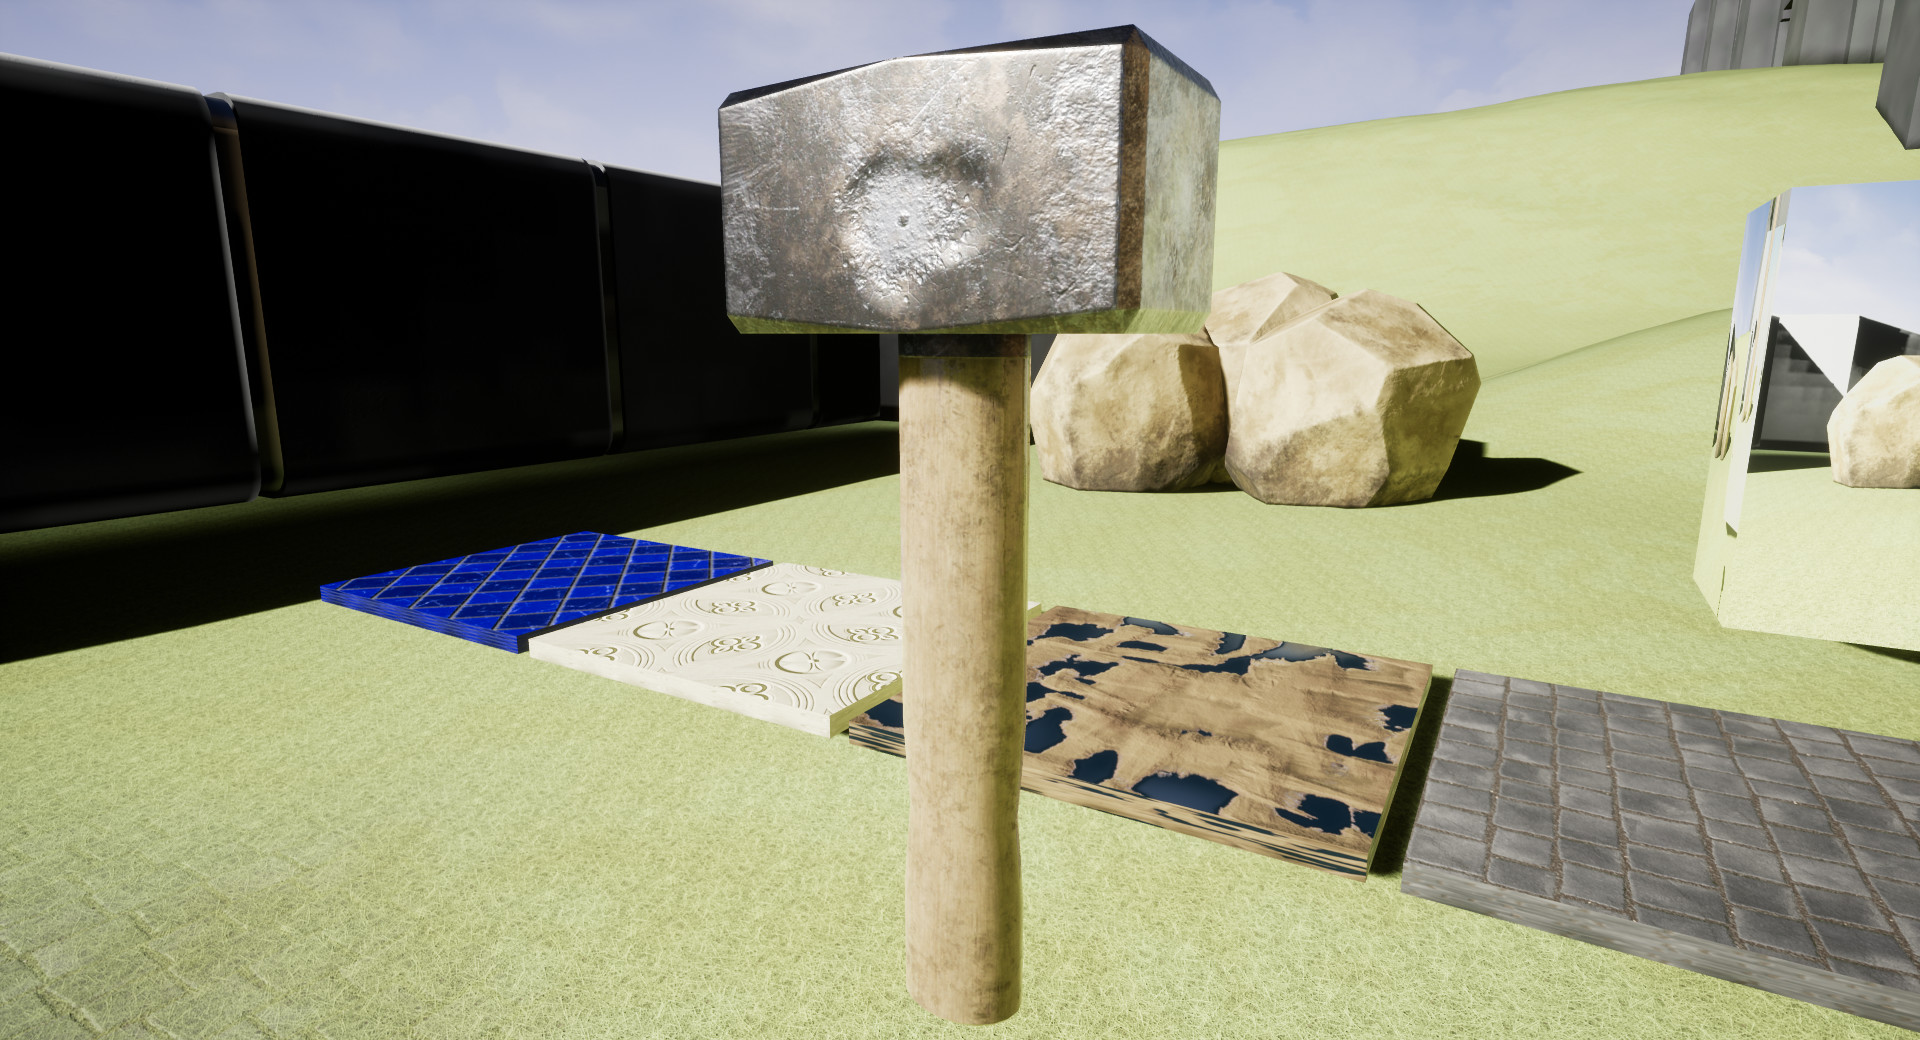
I have started by creating some basic pieces and tomorrow I am going to figure out how i am going to unwrap everything so it all lines up correctly.
I do not like where this project is going so I am going to move on from it.
Today I also modelled, sculpted and textured this hand to go along with the sword.
I wanted to sculpt some anatomy because I have never tried to create characters.
I still have a lot to do on it including a lot of face sculpting the hands and I will redo the fibermesh hair.
The reason I have some fibermesh there is I wanted to test how the hair system worked as I have never used it before.
Reference sheet
LP - 33,392 Tris
3 texture sheets - 1 for body, 1 for head and 1 for clothing
Next I am going to be working on creating hair using hair planes.
LP with normal
I will eventually add hair to this model but I feel that I need more practice with creating hair as I have found that the type of hair that this person has will be difficult to create.
In UE4
http://dnd.wizards.com/products/tabletop-games/rpg-products/volos-guide-to-monsters
I am changing the concept partial just because i was liking how some parts were turning out during sculpting.
Still got some more sculpting to do on this
For the wrestler you did, I'll say for future reference, don't be afraid to have an orthographic front view image in Zbrush and sculpt around that, it's a great way to help establish proportions and will help with a lot of the guess work you might be having.
Another thing to note is the wrestlers topology, notice how the poly distribution is a little all over the place, generally with topology you want to have the face as the most dense mesh, and the body should be a bit less dense, with the hands being slightly more to compensate for detail
As for the face topology, I recommend using existing images as reference. a simple google or Pinterest search for "face topology" will help a lot
Hope that helped! Keep practicing
next time I will defiantly use reference inside of ZBrush like image planes as you can tell i found sculpting from guess work is quite difficult.
when it comes to topology I am defiantly going to use reference like that on my next project thanks a bunch for that tip.
I still need to do a lot of work in substance
meanwhile as well as this i have been doing some rendering work in Maya to learn it.
these are using the snail HP
I learnt a lot about maya rednering throughout school because that's what was required, but from now on most of my folio pieces are going to use renders from Marmoset and Substance painter.
Keep it up dude
for the shell i have tried to create a sort of transcendent material that changes colour based on your viewing angle.
so far I have made the dungeon generator have interchangeable pieces so you can switch out any of the pieces for pieces of any shape and size and i have made it so there is no overlap in the dungeon my next task is to make it so you will have alternate paths that come off of the pieces with more than one exits.