[Tutorial] Reprojecting a normal map in 3ds max.
Hello,
I'd like to share with you this trick which can make your life a way easier in some cases.
Let's pick an example: a decal of small pile of leafs.
To do it, we need a leaf texture. Usually it looks like this one on the right side, but for now let's say it's this from the left.

We map a polygons with this texture and place them almost randomly.

After that we create a geometry for projection.

And here's the trick. Typically normal map will be broken because will be rotated, right?
But in 3ds max we can load it like this and it will be recalculated during the projection!

Projected normal map.

Final result from the game engine.

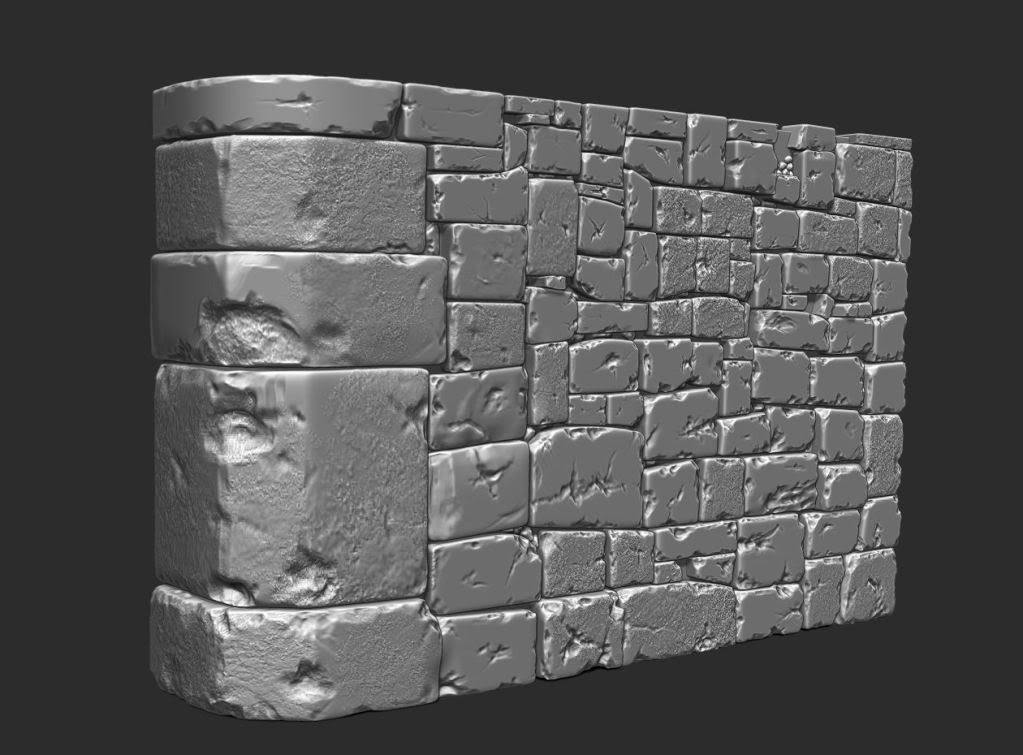
And it's not the end. Let's say we would like to create a highpoly wall model to project it on a plane. Typical pipeline to have a nice normal map. Usually we have to deal with millions of triangles, which is slow ect.

But with mentioned trick we can do it like this:
1) create only ~5 high poly bricks
2) with automatic poly cruncher create 5 mid poly meshes
3) create an automatic mapping for them
4) project high resolution normal map (4k or even 5*8k if you want)
5) compose a wall from this 5 mid poly bricks with normal map

6) project it to the final texture
I'm not claiming it's a game changer which will replace current pipeline....but working with 5, mid poly objects in 3ds max in some cases is a way more convenient that combining a huge, high poly meshes in zbrush. Just keep that in mind and maybe someday this trick will save you some time.
I'd like to share with you this trick which can make your life a way easier in some cases.
Let's pick an example: a decal of small pile of leafs.
To do it, we need a leaf texture. Usually it looks like this one on the right side, but for now let's say it's this from the left.

We map a polygons with this texture and place them almost randomly.

After that we create a geometry for projection.

And here's the trick. Typically normal map will be broken because will be rotated, right?
But in 3ds max we can load it like this and it will be recalculated during the projection!

Projected normal map.

Final result from the game engine.

And it's not the end. Let's say we would like to create a highpoly wall model to project it on a plane. Typical pipeline to have a nice normal map. Usually we have to deal with millions of triangles, which is slow ect.

But with mentioned trick we can do it like this:
1) create only ~5 high poly bricks
2) with automatic poly cruncher create 5 mid poly meshes
3) create an automatic mapping for them
4) project high resolution normal map (4k or even 5*8k if you want)
5) compose a wall from this 5 mid poly bricks with normal map

6) project it to the final texture
I'm not claiming it's a game changer which will replace current pipeline....but working with 5, mid poly objects in 3ds max in some cases is a way more convenient that combining a huge, high poly meshes in zbrush. Just keep that in mind and maybe someday this trick will save you some time.