Reallusion Character Design - Zane Artoriya (ゼーン アートリ)

null
Hello everyone I'm DT, I am Creative CG artist, and this will be my first contest submission, and for that i'm going to took you guys trough the overall process of creating Zane my main character design in Cartamania, you will find a small trailer in my Topic, for the other character design in the trailer they have the same workflow.
First sorry for my English, as i am trying to do my best to explain the hole workflow.
First sorry for my English, as i am trying to do my best to explain the hole workflow.
Ok so let's get started, my main tool used in these project are : Character Creator, iClone 6, 3Dxchange 6, Maya, Motion builder, BVHhacker, Zbrush, Substance Painter, Photoshop, Lumion, Unreal engine 4.
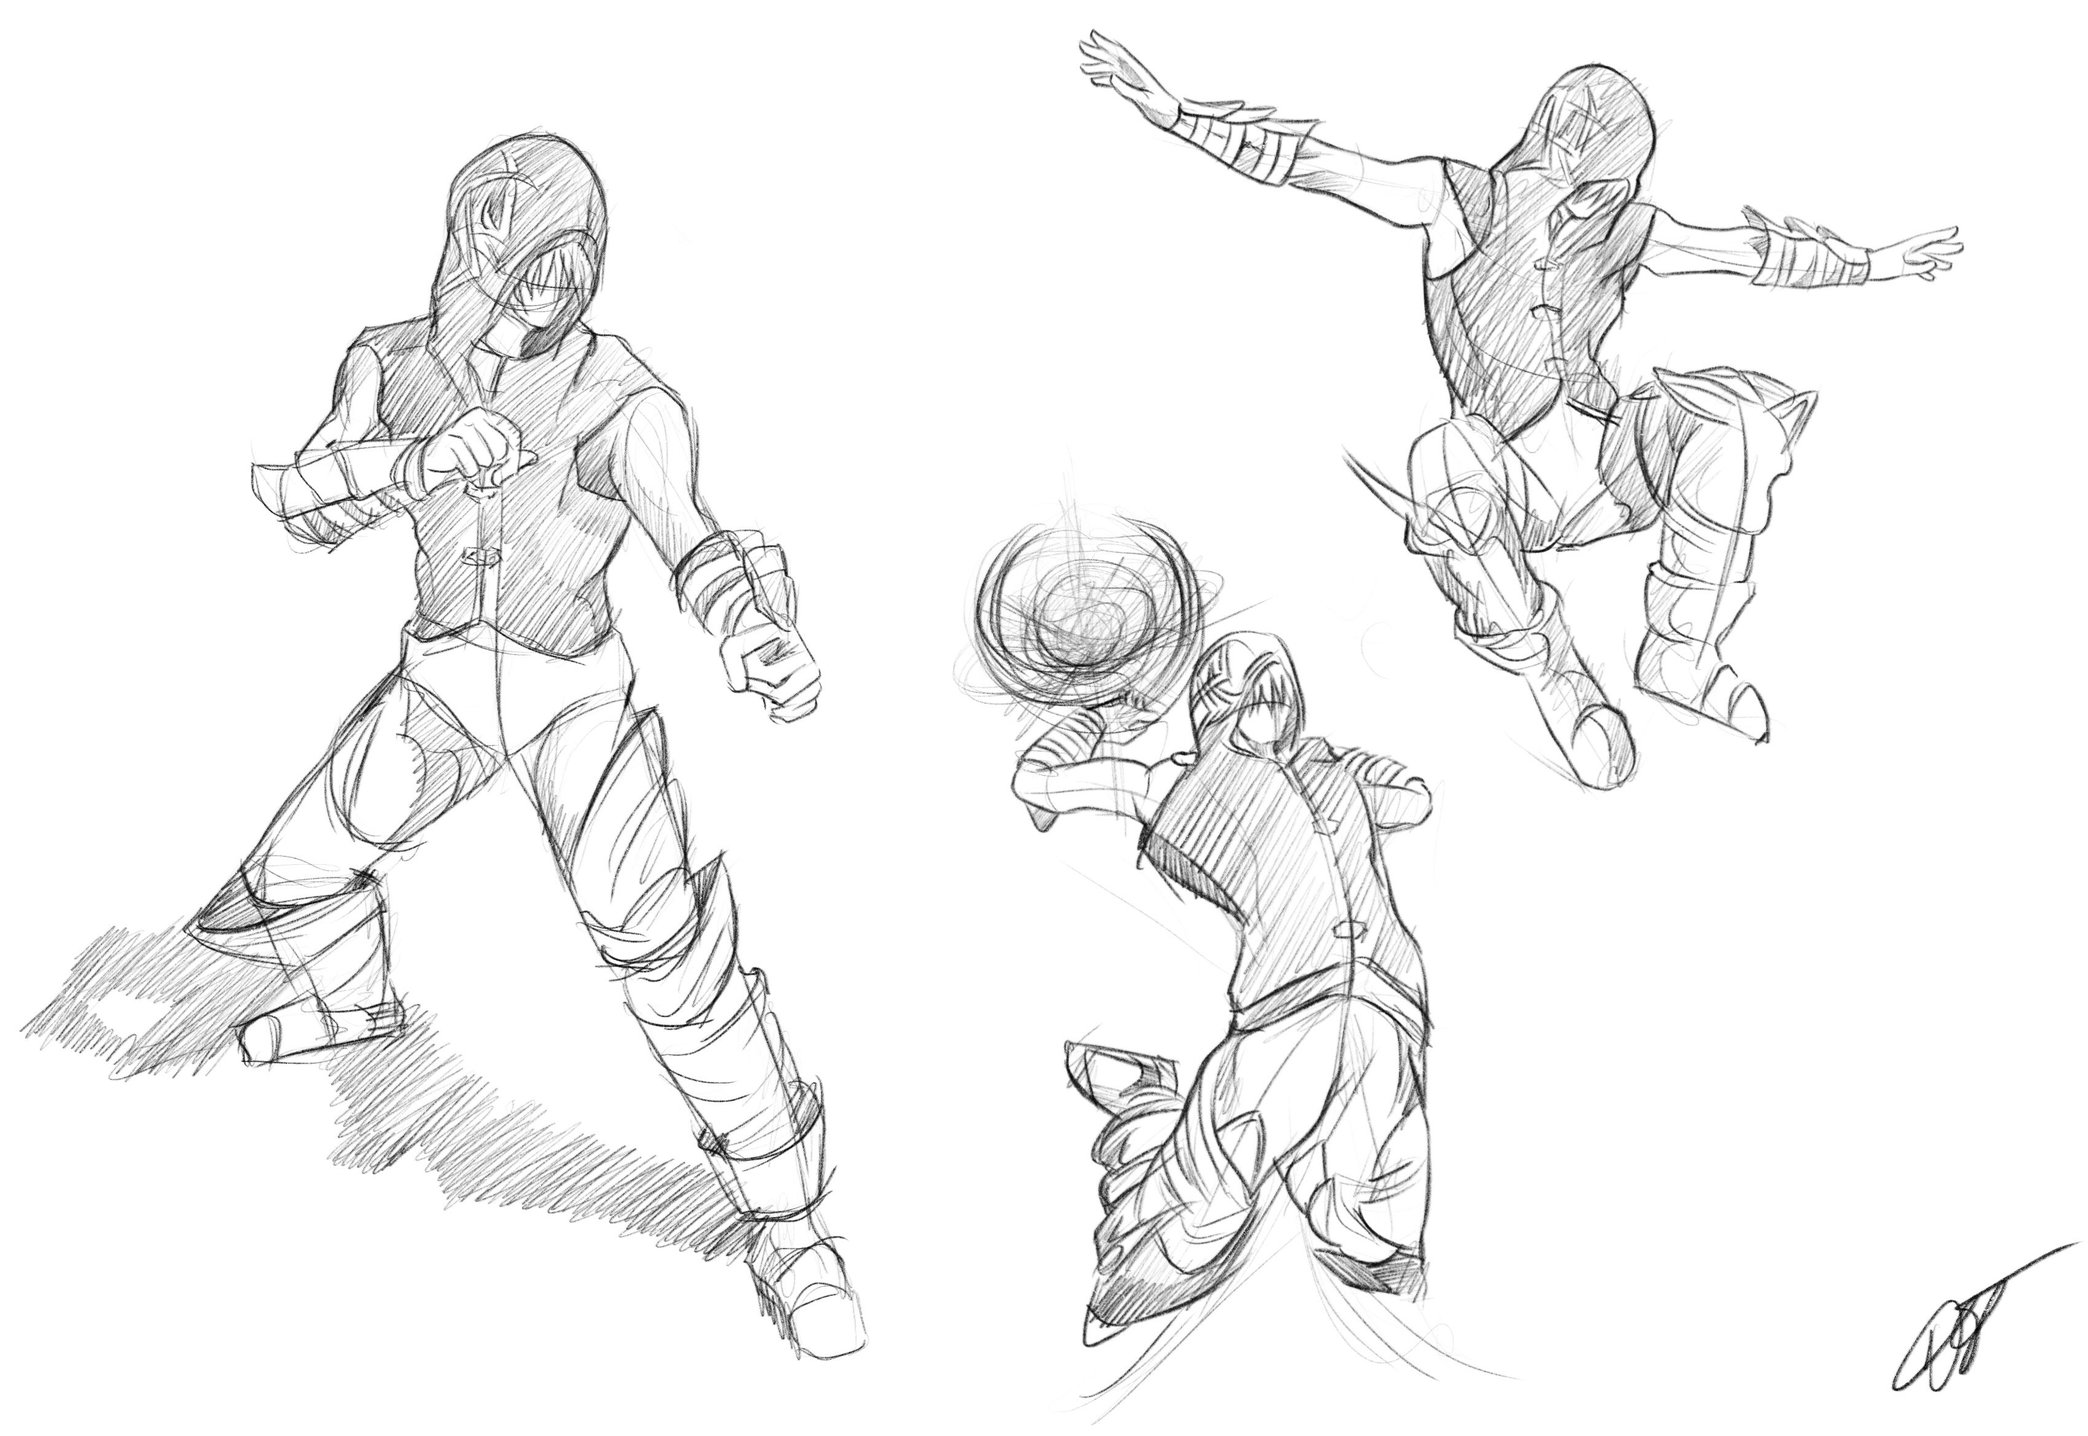
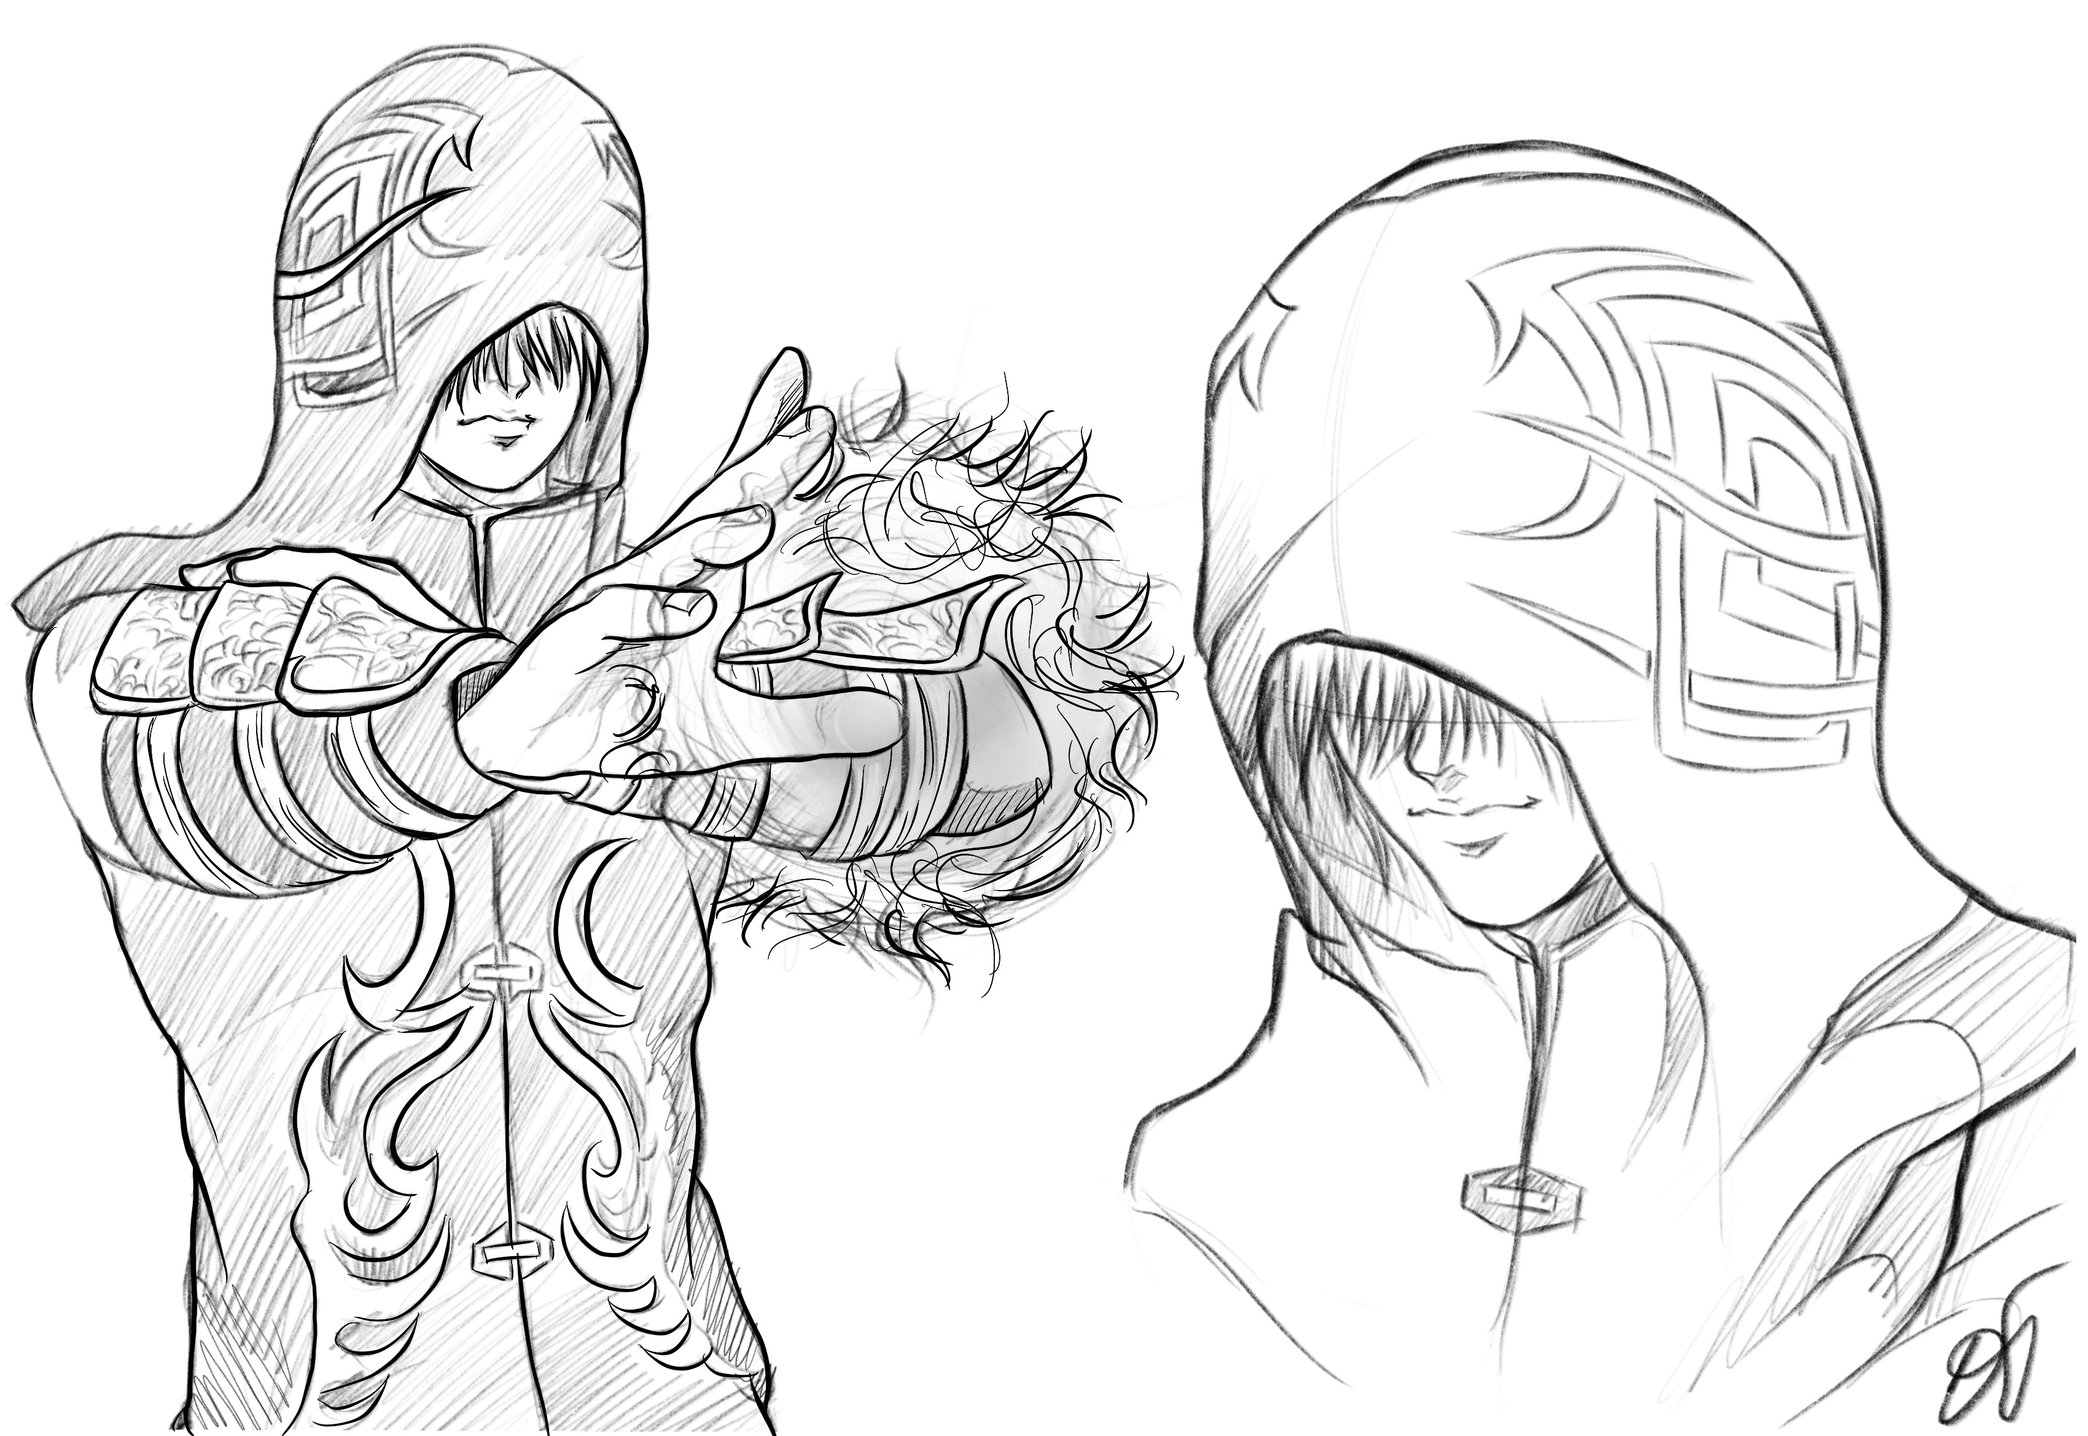
This is some research sketch of Zane Artoriya, doing research in drawing it help me imagine how the character going to be, what personality he has, what kind of magic he can make, what actions he can do.


Cartamania Trailer
http://www.youtube.com/watch?v=snwhXSnqzIM
Unreal engine
http://www.youtube.com/watch?v=g1R3eQA30w0
This is some research sketch of Zane Artoriya, doing research in drawing it help me imagine how the character going to be, what personality he has, what kind of magic he can make, what actions he can do.
Cartamania Trailer
http://www.youtube.com/watch?v=snwhXSnqzIM
Unreal engine
http://www.youtube.com/watch?v=g1R3eQA30w0
I- Character Creator :
iClone Character Creator provides a very nice 3D character system which you can define your character look as base, and for that i wanted to have similar shape like final fantasy characters, so for that i used the default character project, which is a female character, I use a combination of female face and body male to give it female male look design. I individually show my model in smooth mode so i can focus more in the shape of my character and this is really good step so it can let me focus more on the design of the model.

So now it's time to export my model as OBJ format so i can edited in Zbrush.

The great thing is Character Creator now exports in quads so it's easy to sculpt the model in Zbrush, create Custom morph and bring it to character creator, but i will jump this step because i am happy with the result that i get from character creator so it's time to make some cloths for Zane in Zbrush.
2- Zbrush:
As you can see the model it's in quad mode so it will help me sculpt my model as i want to be, in my workflow i like always to focus in the head first, so for that i want my character to be a young man, mysterious and powerful.

Here is the smooth version of the character after using the move and smooth brush.

My reference using for the model is from final fantasy, i wanted really to study the shape of the character how they look, nose, lips, eyes, jaw, ect once i find what i am looking for.

I start create clothes for my characters, for that it's really simple using masks to extract object from my model, like the Hood, Shirt, Bracers, Armor Boots, and other pieces. so i will have at the end something like that.
After some final tweaks this is the final look of my character with all clothes extracted using mask.


After that i used zremesher to make my model low in polygon but can retain good topology for animation later.

Now it's time for some polypaint, my workflow is simple using different brush from zbrush to paint my base texture and this is the result of my model.


Now it's time to UV my character because i want to bake all the detail i'm going to add to my character as normal map, and export also my polypaint i did, so for that there is really a great tool in zbrush called UV master it let you quickly unwrap your model, you just need to define your seams in the model and this is how it look.


Now it's time to add detail to the character.
Zbrush have a great tool to speed up your workflow, for that i used the noise maker tool for the face and the hood so i can have nice details for my character.
I used ZBrushsurface noise, each time I add the surface noise to my character,I lower the noise scale and raise the noise strength, so in some places i can use the Morph brush and mask the area that i don't want to have details in it also i use layers in zbrush this really a great tool that let me build details for my character in different stage, so if example i don't like the details i can control it with my layers.
Always remember , when you adding details to your model, go with the low intensity for your brush so you can have more control, and also don't work in symmetry mode for you character model when you adding pores and skin texture.
This is how Zane look after adding details using alpha textures :


4- Substance Painter
Substance Painter is a great tool, it's a 3D painting software allowing you to texture, paint your 3D model, using brushes, textures, smart materials, masks and more.
For more info please do visit : https://www.allegorithmic.com/products/substance-painter


4- Autodesk Maya :
For my technique of the hair is really straight forward using planes to build the hair i want, this is some screen shot .


5- In 3DXchange :
Here i'm importing Zane to 3Dxchange so i can use it in iClone, also i configured the blenshapes so i can use the face puppet later in iClone.


Here some props used in the showcase using 3Dxchange, to export a props to iclone, i export my 3D model from Cinema 4D using obj, once imported to 3Dxchange i exported back to iclone to use it as props for my scene.

6- iClone 6 :
Using Motion Puppet, it's easy to get a quick walk animation

Using the Pick Path option, i can let Zane walk straightforward after drawing a path using the create menu, create path.


Here you can check Zane in sketchab, you can use cardboard or Gear VR to see it also, sorry for not allowing the model to be downloaded.
model
Replies
http://www.dtcartamania.com/
https://www.youtube.com/watch?v=N613HB19-jE
D.T