Blender Zbrush Workflow / Normal Maps
Hi everybody,
I have been 3D modeling in Blender for a few months now. I recently started importing my models to ZBrush in order to make the "high poly version" for normal mapping.
My workflow this far as been: Blender model low poly -> unwrap low poly -> export to ZBrush -> sculpt -> import to 2nd layer in Blender -> Create the cage on layer 3 -> Create normal map and AO map
At this point I would typically create a 3rd image and paint the model in Blender.
I have been exporting the low poly model and applying the maps in Unity as a test and they repeatedly seem to come out strangely. It just doesn't look right.

Is it possible I am missing steps? Is my workflow bad? I have adjusted the 'Sampling' in Blender from 100 to 400 and I am getting pretty much the same results. I have tried lots of different things and I've searced for anwers, can't seem to find anything helpful.
Thank you!
I have been 3D modeling in Blender for a few months now. I recently started importing my models to ZBrush in order to make the "high poly version" for normal mapping.
My workflow this far as been: Blender model low poly -> unwrap low poly -> export to ZBrush -> sculpt -> import to 2nd layer in Blender -> Create the cage on layer 3 -> Create normal map and AO map
At this point I would typically create a 3rd image and paint the model in Blender.
I have been exporting the low poly model and applying the maps in Unity as a test and they repeatedly seem to come out strangely. It just doesn't look right.

Is it possible I am missing steps? Is my workflow bad? I have adjusted the 'Sampling' in Blender from 100 to 400 and I am getting pretty much the same results. I have tried lots of different things and I've searced for anwers, can't seem to find anything helpful.
Thank you!

Replies
Apart from that, the normal map seems to be lacking edge padding which produces the jagged edges on areas like the blade.
Furthermore, the center piece displays some very harsh edges. Without seeing the high poly it looks like projection errors due to a distance-based raycast instead of an averaged projection cage, which is a little confusing as you mentioned that you in fact created a cage.
Also, it appears more resolution is necessary in order to avoid some of the jagged edges that appear on the model:
Thanks for your response and help! I worked on it a bit more this morning and adjusted the cage out further. These jagged edges seem to have gone away. I am using Blender for baking, xNormal seems to give me trouble for often than not. It either works or gives me errors.
The cage I am using is just a duplicate of the low poly model that is then scaled up. As far as resolution goes, the hi poly model has 1.6 million tris; the low poly has 580. I have tried subdividing the low poly mesh a couple times as I thought maybe it was to low but that didn't change anything as far as I could tell.
Here is the ZBrush sculpt:
When I put the low poly in ZBrush the first thing I was doing was subdividing and then applying the ZRemesher which was giving me strange lines and details. I did it again this morning without the remesher and the results really didn't change much.
As I don't use Blender for baking, I can't be of much help there. Have you tried finding an option to increase edge padding so far? Because it looks to me like that would get you far in solving your problem.
ZRemesher is usually used as a method of quickly retopologizing high poly meshes. I don't see why you would use it on your low poly as it is supposed to already have the topology it needs. ZRemesher also removes your UVs as new topology is created. So, you would have to unwrap UVs again before baking.
Also, showing your UVs would help because there are some mistakes involving UVs that can lead to baking seams/errors too, such as not splitting UV islands where hard shading/edges occur.
I did read yesterday that ZRemesher is typically for organic modelling as well. I tried to subdivide much less and then apply the DynaMesh which seems to be what a lot of people do for hard surface models. The results really aren't much different though in Unity.
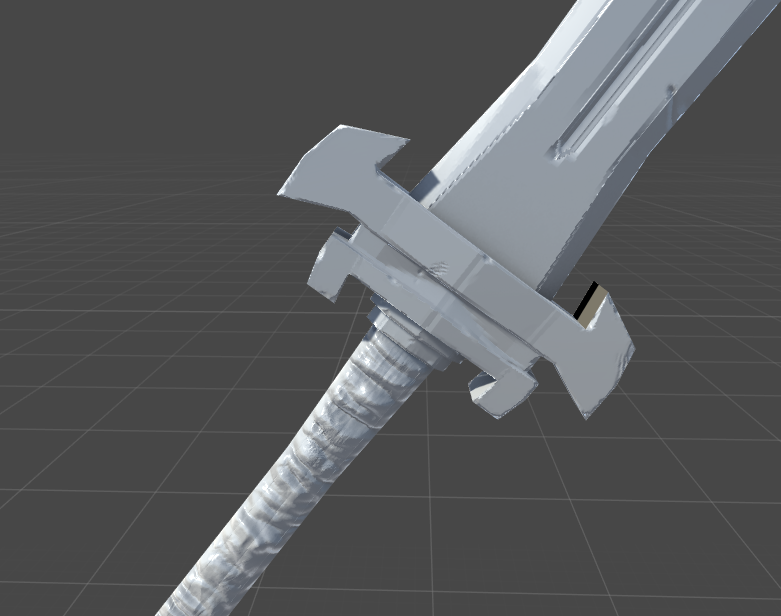
Here is a sword I threw together this morning for testing, cut in half, and unwrapped. I will mirror it before importing into Zbrush.
I did notice some issues in your normal map above but it seems to have been fixed in your most recent post. Just for the record: Areas with hard transitions like these indicate that there are hard edges in the shading but no UV splits:
Scaling parts of the model and moving elements not along the direction of the normals is something you want to avoid though when creating your cage as it will lead to projection errors. I'm not that proficient in Blender but have you tried this option?
Thanks again!
Now on this new model I have this:
There are nasty looking seams everywhere. I bake out normal and ao maps with xNormal. Is this an issue with the cage or the low poly?