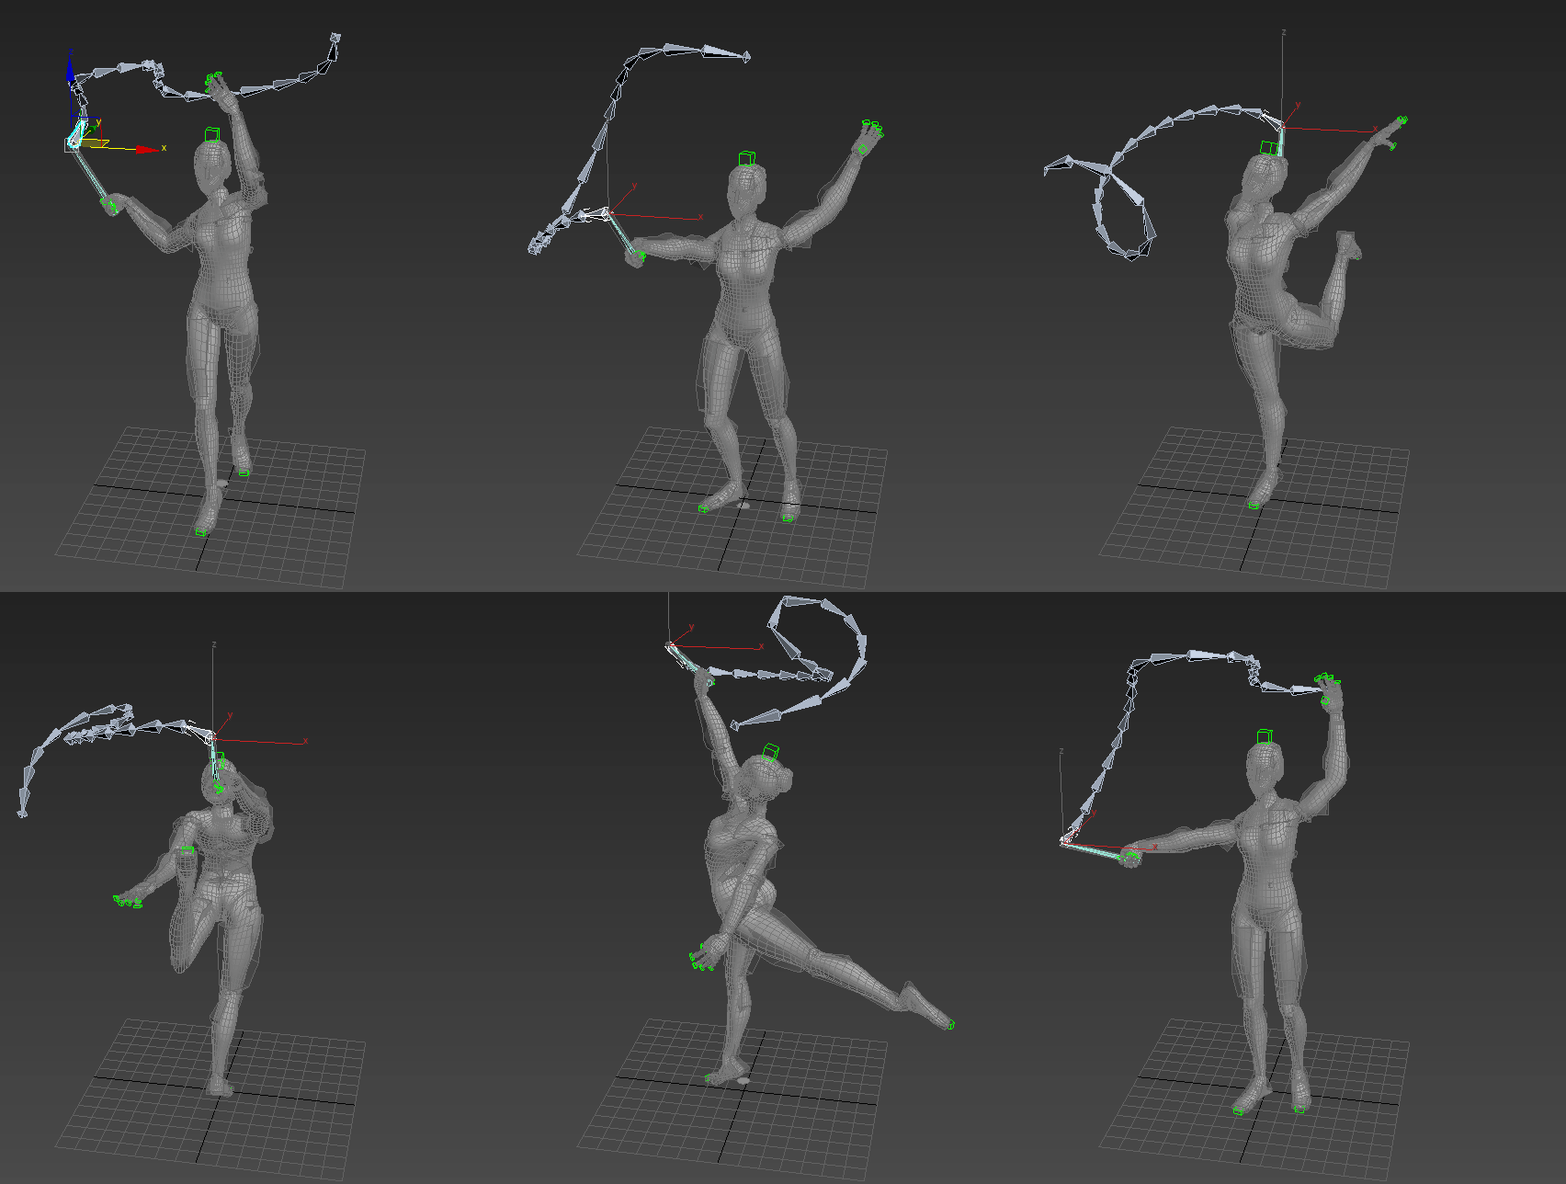
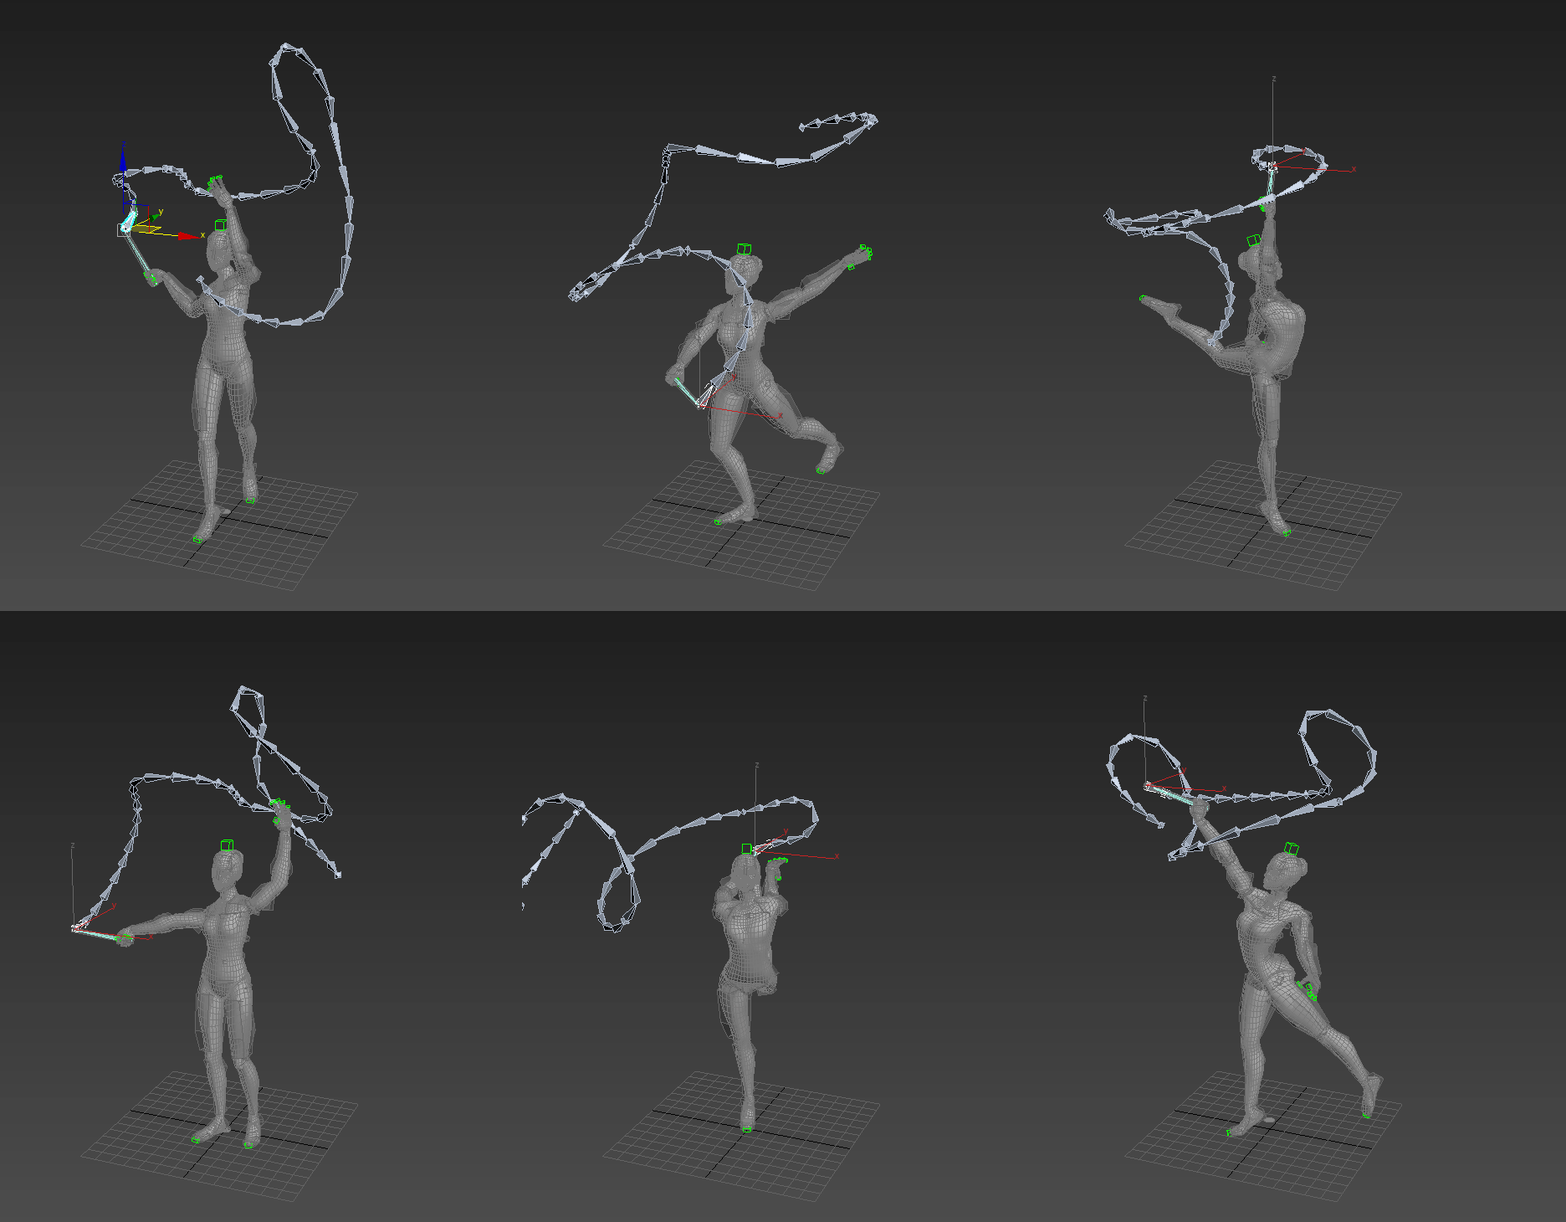
Animating a gimnastic girl with ribbon
Hi! So this is my blockout animation (it needs polish, I know) of a girl making gymnastics with a ribbon.
I used spring magic for the ribbon movement and made some tests, and this result is the best I could get.

I know gymnastic ribbons are waay much longer but spring magic doesn't work in this case, the ribbon's movement gets messy and tangled.

I tried to use IKSpline + Flex modifier in 3DS max with no better results. I'm new at animation, maybe I'm missing something?
I need tips, resources or methods to improve the animation of the ribbon. Also any feedback on the girl animation also is welcomed
I used spring magic for the ribbon movement and made some tests, and this result is the best I could get.

I know gymnastic ribbons are waay much longer but spring magic doesn't work in this case, the ribbon's movement gets messy and tangled.

I tried to use IKSpline + Flex modifier in 3DS max with no better results. I'm new at animation, maybe I'm missing something?
I need tips, resources or methods to improve the animation of the ribbon. Also any feedback on the girl animation also is welcomed

Replies
Approach 1: In max you'd probably achieve better results using MassFX physics, though you'd have to rig the whole chain with physics constraints, which, without scripting, would be really hard. I think there is something like MassFX Toolbox or something like that, try searching it on scriptspot. It should allow you to create and control multiple constraints at once.
Approach 2: Another approach would be through ParticleFlow and it's physics simulation. There you can dynamically create simlation objects and constraint them by distance threshold or something.
But these both approaches only apply to you if you are going to use it with game engines, or if you need a lot of artistic control over the movement of the ribbon, in a way that you can manually keyframe it where needed.
Approach 3: In any other case I'd suggest not even using bones for the rig. You can use Cloth or mCloth simulation on a polygonal ribbon object, it'll behave much more like cloth then.
Approach 4: Or you can also do another trick. This will allow you to use bones as well. But for a beginner it's some real rigging magic
You can create a polygonal ribbon - this will be your Simulation Mesh. With polygon count matching your bone-count. Then you create a bone for each polygon and constraint those bones to vertices\bones of the simulation mesh. There is a mesh constraint\vertex constraint\polygon constraint, I don't remember how it's called in Max. But it's there.
Now you can simulate the mesh with cloth or anything else, and the bones will follow. When you are happy with the simulation you can bake it on joints directly, using Collapse from Motion Tab.
I may mess some Max - specific namings though, but all workflows should be possible to achieve in max.
I want the ribbon to swing like this (Athlete is Nastasya Generalova from USA), I played with the setting like air friction, spring, inherit velocity but with no better results :
How can I get the ribbon "spin" around the lady?
I want to try the approach 4, I would like to have some documentation or article (all the concepts are new for me)
http://polycount.com/discussion/66993/animating-women/p1
which I think is the best to the approach 4, I made some tests for the simulation but I need to snap all the bones to the points. The ribbbon is large so the animation wold take lot of time.
Polish up your animation, without ribbon. then trace the tip of the wand into a spline over the duration of the animation by dropping dummies at specific frame intervals and vert snapping points of spline to them, or some script. after that, path deform a geometry ribbon to the spline and key the parthDeform parameters so it looks like the ribbon is following the wand?
if it needs to go into engine, you can rig a series of bones or dummies and export it out that way. or use Vigg's vertex constraint method to bake the anim down to the bones/dummies the mesh ribbon is skinned to. Although, you'll probably be better off using something in engine like Unity's TrailRenderer component.
quick test with pathDeform modifier on a simple ribbon mesh.