New to Zbrush Please leave feedback :)
Hey Everyone, i have been looking to build my skills in Zbrush so i can make the characters that i want to make and improve my 3d character design.
I have been using 3DS Max for the past few years mostly for prop creation and level environments and have recently decided to learn Zbrush in order to make characters and objects at a higher quality. I love using Zbrush as it allows me to concept characters and objects quickly but also allows my ideas to evolve while working on them.
I have only been using the program for around 2 months to compliment my work as a game design student as i often do 3D work for my group projects and found that i enjoy every second of it.
model
This is my first character model that i have made in Zbrush using panel loops and dynamesh but i don't really know how the process from Zbrush > Game ready model goes so i just retopologised the model and exported the high and low poly versions into substance painter.
The idea around the character was that it is a hostile scout drone that hovers around the environment looking for the player.
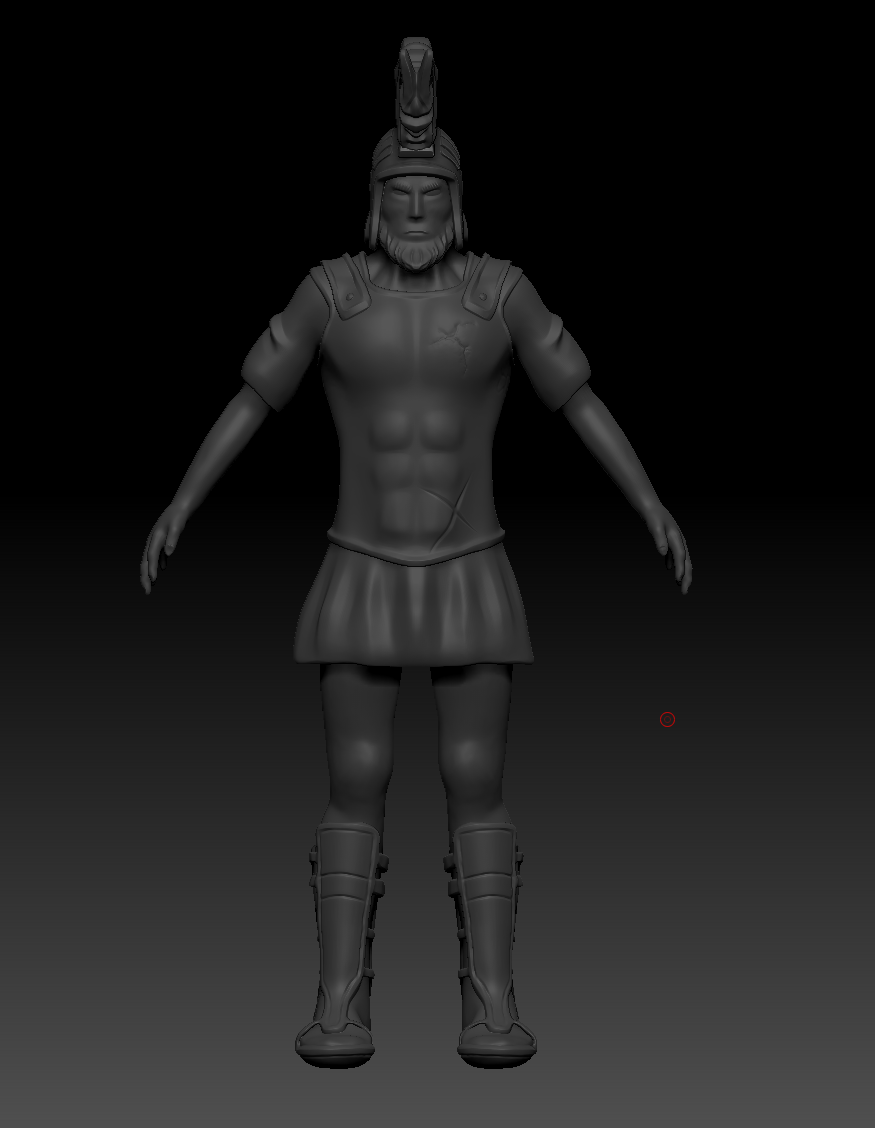
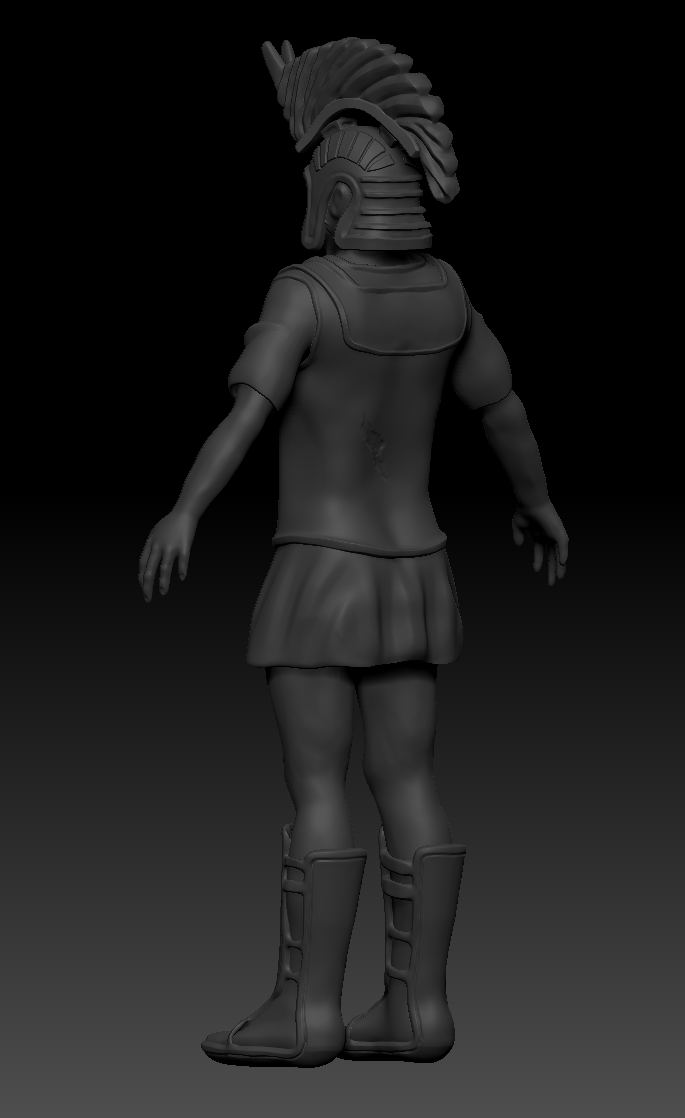
My second model i have been working on is a fantasy warrior that is loosely inspired by the Ancient Greek era warriors, it is still currently a work in progress but i am having some trouble as i am not sure how to get clean edges that aren't wobbly. Due to this a lot of the hard edges on the armour and helmet look really wobbly but i have no idea how to fix it.
Edit: I also feel i have been using far too many polys to achieve the current result on the warrior (12 million polys)


Replies
As for getting clean edges, there's a number of ways that works. For shapes that are less organic it might be better to retopologize and have a lower poly object in Zbrush. The ZModeler brush is pretty good for some quick polygon modeling options. With high polygon objects I use a combination of Dynamesh, the HPolish/Trim Dyanmic brush and the Pinch brush. For blocking things out it's a quick workflow to get harder edges.
Additional, as you noticed 12 Million polys is a lot for that character (But it's your first time in Zbrush so I know how that stuff works out lol) You could definitely get the same result without that many. For some quick tools look into Dynamesh, Zremesher and Decimation Master. They all have a different role for reducing polycount.
Right now, the design feels weak and lacks direction.
I know you mention you feel like you can make edits on the fly in Zbrush with your concepts, but unless you're pumping out thumbnails and variant sketches, you're only shooting blindly in the dark one at a time instead of really brainstorming what works and doesn't and sticking to a single good design.
I'd recommend using a concept that's already done, or doing multiple thumbnails (sculpts or sketches) to get a better, complete idea of what you're trying to do.
2, the wobbliness of your hard surface elements is probably coming from your workflow in acheiving perfect "curves" and "Surfaces." I personally recommend learning how to do subdivision modeling so you can get a lot of control with efficient polygon use, but it doesn't seem like you have a standard 3D package at the moment.
In that case, a method of doing hard surfaces in Zbrush is
1) Sketch sculpt the hard surface object.
2) Retopologize the sketched sculpt.
3) Crease operations on the edges you want to stay hard.
4) Bevel the creases slightly to not get ridiculously hard edges for good normal bakes.
5) Clean up with trimDynamic, smooth brush, hPolish, etc. where pinches appear, etc.
With both methods above, you end up with final high poly subtools that can be subdivided to really low poly subdivisions, which makes edits much easier when you need to move or stretch things.
Thank you so much for the advice!