Substance painter weird shadows and bad normal map bakes
For the last couple of days I have been working on getting a good normal map for my Retop,
What I have tried/done:
With my initial bad bakes In subs paint, I looked towards xnormals, then eventually 3ds max bake.
1. Split my model into tow parts, bake with xnormals at 4k, and compile the maps (2 sets) into one texture, I imported it into substance I got a bad bake and terrible shadows. did a similar method to
2. I though the shadows where coming from the smoothing groups so I removed them and baked within 3ds max, the normal was slightly better, but the normal retained the weird lines, probably due to no smoothing groups.
3.With smoothing groups on my retop I get weird shadows in substance, I don't know why this is happening, so help would be very much welcome.
4.In all the routed I have tried, the bake was always bad, at 4k it was barely readable in both substance painter, xnormals with a cage, and 3ds max.
SO
Which leads me to either Uvs? or Retop?,
Helpful feedback would be very much appreciated.
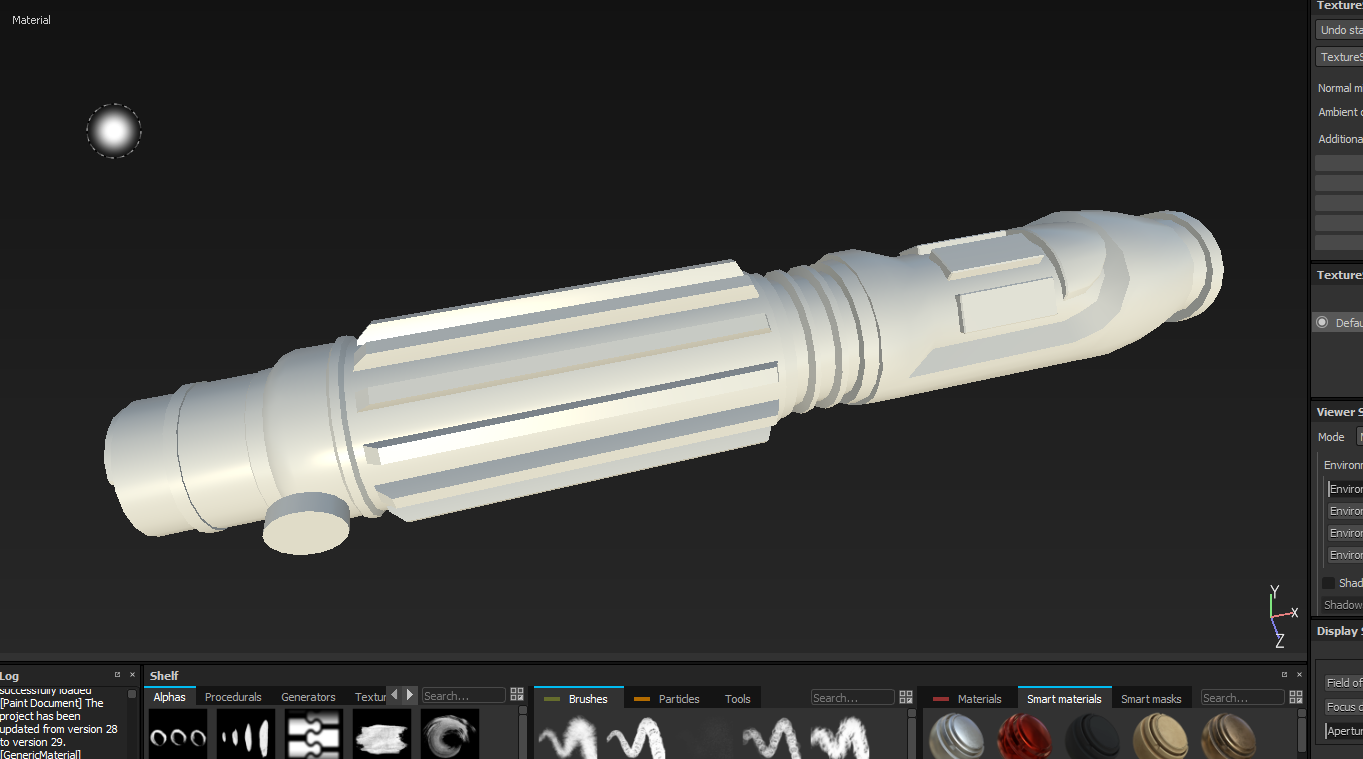
This is what the retop looks like with smoothing groups applied from 3ds max obj import.
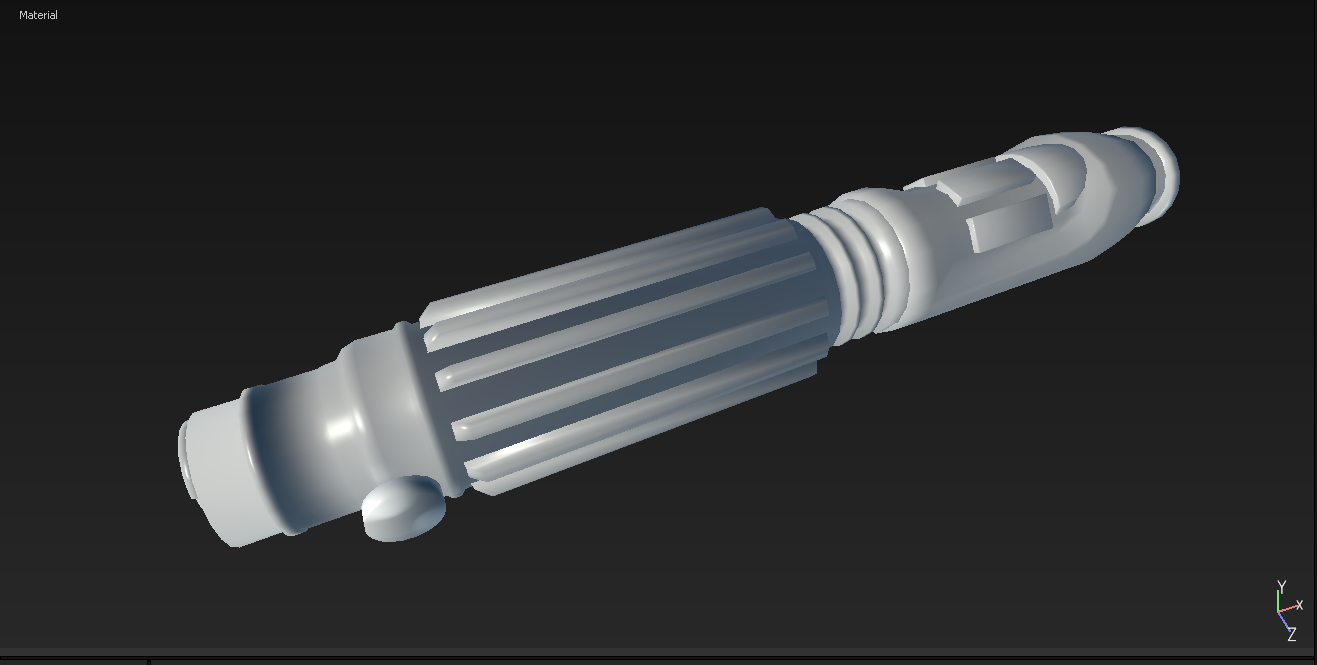
This is what the retop looks like with smooth 30 degrees applied from 3ds max obj import
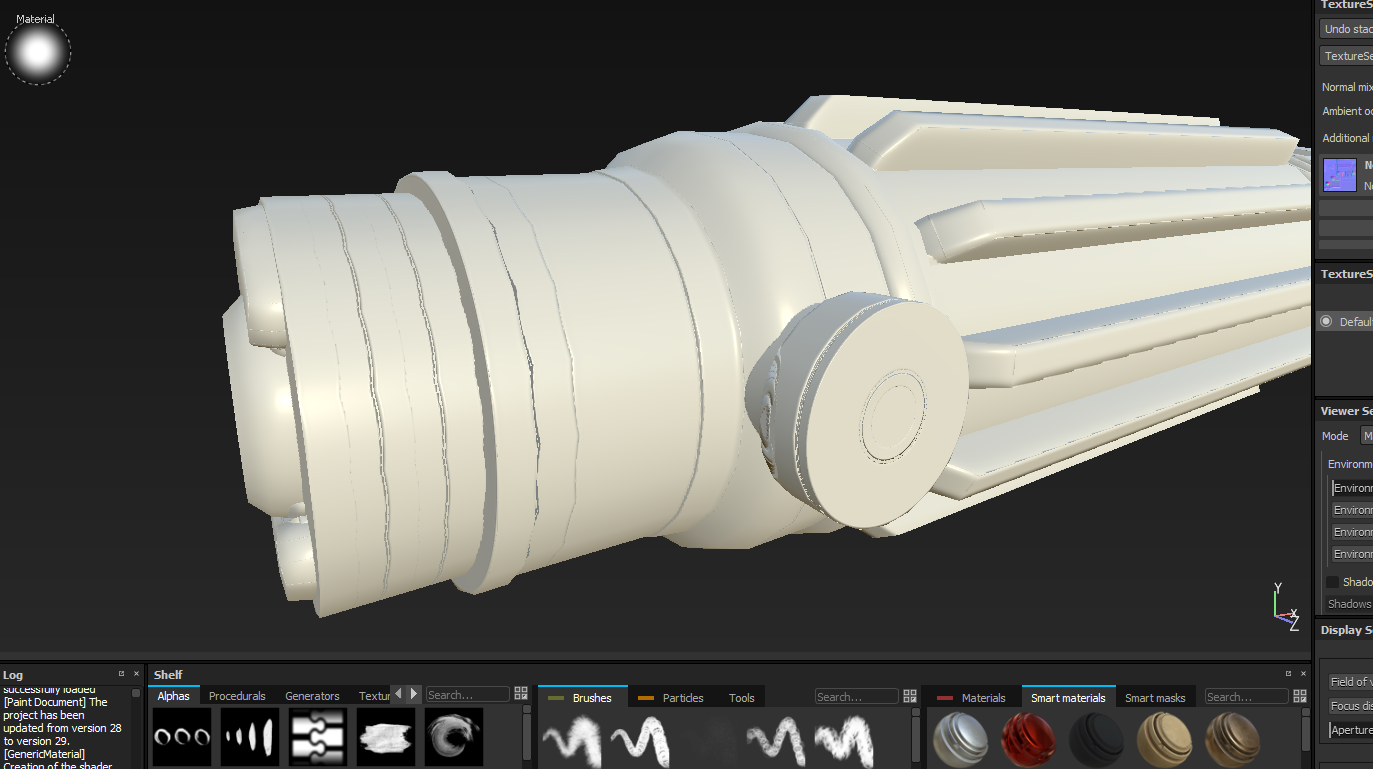
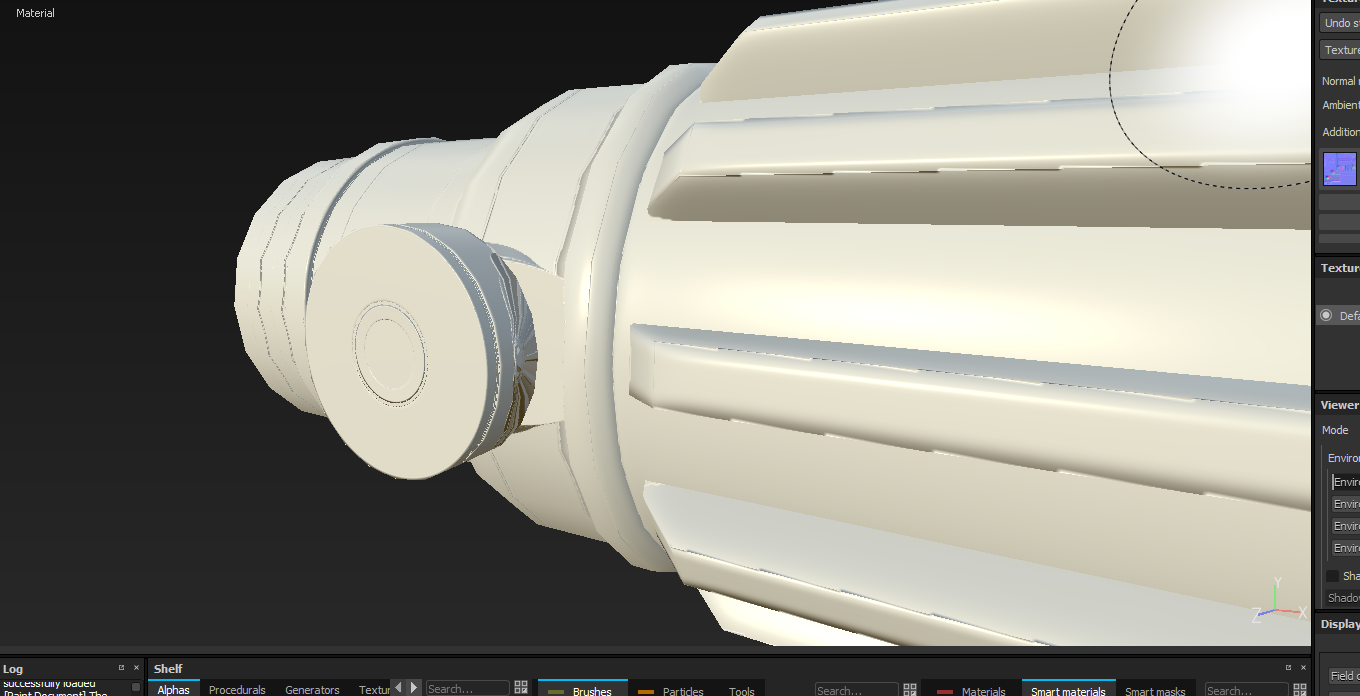
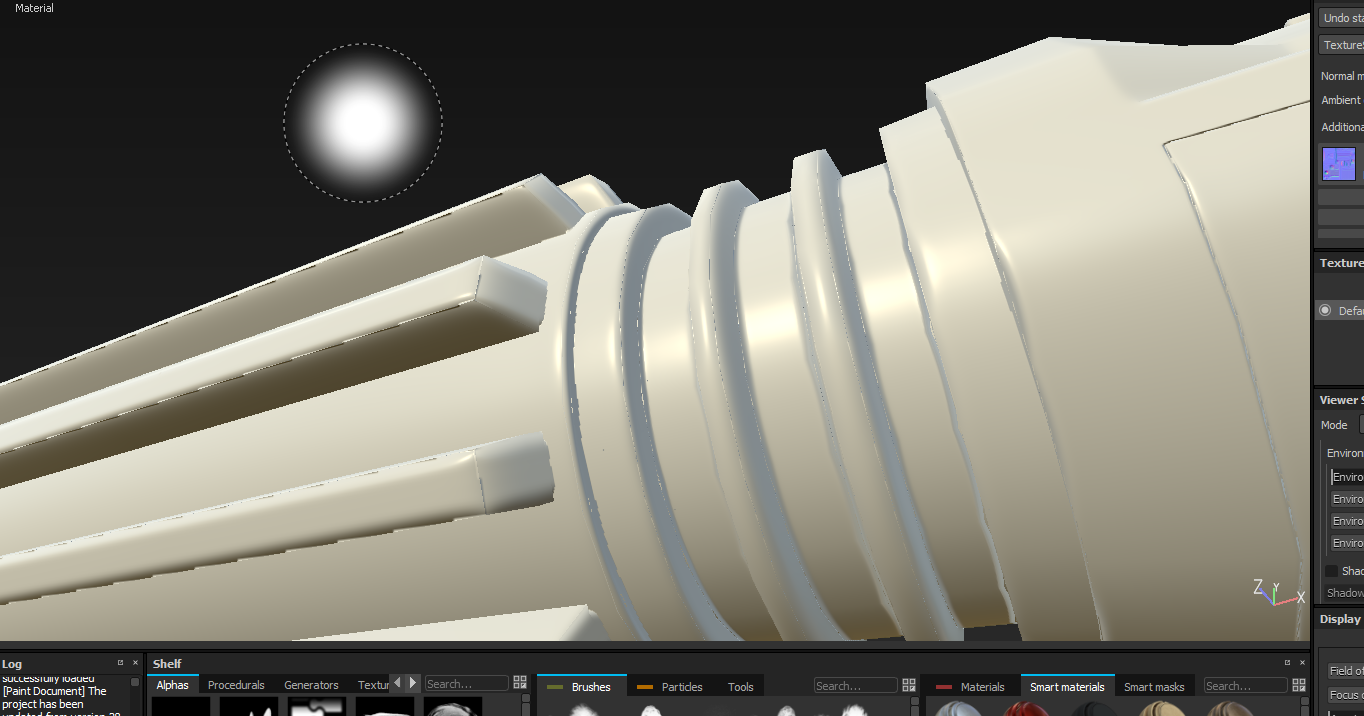
Wire frame/Topology in 3ds max.
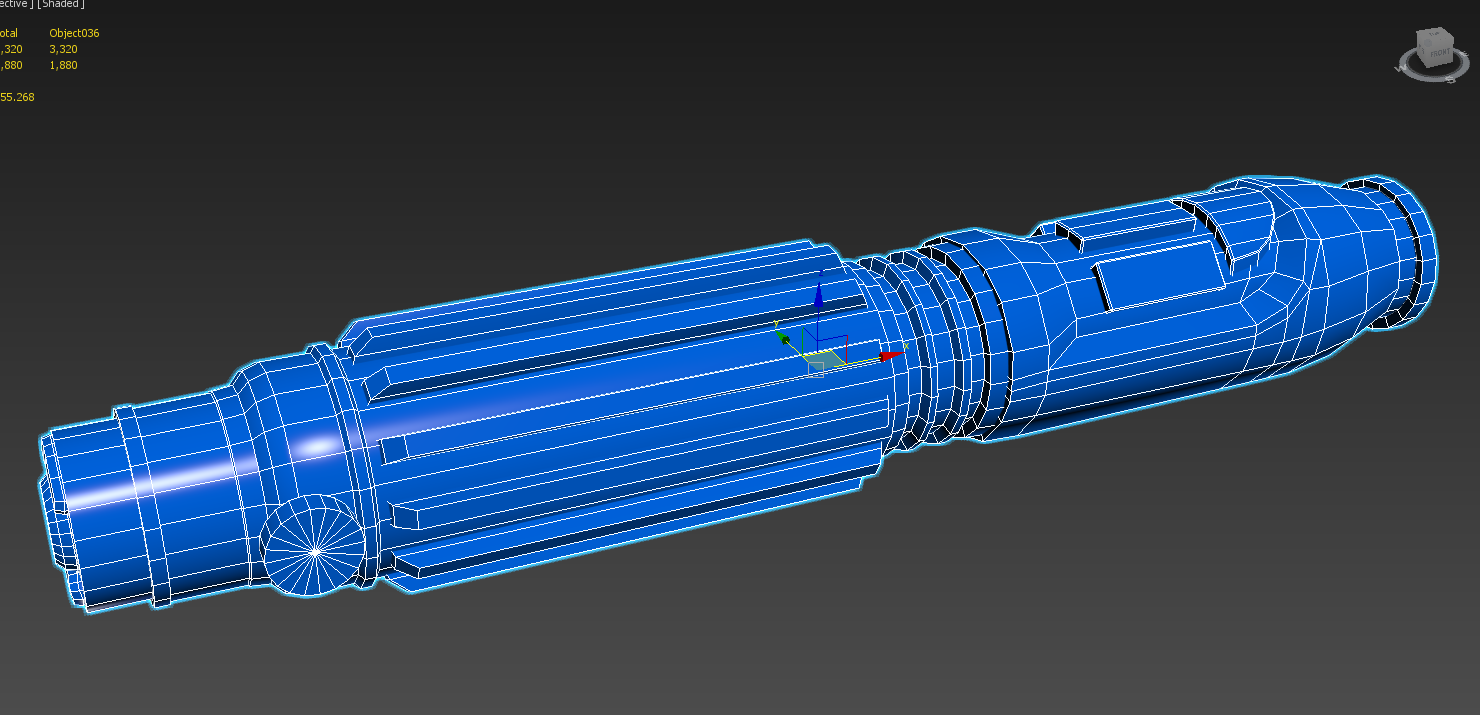
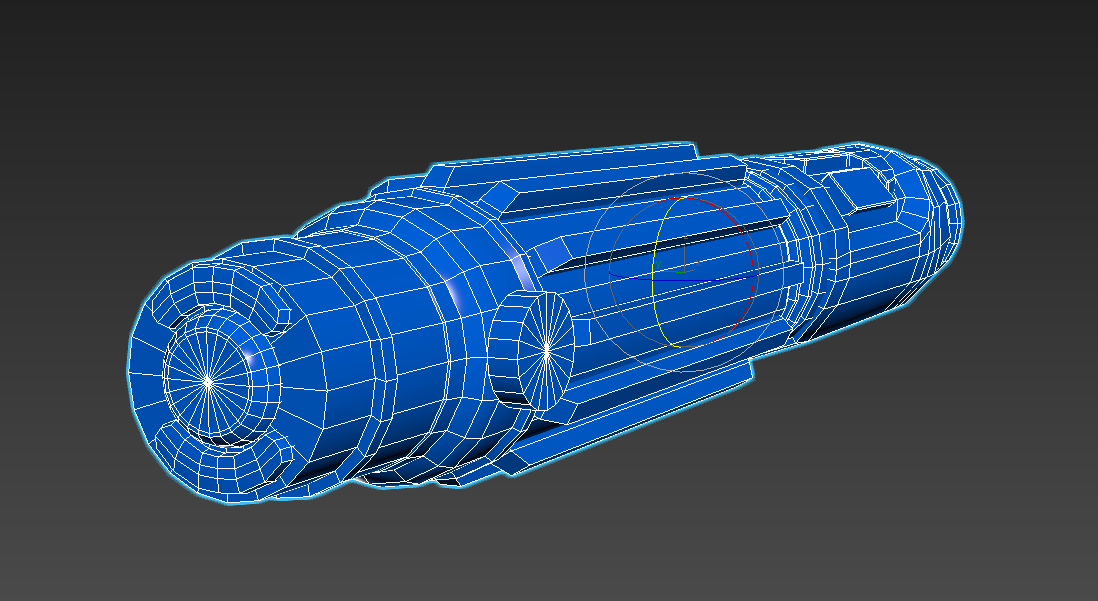
Uvs/Uv spacing:
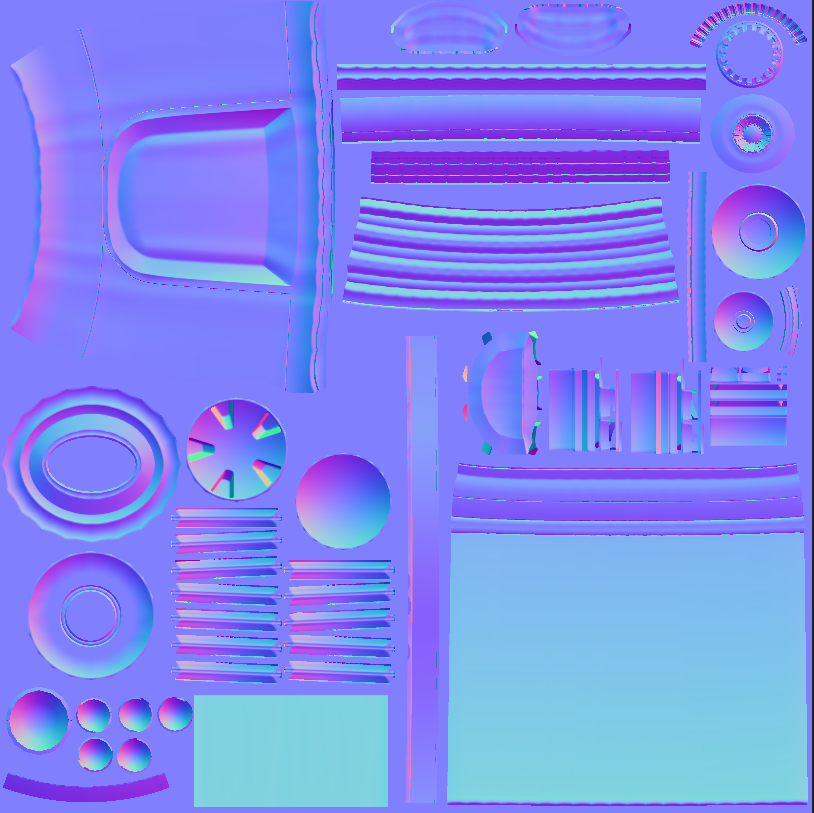
Xnormal normal bake, I revised the texture spacing a few times since then. This was baked on to the Retop with smoothing groups.
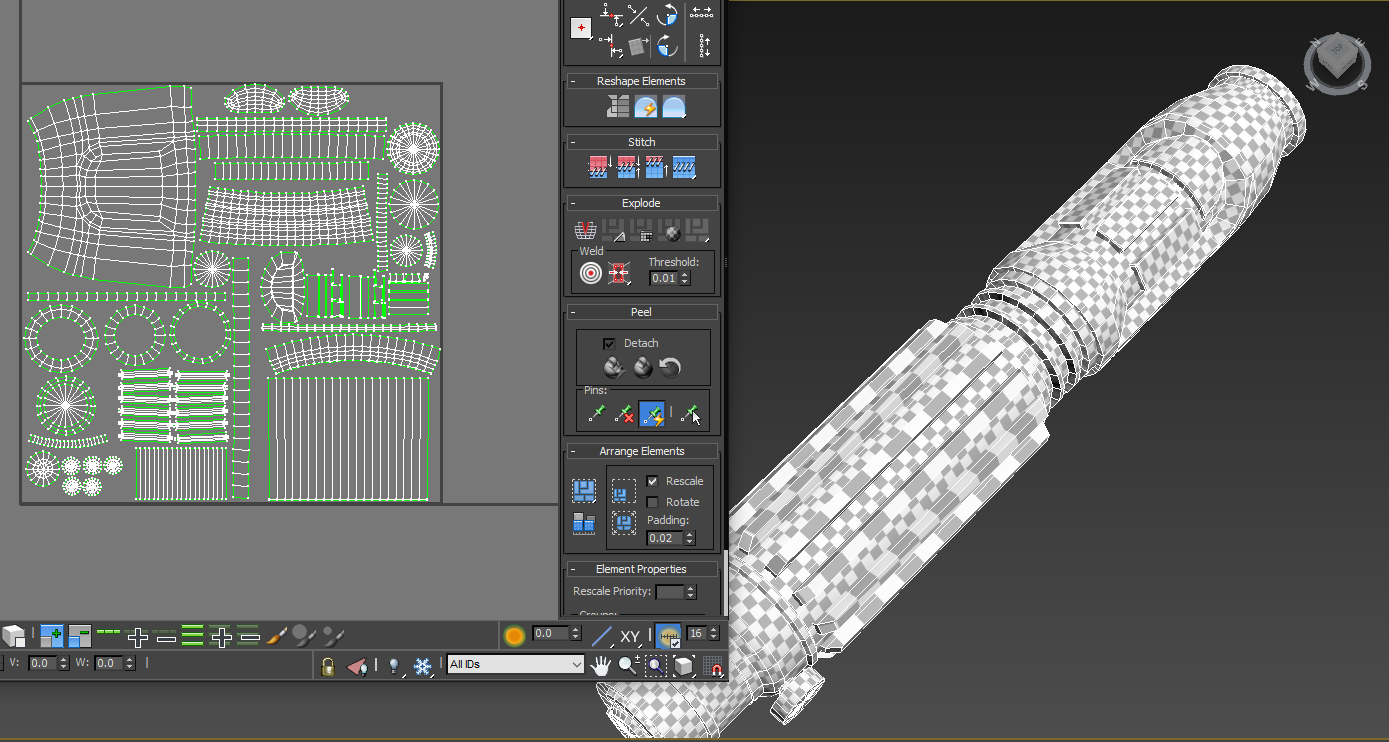
Current Uvs - 3ds max
What I have tried/done:
With my initial bad bakes In subs paint, I looked towards xnormals, then eventually 3ds max bake.
1. Split my model into tow parts, bake with xnormals at 4k, and compile the maps (2 sets) into one texture, I imported it into substance I got a bad bake and terrible shadows. did a similar method to
2. I though the shadows where coming from the smoothing groups so I removed them and baked within 3ds max, the normal was slightly better, but the normal retained the weird lines, probably due to no smoothing groups.
3.With smoothing groups on my retop I get weird shadows in substance, I don't know why this is happening, so help would be very much welcome.
4.In all the routed I have tried, the bake was always bad, at 4k it was barely readable in both substance painter, xnormals with a cage, and 3ds max.
SO
Which leads me to either Uvs? or Retop?,
Helpful feedback would be very much appreciated.
This is what the retop looks like with smoothing groups applied from 3ds max obj import.

This is what the retop looks like with smooth 30 degrees applied from 3ds max obj import


Wire frame/Topology in 3ds max.


Uvs/Uv spacing:
Xnormal normal bake, I revised the texture spacing a few times since then. This was baked on to the Retop with smoothing groups.

Current Uvs - 3ds max

Replies
When I set the max frontal/real to 0.1
When I set the max frontal/rear to 0.01, Its a big improvement still some errors in small areas
do you have an e-mail I can send the files too.
You could just send me the low and high .fbx files
*Note* I had to assign my smoothing group to the model as yours had no smoothing groups assigned. This is more than likely
your issue as I presume you're using the UV splits to Smoothing groups workflow. If you use this workflow and don't split your
UV borders wherever there is a smoothing group change, you will get vertex data 'bleed' across that edge, resulting in a blending
of incorrect RGB values. If you don't use this workflow and use the one i used below, you don't have to worry about UV - SG splits.
Also, there are some projection errors because you are not baking an exploded mesh or using SP's match by name feature. I would recommend using either of these to avoid such errors. And you could have certainly done with more cylindrical segments as the waviness is pretty noticeable. Polycounts are not as stringent as they used to be so you can afford some more.
And lastly, try to straighten UV shell border edges as much as you can. This will help with the aliasing on the bake.
Result:
When baking in SP I always use a synced(mikkt/averaged) workflow. It is about as simple a process as it can be as long as a few steps are followed:
- Low and high silhouette matching closely
- single smoothing group(no UV/SG splits necessary)
- export .fbx - low-poly has smoothing groups checked and has already been triangulated. Tangents&Bi-Normals unchecked(SP will look after this - see next step)
- SP import - compute tangent space per fragment checked
- Bake with between .01 and .04 ray distance
- perfect results every time, and because it's using mikkt with T&BiN being calculated by baker you are guaranteed that it will be perfect in any other software that is synced - mikkt.
this is a 2k bake not a 4k bake, at .01 ray distance, but still the results speak for themselves.
Minor errors here and there, but I can work it out by editing the retop a little. I can't see the seams!, that is crazy.
I added more "support loops" to the mesh, to get rid of those weird shadows, before export, as you suggested.
By Uvs shells I assume you meant my iv layout, this is as straight as I can get them without getting any major distortions, if you have any tips on how to get them straighter then am all ears.
Slapped some quick textures on to see how it looks, will bake a colour ID later on, I can't even see the seams!, that's crazy.
Thank you very much, MUSASHIDAN.
I'm also fighting with smoothing group issues for a long time and especially on a mesh I'm working on right now. One thing I don't get in your explanations above.
In one comment you write : "*Note* I had to assign my smoothing group to the model as yours had no smoothing groups assigned."
And then in the explanations after you write : "- single smoothing group(no UV/SG splits necessary)"
so Do I need to make smoothing groups (which I usually do but it's a pain in the ass as 3D-Coat, ZBRush, etc most of the time explode them). Or should I upload a low poly fbx WITHOUT smoothing groups (or just a smooth group 1 for the whole mesh in 3DSMax ?) and then gake the high poly in Painter ?
I always end up with issues depending on the process I try. And I always get better results I think when the low poly has smoothing groups applied (especially for hardsurface).
I take the liberty to send you my mesh. If you have a moment please take a look. Thanks in advance !