Home Technical Talk

getting Normals to bake and give smooth edges

polycounter lvl 6
Offline / Send Message
MITVIZ polycounter lvl 6
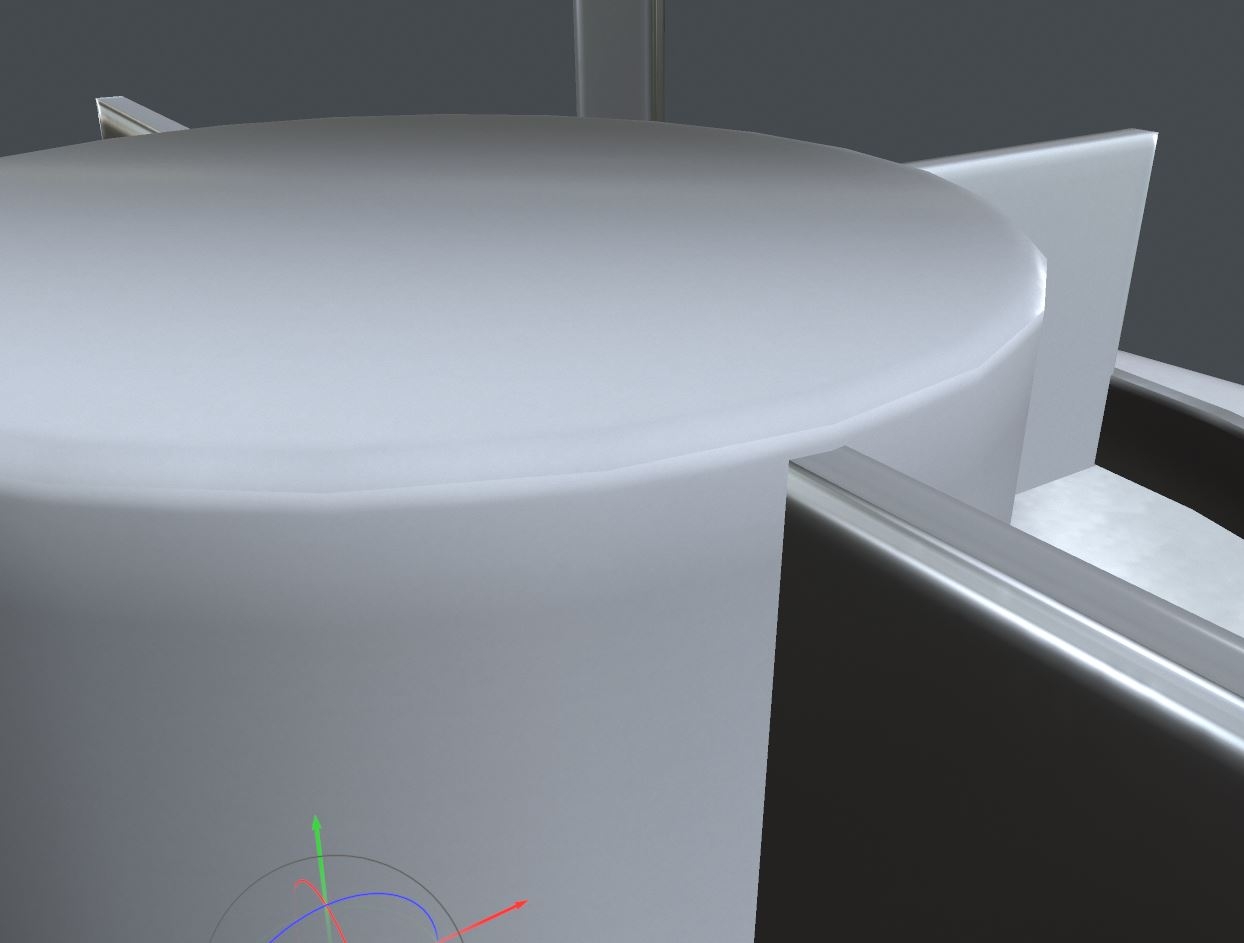
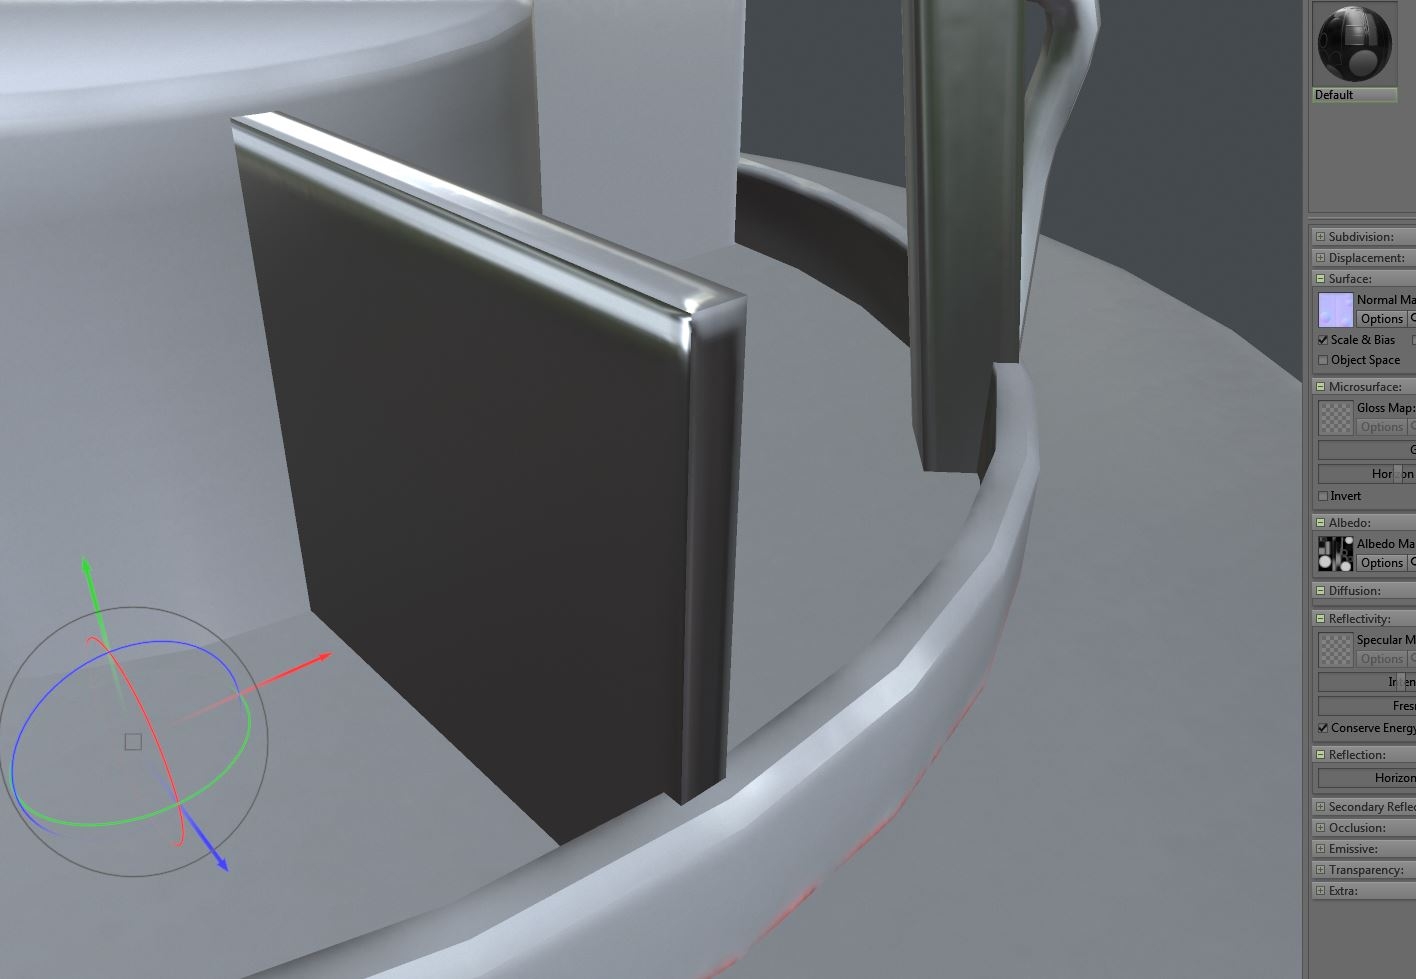
i followed on tutorial on baking normals and adding the uv splits to match the uv splits with the text tools from alec moody, i tried this scenario and also the other where i smooth my entire object as how i would want it with a normal but nothing gives me smooth curved edges. is there something missing, i also added alot of padding, they look better in substance painter but the edges are so hard stil, is there away to get soft edges wen baking normal maps?
Replies

  • musashidan
    Offline / Send Message
    musashidan high dynamic range
    Where are you baking? What does your high poly look like?
  • MITVIZ
    Offline / Send Message
    MITVIZ polycounter lvl 6
    here is a view of the high and low and the uvs
  • musashidan
    Offline / Send Message
    musashidan high dynamic range
    Here's a simple test I just did(as simple as it gets) But all the elements of your model are very simple primitives and you shouldn't have issues if you follow the few important factors: Smoothing groups based on UV shells/low-poly triangulated/high&low geo matching closely/xform reset/enough padding
    This was baked in SP with default settings(just tweaked the ray distance up a tiny bit) I'm really not sure how you're getting these issues
    if you're following the checklist above? Perhaps you haven't enough padding? Or you baked non-averaged without a cage?

  • AlecMoody
    Offline / Send Message
    AlecMoody ngon master
    It looks like your projections are splitting around hard edges. Are you baking in xnormal? Are you using a cage?
  • MITVIZ
    Offline / Send Message
    MITVIZ polycounter lvl 6
    i used 3ds max for the bake and yes i am using the cage, i will upload the model for inspection. i also used textool to match smoothing group to uv split and i think there was enough padding. baking is turning out to be a bitch:) 
    here is the link to the file
    https://www.dropbox.com/s/y62j09kztg4c0la/bouy.max?dl=0
  • MITVIZ
    Offline / Send Message
    MITVIZ polycounter lvl 6
    nice test @musashidan can that be easily accomplished in 3ds max?
  • MITVIZ
    Offline / Send Message
    MITVIZ polycounter lvl 6
    also how much padding is enough padding and how can i tell how much padding there is in the model?
  • MITVIZ
    Offline / Send Message
    MITVIZ polycounter lvl 6
    here is the normal map and ambient occlusion from max also, doesnt look like any overlaps so there was enough padding?
  • MITVIZ
    Offline / Send Message
    MITVIZ polycounter lvl 6
    ok i tried the bake this time in SP. its a little better but i have these issues, i think because one is an instance on top then i have having a imprint ontop of the model, that means mirroring the uv? but on the square edges it looks weired, needs more padding?


    the 
  • musashidan
    Offline / Send Message
    musashidan high dynamic range
    Here's another quick test, this time baking in 3dsMax. Map baked using Scanline. Projection modifier cage used.
    Padding of 4 used in the RTT dialogue. Ample padding in the UV layout.

    You can set up the template size in the UV editor: 256, 512, 1024, etc. and change the grid settings to single pixels,
    (I use the Polyunwrapper plugin so that is where I do that) and turn on pixel snap.
    Then you know -pixel perfect- exactly how much padding your shells have. You can also set the padding in pixels if you do
    an auto-pack. Higher padding values like 16 are only really important if you need higher mipmap levels.

    Also, in the UV editor options, the template size(Display preferences>Render width/height) to grid size isn't very intuitive. The grid size
    is on a scale from .001 to 1. so you have to divide 1 by your template size: i.e - 1 divided by 256=.003 - so that would be your grid size. Maximum is 1024 as this divides to .0009(rounded up to .001 which is the lowest grid size setting)  


  • MITVIZ
    Offline / Send Message
    MITVIZ polycounter lvl 6
    nice one, what about if its an object with many parts? can you check the file i uploaded to see what was wrong?
  • MITVIZ
    Offline / Send Message
    MITVIZ polycounter lvl 6
    can you share the files you used also?
  • musashidan
    Offline / Send Message
    musashidan high dynamic range
    MITVIZ said:
    nice one, what about if its an object with many parts? can you check the file i uploaded to see what was wrong?
    Depending on the object you might have to explode the mesh to avoid intersecting rays, or use SP's match mesh name feature.
    I'll check out your file and PM you the files I tested.
  • MITVIZ
    Offline / Send Message
    MITVIZ polycounter lvl 6
    what about using the matching material ID feature? from the one tutorial series online it says its the best approach because you get the correct ambient occlusion bake also, what do you think @musashidan
  • musashidan
    Offline / Send Message
    musashidan high dynamic range
    I've just finished baking your object. Bake came out perfect(apart from the waviness due to low segments on the cylindrical meshes) It was baked in SP averaged ray-distance(no cage) using the match by mesh name feature. Single smoothing group.

    There was some cleanup/prep work to be done first:
    First I deleted all the elements that are duplicates. These are not needed for the baking process as they can be cloned/attached after the bake and the UVs will automatically stack.(I think you may be mixing up stacking UVs with mirroring UVs) There was also a few redundant faces on the pipe which I deleted.
    Also, I didn't fix it in the file but I would advise not just intersecting geometry messily. It won't affect the bake if exploded, but it just looks bad and is bad modeling practice. Try and model things with realistic connections: the pipes, for instance, are just jammed into the surrounding geometry; as are the long struts.

    Next I re-UVed the model. This is something that you need to put some time into and is the foundation of your texturing process. The existing UVs you had were not good. :smile:Your shells weren't consistent texel density(this can be fixed easily with the 'rescale elements' button) Also, your object was a single smoothing group as you hadn't matched UV borders to SG. This has to be done for hard edges unless you are baking in something like Mikktspace and syncing between programs that compute the same tangents/bi-normals. (as I did)

    Then I separated all the elements of both the high and low and named them in pairs with the suffix '_high' and '_low' respectively. This is for the SP match by mesh name feature. Next is to select all the elements of the high and low and export each group of objects as a single .fbx file(one file for the high and one for the low)

    Then it's time to bake in SP using the match by mesh name feature. And save out the resulting Normal map.

    Back in Max I duplicated the repeating elements of the low poly and placed them accordingly, and attached all the pieces back to a single low poly. These new pieces will automatically be stacked and share the same UV space.

    Next save out this new low poly as 'final_asset', reimport to SP and apply the normal map baked earlier.


  • MITVIZ
    Offline / Send Message
    MITVIZ polycounter lvl 6
    wow, this is really nice! @musashidan, great job! been awhile since i spend time on uvs actually so am really bad at it(my bad) can i have a link to the file? i want to investigate also for only hard edge objects i need to make sure that the smoothing groups match the uvs? again looks amazing, ufff, also did SP create a nice ambient occlusion map also? am wondering how to correctly do this workflow in 3ds max only since its the main tool i use along with photoshop, i need to go deeper into SP i see too
  • MITVIZ
    Offline / Send Message
    MITVIZ polycounter lvl 6
    also @musashidan these are assets i am practicing on because i will soon make some for real that will be used so they are of this nature so all this advice will be put to valuable use soon
  • musashidan
    Offline / Send Message
    musashidan high dynamic range
    Yes, you can use the 'hit only matching matID' feature in Max. I don't use Max to bake at all myself anymore. That test I did above in Max was the first in a long time. :smile:  But if you are intent on sticking with Max I would STRONGLY advise having a look at the script 'Get Baked'

    It is a vast improvement on Max's outdated RTT dialogue.

    And yes, SP bakes good AO maps. As for your smoothing groups not matching your UV shells, I'm sure this is your problem. There are scripts that automate this. Plus Textools has the feature. as does Polyunwrapper

    Here are the files of your reworked models;
    https://www.dropbox.com/sh/6me46nzzxs5777z/AAD5ucPRyfVghCu_Q-eYj-fea?dl=0
Sign In or Register to comment.