Modular Level Creation, Tileable Textures, No Padding, and Seams. Help.
Using- Maya, Photoshop, Unity
I'm in the process of studying more refined workflows in environment creation. I wanted to try the "Make Texture Sheet First" then model/UV according to that.
In the past, I've seen texture sheets in which all of the textures are butted right next to one another with no padding. I wanted to try the same thing.
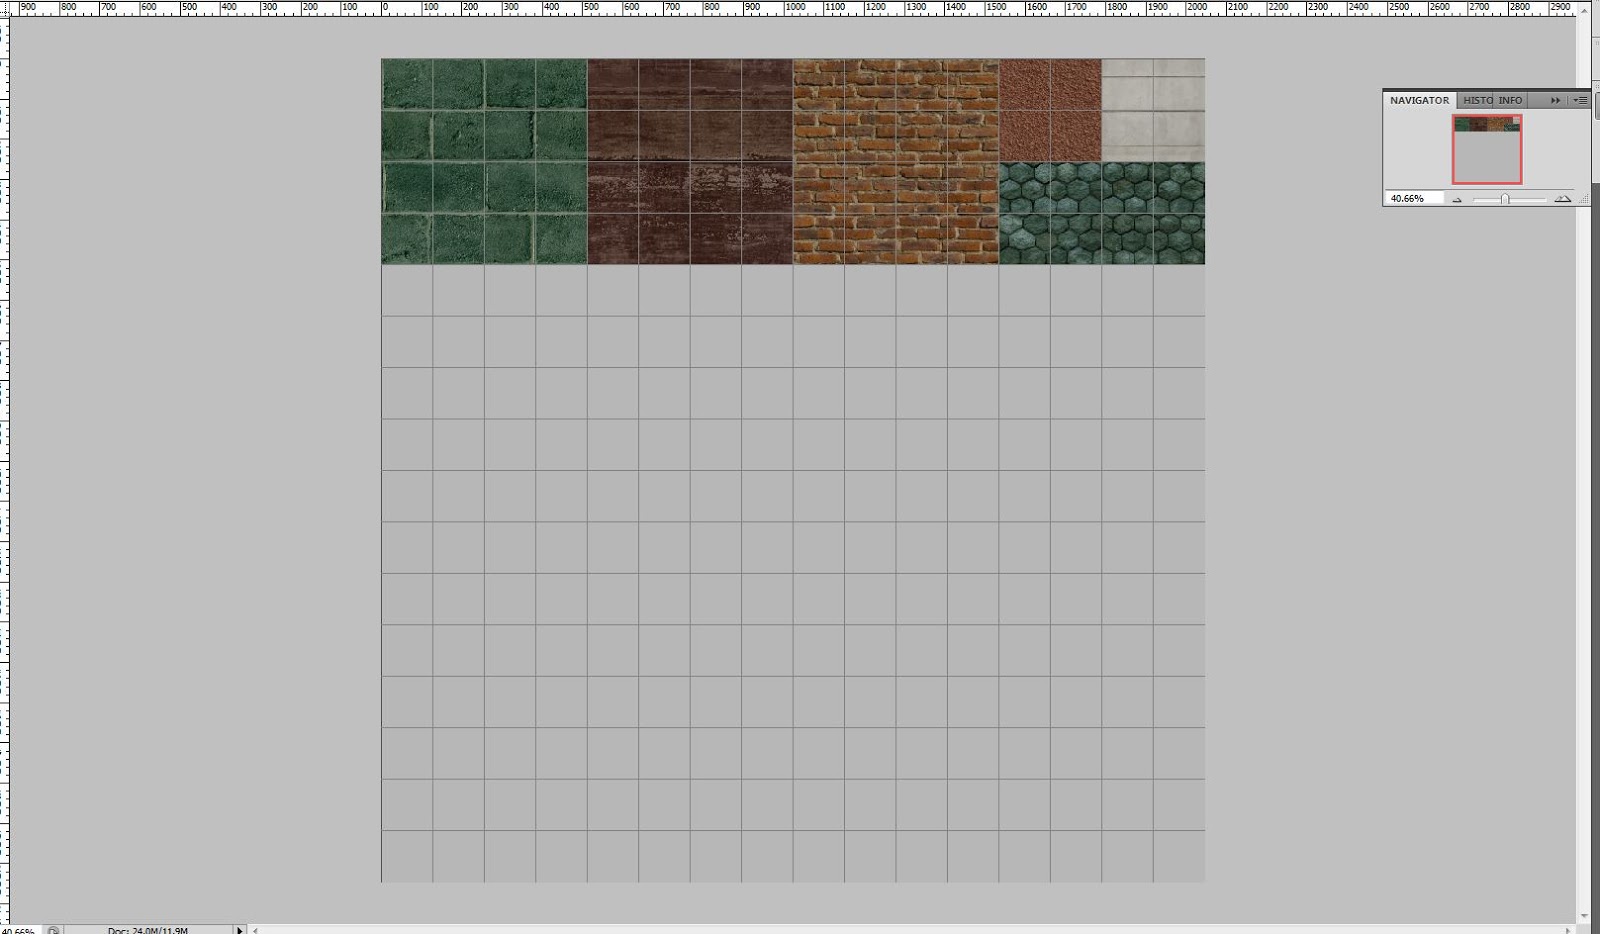
Here is a screenshot of my texture sheet in Photoshop. I have a 16x16 grid in keeping with the power of 2.

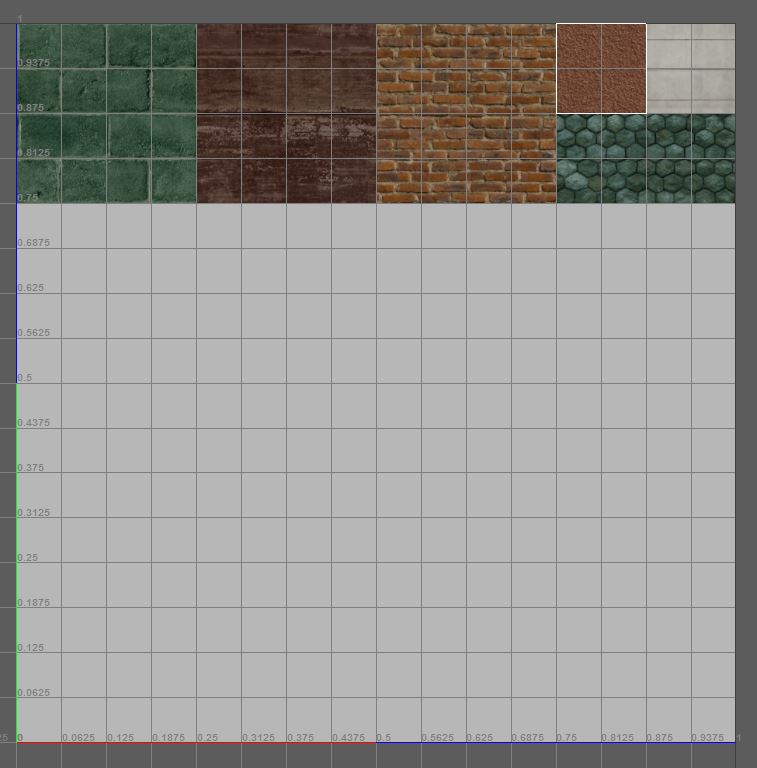
And here is a sample wall section UV placement in Maya using the same 16x16 grid layout.

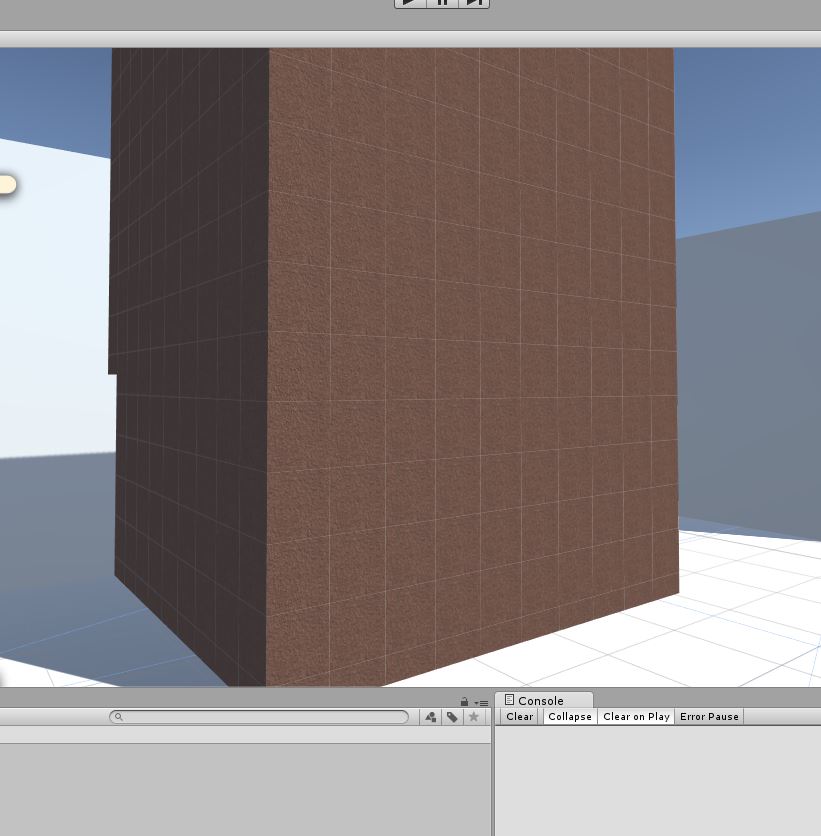
This is the end result. Using a 16x16 grid with strict snapping both in PS and Maya, I'm still getting seams.

I've made several environments with padding on my UV islands, but I just haven't come across that secret sauce to this type of texture layout.
I'm thinking a NO padding texture layout is a old texturing technique used in Unreal where there is no real measurement. Only Units. I'm thinking its just not as simple as using a power of 2 grid in my UV layout when using Unity.
Can someone point me in the right direction for understanding this? I've been searching for half an hour.
I'm in the process of studying more refined workflows in environment creation. I wanted to try the "Make Texture Sheet First" then model/UV according to that.
In the past, I've seen texture sheets in which all of the textures are butted right next to one another with no padding. I wanted to try the same thing.
Here is a screenshot of my texture sheet in Photoshop. I have a 16x16 grid in keeping with the power of 2.

And here is a sample wall section UV placement in Maya using the same 16x16 grid layout.

This is the end result. Using a 16x16 grid with strict snapping both in PS and Maya, I'm still getting seams.

I've made several environments with padding on my UV islands, but I just haven't come across that secret sauce to this type of texture layout.
I'm thinking a NO padding texture layout is a old texturing technique used in Unreal where there is no real measurement. Only Units. I'm thinking its just not as simple as using a power of 2 grid in my UV layout when using Unity.
Can someone point me in the right direction for understanding this? I've been searching for half an hour.
Replies
Otherwise maybe dilate around the tiles so the mipmaps don't give you seams.
Still Not Much Better.
I'm really trying to get this No Padding Atlas Workflow to work. So adding UV edge padding would undermine my intent.
Thanks for the Suggestions though. My colleges have suggested the same setting changes as well. They are stumped on this as much as I am.
You simply can't do it that way without getting mipping errors.
However this approach will result in seams at a distance, no matter what padding you use, because of the way mip mapping works. You have to do some tricky shader work to avoid it.
Check out the first tutorial here
http://wiki.polycount.com/wiki/Texture_atlas