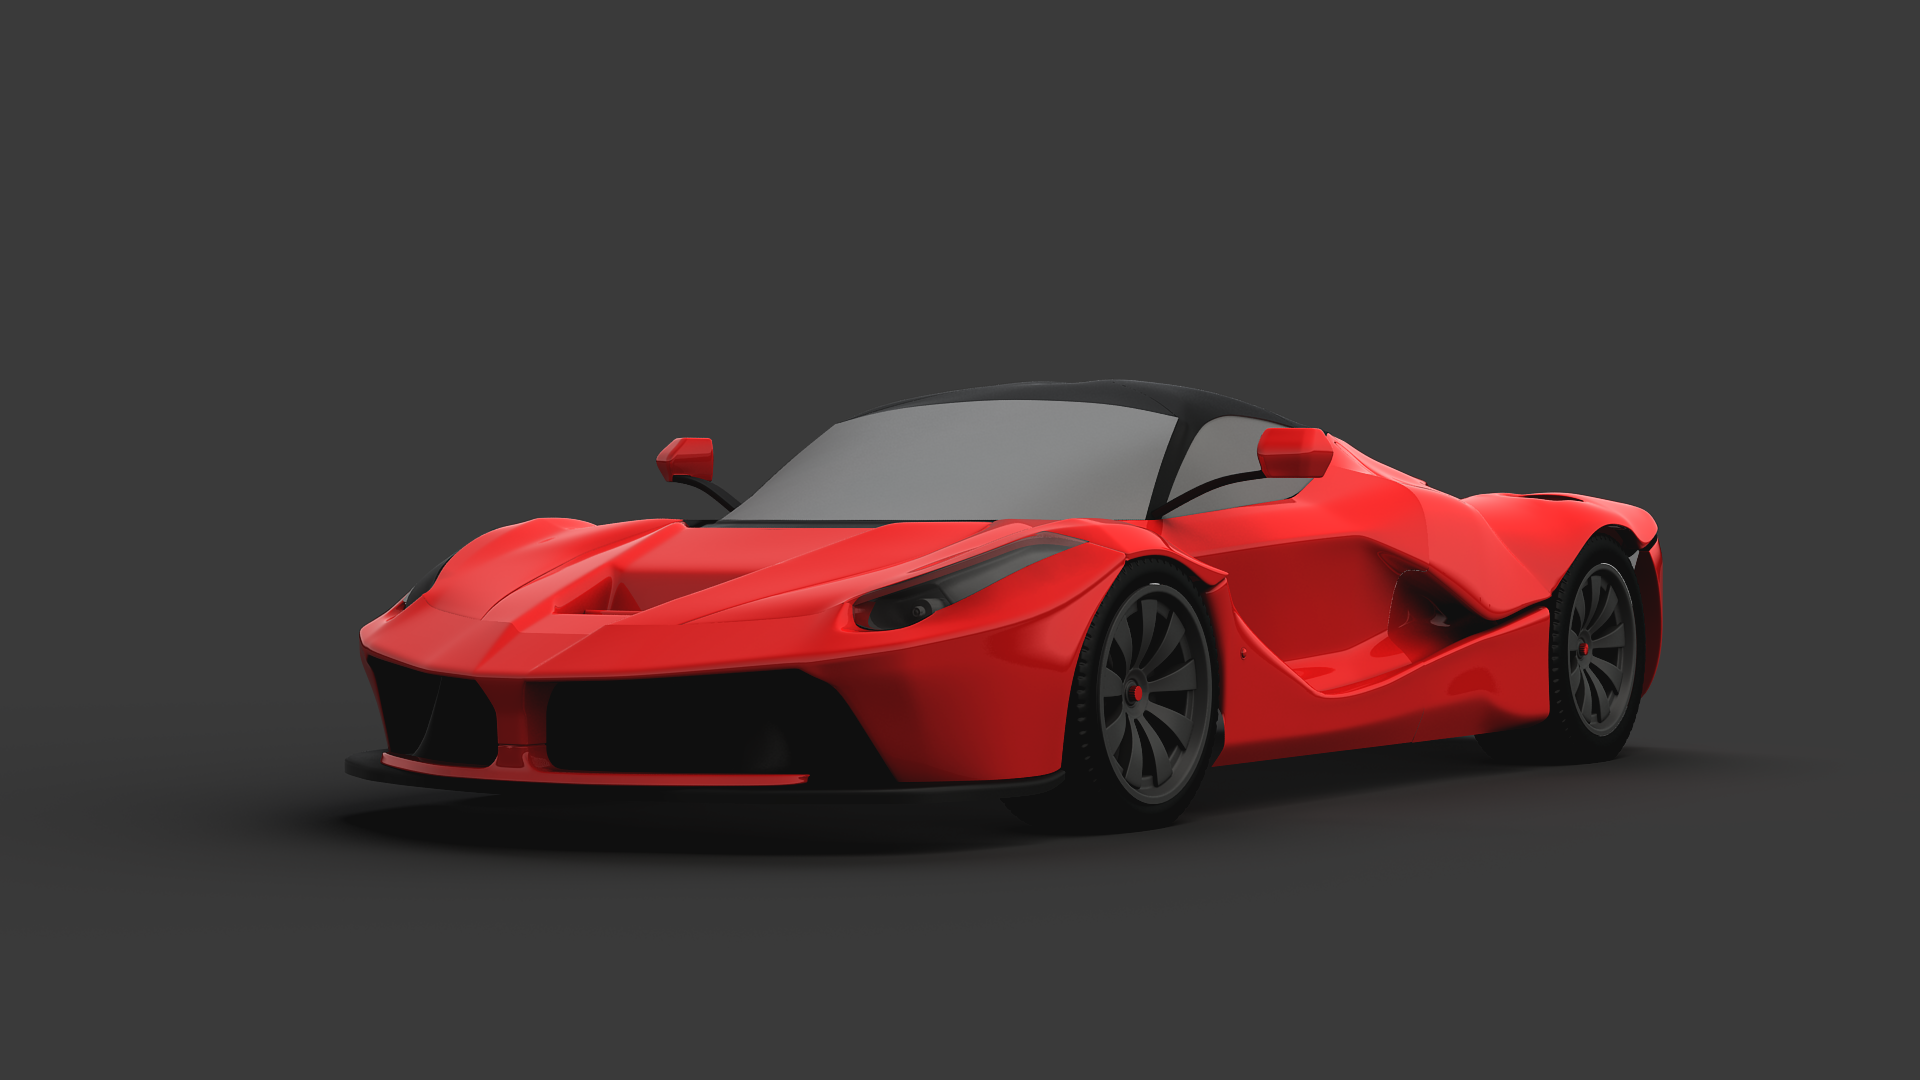
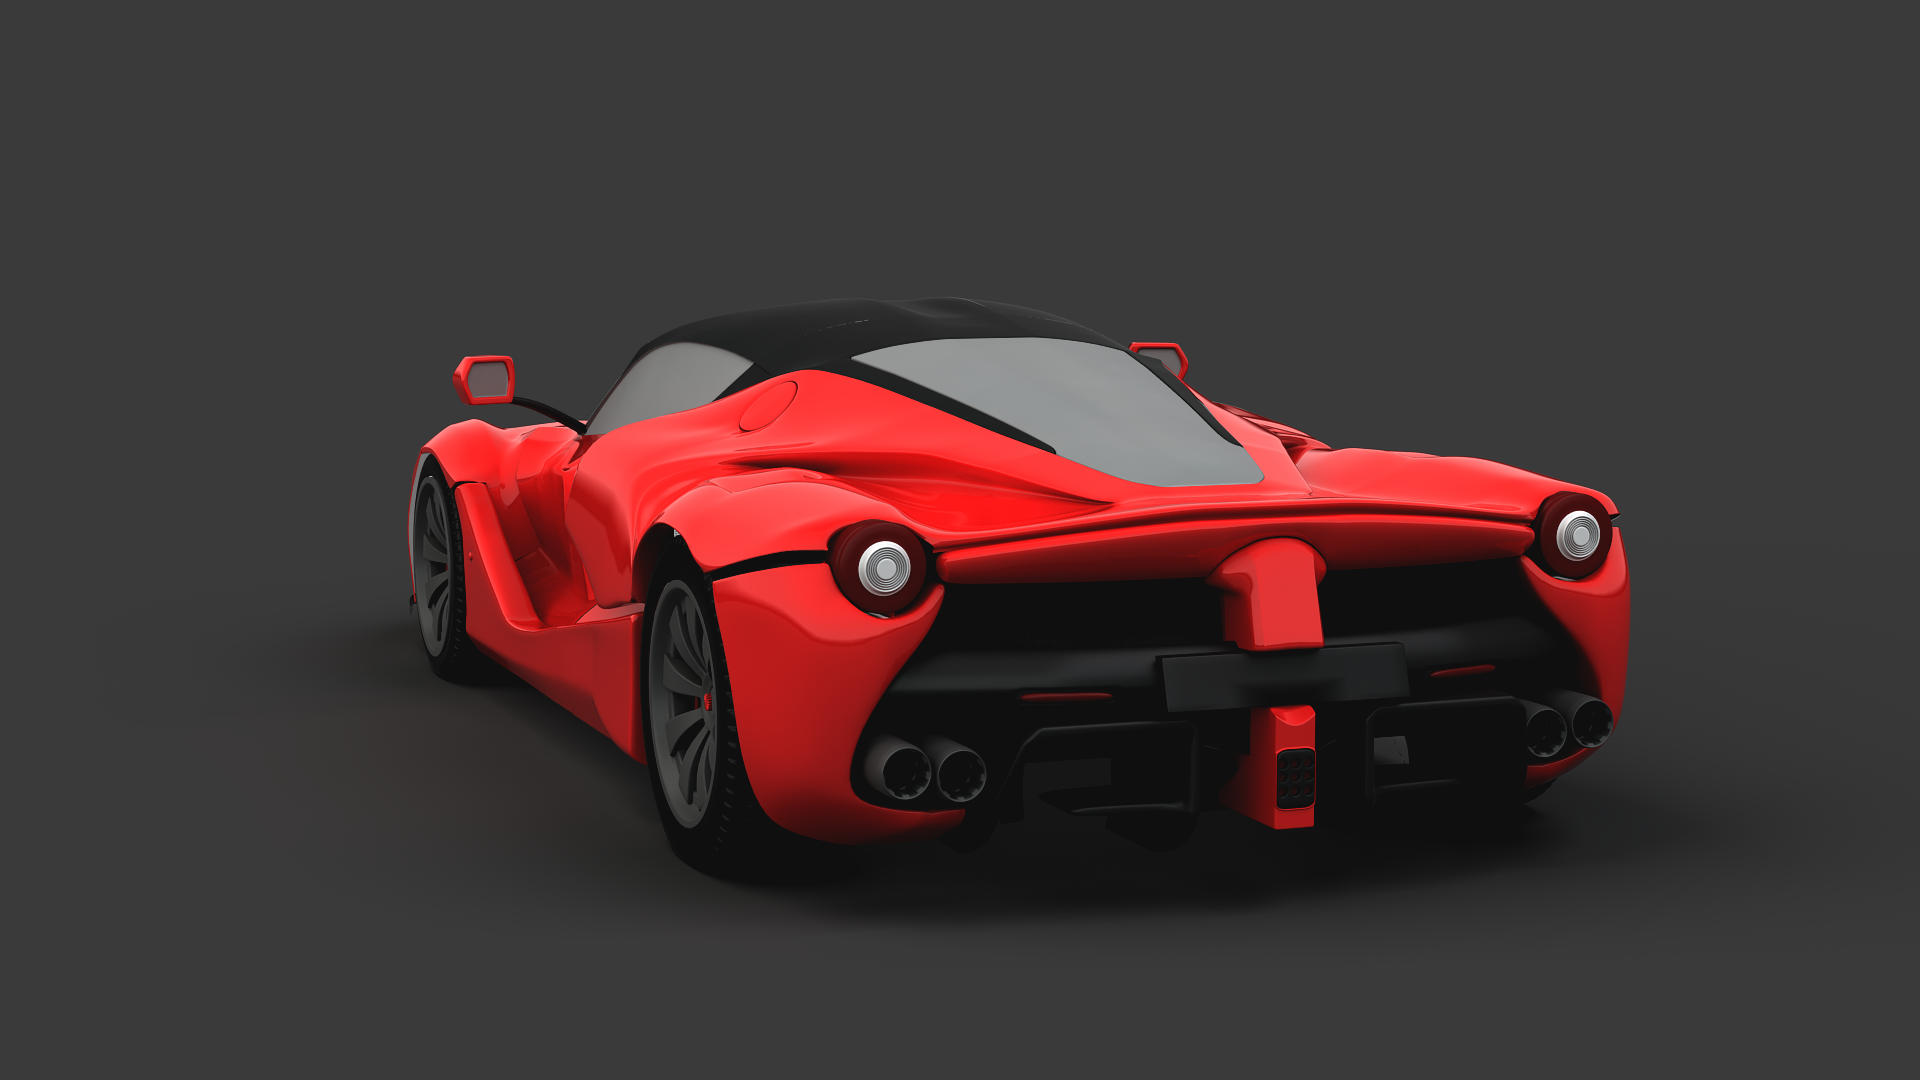
Ferrari LaFerrari
hi, im currently modelling a Ferrari Laferrari, in the later stages of the high poly. looking to get some crit, as well as a list of what i still need to do. some of you in hangouts may have seen me modelling or rendering.
list, highest to lowest priority:
1. smoothing errors fixed, including gaps in geo between pieces,
2. Headlight detailing, really improves the front of the car
3. engine compartment detailing, improves rear view
4. other external details. (changes to wingmirrors especially)
5. Interior. this will complete the car, but not looking forward to do it, if i decide to do it at all.
6. possible improvements to render setup
anyways, without further ado, some renders:


Replies
to the real car, most notably the area where front fender meets the side skirt and the shoulder line just above the large air intake on the side.
Yours is bulging outwards quite a lot while on the real car it's the exact opposite. And your wheel arches aren't round.
I'd recommend switching the Turbosmoothing off for now and work on making the geometry smoother and more uniform. Slapping on Turbosmooth doesn't make it high-poly if the extra geometry isn't going towards defining the details and if the base geometry isn't clean.
cheers for the crit mate, ill try give it a fix. a lot of the geo on the bodywork is a plane, so it gets the sharper edges where it just drops off. ill take a look into fixing the wheel arches as well.
what do you mean by the shoulder line? do you mean the section above the rear wheel arch?
Yes, that's the area just between the rear arch and the c-pillar. It's bulging a lot at the moment.
Here's a good simple pic to illustrate the "shoulder line":
Hey Woot,
So I thought that I would just throw out my two cents on your model.
First...could we see the wireframe? so we can see how you are going about modeling the body panels.
1. I would say that the biggest thing is your geometry, I agree with ollieti the body panels are buldging and
causing very "soft" looking shapes. I want to say you need to add some geometry (i will know more after seeing the
wireframe.)
2. Things like the wheel wells, I would model those as one piece without the cuts (to start the main base shape) Then
once I know that I have that ready to go....split it up into the separate pieces (Door / Fender / Bumper etc)
3. Could you post some of the reference that you are using? You should have that up next to you while you
model so you could see any innacuracies that may come up.
4. I also agree with ollieti about it's way to early to be smoothing....get a good base then we can smooth it.
5. back to the wheel well....You seem to be missing this edge here, this will help with the shape.
Hope this helps, and that it didn't come off "preachy" just trying to help.
i completely rebuilt the rear section of the car today, noticed so many innacuracies. the cars shape is a lot flatter in sections than i thought, so the model looked very soft.
wireframes below, as well as a couple of questions.
in a lot of places my geo can be a lot better, especially regarding edge flow. i was wondering if it would be better to model most of the car as one piece, rather than in the seperate panels as i was doing?
ill get some renders of it up tomorrow to see how the wheel wells look.
references im using below. dealership sights are great for high res references, so these may take a while to load lol
ok, so a few things im more happy with and a few things im not.
i think the overall shape of the rear section looks a lot better compared to references. however the smoothing is just as fucky as the last time.
- lots of smoothing errors still. rear piece is not smooth enough and just looks bumpy and messy. thinking of ways to improve this, either more geo or less geo is needed (probably more)
- a few places are missing geo and leaving gaps in the mesh which looks shitty in renders. easy enough fix.
- the doors im also not happy with smoothing wise.
since this is only going to be a high poly model, is it better to get the edges hard with turbosmooth in comparison to leaving them a bit softer if i was to bake it?
and would it have been easier to do the bodywork as one piece and then split it up?
You don't have to worry about any modeling techniques needed for baking if you're not going to bake anything. Concentrate on replicating the same exact look as in your references and use whatever topology you need to get the correct look.
The bumpiness is because your mesh isn't uniform and the surfaces aren't smooth in your base mesh. There's a lot of excess geometry in your base mesh which makes it more difficult to control (and iterate). The base mesh should be as simple as possible provided it produces the needed shape when it's tessellated and smoothed.
I attached an image where I marked a few areas that need more attention.
so i basically rebuilt the entire front section of the car, as well as the doors in order to get the edge flow better. its still a little complicated, and there are still smoothing errors (-_-) but i do think its better than the last effort. ill get some wireframe shots up tommorow. ive also started adding a few more minor details.
stuff to still do
- smoothing errors fixed obv
- joins between pieces are a little weird in some places
- details such as petrol cap lid on the rear body
- interior stuff (scary)
with the petrol cap lid, would it be better to model the hole into the mesh itself or use floaters? modelling it in would mess up the smoothing around that point, as well as ruining the edge flow of the back section. any advice?
Have you ever tried a NURBS Approach for making the vehicle the results end up behind near perfect?
*I am making the same vehicle for a school project xD
keep up the good work
If you dont have Nurbs Patch function in your 3d app but want to use a spline cage check this tutorial. It helped me a lot.
[ame]
You can also snap polygons to these splines; (I've done the same method modelling a Bugatti) In regard to using rail and patch, it can be difficult to convert NURBS to Polygons nice and neatly - it will require some cleanup after.
The cool thing about Maya's splines system that isn't in max is that you can control the point amount in an interpolation setting; meaning you can set it to the require amount for the polygons to snap to the verts the spline produces and keep the topology nice and consistent throughout the entire model.
i.e set spline to 8 points, allows 4 quaded polygon planes... can keep on doing this and adjust the spline points at any given moment, creating a lower or higher denser mesh as you work.
its not made from splines, but from a butload of vertex manipulation from planes and cylinders.
ive never used splines before, might look into it if i ever do another car.
wireframe shots below, please take a look and crit anywhere you feel could be improved (with poly density or edge flow or whatever)