The BRAWL² Tournament Challenge has been announced!
It starts May 12, and ends Oct 17. Let's see what you got!
https://polycount.com/discussion/237047/the-brawl²-tournament
It starts May 12, and ends Oct 17. Let's see what you got!
https://polycount.com/discussion/237047/the-brawl²-tournament
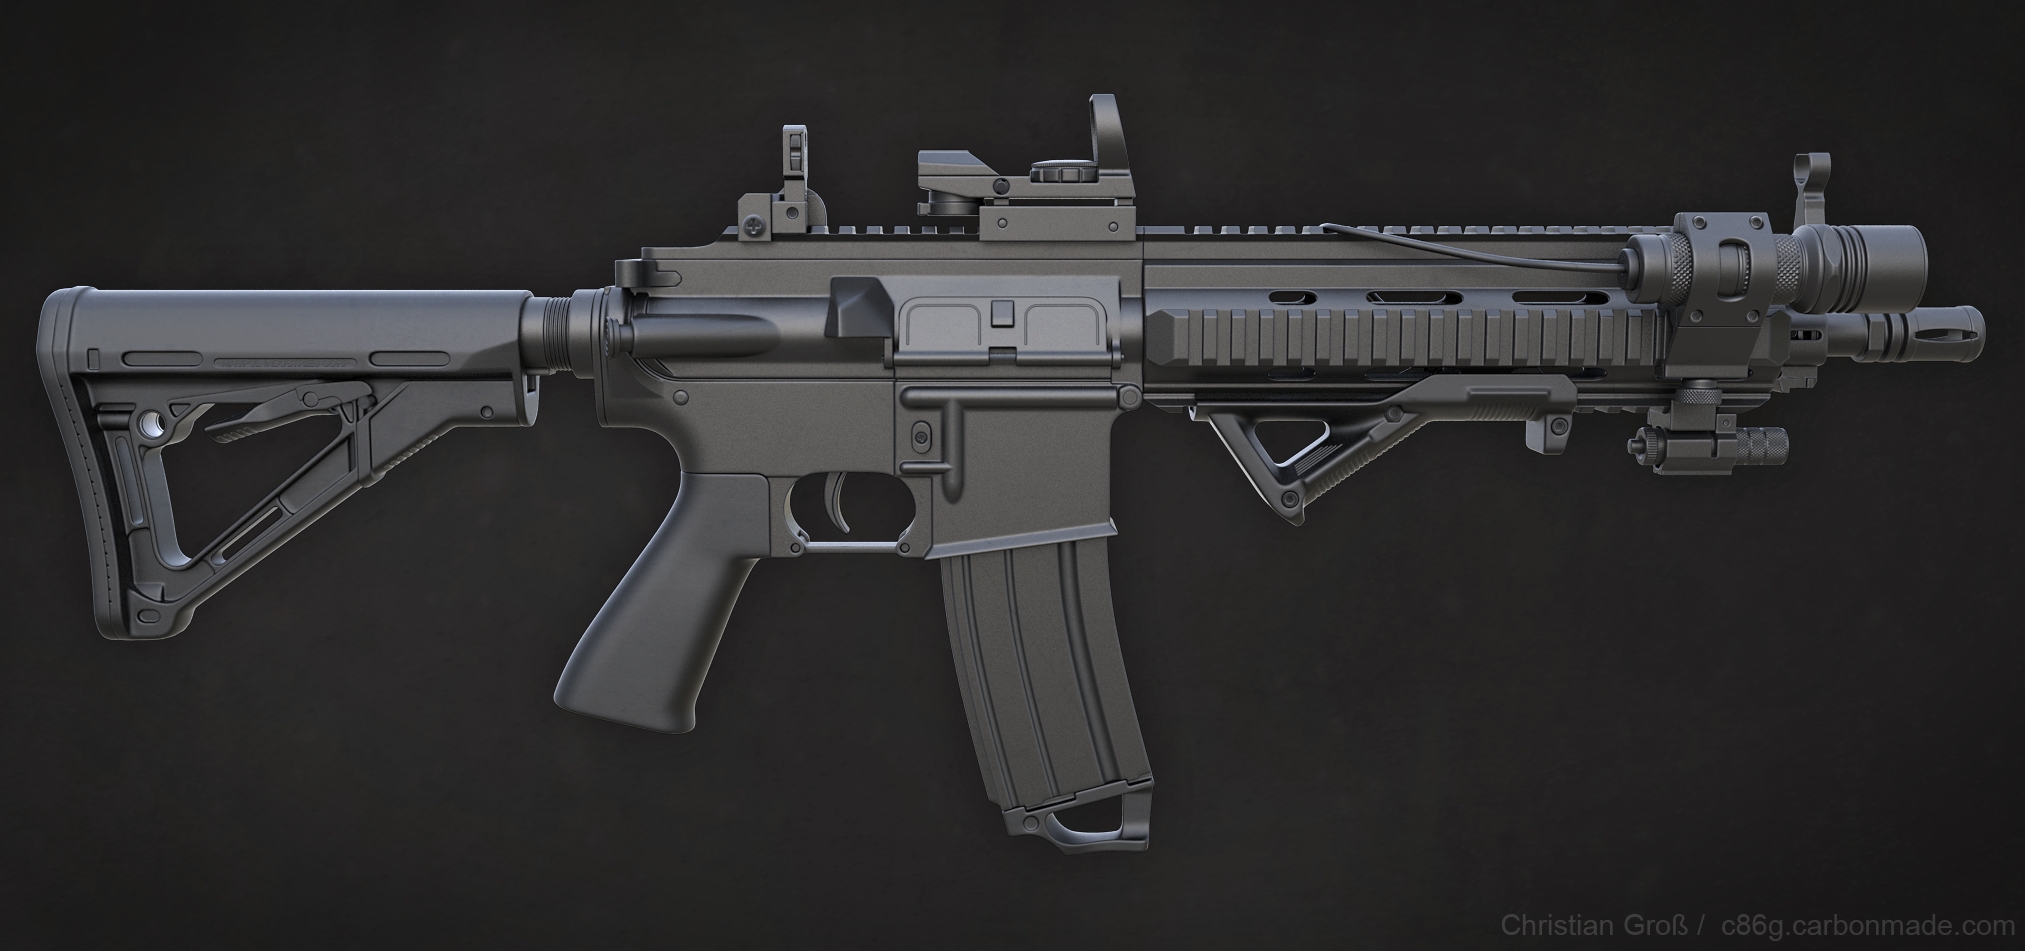
HK 416 rifle with attachments
Hello guys.
I want to show you my latest work. It´s a HK 416 rifle and I made some changes to the original model and gave it some attachments. The stock is a magpul CTR because I don´t like the default one, I added a reddot sight, a laser, a magpul AFG, a ranger plate for the magazine and a solarforce L2M flashlight.
Feel free to critique anything you spot, since I only have the highpoly done and I want to be sure there are no big mistakes before moving on to the lowpoly.
So far everything is done in Max.
And I hope the images are not tooo big, but here we go:
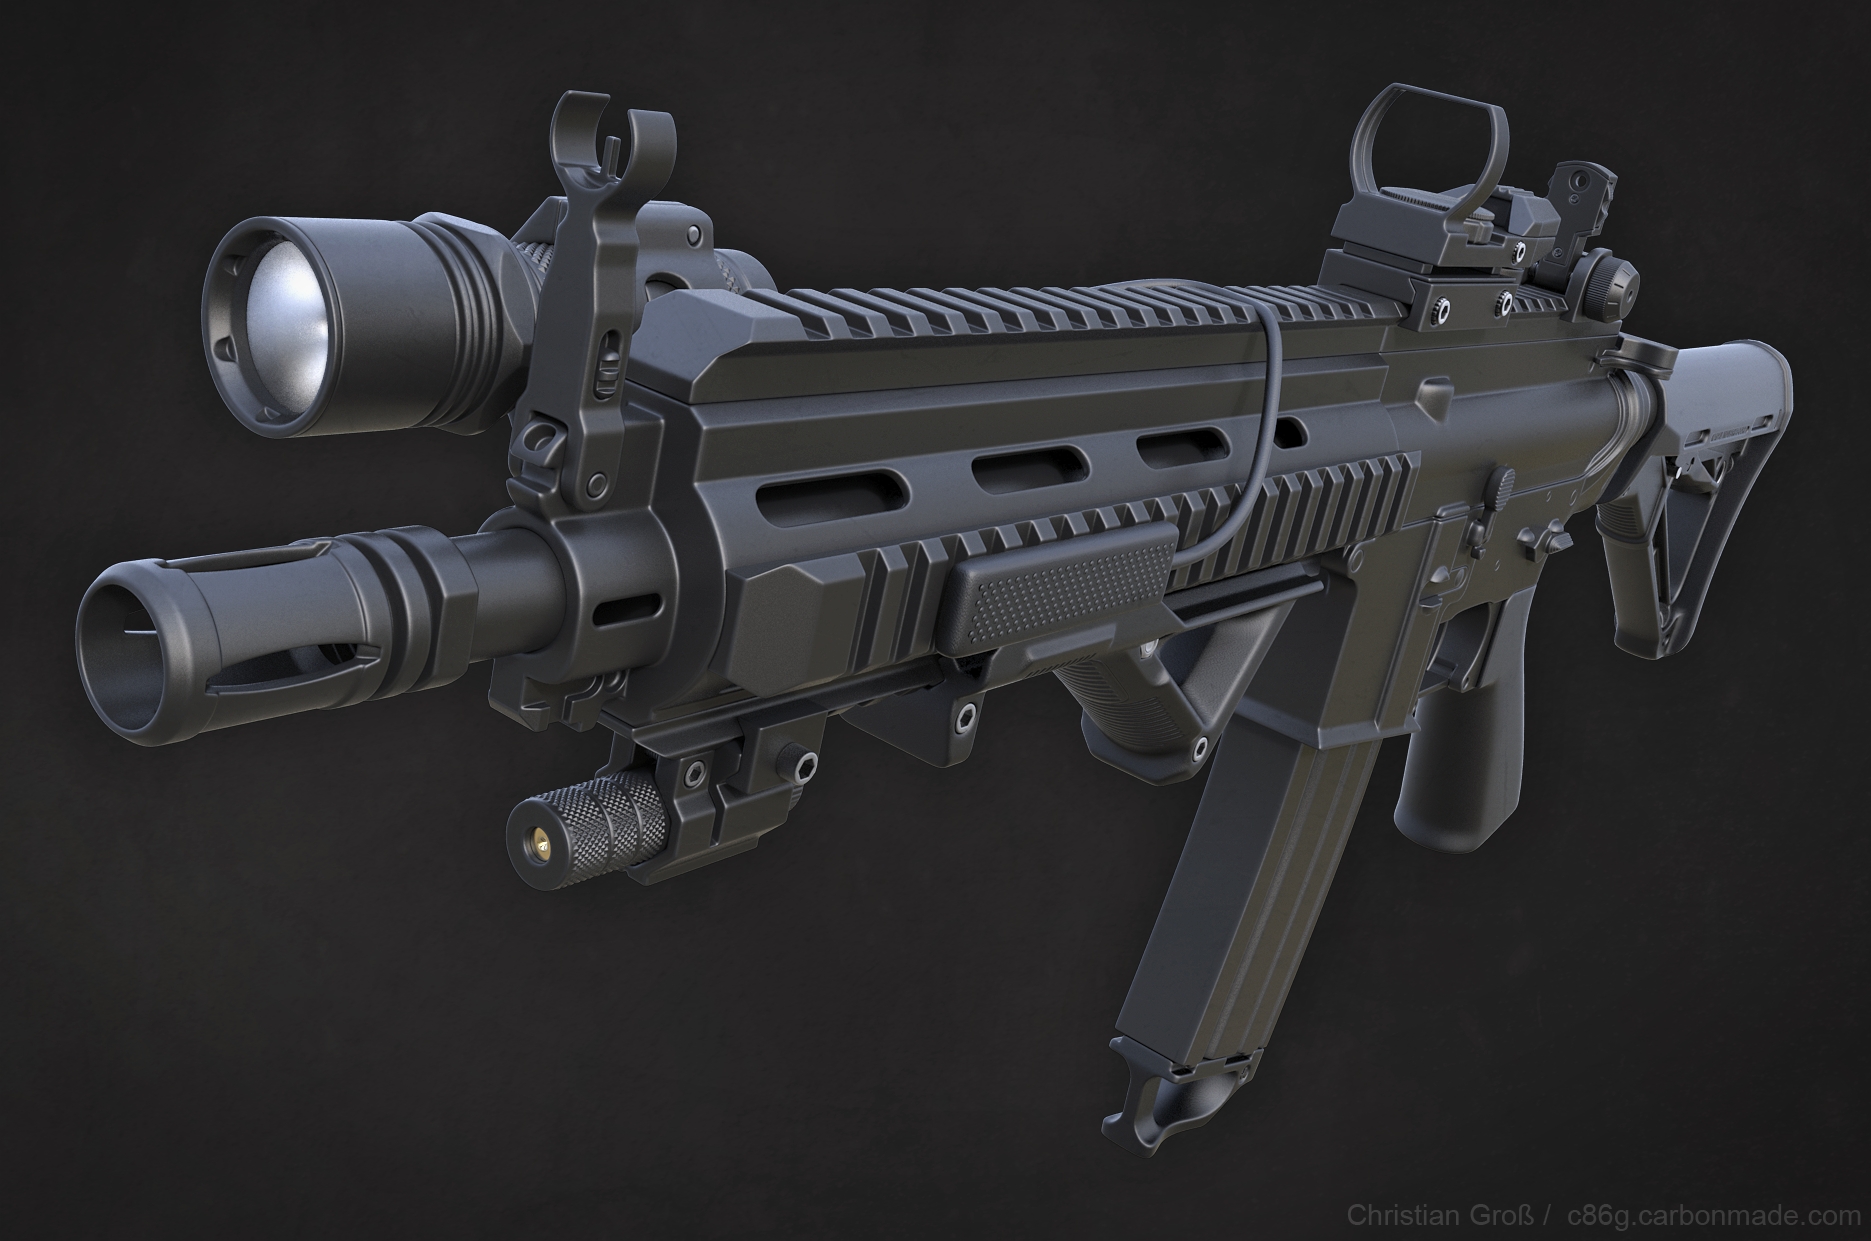
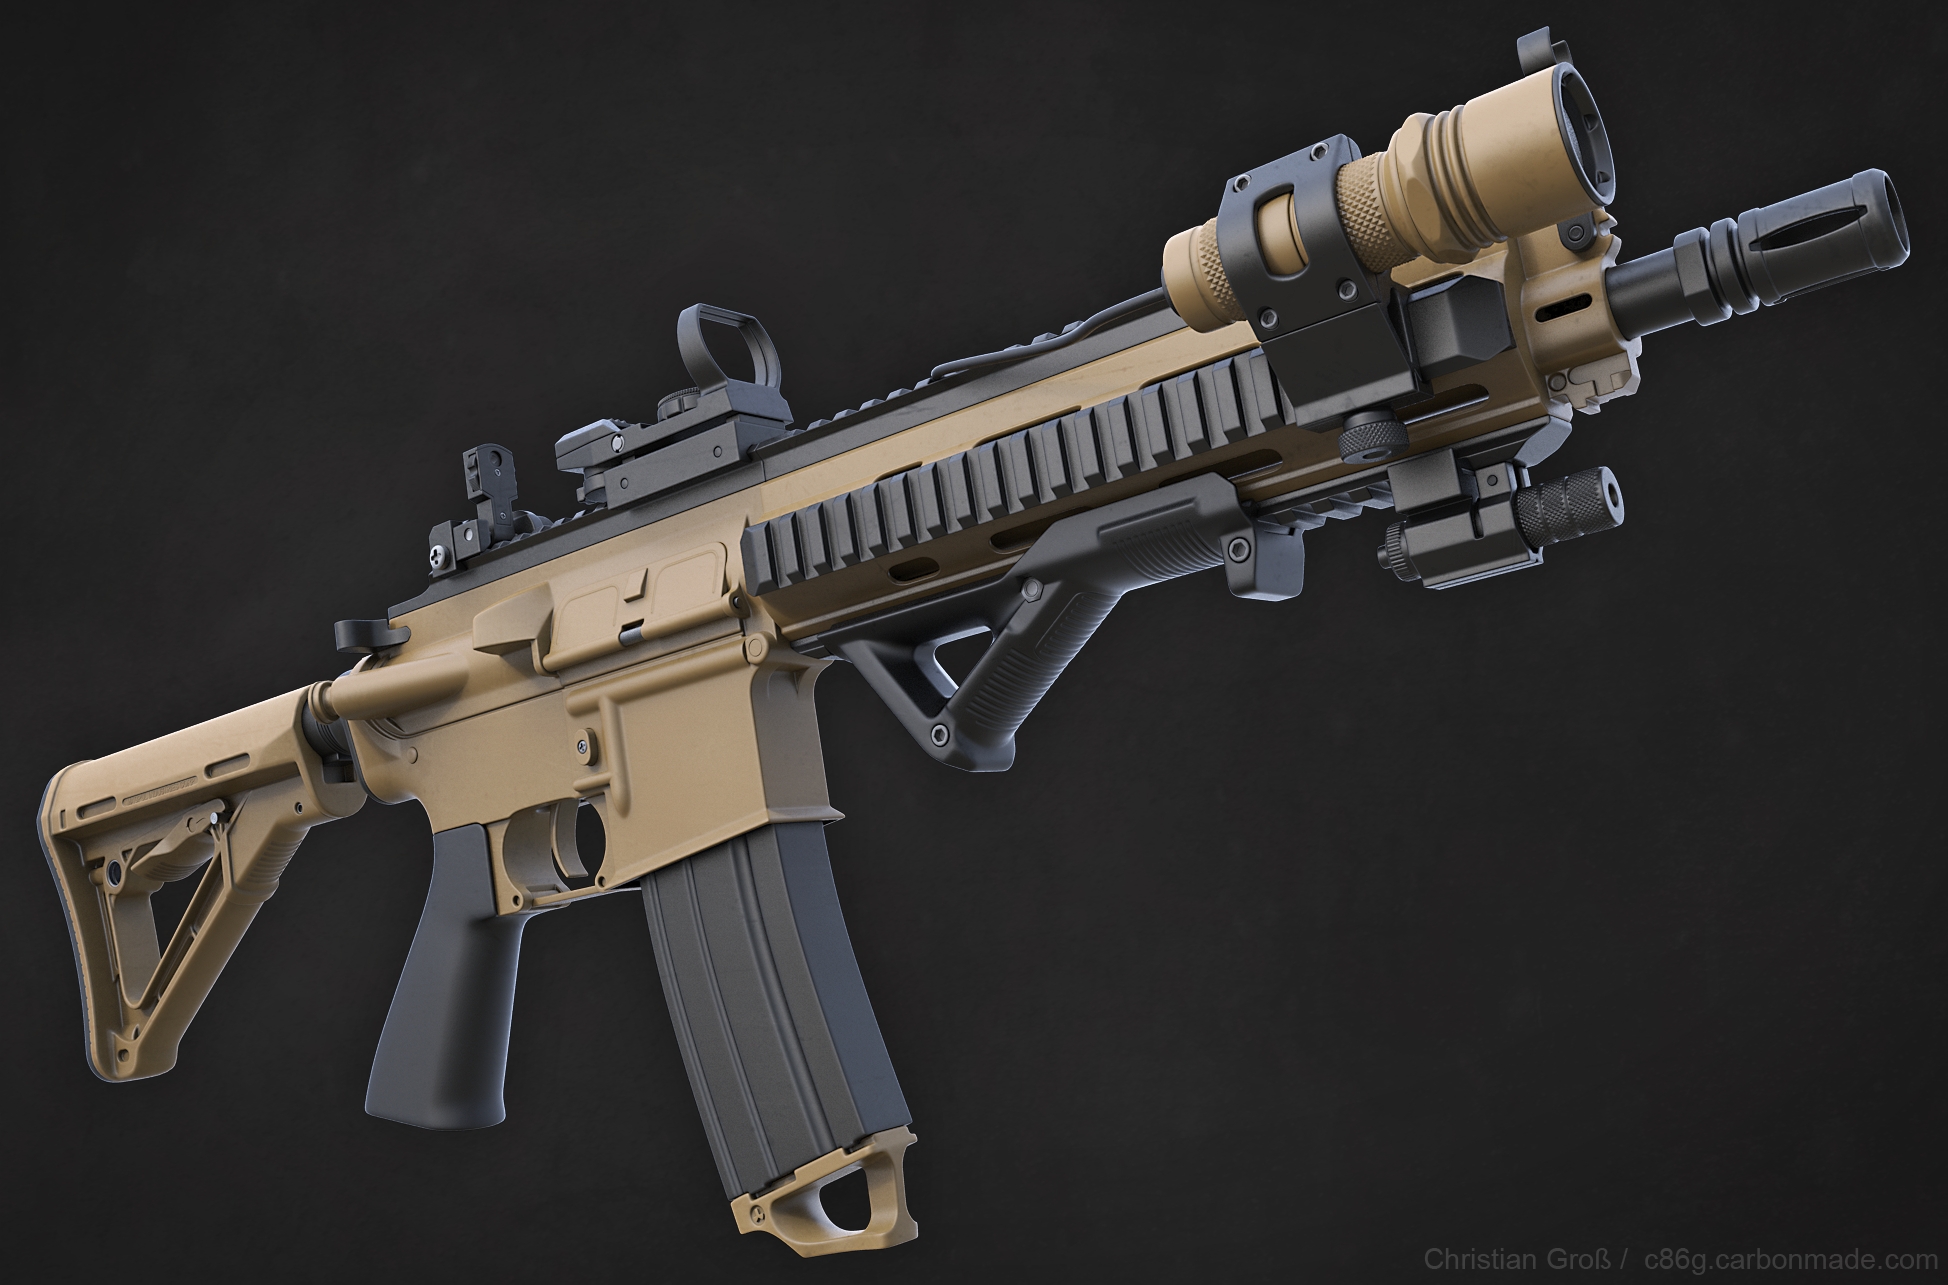
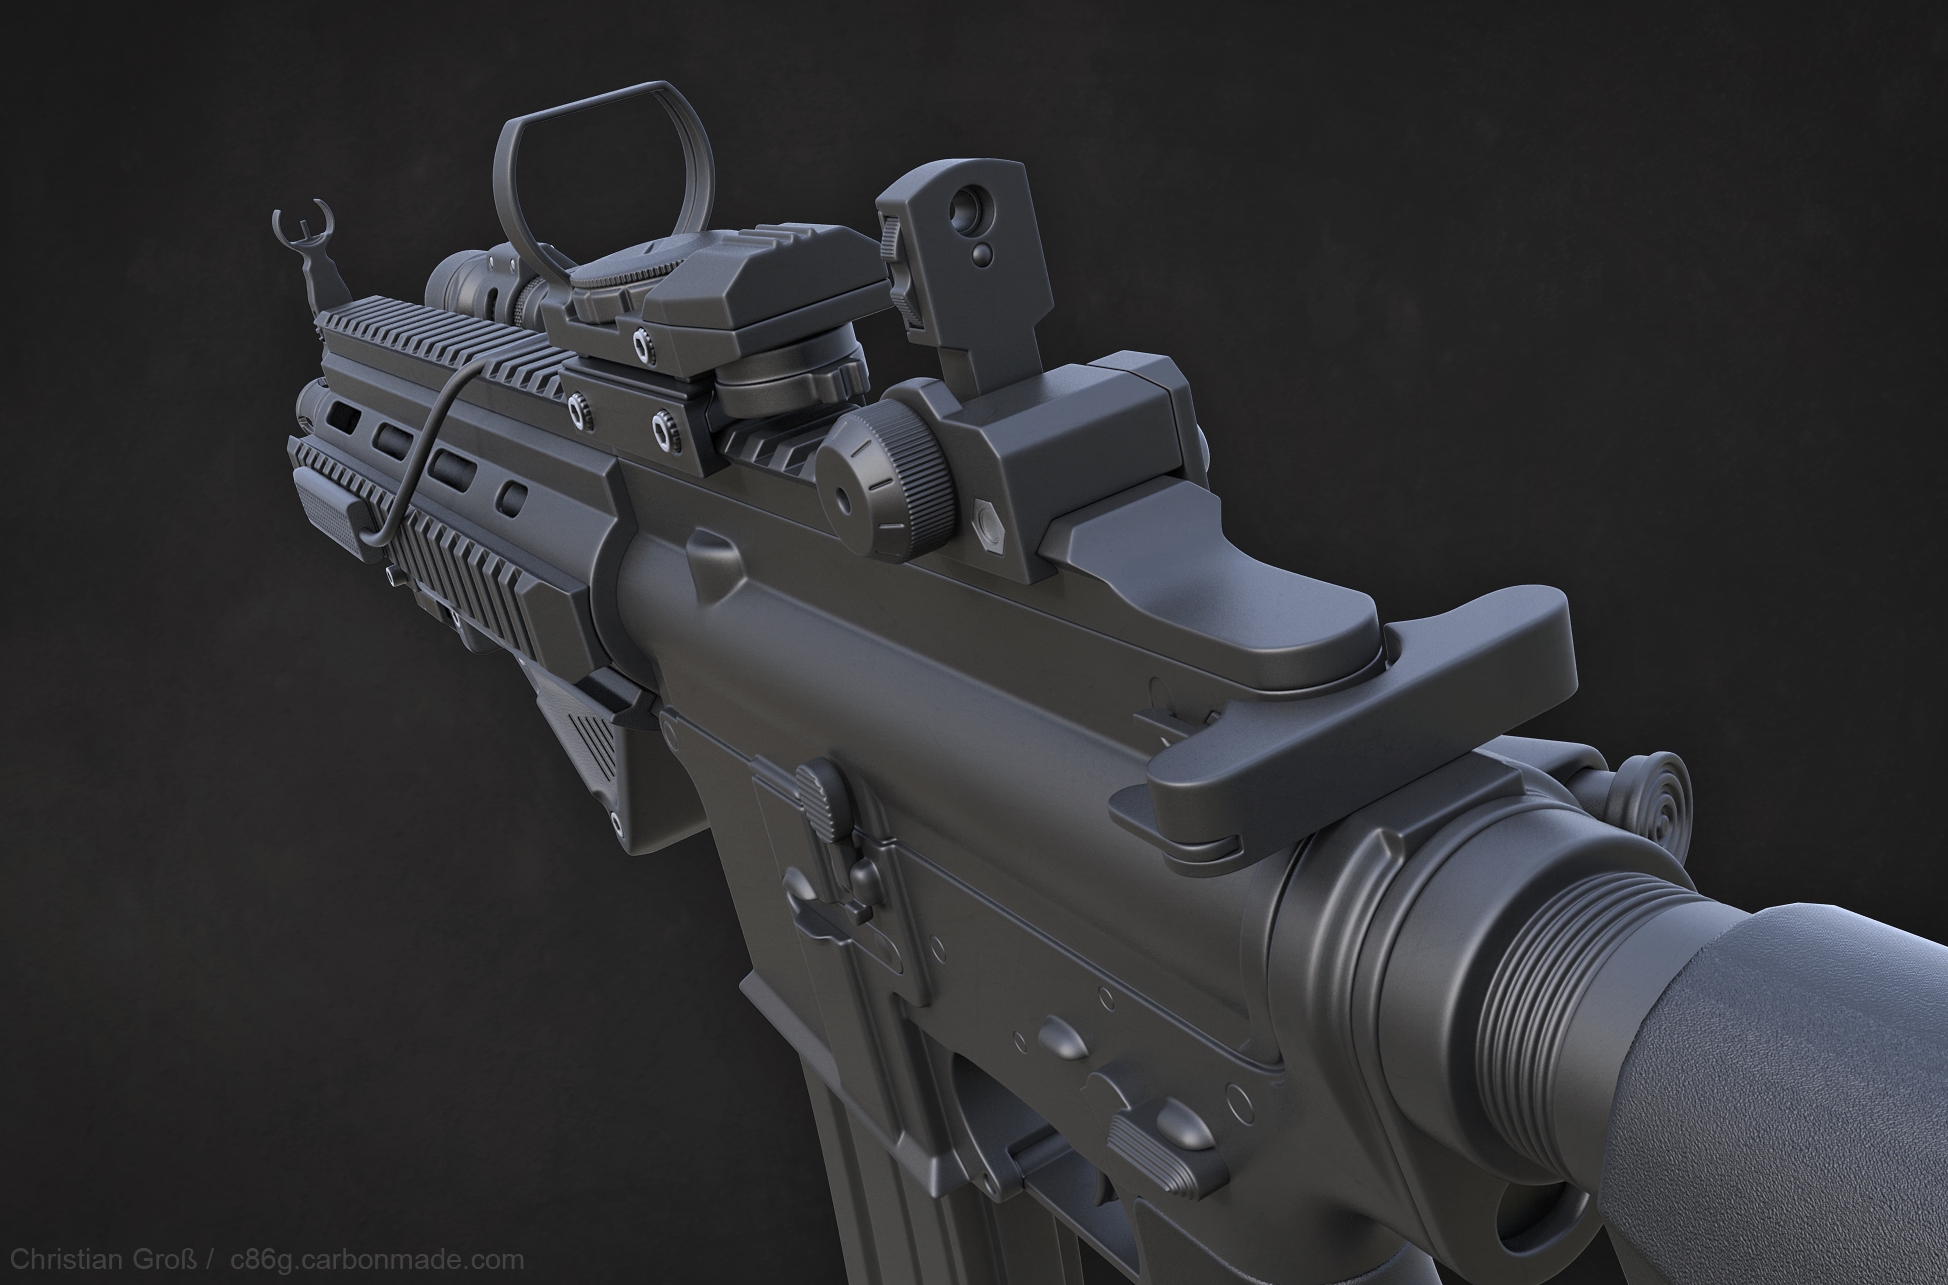
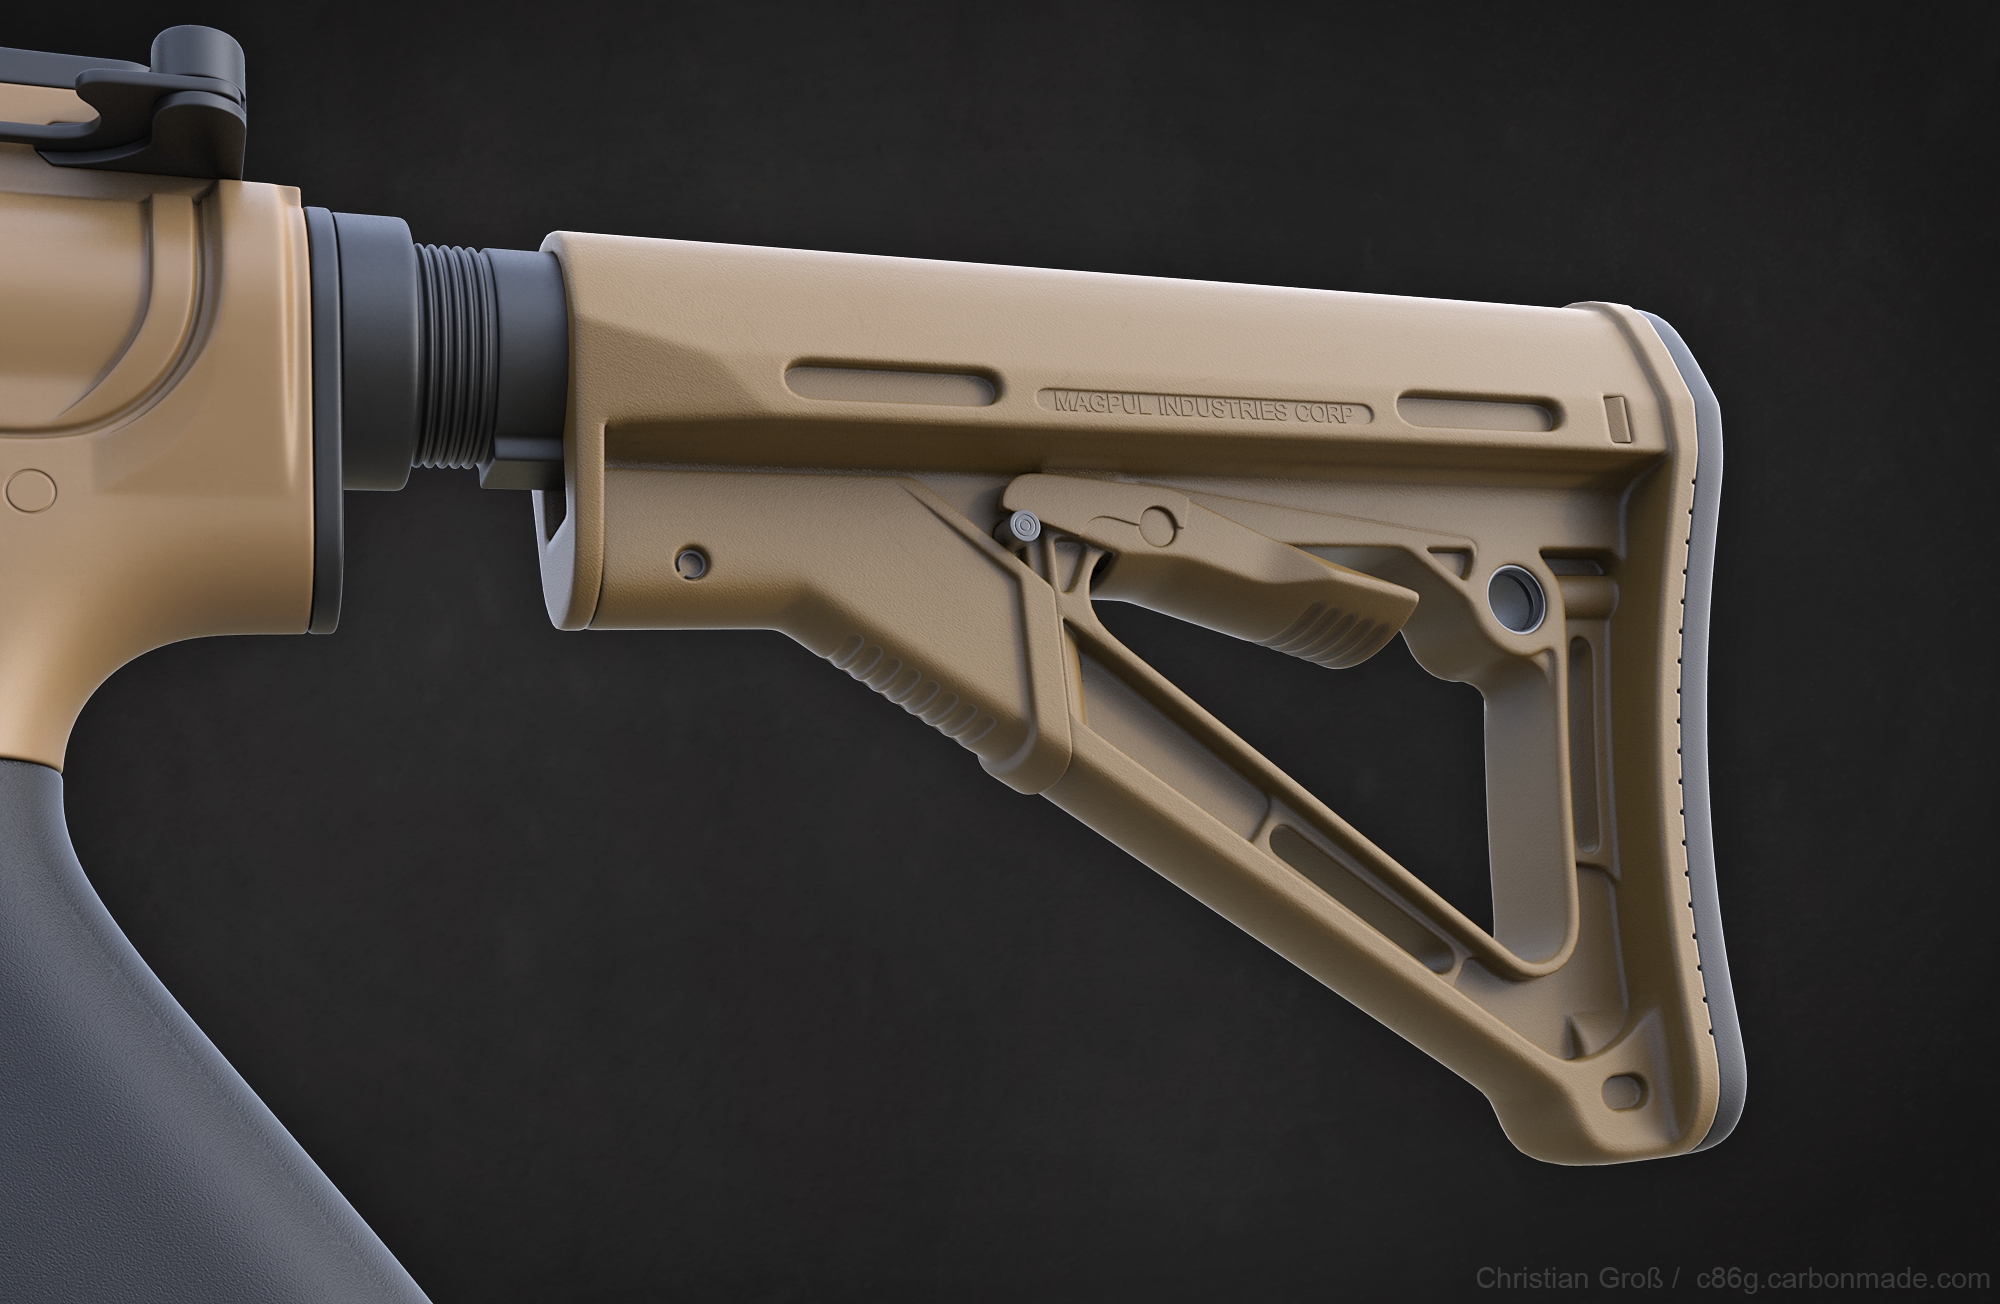
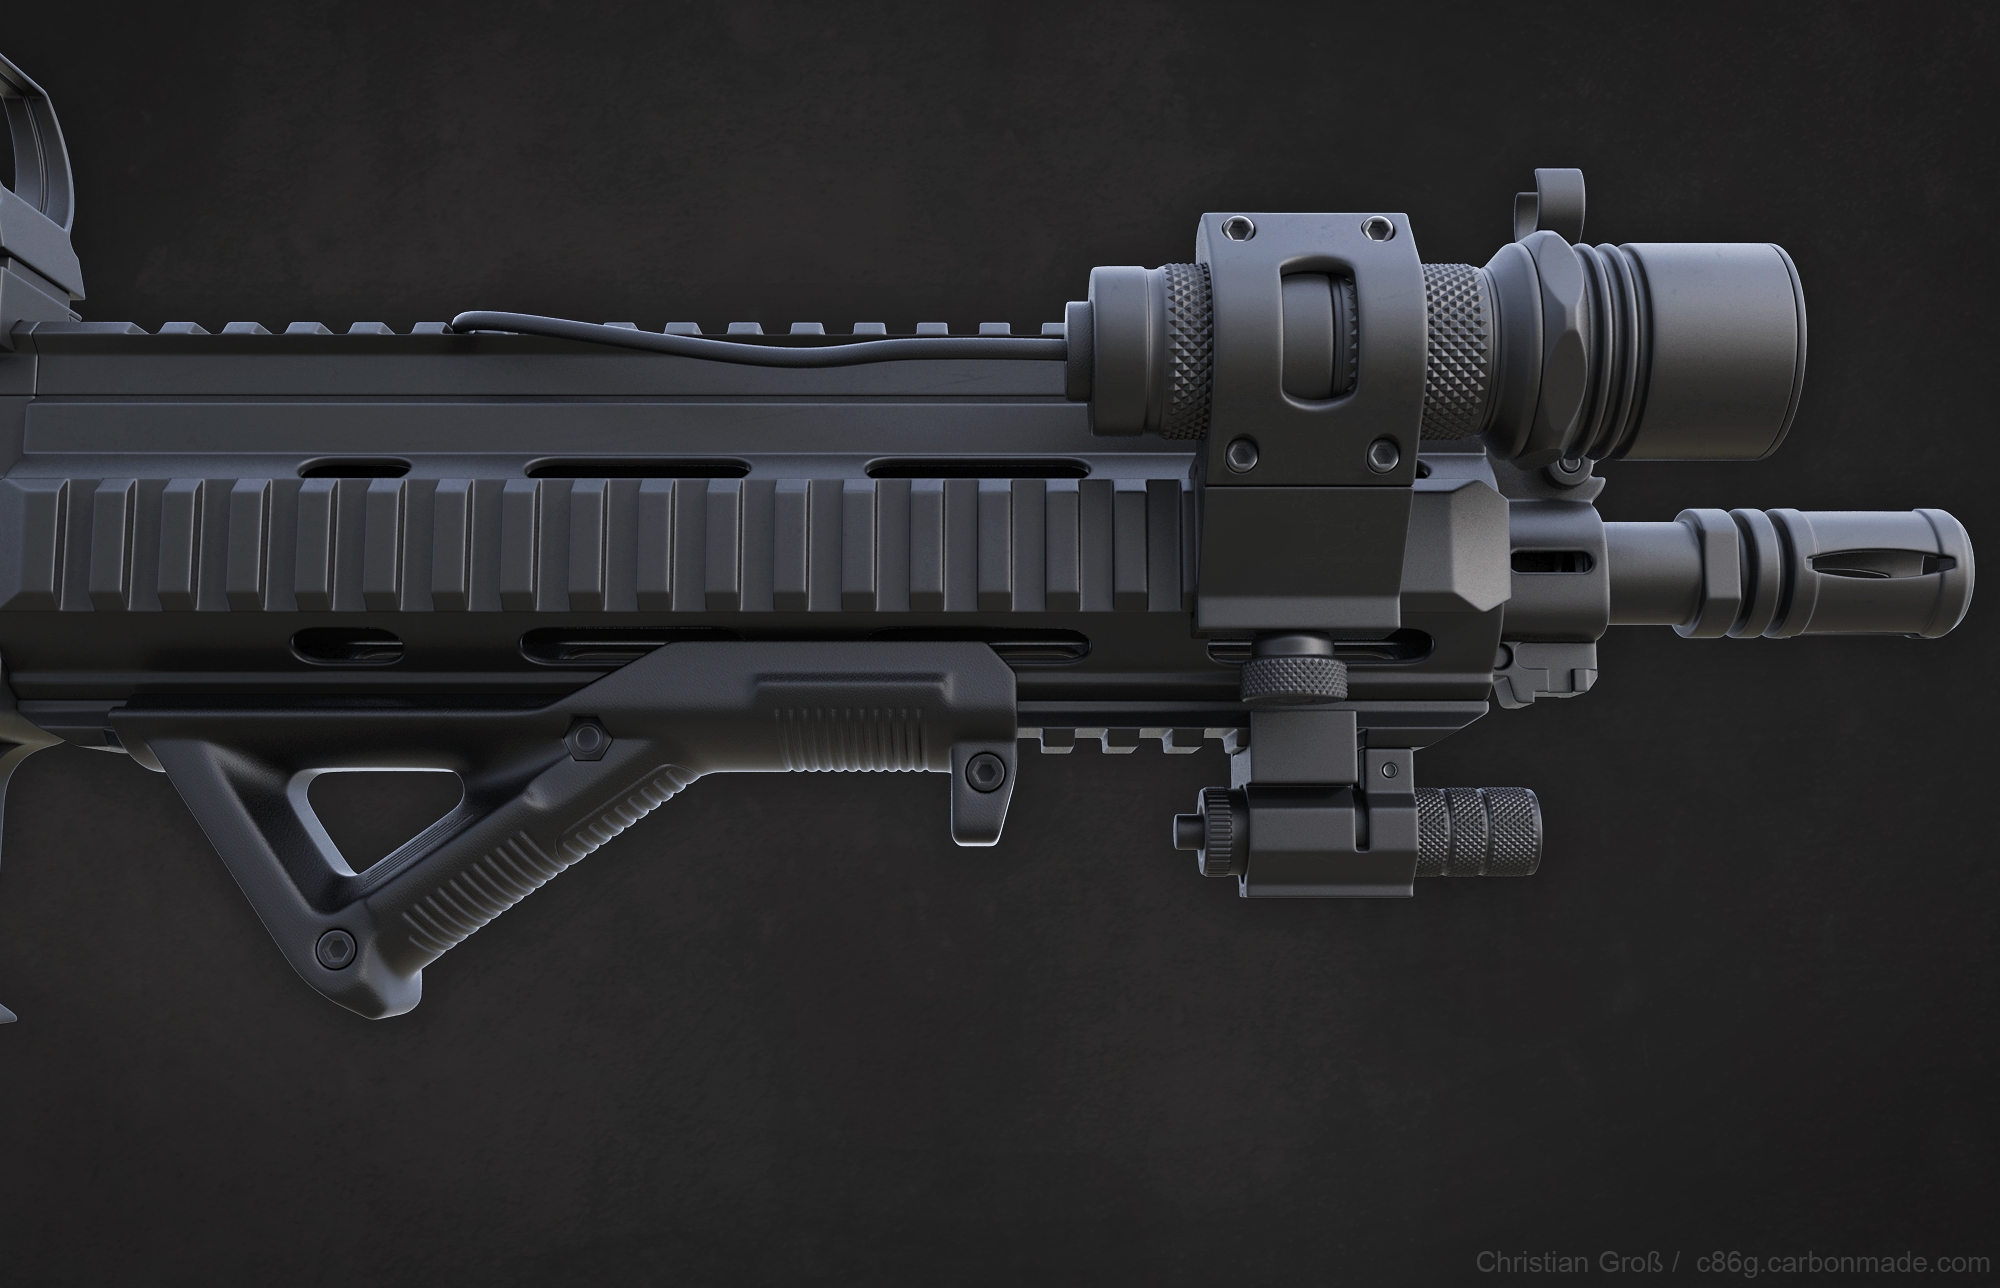
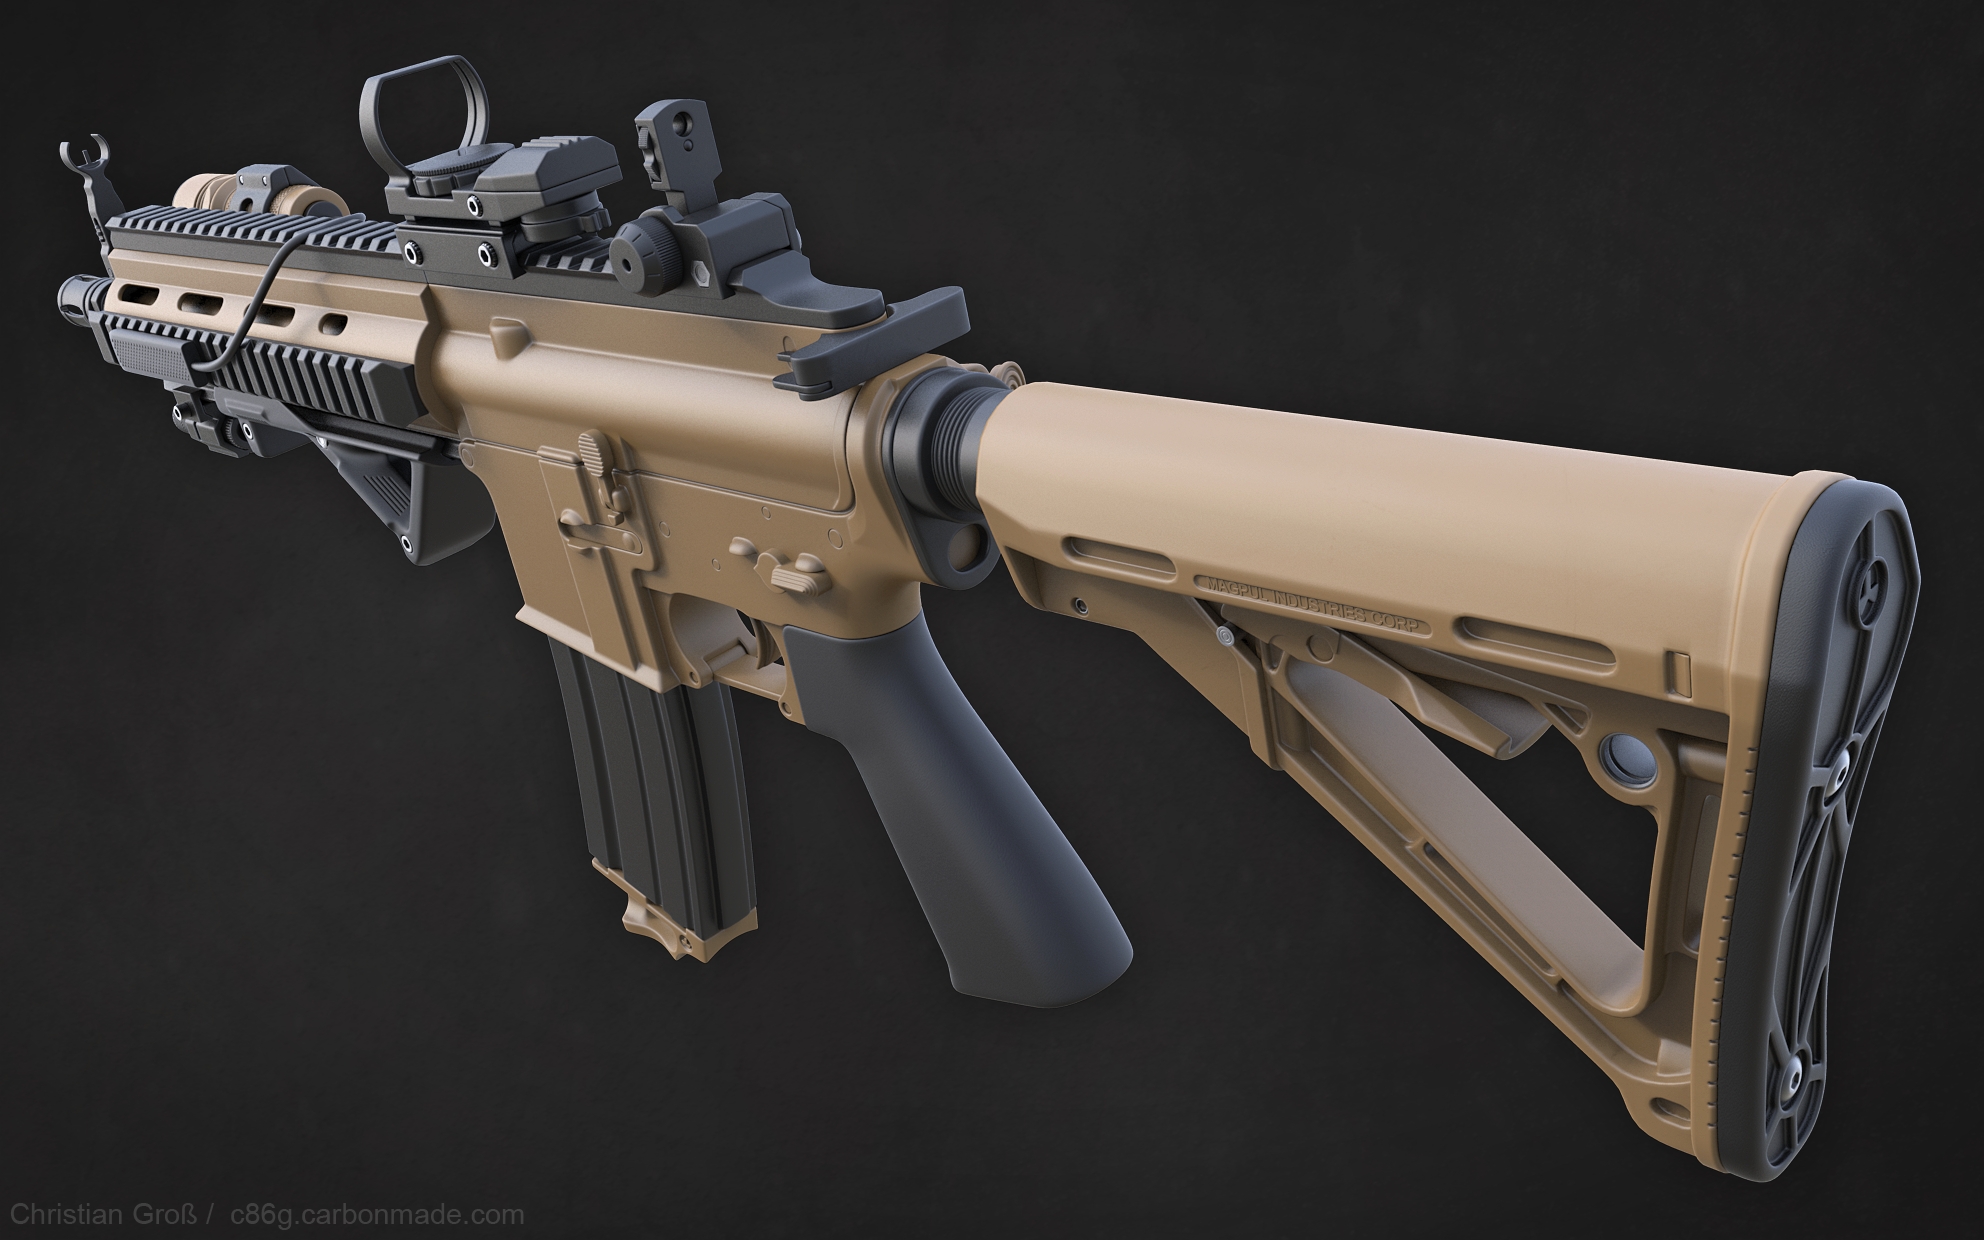
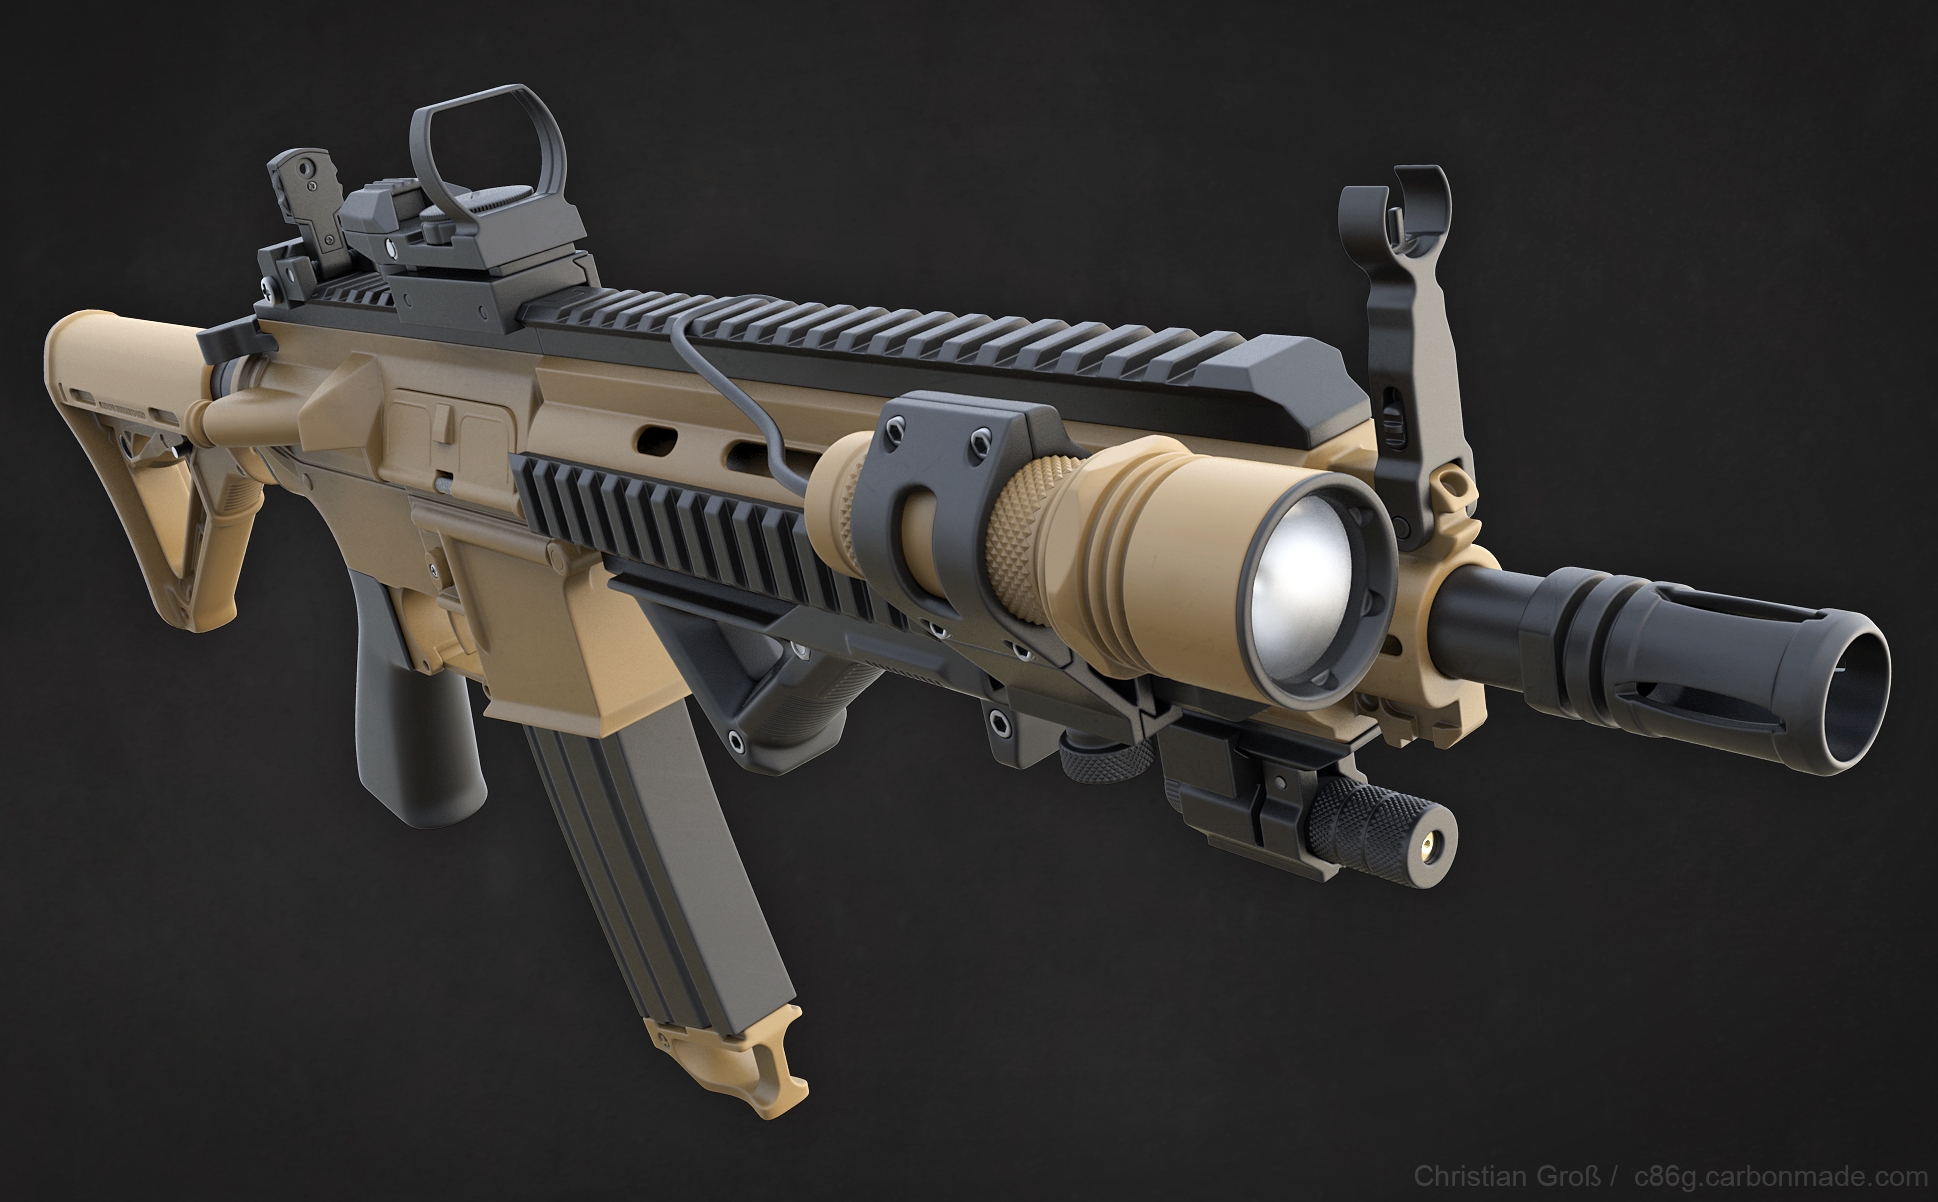
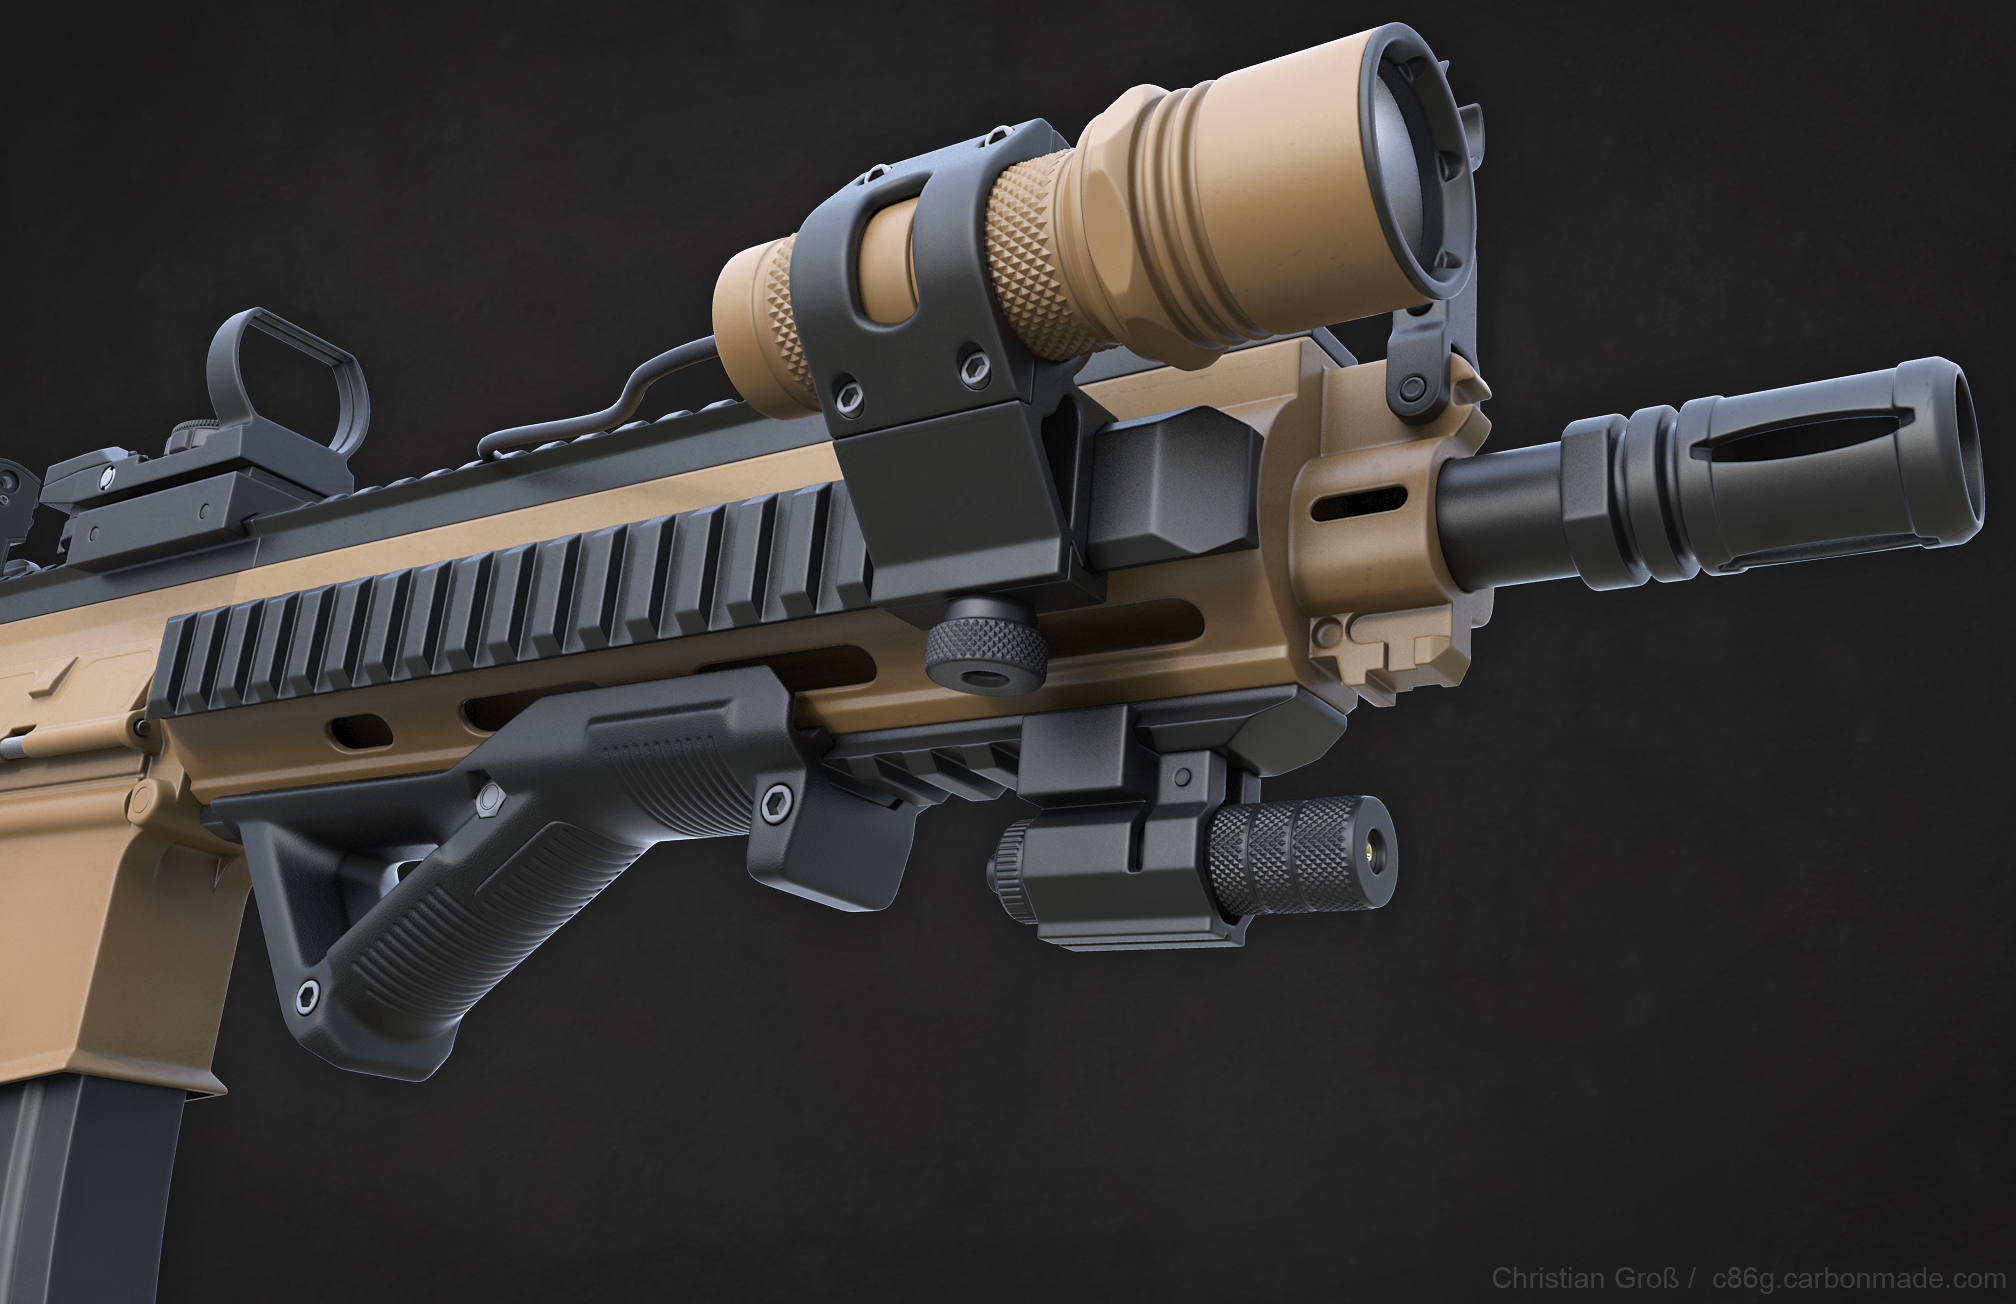
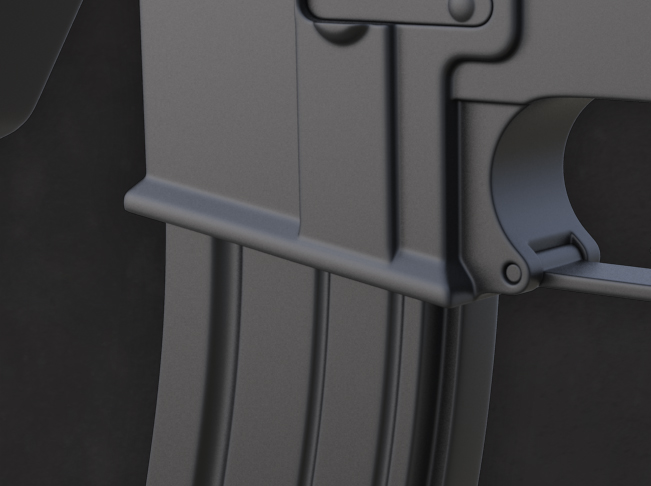
Pedro Amorim already had a good point and mentioned that the part where the magazine gets inserted should be beafier. So here is the updated Version:
I want to show you my latest work. It´s a HK 416 rifle and I made some changes to the original model and gave it some attachments. The stock is a magpul CTR because I don´t like the default one, I added a reddot sight, a laser, a magpul AFG, a ranger plate for the magazine and a solarforce L2M flashlight.
Feel free to critique anything you spot, since I only have the highpoly done and I want to be sure there are no big mistakes before moving on to the lowpoly.
So far everything is done in Max.
And I hope the images are not tooo big, but here we go:


Pedro Amorim already had a good point and mentioned that the part where the magazine gets inserted should be beafier. So here is the updated Version:

Replies
Don't forget the cutouts on the stock ring.
@ all: Thanks for the kind words.
I don´t know about good specific tutorials, but what helped me to get my renders to the next level was this:
http://www.polycount.com/forum/showthread.php?t=69829
And you might also want to check this:
http://wiki.polycount.com/wiki/Model_Presentation
http://skins.thanez.net/tut_polymer/
Or am I getting something wrong?
Your´re missing the fireselector indicator on the left side aswell.
The front receiver pin, that conncets upper and lower receiver is wrong.
its basically a pin, just as on an m4.:
note that the side facing towards the stock is slanted, unlike the back pin.
The back pin is the same size as the front pin.
Your´s is too small.
Flashhider is incorrect.
The correct one has 5 slits covering the top half of the flashhider, not 4.
Dont use airsofts as reference...
Curious about the LP.
I have pretty extensive experience building M4 systems in both airsoft and "real steel", and can say that most middle to high end airsoft guns are a near 100% external replica of the real weapons I had worked on. That being said, yes you should take caution using airsoft as reference, but also just using any m4 style system as reference as these days there are 1000+ different models/generations/etc of the weapon system lol. I say just find one specific gun and acquire reference related specifically to parts used on that exact model. That will give you the most accurate material for the recreation.
Great job on the hard surface work, the smoothing and modeling are pretty fantastic. Rumkugel made some great points to help nail 100% accuracy to the real world weapons
All that being said, the angled foregrip is placed pretty oddly on the weapon too. I know you have another attachment on the bottom, but again, everyone I knew placed it as far as it could go forward on the weapon (look at the picture of the soldier already in the thread, there is a perfect example). The reason being, it provides higher stability when firing. The other attachment you have could be moved to a side rail. If you do enough planning where all the attachments are, you can maximize your performance and prevent accidents from happening (like melting wires, or having the pressure sensor accidentally fall off the rails and getting pressed when you're in an area where you have to maintain light discipline so as not to give your location away to the enemy).
Of course, if you want your work to be really believable, make sure to add some 550(para)cord tie downs on the tac light and other items you have to be responsible for.