Venom Character (Student Project)
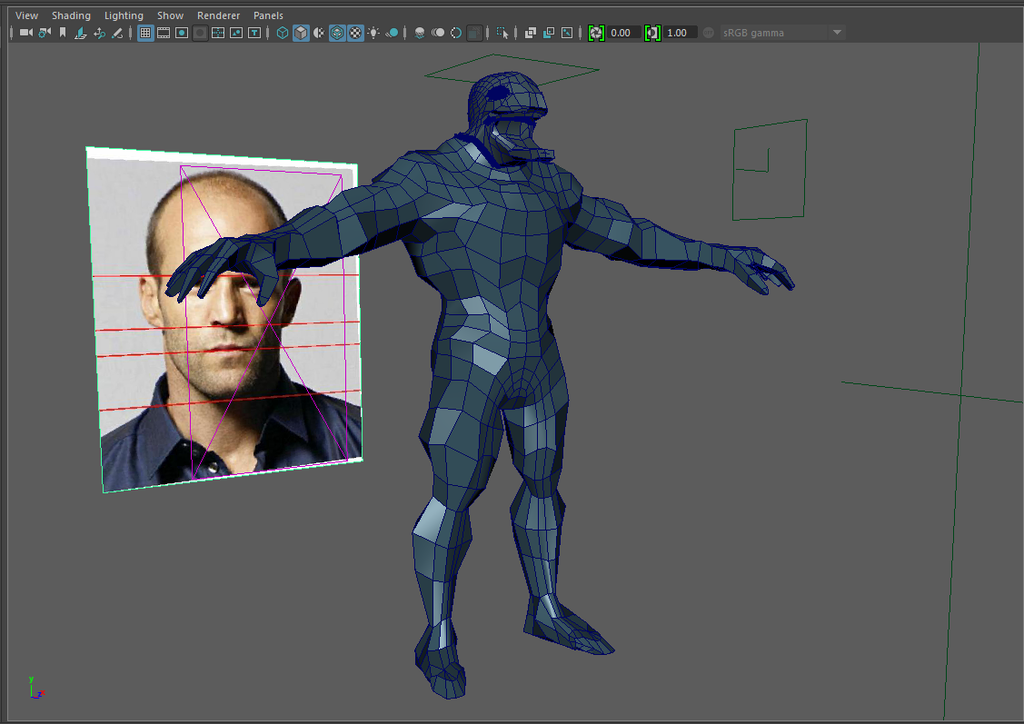
Hi everyone! I've taken a 3D character modeling class this quarter, and I have chosen to do Venom.
I have until the first week of June to complete it, but I want to get more feedback on how I can make this the best I can. I'll be posting updates to this character as I go along.
I've modeled the character in Maya, and I'm going to take it into Mudbox for sculpting and painting later this week. If you need any closeup pictures, just let me know and I can post them.
EDIT: Here are my references. I should've included them when I first made this thread =\
My references are an action figure that has a nice 360 view of Venom, linked here:
http://comics-x-aminer.com/2012/11/06/venom-unbound-statue-by-kotobukiya/
I'm also using anatomy references from this Pinterest board: https://www.pinterest.com/scottstreadbeck/zbrush-anatomy/
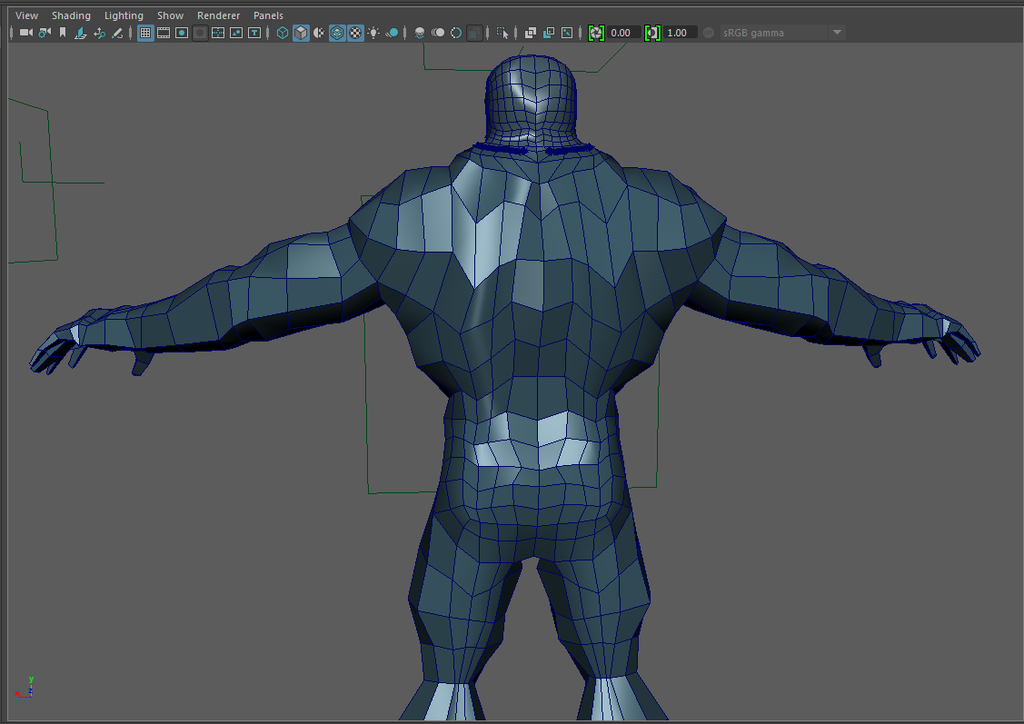
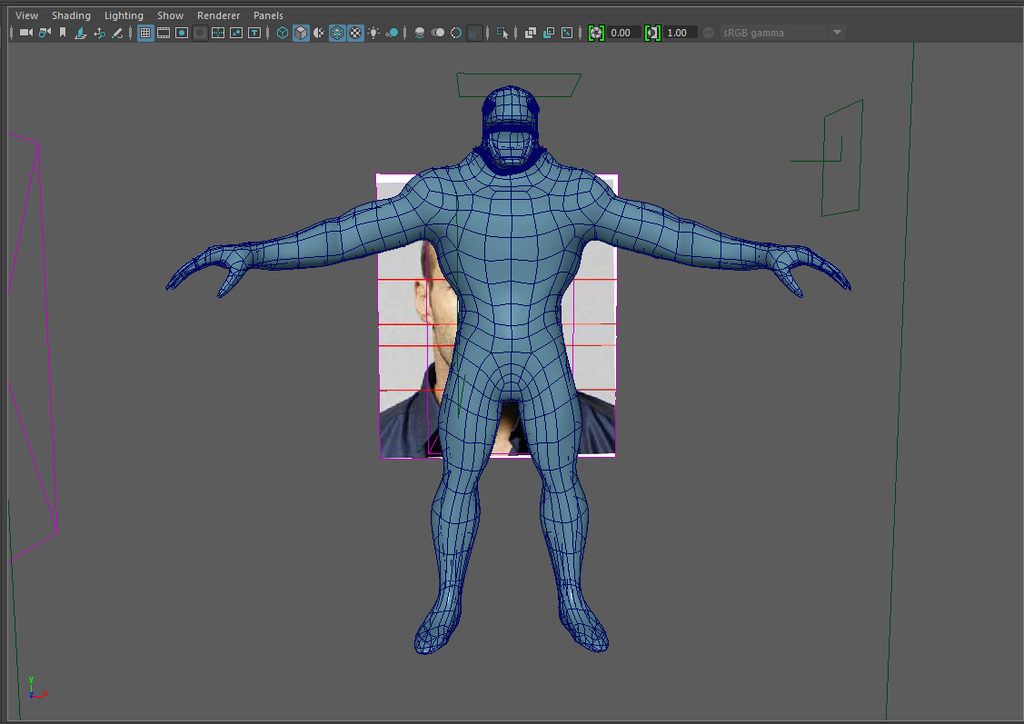
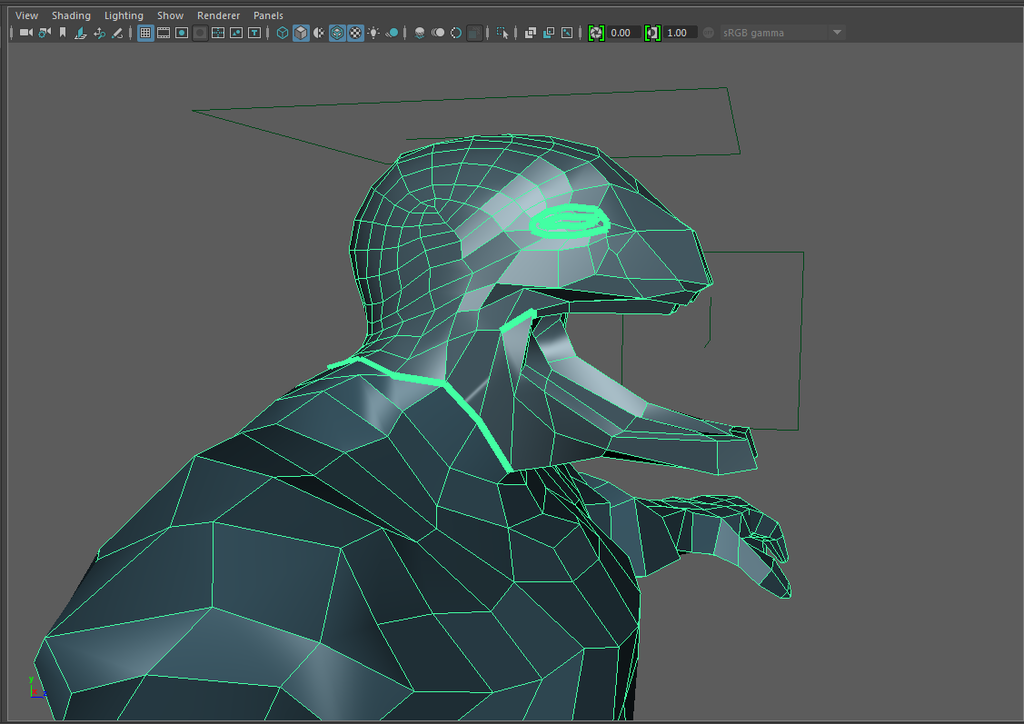
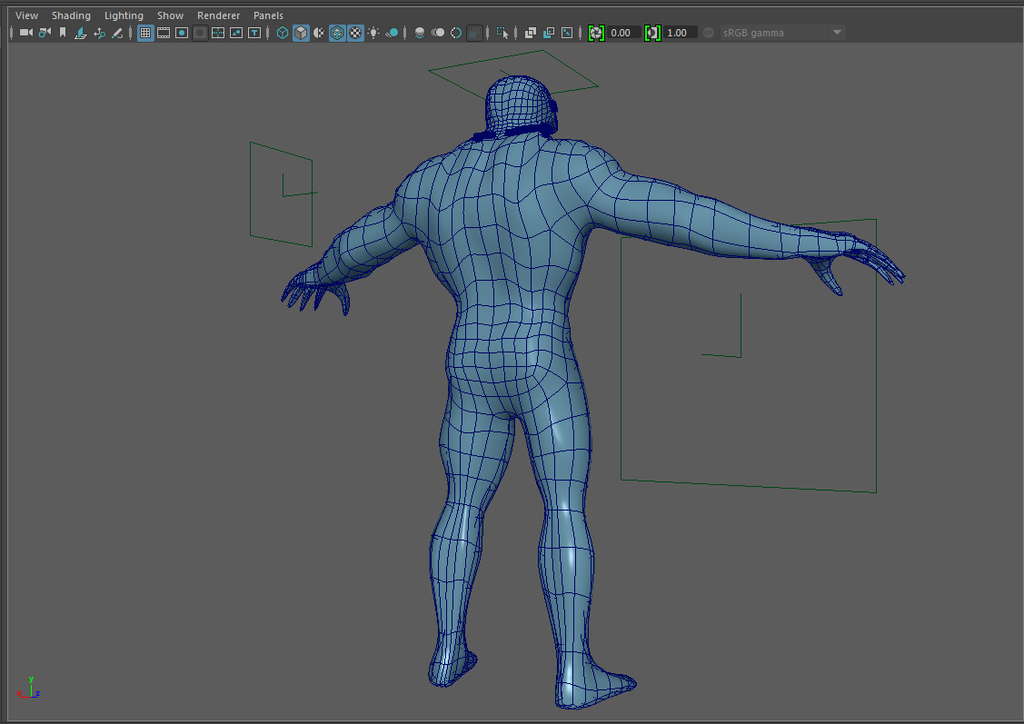
Here's my base mesh:
Thanks!
I have until the first week of June to complete it, but I want to get more feedback on how I can make this the best I can. I'll be posting updates to this character as I go along.
I've modeled the character in Maya, and I'm going to take it into Mudbox for sculpting and painting later this week. If you need any closeup pictures, just let me know and I can post them.
EDIT: Here are my references. I should've included them when I first made this thread =\
My references are an action figure that has a nice 360 view of Venom, linked here:
http://comics-x-aminer.com/2012/11/06/venom-unbound-statue-by-kotobukiya/
I'm also using anatomy references from this Pinterest board: https://www.pinterest.com/scottstreadbeck/zbrush-anatomy/
Here's my base mesh:


Thanks!
Replies
Nice work so far. Do you have a concept you are working from? It might help with crits if we can see what you are going for (so many different versions of venom out there).
Typically when I'm creating characters I try to get into the sculpting package as soon as I can. It allows me to really push and pull things around and get much quicker results. You say this is a base mesh so I imagine you will be retopologizing this after the sculpt? I am not sure if you have any restrictions in the class, but that is usually my approach. Quick base, sculpt, retopologize, Uvs, bake, etc.
If this will be the final topology I think you could spend a little more time fixing some of the geo flow. If it is just for a base mesh for sculpting you might want to space out the polys a little in order to get a nice even sculpt. Let me know what the plan moving forward is and if you have a concept and I can probably help more!
Keep it up
Thanks for the insight! My professor was guiding me on getting the smile for venom while trying to keep a good edge flow for the mouth and the overall head shape. I will retopologize the mesh to get a much cleaner look after the sculpt. It's something I need to improve on.
For the references, I'm using an action figure, linked here:
http://comics-x-aminer.com/2012/11/06/venom-unbound-statue-by-kotobukiya/
I make large changes on sub-d 1 with higher z-intensity. As I'm dividing I'm also dropping my intensity because I'm building off of what I've already laid down, if that makes sense.
I would encourage you to just continue working in zbrush as much as possible. As a character artist it is the most important program to know. This is a good start, as far as workflow is concerned, just continue learning that software and really get comfortable in it.
I feel like I'm getting a lot closer in terms of proportions, but something feels off about the legs. Does anyone else feel it or am I just over thinking it?
Also I discovered how the Sub-Tool works! I decided to play around with it by adding some teeth for venom.