The BRAWL² Tournament Challenge has been announced!
It starts May 12, and ends Oct 17. Let's see what you got!
https://polycount.com/discussion/237047/the-brawl²-tournament
It starts May 12, and ends Oct 17. Let's see what you got!
https://polycount.com/discussion/237047/the-brawl²-tournament
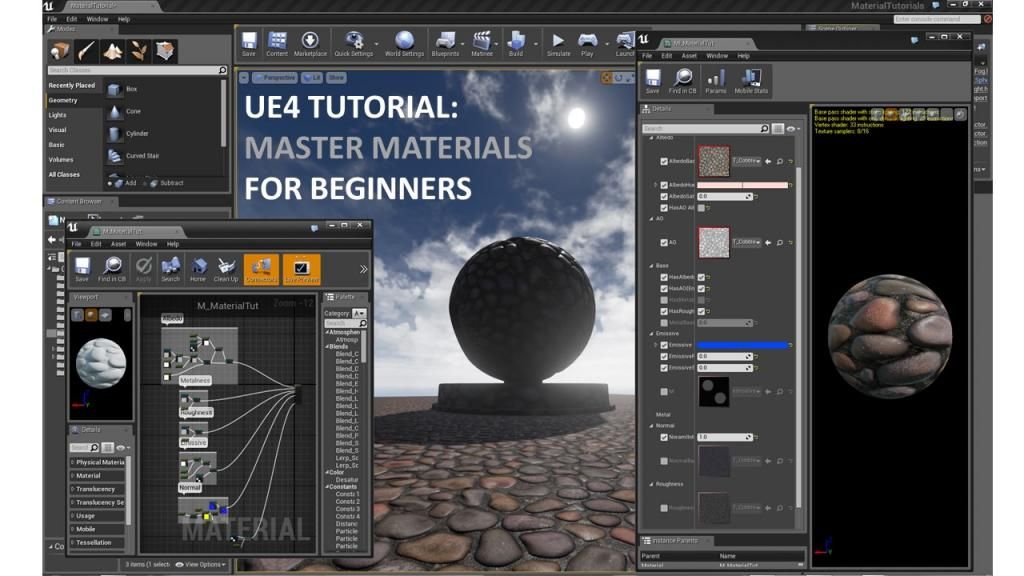
(UE4) Ultimate Custom Master Material!!
The first series in my collection is available for down load here. To preview a quick intro/demo video check out my YouTube channel: https://www.youtube.com/watch?v=tZsEzOCETBM The next series will get into a deeper understanding of the material editor. Hope this helps!

You can also follow this thread in the ue4 forums:
https://forums.unrealengine.com/showthread.php?42883-Ultimate-Custom-Master-Material!!
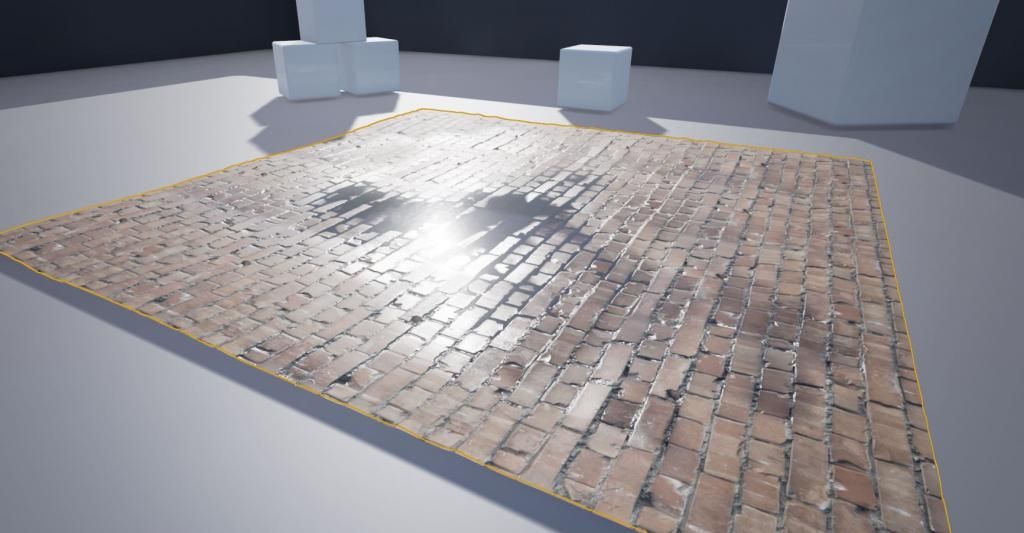
I started this thread to demonstrate my new UE4 Master Material and get feed back on ideas for improvement. I am also hosting info regarding my new tutorial series here. Here are a couple of examples so far. This is a master material I created to cover most of the regular environment artist needs. There are certainly exceptions but this master can go a long way.
An example of vertex paint puddles. (Borrowed from my other post. UE4 Vertex Paint Puddle) Youtube: https://www.youtube.com/watch?v=e2ibwXHZL6g

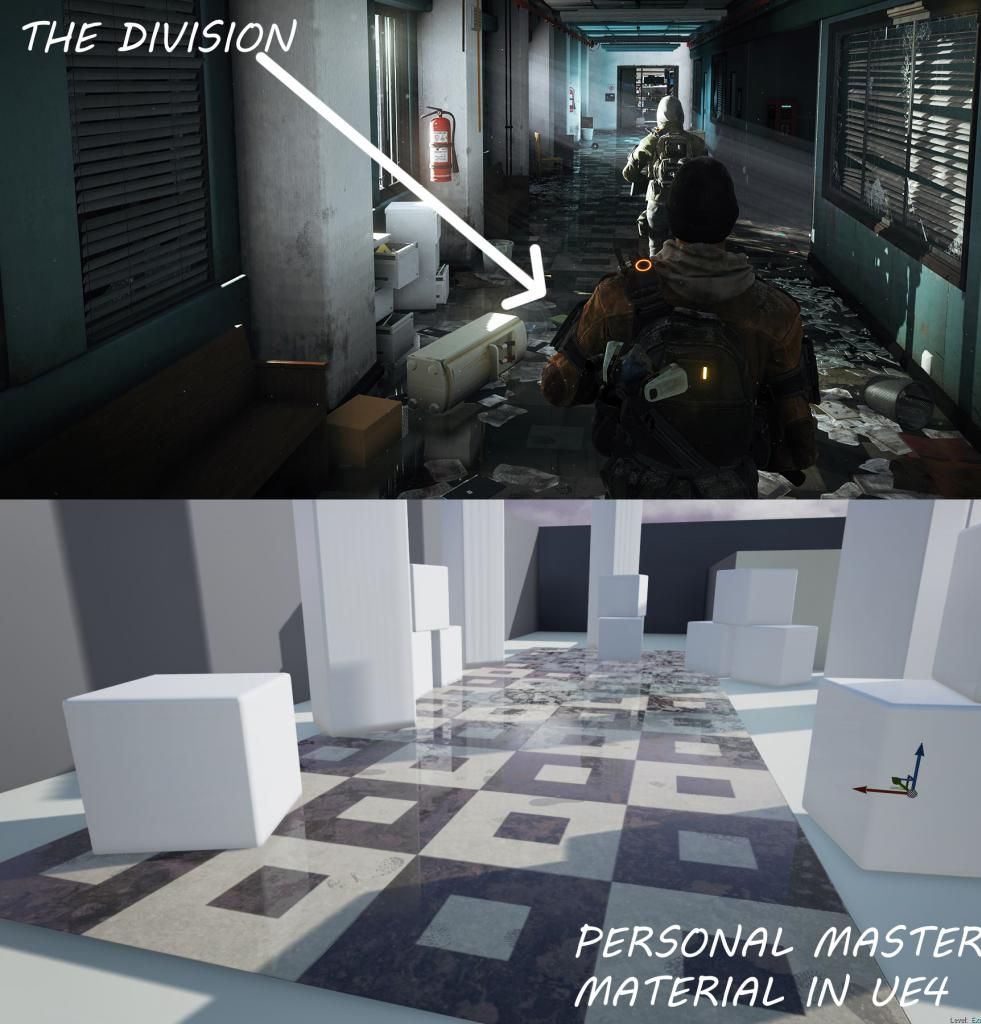
An example of a shiny floor material with dirt pass and vertex painted footprints.

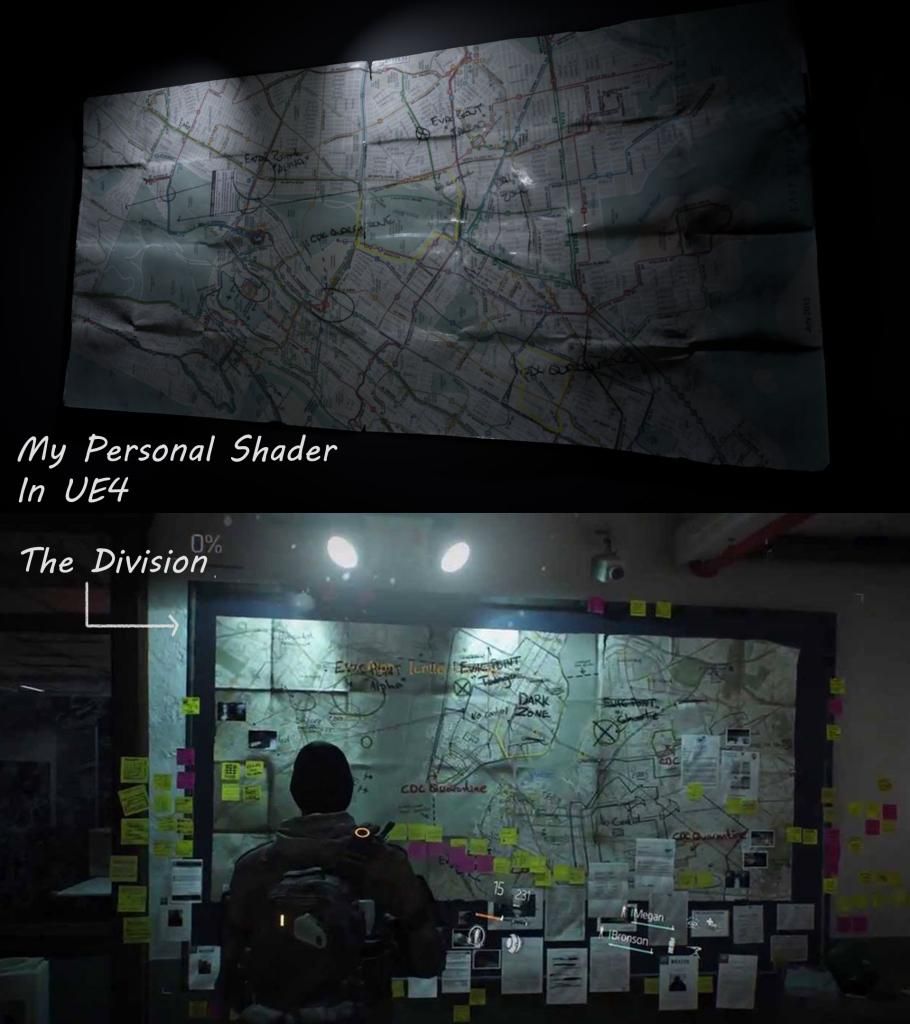
Another cross reference example:


You can also follow this thread in the ue4 forums:
https://forums.unrealengine.com/showthread.php?42883-Ultimate-Custom-Master-Material!!
I started this thread to demonstrate my new UE4 Master Material and get feed back on ideas for improvement. I am also hosting info regarding my new tutorial series here. Here are a couple of examples so far. This is a master material I created to cover most of the regular environment artist needs. There are certainly exceptions but this master can go a long way.
An example of vertex paint puddles. (Borrowed from my other post. UE4 Vertex Paint Puddle) Youtube: https://www.youtube.com/watch?v=e2ibwXHZL6g

An example of a shiny floor material with dirt pass and vertex painted footprints.

Another cross reference example:

Replies
Just worth mentioning...typically you wouldn't want to do that. You really only want the features you need in a material, otherwise you are paying for performance that you aren't using.
An "uber material" really only works when the engine is designed to support it (such as Cryengine or Unity5).
My goal is to create a master material that can conquer a large range of different materials within ue4 via the "material instance" system that is set up within the engine. This way one material can house most of the parameters I need to make most any environment material I need to make while only costing one compilation. Most (if not all) features in the material instance editor have public static switches provided in order to kill off any instructions that are not needed for any particular material. In other words.. you could make a material as simple as a value for roughness, metal.. and a color for base... all the way to really complex materials without really costing anything.
I do agree that it can be good to make a 'master' material, and when you are making a new material, duplicate(not instance) and just cut out the fat you dont need.
I like having a bunch of standard templates I commonly use.
UE4 Definition:
Example Usage: Static Switches can be used to remove an entire branch of a material with no runtime cost. Instances can have different values, making it possible to have a templated shader setup with no performance loss.
I use these switches to collapse entire chains of instructions thereby reducing instruction count to a minimal basic shader if needed. You can look in the material instance editor and see the reactions when you activate a switch... the instruction count goes up. I have stress tested this by creating 100's of material instances in a small scene and watching how the engine handles it. If i activate every feature of the material in every instance frame rate obviously takes a hit.. however when only using the instructions needed to achieve the desired result I get great looks, great performance, and easy materials. :)Hope this helps clear things up a bit.
Also makes iterating on shaders very slow in the end, when you have hundreds and hundreds of nodes and just want to add some new blending or whatever and need to integrate it into an extremely complex chain of nodes. I have seen mastershaders that basically took ten minutes to open, not really fun to work with.
Edit: I'd pay regardless, the results look awesome
@Snefer Thanks for the input! It raises a good point. I will clarify a little bit. This particular master material will be designed to serve as a base for environment artists to use on most of the generic props/scene elements that you see in games. This is not the end all for materials. There are certainly instances where you will need to write new things. The goal here is to accommodate the needs of most game assets and to teach people how to make their own versions as well. This material will house basic functions including all of the primary maps needed in pbs, blend layers for making more complex texture setups, vector up system, several vertex paint layers, etc. I have found (both personally at home, and in professional studio) that this will work great for most things.. but certainly not EVERYTHING.
Is the end result a material that can have the color, spec, etc controlled in engine alongside of some maps that are imported? Is it just a material function that can have the UVs controlled?
I think adding more specific techincal info to the gumroad page will help with more purchases. Right now, it seems like the word master material is supposed to sell the tutorial rather than the specifics of what you're creating. I'm not saying to give away the techniques, but let people know what this master material can do (and visual aid is helpful as well, although you probably don't want to show the shading network in depth in a preview).
Also, I think your preview is too long (I realize it's more of an intro but I think a condensed preview of what we're doing would be nice).
[ame="
Sure thing. I will update the info today with a better description. There is a picture to show the end result and final material network. Ill share it again here.
It will show all of the basics of material editing, understanding what a master material is and how to use material instances with it. I create a base color hue with a switch that activates albedo. Hue and desaturation for albedo. Values and texture switches for roughness and metalness. (I also explain what they are) Normal maps and intensity slider is created as well. FInally I create an option to use an ambient occlusion map, and also take it one step further to give ourselves the ability to overlay it on the albedo with fine control over high and low values.
Here is the updates video content breakdown.
Here is a video breakdown:
01: New Project and Scene Setup
How to start a new first person project
How to setup a basic lighting environment for material testing. Including light mass importance volumes, sphere reflection captures, directional lights, and skylights.
Basic navigations and hotkeys for the editor.
Saving files
Baking basic lighting.
Creating folders for clean navigation in engine.
Creating Basic Blank Master Material
How to Apply Materials using Material Elements
02: Albedo Base Setup
Setup Base Color Input
Static Switch Parameters
2D Texture Parameters
Organizing with groups, comments, and descriptions.
Material Instancing
Texture saturation and hue
03: Roughness/Metalness/Normal Base Setup
Roughness Values/Maps
Metal Values/Maps
Masks
Normal Map Paramter
Normal Intensity
Clamps
Basic Math
04:Emissive Base Setup
Emissive Base Color
Emissive Power
Emissive Masking
05: AO Base Setup
AO Engine Default Setup
AO Albedo Overlay
Linear Interpolate
Ah! Thanks again! I will def record an intro along those lines tonight. I just wanted people to be able to see if they liked my style of teaching and stuff before committing to a purchase so I posted the first part of the series on YouTube. Major help. I will update today.
Thanks! Hope it helps!
sure! that would be great! you should have access to my personal email when you get the receipt. Id like to get tutorial feedback via email if possible.
Sounds good.