Texturing + shader help needed !!
hey guys im trying to create a realistic SSS effect in UDK while also trying to paint a realistic character, my UDK and texturing knowledge for that matter is very limited and i just feel stuck in a rut at the moment seeking some advice . heres where im at so far...
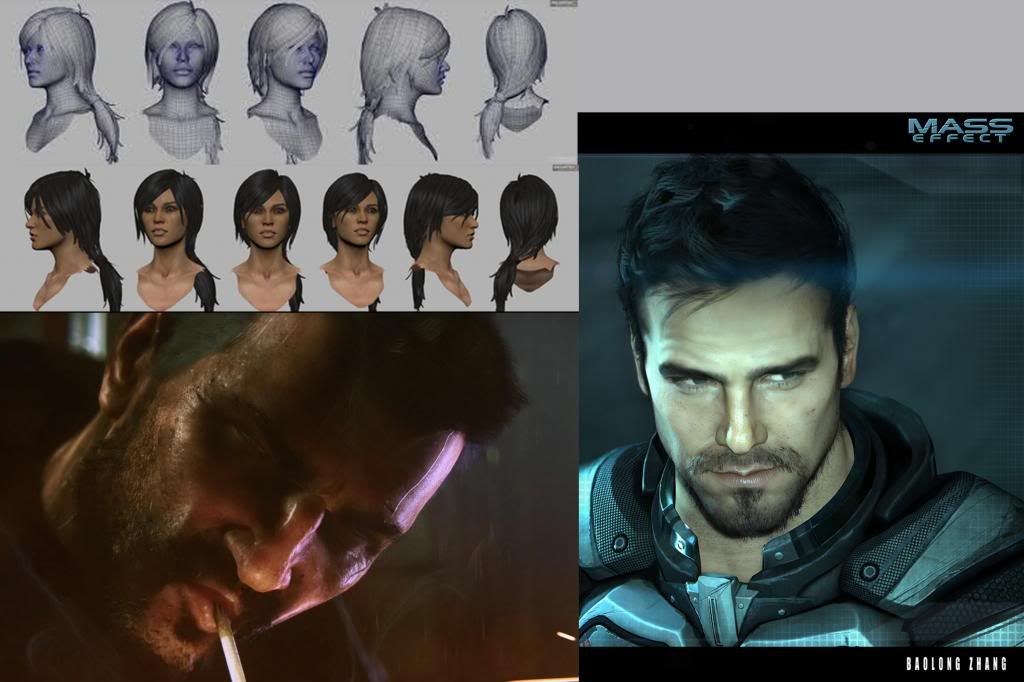
wpild like this effect
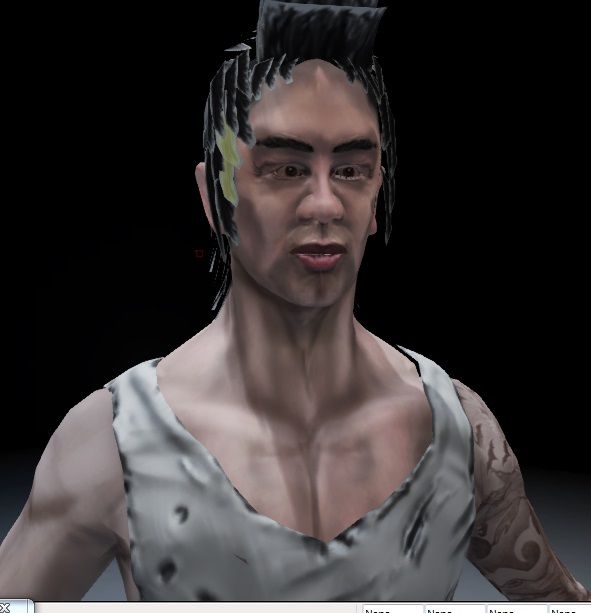
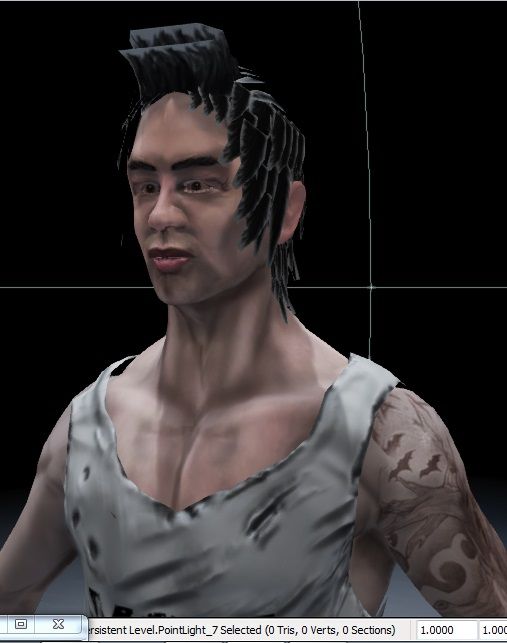
but this is my character in game
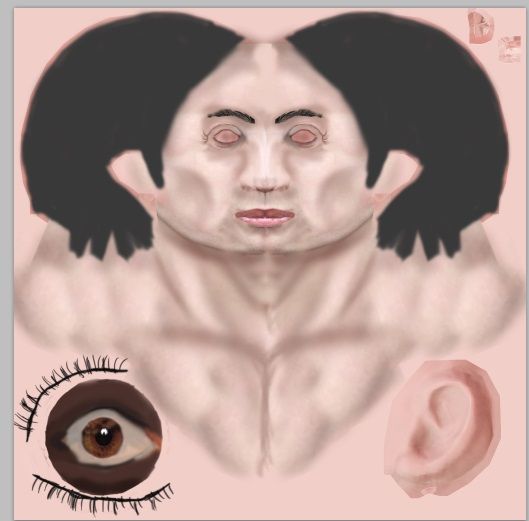
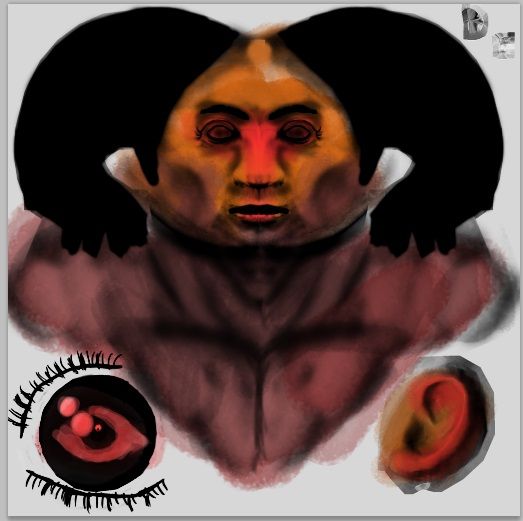
this is my texture and my SSS texture
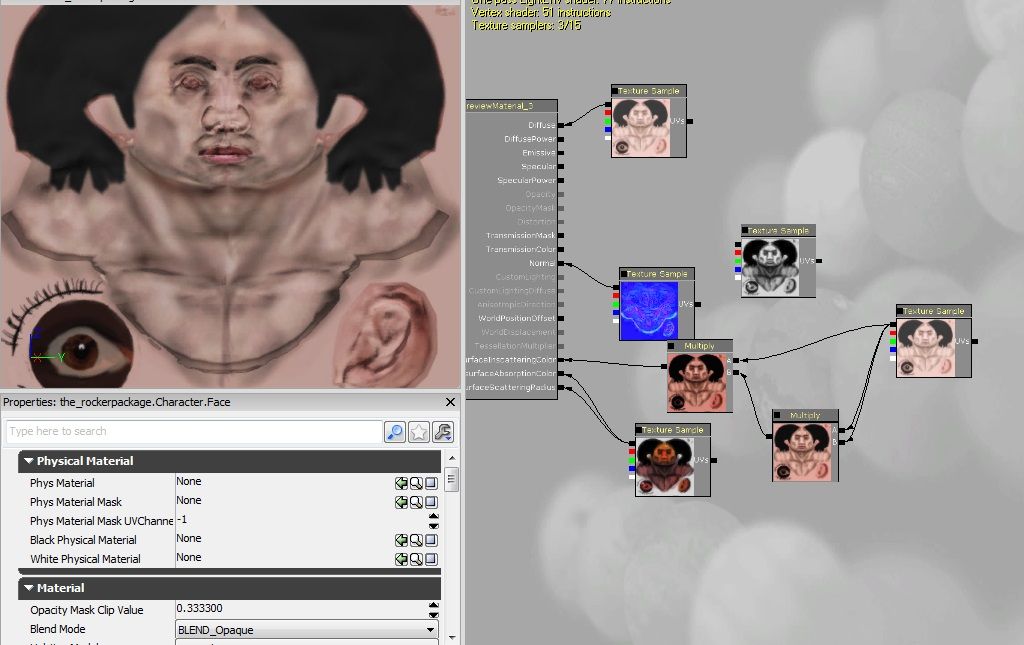
this is my setup
im trying to base it of this but i cant find information explaining how to achieve this

just need some help and advice thanks
wpild like this effect

but this is my character in game


this is my texture and my SSS texture


this is my setup

im trying to base it of this but i cant find information explaining how to achieve this

just need some help and advice thanks
Replies
To be honest with you, unless you plan on botching real-time SSS you really need to re-evaluate how or what you are using.
and this is the low
When you make a cake, do you start by decorating it even if the cake isn't fully cooked ? Nope
You wait for it to be fully cook, if you burn it, you redo one, untrill you got a nice smooth cake, then you do the frosting, and that will taste good, nothing is worse then a bad-taste frosting.
When you find a recipe to a frosting you like, you frost the cake, and you rage, because the cake crumble, your frosting method isn't the best, you go on internet, search some help and tips from advance Cakemaster and you end up with smoothing that look nice, at least better then you first try, but it's okay for now.
THEN you start decorating it. Even if you master every single decoration technique, it will never look good on a non enough cooked cake either will it taste better because of the decoration.
Now enough with the cake i'm hungry !
The main problem is the face, which can be easily fixed (not to perfection but it would already look better). eyes are way too narrow and near each other, scale them and move them. Same for the mouth, scale it larger. Translate a bit down the nose and the mouth. It will not be the best anatomical model ever, but it will change thing a lot.
I haven't played with characters or sss but why don't you mirror this setup in your graph and then start toying with each variable to see what it does?
If you don't know what those big rectangles are, they are just constant 4s (press 4 on your keyboard and left click) that where converted to parameters by right clicking on them and choosing (convert to parameter) this enables them to be accessed at runtime and from material instances.
personally i think its an improvement
A few notes about texturing: Never use black to paint in shadows. When painting an area you want to be darker always use a dark color. Skin you should be using a red. Same thing for brighter areas. I generally try a pink or yellow for highlights on skin. Though with current shaders and tech you really don't want to be painting that much lighting into your textures anyways.
Sorry to be harsh, but you are continuing work on something that can't be improved that much. Go back to the sculpting phase and don't move to textures until it looks good. Also use a ton of reference for the anatomy. There are a ton of anatomical issues with your model currently and it looks like you didn't use enough good reference.
thanks
It's lacking detail as it seems you've just used a soft brush in Photoshop and blocked in some tones and whacked a bit of noise over it. Also it seems you've decided to paint in dark areas of the character which would have come natural with an applied AO map baked from the high poly. Instead these darkened areas come off as very harsh and dirty.
I'd suggest doing some more reference research and examining skin too..Your textures don't seem to present any indication off pores, stubble, wrinkles etc.. Again a better initial sculpt could have provided some of these details but they can be applied in the texture phase. Use Photo referencing if need be and manipulate and blend them into the texture.
I'm no character Artist but just google "Character face texture" and you'll see multiple examples of the sort of detail you should be aiming for with your texture. Its not going to mask a lot of your initial issues with your sculpt but at least you'd have improved on your texturing skills.