Light Maps in Maya

polycounter lvl 9
Could someone explain the process of Light maps in Maya please? I'll show below an example of what I've managed to do, but I'm convinced it's wrong!
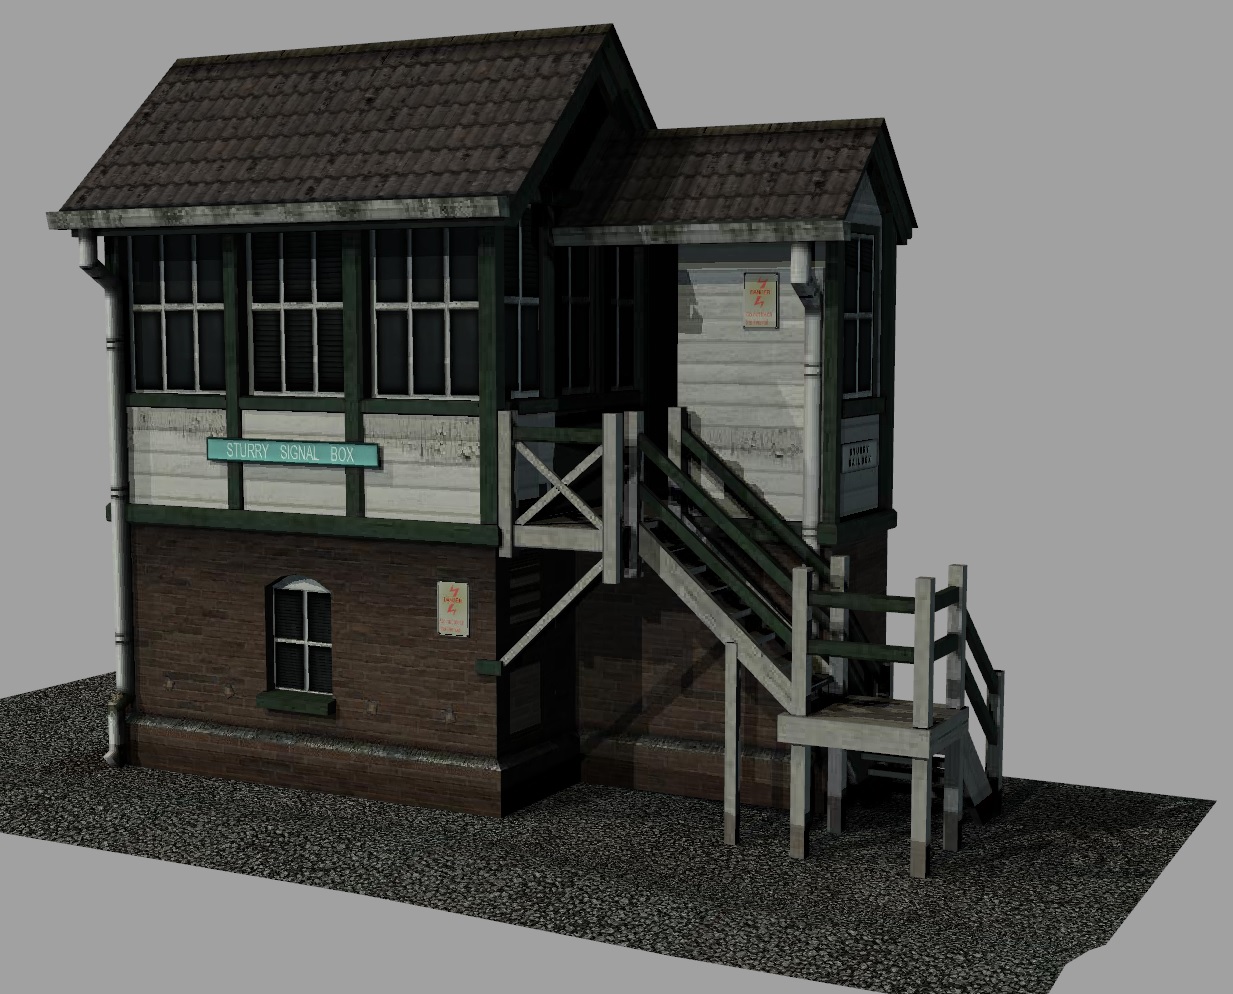
Here's a render of the model its self.

My process of making the light maps is to combine the objects that each material are on. I have 4 Materials /Shaders and so I've got 4 Objects. I add a new UV set to each object, and automatic map them. Then I bake them to 1024 maps. This is an example of the map I get :

Here's a screen grab from Maya after I baked it all down. (The shader connected is simply a Lambert with the shader plugged into the Incandescence (the baking does this automatically)
Just a bit confused as to the correct process really Can anyone help?
Cheers.
Here's a render of the model its self.
My process of making the light maps is to combine the objects that each material are on. I have 4 Materials /Shaders and so I've got 4 Objects. I add a new UV set to each object, and automatic map them. Then I bake them to 1024 maps. This is an example of the map I get :
Here's a screen grab from Maya after I baked it all down. (The shader connected is simply a Lambert with the shader plugged into the Incandescence (the baking does this automatically)
Just a bit confused as to the correct process really
Cheers.
Replies
Your first UV channel is for the color/bump maps, this allows you to tile the textures, overlap UVs, mirror UVs, etc. The 2nd UV channel is for the lightmap, and usually every polygon gets a unique space inside the 0-1 square.
Then you use a shader that multiplies the lightmap with the color map, or you can use a different math operation, like Photoshop's "Overlay" etc.
I put some stuff here, hope it helps.
http://wiki.polycount.net/LightMap