ZBrush Method Questions - Hair

polycounter lvl 13
In particular, according to this video.
[ame="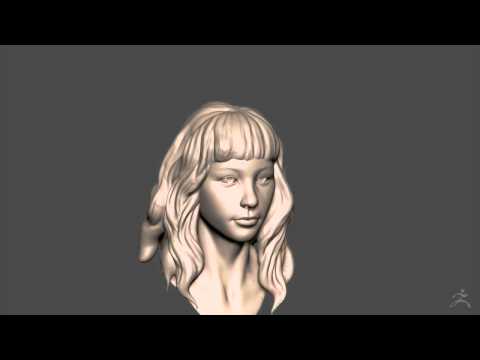 https://www.youtube.com/watch?v=VGAqhMcFsY0"]Zbrush Sculpting - Girl with Wavy Hair - 02 hair - YouTube[/ame]
What's happening at the beginning ?
When he's adding chunk of clay on top of the head, and then they all are in the same subtool, but separated from the head itself.
I saw a glimps of ZSphere in the beginning , but I have no clue what method is it.
If you know what the method is, I could do more research on it. If you have a better tutorial on this, I'd love it.
Thanks !!
[ame="
https://www.youtube.com/watch?v=VGAqhMcFsY0"]Zbrush Sculpting - Girl with Wavy Hair - 02 hair - YouTube[/ame]What's happening at the beginning ?
When he's adding chunk of clay on top of the head, and then they all are in the same subtool, but separated from the head itself.
I saw a glimps of ZSphere in the beginning , but I have no clue what method is it.
If you know what the method is, I could do more research on it. If you have a better tutorial on this, I'd love it.
Thanks !!
Replies
Check out the sketch brush. And for that matter, just all the z-sphere tools, there are some handy ones in there.
One thing to keep in mind though is this is not something that is always needed.
I personally prefer to use good old move tool, snake hook, Dynamesh, before moving onto clay tubes and all the other finer trim brushes.
Its all about finding what works for you and what gets you the results you want.
-Append a zsphere to your model
(Then you get the special zsphere rollouts on the right hand part of the screen)
-scroll down to "zsketch" dialog
-turn on "edit zsketch"
-in draw mode draw the shit the way this guy does. keep in mind your "draw size" chances are those spheres will be way big by default.
-use move tools and stuff to move those spheres into place also
-when finished press "A" to preview the final hp geometry.
-go to "make unified skin" under the unified skin rollout
-Append your new skin to your model to be treated as regular subtool geometry.
-delete the zphere subtool if you don't need it anymore.
-done.
but another thing to look into to aviod zspheres all together is the "curve line tool". And dynamesh.
Also, BradMyers, thanks for the alternative.