Normal Map Problems, Sci Fi Gun - 3dsMax
Hi everyone! I'm a long time lurker, first time poster and am very new to normal maps, etc. I've only been modeling for a year or two now, and I am hoping someone has some advice for this issue I'm having.
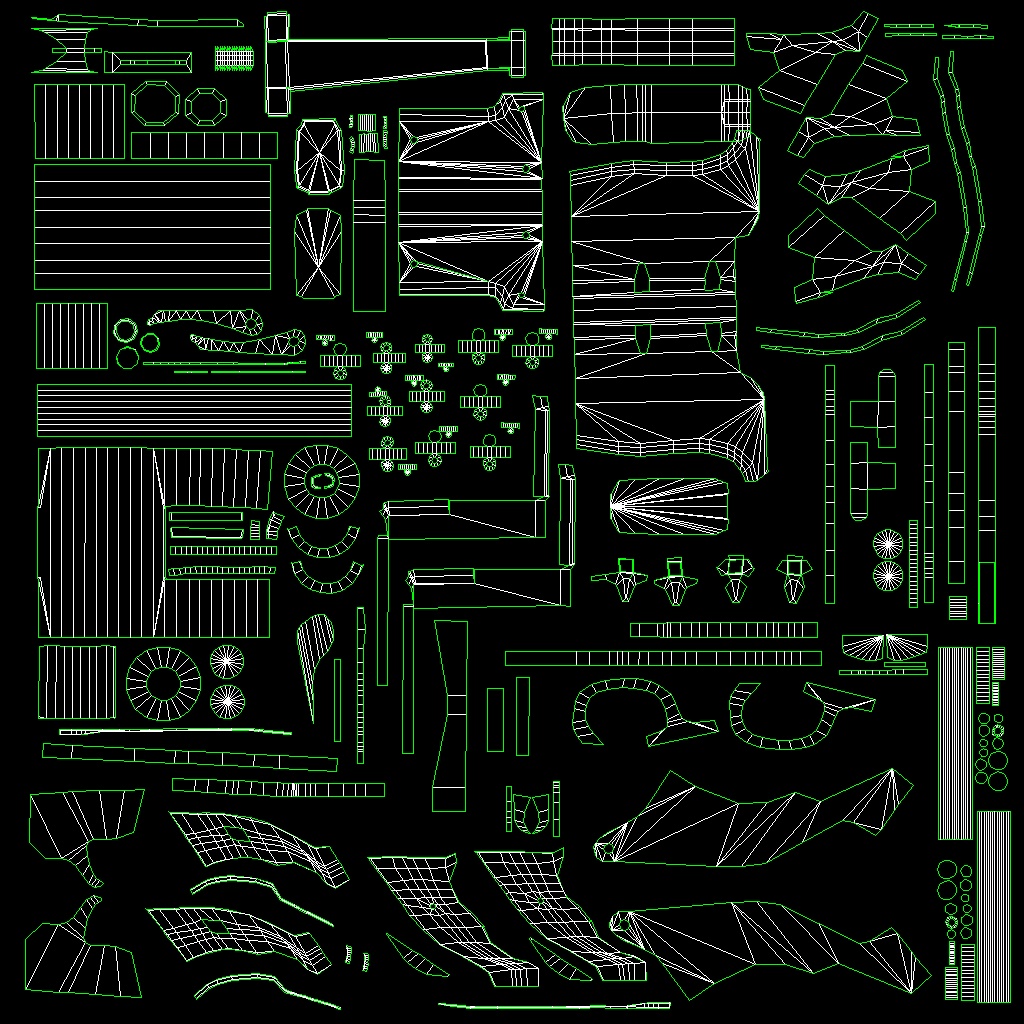
I modeled this pistol from the show Firefly and was trying to adapt it for use in a game engine. So I retopologized the high poly and unwrapped the low. See pics below for details.
Now I am seeing strange artifacts when applying the normal map to this model, as well as various parts of the low poly not being "smoothed" out the way I'd expect them to be.
For reference, here is the clay render and high poly mesh.


and the Low Poly

Then I exported a normal map from 3dsMax. Here are my "render to texture" settings.

First is the normal map from 3ds max, the 2nd is the one rendered from Xnormal...Neither look very good to me, but I don't know where I've gone wrong...I'm hoping I've done one stupid thing, not several dozen. :poly141:


and finally, the results as seen in xNormal.


Anyone know what I'm doing wrong here? Do I need to adjust my cage, or have I gone wrong before that (retop, UV's, etc)? Is it better to explode a model like this and work on parts individually?
Apologies if this has been covered before...I'm at wits end and literally have no one to ask...Thanks for any advice you can give, I shall return to banging my head onto my keyboard until it works! :poly122:
Thanks to anyone who can give any advice!
(Samsung Laptop,Intel Core i3-2350M CPU @2.30GHz
Nitrous (Direct3d 9.0 - Intel HD Graphics 3000)
I modeled this pistol from the show Firefly and was trying to adapt it for use in a game engine. So I retopologized the high poly and unwrapped the low. See pics below for details.
Now I am seeing strange artifacts when applying the normal map to this model, as well as various parts of the low poly not being "smoothed" out the way I'd expect them to be.
For reference, here is the clay render and high poly mesh.


and the Low Poly

Then I exported a normal map from 3dsMax. Here are my "render to texture" settings.

First is the normal map from 3ds max, the 2nd is the one rendered from Xnormal...Neither look very good to me, but I don't know where I've gone wrong...I'm hoping I've done one stupid thing, not several dozen. :poly141:


and finally, the results as seen in xNormal.


Anyone know what I'm doing wrong here? Do I need to adjust my cage, or have I gone wrong before that (retop, UV's, etc)? Is it better to explode a model like this and work on parts individually?
Apologies if this has been covered before...I'm at wits end and literally have no one to ask...Thanks for any advice you can give, I shall return to banging my head onto my keyboard until it works! :poly122:
Thanks to anyone who can give any advice!
(Samsung Laptop,Intel Core i3-2350M CPU @2.30GHz
Nitrous (Direct3d 9.0 - Intel HD Graphics 3000)
Replies
Also, is that contributing to the low res look of the normal maps? They seem very blocky.
Huh?
Not really.
1. Turning off a "compression" check box in the render to texture dialogue box, as well as bumping the resolution up helped with the blockiness of the maps tremendously.
2. Adjusting the LP topology in certain places is yielding good results, especially in the main body of the gun. Removing the screw holds seems to have been a good first step.
3. Adjust the Projection modifier cage is removing many of the jittery artifacts, or missing elements. Pulling it back in other places has removed the unintended inclusion of normals/AO from adjacent parts.
If anyone can think of other things that would help let me know. I'll post the results as I get them.
1. Remove those modeled screws, they are too small so its unnecessary to make them from polies. They would looks good normalmapped.
Same with its holes.
2. There are so much circular uvs on your uvmap. I guess they are from the cylinderical elements. Break these uvs somewhere.
3. After you did the 2th, then use relax on these.
4. Enable antialiasing, or supersampling in Max when you are baking.
I think if you do all these things, then everything will looks good.