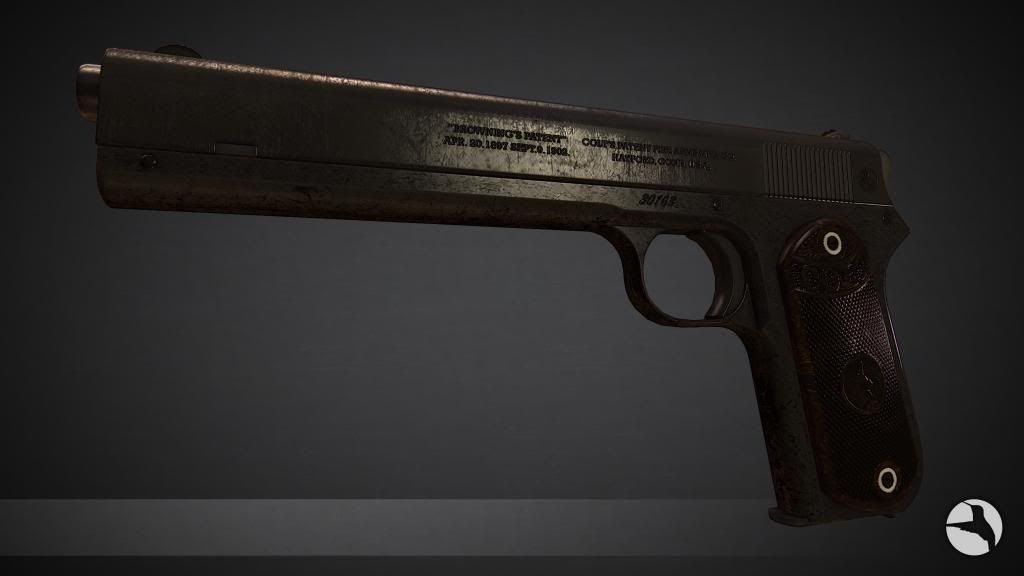
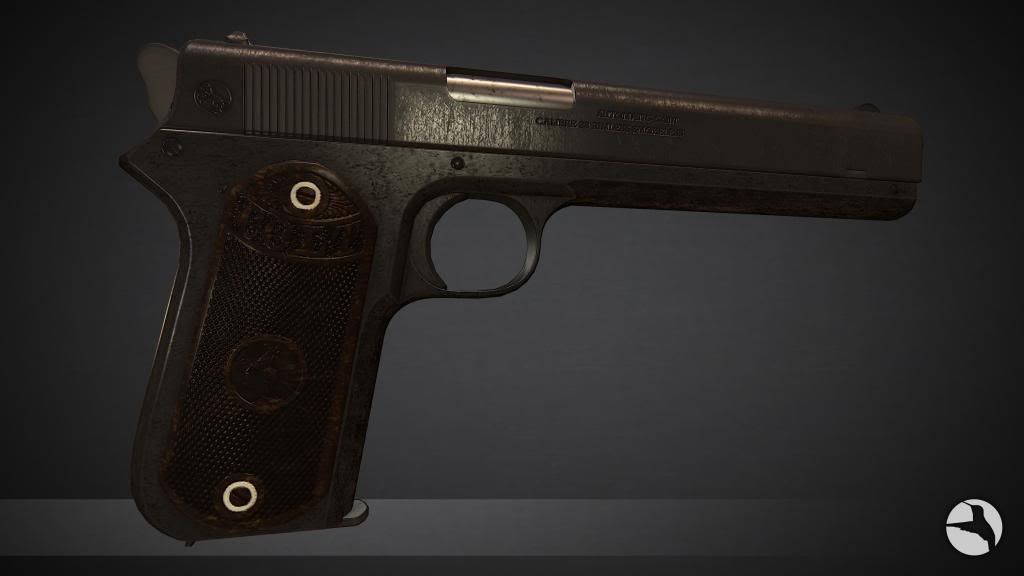
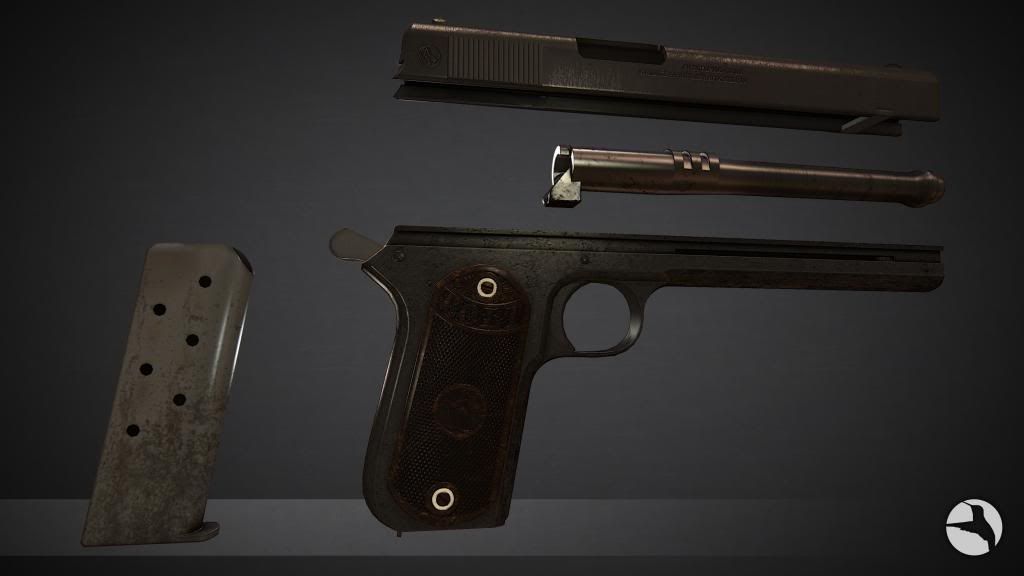
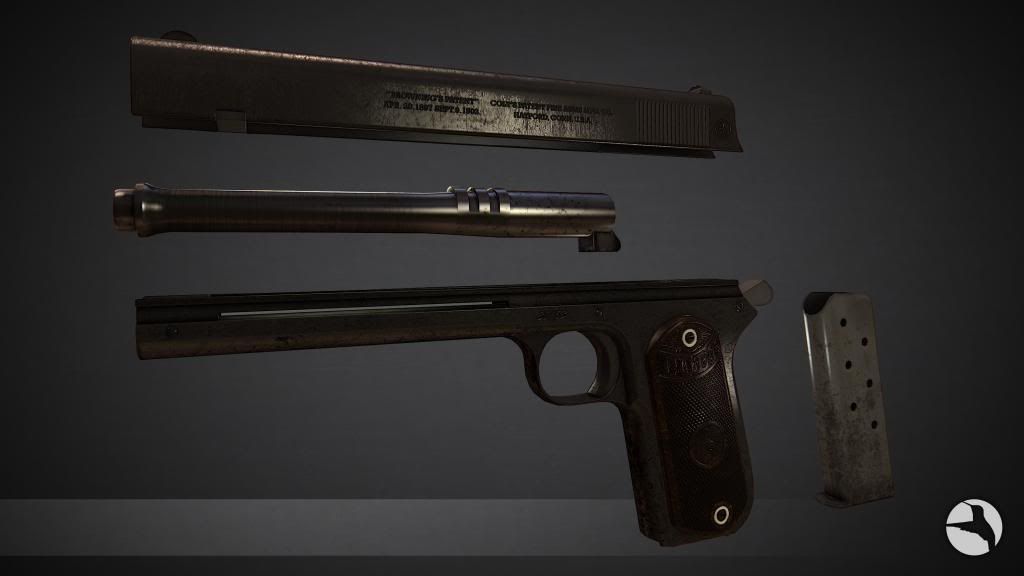
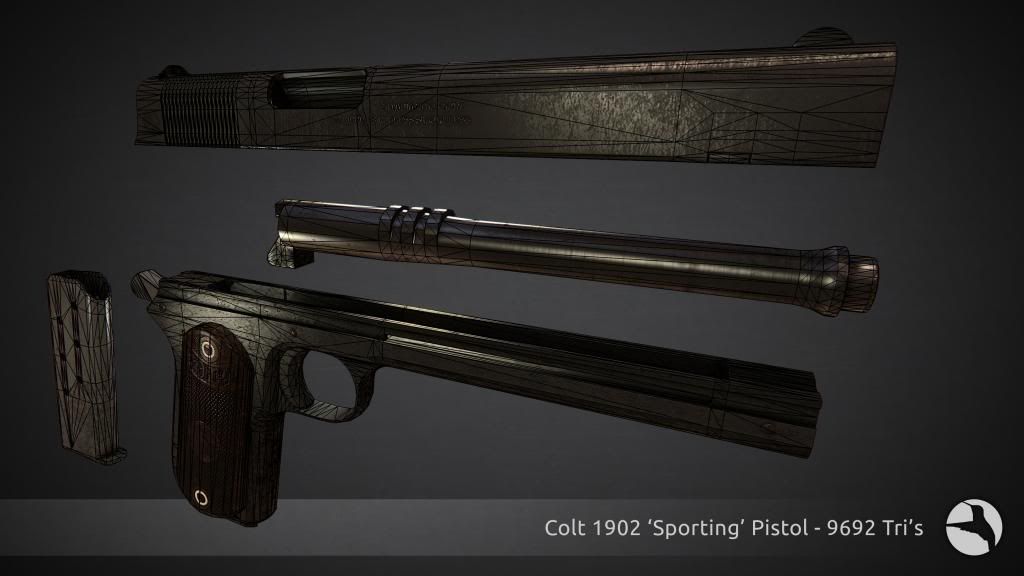
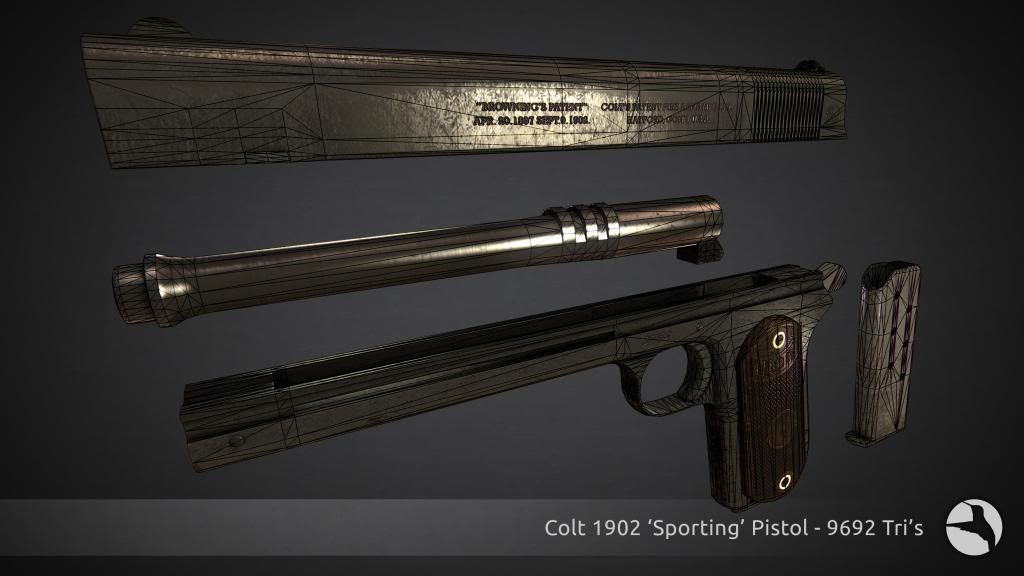
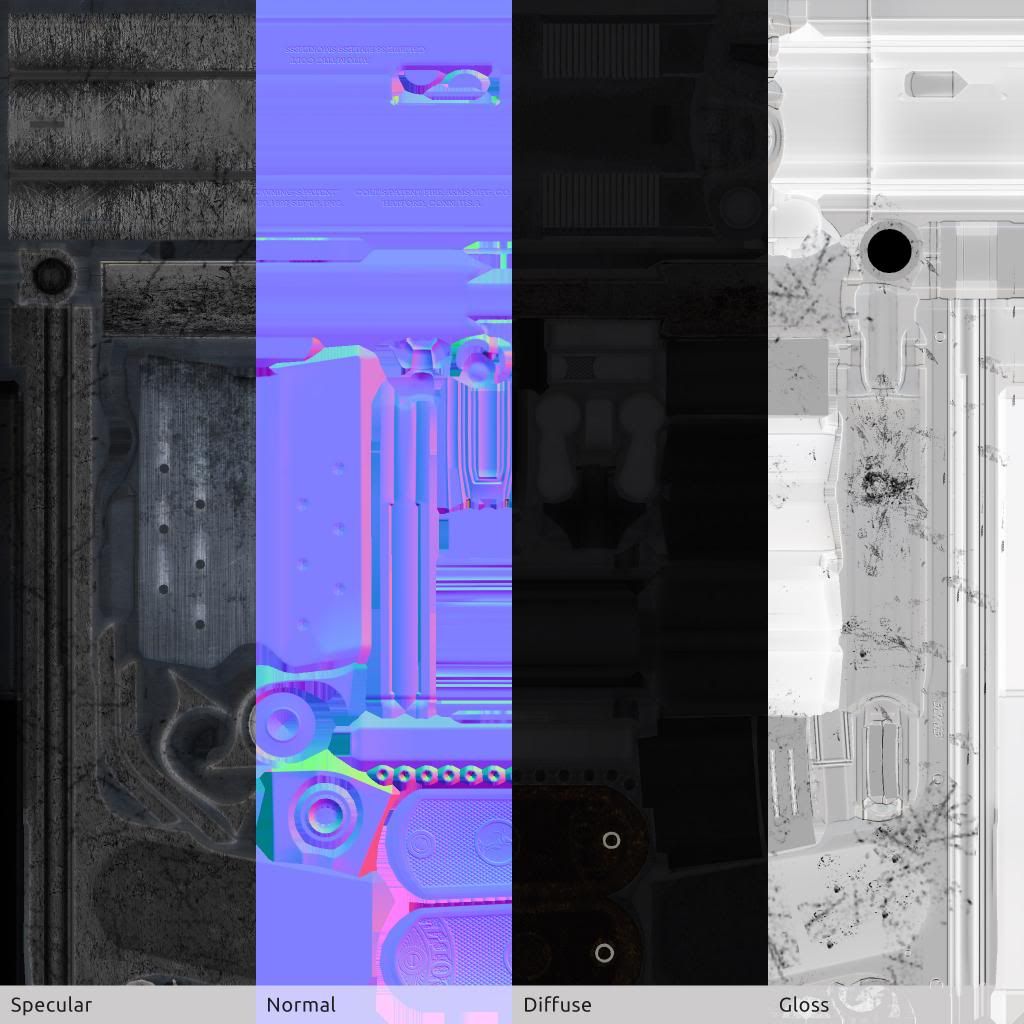
@dpadam450 Cheers man, This is my first texture, I've always just modelled in the past. I may have thrown to much at it lol I'll definitely be more conscious to keep the texture readable.
Spent yesterday finishing up the other ancillary pieces.
I'm happy, its been a massive learning curve/learning experience, into achieving better normals and Specular Maps.
For a first texture the gun looks pretty good, but ya the diffuse is hella noisy. The clips look pretty good though, maybe ease off on the fingerprints, i can't imagine how dirty someone's hands would have to be to leave prints that dark.
On the radiator, it strikes me that the legs should be one piece w/ the body/have a smooth transition as I imagine they're cast as one piece.
@Count Vader - Thanks for the feedback, Cheers, it was my first fully formed texture, I kinda through everything at it, including the kitchen sink, I'll definitely do that and pull it back on the intensity.
You're 100% right on the legs, I wasn't happy with how they attached. I'm currently planning a Diorama and I'm going to include it, and I'll definitely revisit it and attach them into the model
This little guy came about after a freelance job didn't come together, it happens sometimes, so to make use of the time, I had a play in 3Ds Max, which is nice to do on occasion and this is the result. I'm trying to spend my free hours working on him.
I've decided now that he will form part of a Diorama, as a robot used to bash down doors and walls to allow a Riot/SWAT team to enter.
I have re-worked the legs from feedback... This made me go back and re-address how his hips and pelvis will move, positive move.
I've now added a range of possible motions, the pelvis cylinder can rock, from side to side, but, each hip has its own joint allowing for independent raising and lowing. I've decided to separate the lateral motion of the pelvis into the cylinder above (which makes up the base of the body). Its still in WIP stage, but I'm happier moving forward.
I would recommend having a look at the High Res Pic by clicking here ----> [DRINK ME]
WIP: I've reworked the arms, they were confusing a lot of people. Based on a manufacturing robot arm, instead of hands it has a magnetic de-coupler, it can swivel and rotate and it will have a Riot Shield and Baton. I think it looks full on and damn it, if I don't actually like it. All together it'll be great
Small alteration in Scale. The arms have been reduced and the legs enlarged. The pistons supporting the hips have been taken out, they looked to weak, in favour of connecting it directly. Atm the legs are not directly connected to the hips, but it'll be a more robust connection.
Under advisement, I'm going to look into a few other mech builders and see what I can glean from their efforts, as well as adding panel detail to help show the scale of the robot.
I KEEP FORGETTING TO SAY, ALL C&C WELCOME, I NEED YOUR FEEDBACK, Cheers.
I think the modelling for the legs is about right for me now. I went for a bit of a spin when addressing the balance issues in the legs, but I'm pleased where I've ended up. I've tried to bulk up the Hip connection based on feed back, which has lead to the hip socket being changed, but for the better - The colours of the robot at the moment are purely place holder, when it comes to texturing, I want to look into some colour theory, I always include a lot of greys in my work, so I might remove grey entirely and see where it takes me.
The final direction for the Riotbot is for it to have a shield and baton, so for starters here is the block out for the shield. I haven't quite settled on the connection between the arm and the shield, but I think you get the idea. The way it connect to the arm it'll be able to rotate in quite a dynamic way.
I'm thinking about adding a modelled patination to the outside, at the moment I'm thinking hexagons, but I'd like to come up with something less generic if I can, or Possibly create a crest in relief on the front, there are definitely options.
@Amile Duan: Much Appreciated, thanks for taking the time to check out my thread
Head:
This is going to be a bit of a general update, I've changed/added a few bits. Firstly the head unit now has some internals, if I were to ever create a Short film with this guy (which I hope to do), I would want to see inside the head. The Head also has some lights on the outside, originally the light source consisted of a right around the lens of each eye, but I'd like to down play the eyes prominence a little by adding some other detailing.
Arms:
The Arms are now finished, sparing a few nuts and bolts I might add. The name of the organisation is now in place too HARI (Homeland Armoured Response Initiative).
It was also mentioned to me about adding wires to the arms, I attempted a few different things but I've resolved to add in gas canisters under the shoulder and the inner arm with pipes leading out of the back and connecting up, as well as leading into the pistons that lift the arms, hopefully that does enough to answer that query. It was definitely something that needed to be done.
Lighting:
I've been playing around using Global Illumination, I honestly never gave it the appropriate attention, maybe I wasn't ready, but I've come to it more naturally with a genuine interest and its been really fun having a play. It's given me a nice warm glow I can dial up and down, which was exactly what I wanted, opposed to going back in afterwards and painting the aura.
Shield:
The shield is now complete, played around adding in a light behind the Shield Slider. Then I wacked on GI and the whole thing lit up like a Christmas tree. I rendered the GI out separately and comp'd it back in to dial it down a touch, but I am liking the flooded warm glow its giving.
The Shield itself has four points of movement, a twist at the wrist as well as a pivot, the shield can also rotate 360 degrees and can slide in a 40 degree arc along its rails.
Comments welcome as always
What's Next:
Next to create is the Baton, but I think I'm going to take a different direction by making it a hammer.
I know that it's not the traditional combo, but I find it a more interesting choice. Who knows even that might change, Watch this space.
Change of plan, I first thought to create a baton, it's an a-typical weapon for a Riot officer, but visually it just wasn't working, a friend suggested that sometimes Riot Police have taser guns, I liked that idea a lot, so to bulk it up a bit I went for a Tesla gun (front, on the left), The idea was for the fly wheel to keep spinning, it can then gear into the AC to get that going, the Cap Batteries then Charge so there's always power on hand, so it can assure a steady power flow when it wants to fire. Also what's better than a lighting gun.
Here's the block out for the gun, Its already given me ideas for changes I'd like to make, but I thought I'd throw it up and see if it triggers any thoughts in others. Admitted this is a rough block out, I didn't want to spend to long working on something I'd later change, that advice was gladly taken on board
Replies
I'm happy, its been a massive learning curve/learning experience, into achieving better normals and Specular Maps.
A work in Progress Environment Asset that will hopefully be appearing in a Drug Den Apartment Diorama I've started.
C&C Welcome
On the radiator, it strikes me that the legs should be one piece w/ the body/have a smooth transition as I imagine they're cast as one piece.
You're 100% right on the legs, I wasn't happy with how they attached. I'm currently planning a Diorama and I'm going to include it, and I'll definitely revisit it and attach them into the model
Really liked looking through your work, inspiring
I've decided now that he will form part of a Diorama, as a robot used to bash down doors and walls to allow a Riot/SWAT team to enter.
C&C Welcome
Andy
I've now added a range of possible motions, the pelvis cylinder can rock, from side to side, but, each hip has its own joint allowing for independent raising and lowing. I've decided to separate the lateral motion of the pelvis into the cylinder above (which makes up the base of the body). Its still in WIP stage, but I'm happier moving forward.
I would recommend having a look at the High Res Pic by clicking here ----> [DRINK ME]
Here's a High Resolution Version:
http://www.andrewware.co.uk/Massive_Content/Project%20Images_Riot%20Bot/Herb_v14_New_Arms.jpg
P.S I'll be making the arms about 10% Smaller, just to keep it in the realm of the reasonable Thanks Again
Under advisement, I'm going to look into a few other mech builders and see what I can glean from their efforts, as well as adding panel detail to help show the scale of the robot.
I KEEP FORGETTING TO SAY, ALL C&C WELCOME, I NEED YOUR FEEDBACK, Cheers.
Here's a High Resolution Picture (Using Imgur this time, so it should work )
http://i.imgur.com/AbACWNt.jpg
High Res:
http://i.imgur.com/D92cvYt.jpg
I'll add this so you can see the detail easier.
High Res:
http://i.imgur.com/o6lMsGv.jpg
The final direction for the Riotbot is for it to have a shield and baton, so for starters here is the block out for the shield. I haven't quite settled on the connection between the arm and the shield, but I think you get the idea. The way it connect to the arm it'll be able to rotate in quite a dynamic way.
I'm thinking about adding a modelled patination to the outside, at the moment I'm thinking hexagons, but I'd like to come up with something less generic if I can, or Possibly create a crest in relief on the front, there are definitely options.
High Res:
http://i.imgur.com/HeRM2W8.jpg
Head:
This is going to be a bit of a general update, I've changed/added a few bits. Firstly the head unit now has some internals, if I were to ever create a Short film with this guy (which I hope to do), I would want to see inside the head. The Head also has some lights on the outside, originally the light source consisted of a right around the lens of each eye, but I'd like to down play the eyes prominence a little by adding some other detailing.
Arms:
The Arms are now finished, sparing a few nuts and bolts I might add. The name of the organisation is now in place too HARI (Homeland Armoured Response Initiative).
It was also mentioned to me about adding wires to the arms, I attempted a few different things but I've resolved to add in gas canisters under the shoulder and the inner arm with pipes leading out of the back and connecting up, as well as leading into the pistons that lift the arms, hopefully that does enough to answer that query. It was definitely something that needed to be done.
Lighting:
I've been playing around using Global Illumination, I honestly never gave it the appropriate attention, maybe I wasn't ready, but I've come to it more naturally with a genuine interest and its been really fun having a play. It's given me a nice warm glow I can dial up and down, which was exactly what I wanted, opposed to going back in afterwards and painting the aura.
Shield:
The shield is now complete, played around adding in a light behind the Shield Slider. Then I wacked on GI and the whole thing lit up like a Christmas tree. I rendered the GI out separately and comp'd it back in to dial it down a touch, but I am liking the flooded warm glow its giving.
The Shield itself has four points of movement, a twist at the wrist as well as a pivot, the shield can also rotate 360 degrees and can slide in a 40 degree arc along its rails.
Comments welcome as always
What's Next:
Next to create is the Baton, but I think I'm going to take a different direction by making it a hammer.
I know that it's not the traditional combo, but I find it a more interesting choice. Who knows even that might change, Watch this space.
High Res: http://i.imgur.com/WCeGnD0.jpg
Next, to block it out and see how well it fits.