The Swamp
Hey guys,
I thought I'd finally post something that's been collecting dust on my hard drive since summer. I'm sorry it's not a big fancy project. I have one in my mind I just don't know when I'll be able to get to it.
This one though, though, it just minor thing that I spent a few weeks on. Oh and I didn't not do the geometry of the center piece Let's get on with it.

[ame=" https://www.youtube.com/watch?v=1Se-gILjUXY&feature=player_embedded"]Swamp - YouTube[/ame]
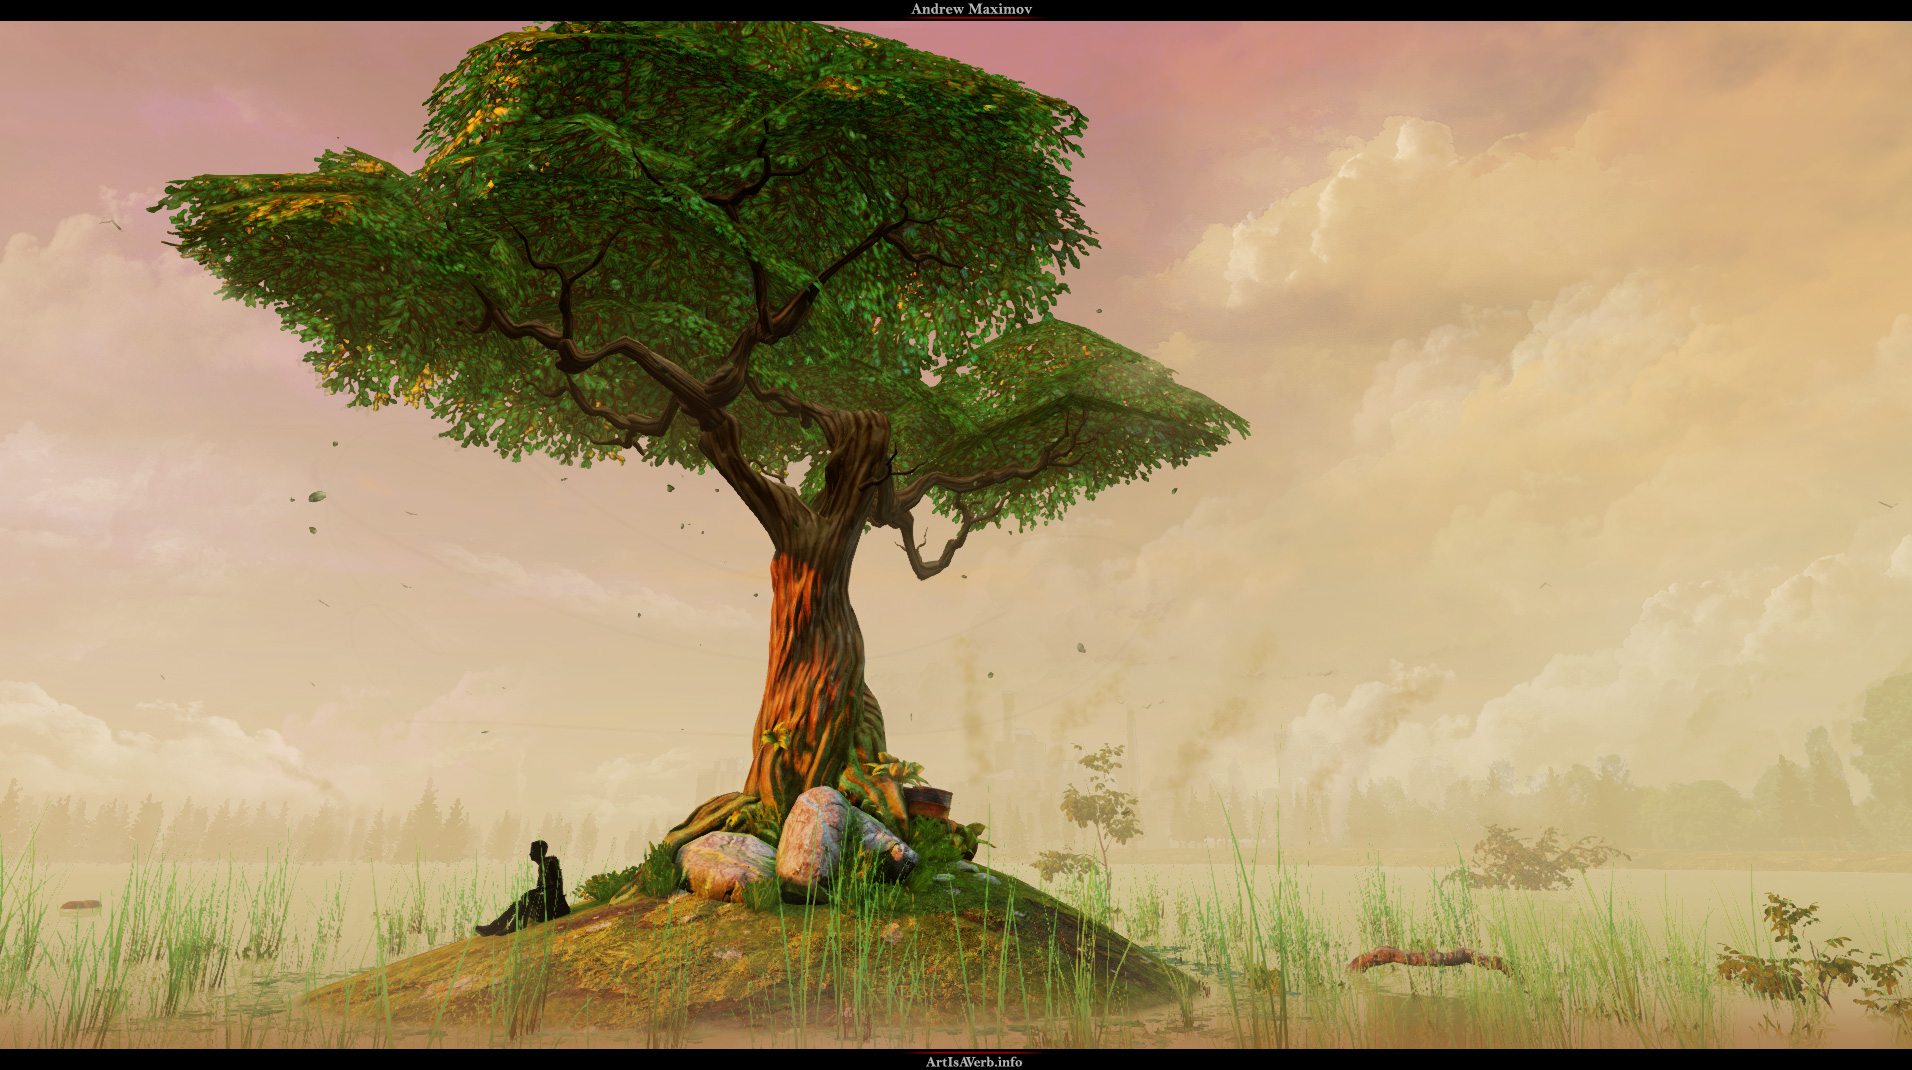

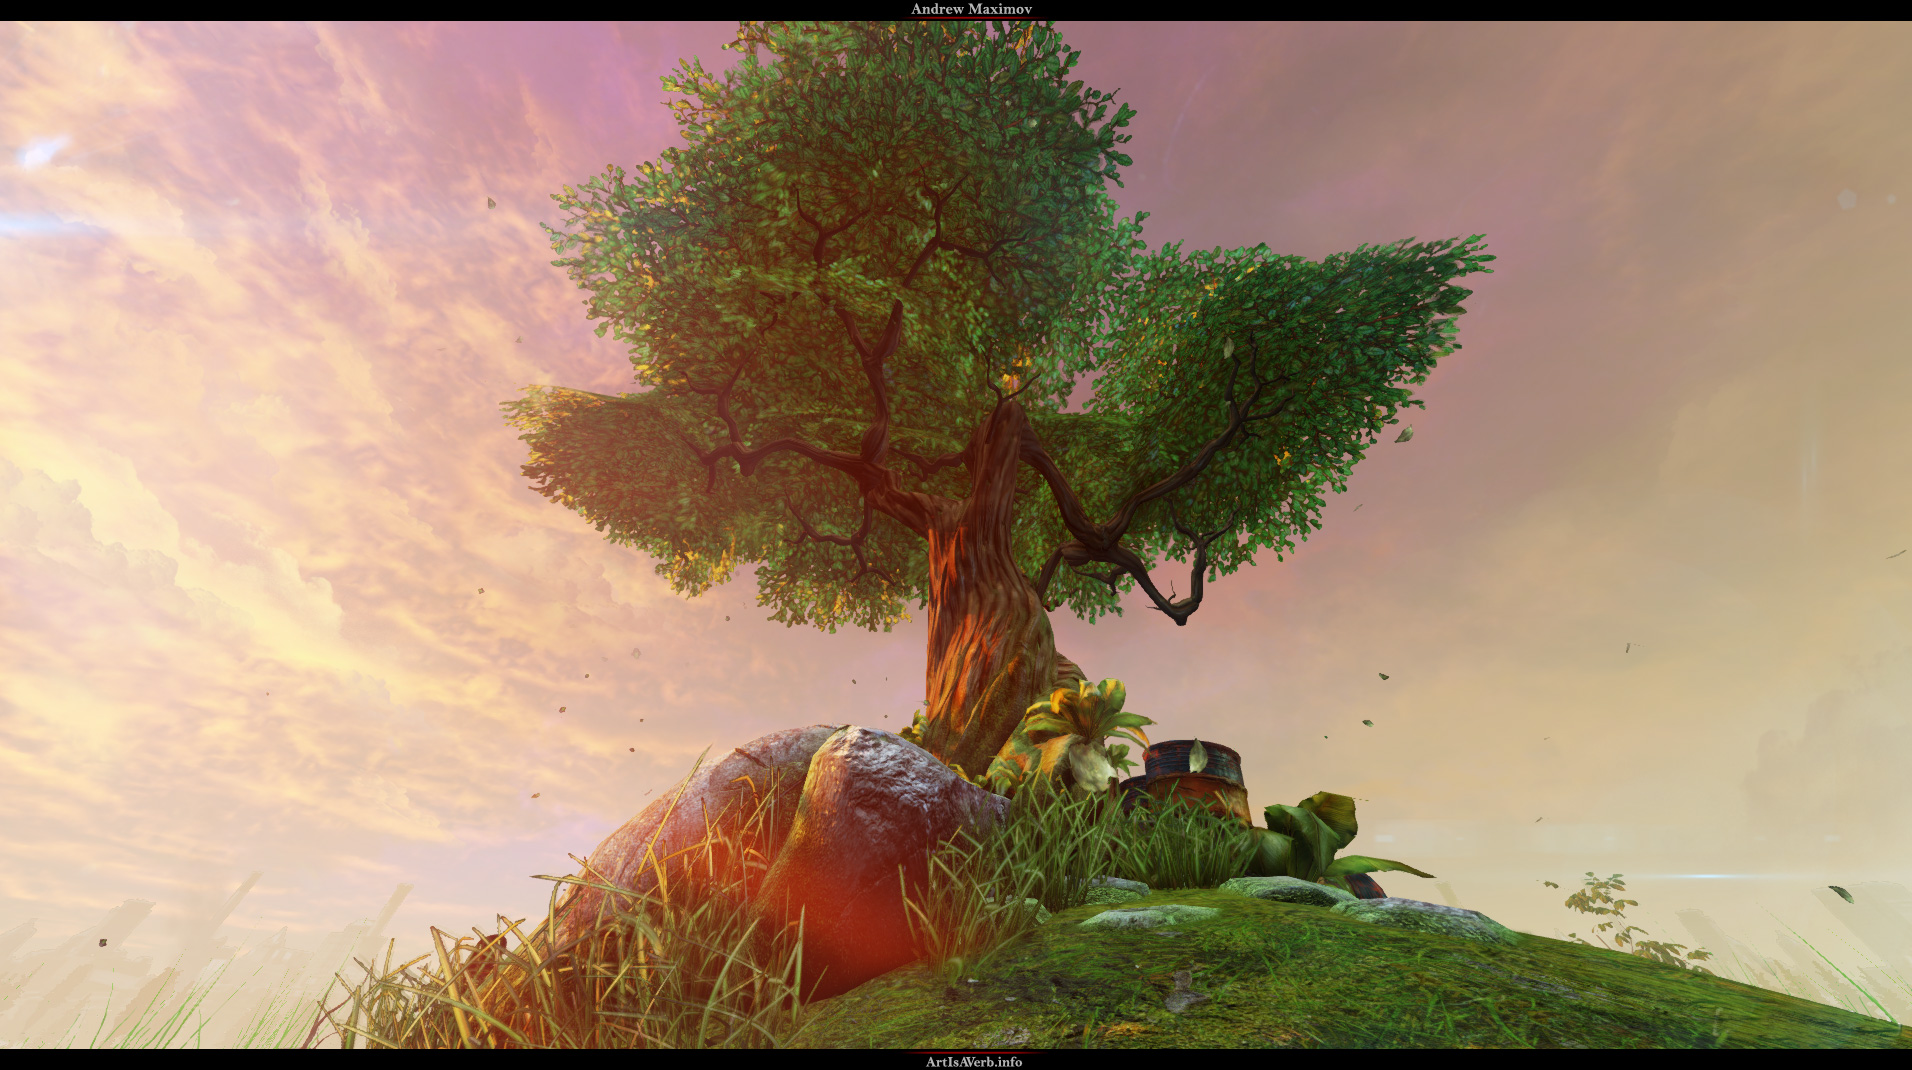
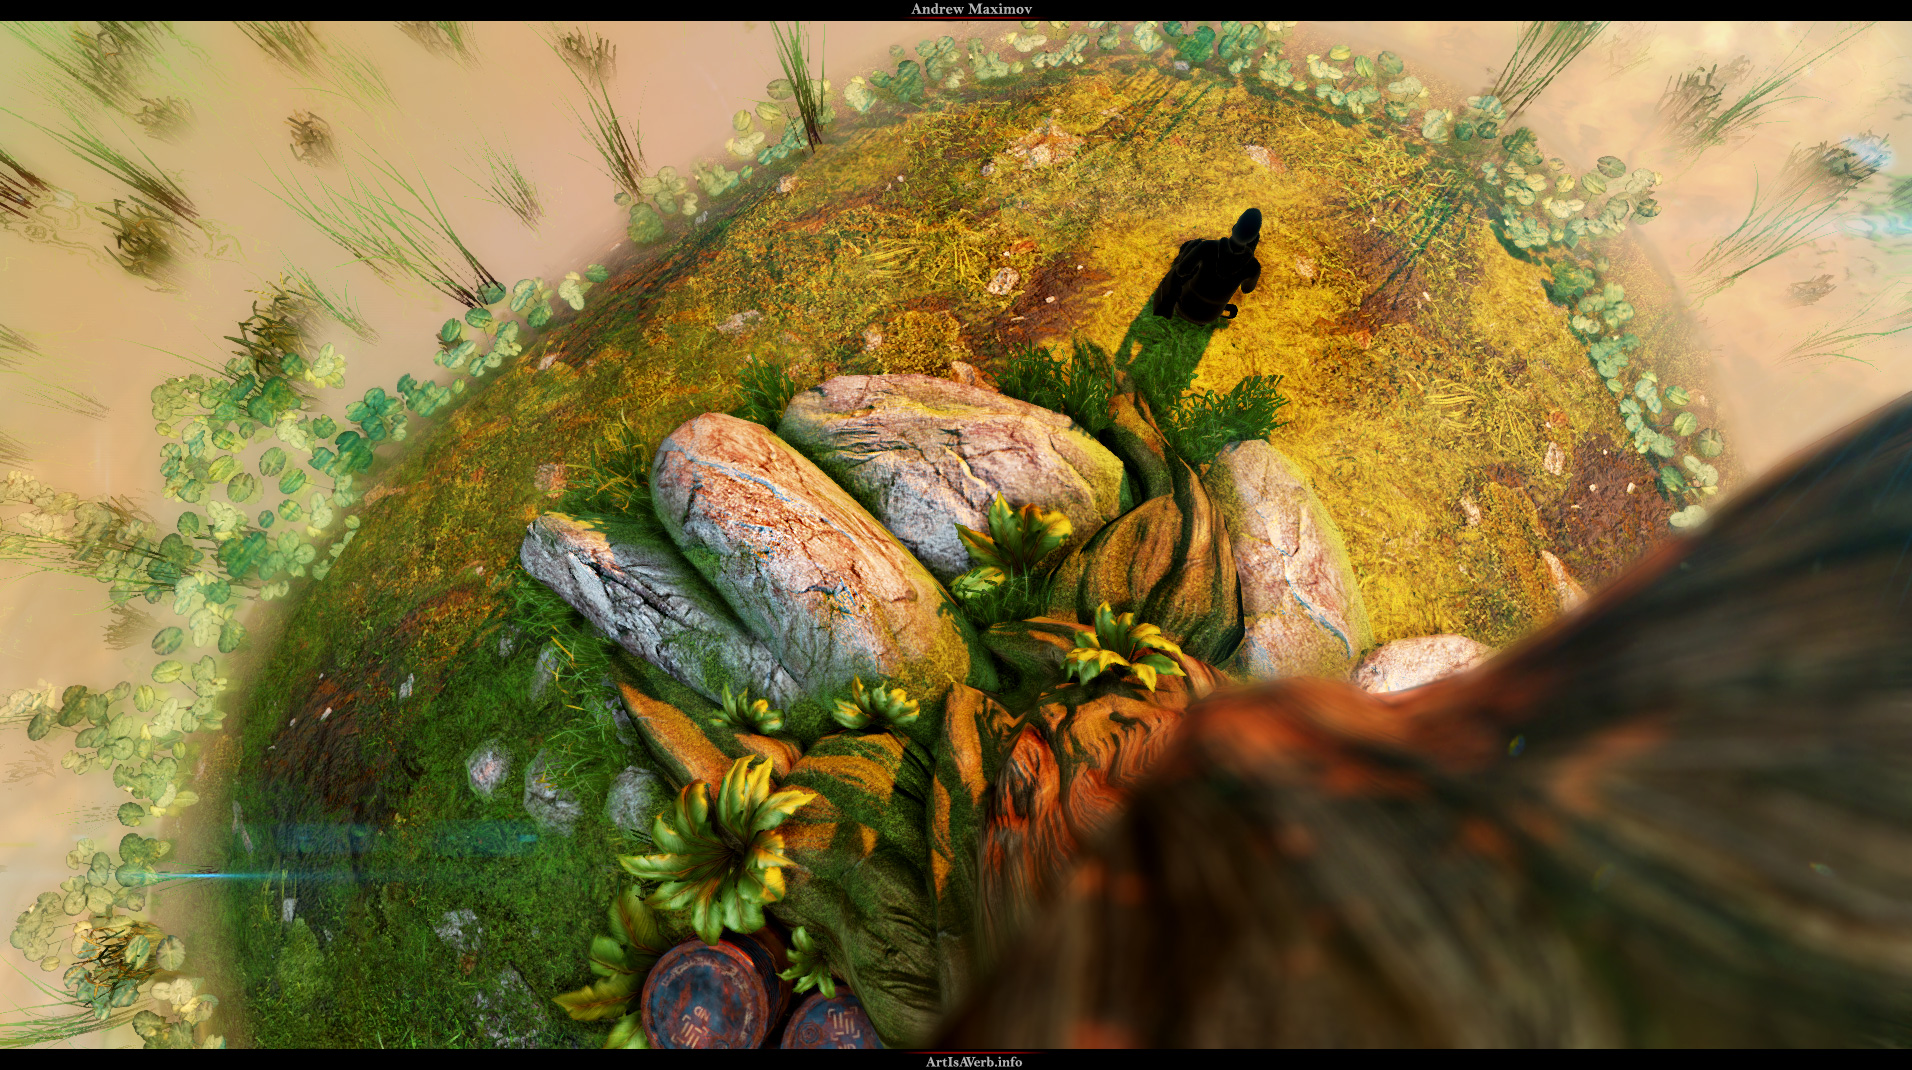
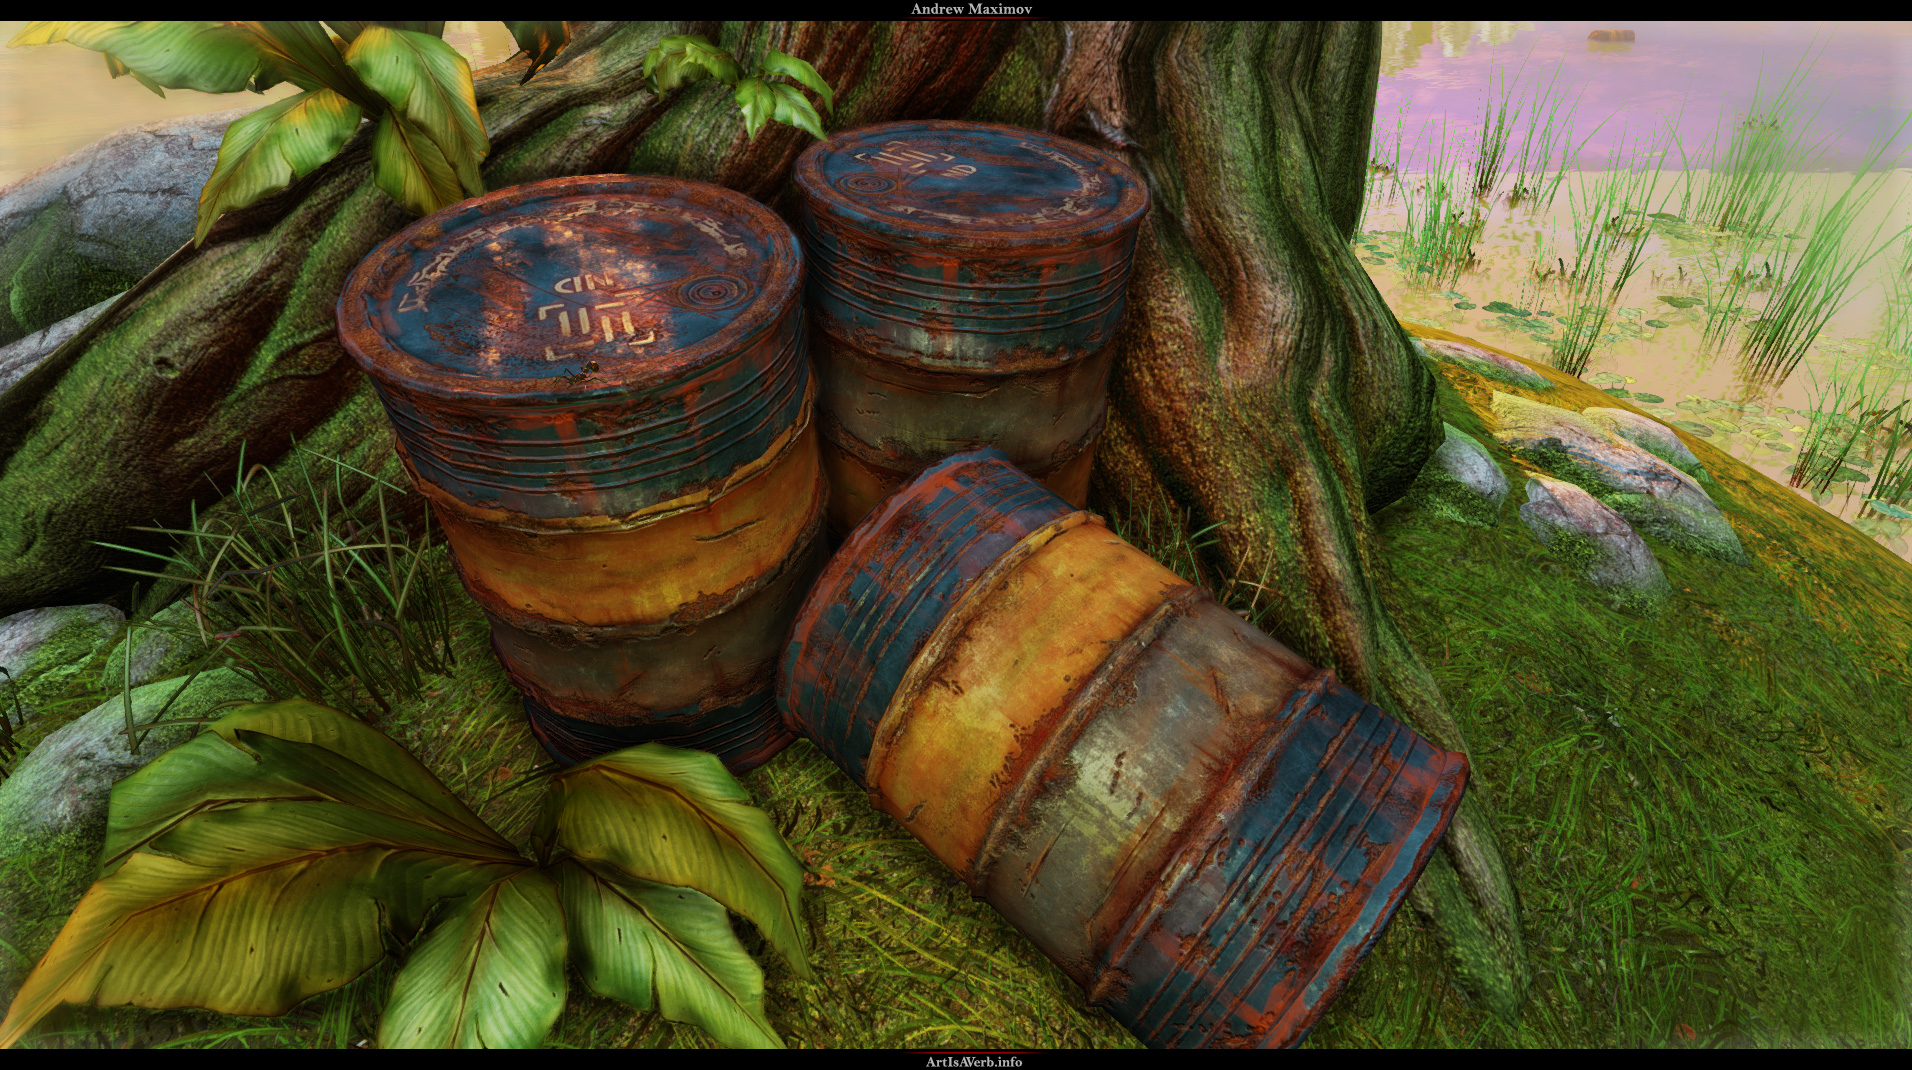
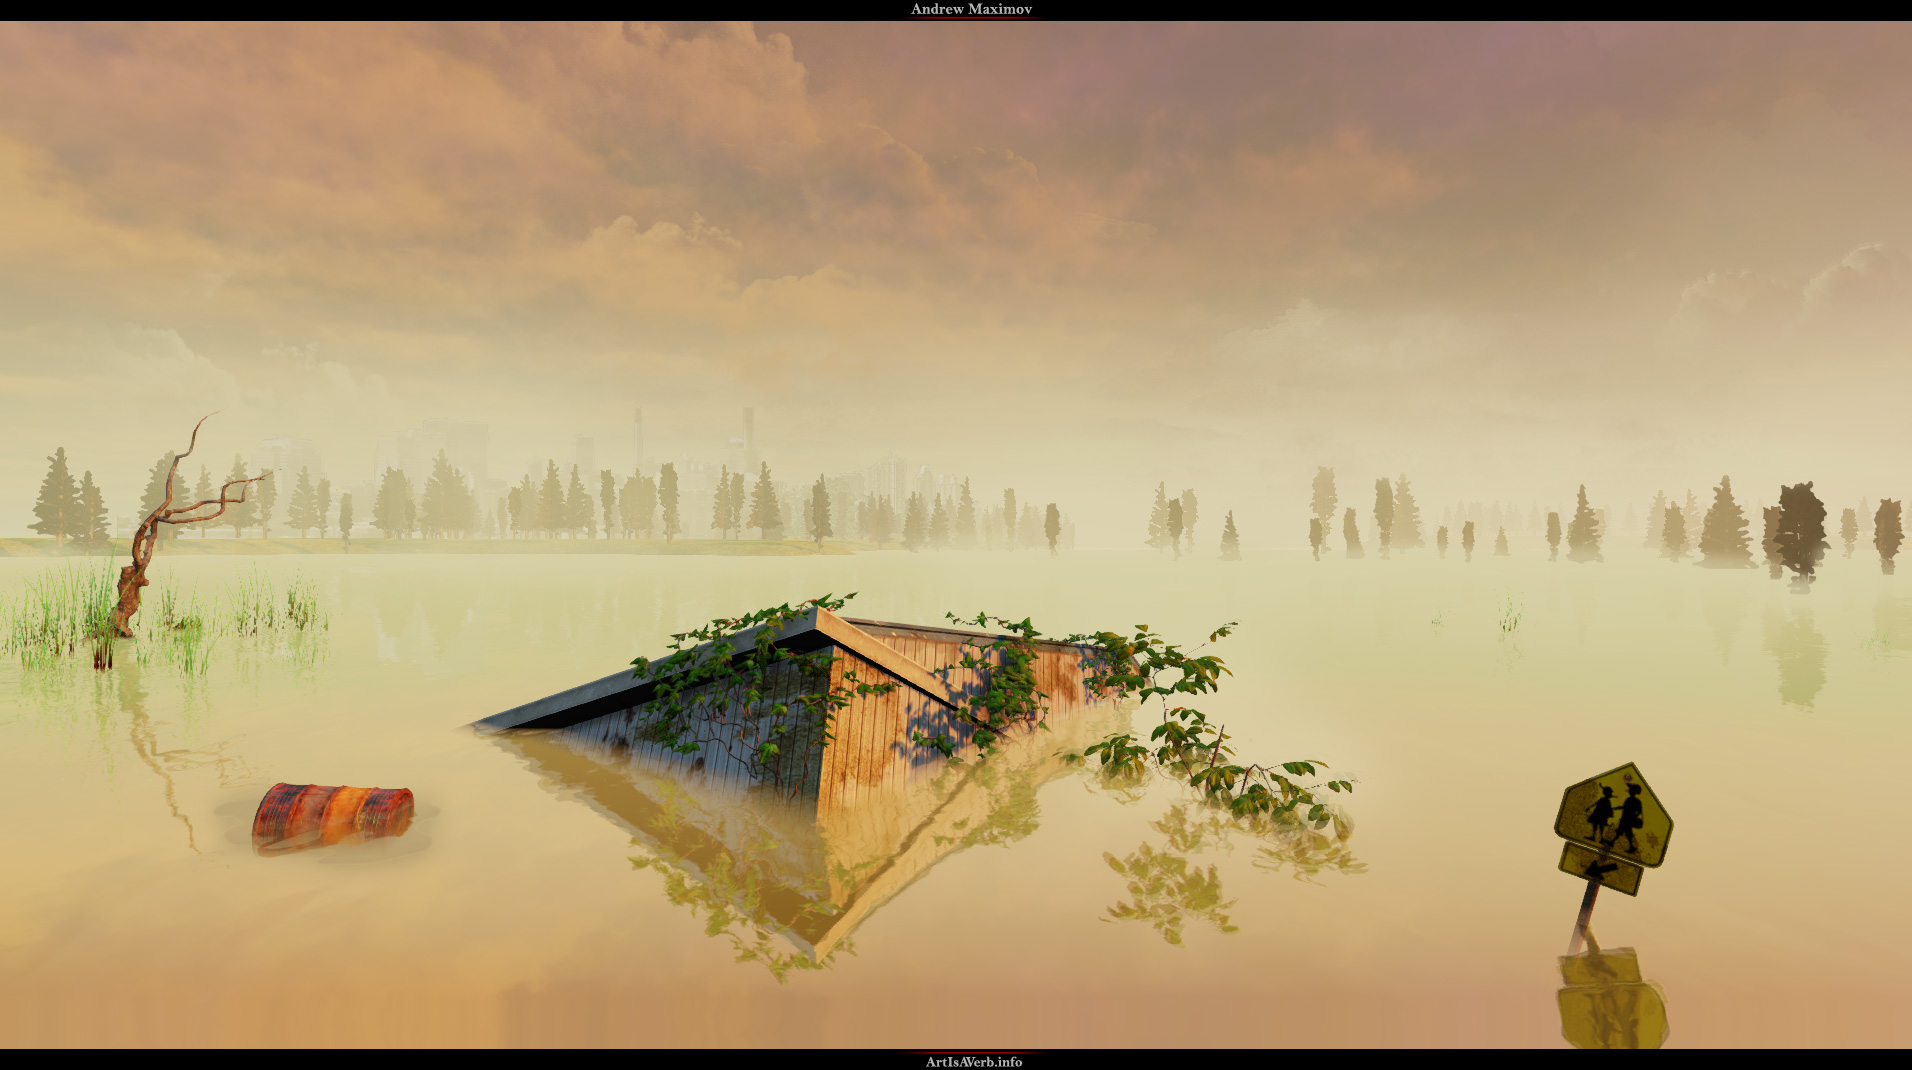
All texturing took exactly one week.


I thought I'd finally post something that's been collecting dust on my hard drive since summer. I'm sorry it's not a big fancy project. I have one in my mind I just don't know when I'll be able to get to it.
This one though, though, it just minor thing that I spent a few weeks on. Oh and I didn't not do the geometry of the center piece

[ame="
 https://www.youtube.com/watch?v=1Se-gILjUXY&feature=player_embedded"]Swamp - YouTube[/ame]
If you think you recognized the the geometry - indeed you're right. It was a texturing test that was nothing but pure joy to sink my teeth into.
The test did get me the job, but unfortunately I had to turn it down for personal reasons.
The test did get me the job, but unfortunately I had to turn it down for personal reasons.


All texturing took exactly one week.


Replies
Thanks for stopping by folks
Btw the scene appears a bit over-saturated to me. Surely just personal taste, though.
Yeah that tree texture was one tough bugger, so I'm glad you're liking it
I already submitted it a long time ago and it went really great! The guys liked it and it really was a pleasure to chat with them. I got the job but due to some circumstances decided to eventually let go of the idea.
Ha-ha thanks SideEffect! I found it be pretty slick too if I may say so myself :P
You're welcome toolpaddz and thanks for your input. Yeah I tend to push a tad far at times.
Thanks, leleuxart! You're welcome. That particular piece of information could be found in something as old as Eat3d's Damaged Pillar tutorial. "Oldie but goldie"
Mikael, yeah I used to be bummed about it as well, but...
[ame="
Whatever happens I'm just making lemonade out of it
Regarding the foliage - it's nothing like that. I noticed that people tend to go the roads you mentioned but it feels too slow to me. Foliage is 100% done in Zbrush.
I prepped a demo of that technique to give as a workshop here at work and was thinking of doing similar stuff for the lovely people of the internet, but I just can't seem to find time. Hopefully not far from now. But if you want a pointer just create leave objects and paint with them and do the base branches from zspheres. You can then just arrange them on the canvas and paint additional smaller brunches right in 2.5D. Just make sure to do it all on separate layers if you'll want to tweak stuff later on in photoshop.
I hope it helps!
If anyone got any more questions of crits don't hesitate.
cheers,
Andrew
I was thinking of doing something like this to pack multiple gradient maps into single channels of an image, but could never come up with a way to combine them.
Zbrush is an environment artists friend. Highly recommend.
And baking for environment artists is a point I have quite a lot of gripe with. Environments use tiled textures and I find Zbrush to be the best for that. So noooo baking for environments. I find this point to be stressed to much for beginning artists, where they just try to bake everything down. Real game environments are not made like that. Props - maybe. But environments - tiling all the way!
Also there's a question at the end of the post
Hey, m4dcow,
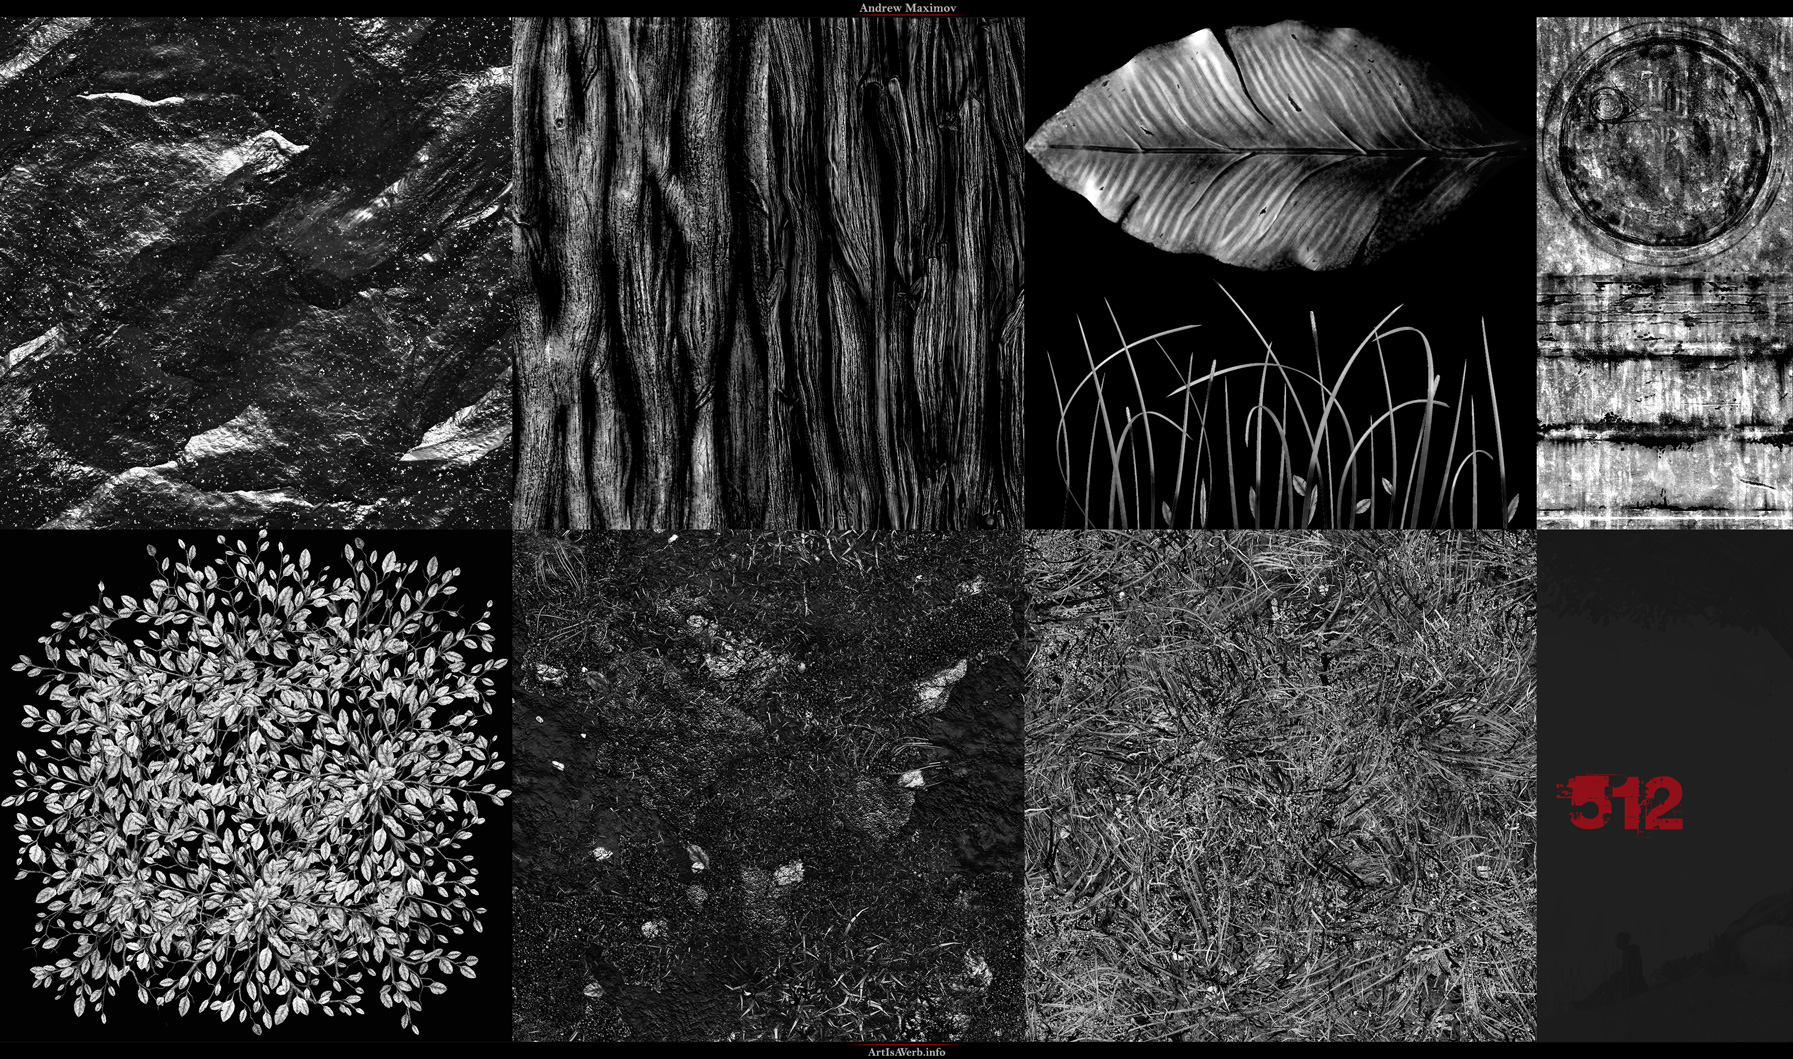
It's tricky for sure. Well the way you do it in photoshop you just grab the level adjustment sliders assign some particular space to particular images as in this image:
http://www.artisaverb.info/Swamp/NoTransparency.jpg
But it's decoding that that become tricky.
For example if you allocate first 32 brightnesses for the transparency map you can't just clamp it in UDK to 0.125 and then multiply by 8 to restore it. Something happens upon compression that screws the values so I had to just play with them until I got an acceptable result.
But I never tried encoding multiple maps at once - just diffuse and a transparency map. Which means I could use my image for diffuse as is and extract the Transparency without worrying about where it sits there in regards to 3 more maps.
I wish I could be more helpful but that is as far as I went. Although it would be interesting to look into it later on. I'll keep you updated if I do
I would greatly appreciate your input!
I guess my question is between the 3rd and 4th image, how do you actually blend the the soft opacity mask with the clamped leaf image?
You bg has 0 in there. Your subject has more then 32 and since the mask is soft you end up blending between the two in that specific range.
I hope that helps!
Thank you very much, Snight! I loved your work all the way back since UC 2009, so it's double the pleasure
*Edit*
*1 hour later* I just watch your youtube video on "Quantifying Beauty in Representative Art". Quote, "WOW!". lol I am really glad that I watch it. Learned more about the breaking down an image even more. Thank you so much for doing that presentation and recording it and sharing it.
Thanks Jeff. It's my pleasure.
Nitewalkr, you're very welcome!
Appreciate the feedback, ScudzAlmighty. I had to google pyro-vision, 'cause I'm not much of a TF2-head:D
But I see what you mean and it's actually quite interesting. I try to push lights and colors as far as I can. And naturally people like bright lights and saturated colors compositions, but after a certain point it seems overwhelming for some. Like for example the new DMC, in the IGN review i think they said the colors looked like an overdone instagram filter, while I was crazy in love with the colors.
I wonder what causes that in particular. And interesting subject to study and some valuable feedback...If you had to specify, what puts you off? Color saturation, color composition, contrast, brightness?
Anyway, I digress, man:) Thank you very much for the kind words. And, hey, that's why it was s a few years back - I'm sure right now you'd kick some serious ass
Thanks, jamiemurphy! I might even have more breakdown stuff in a while
Thanks , ZeroStrike. And, hey, I'm super happy you like the talk! Yeah, I know I could definitely use one these when I was starting out. But seriously - I'm super happy if it helped you out. I was considering posting it up around here but the crappy sound quality still keeps me thinking.
I don't have the materials around now but as far as I remember the trick here is UDK height fog
I hope this works for you! Let me know if you have any more questions.
Cheers,
Andrew
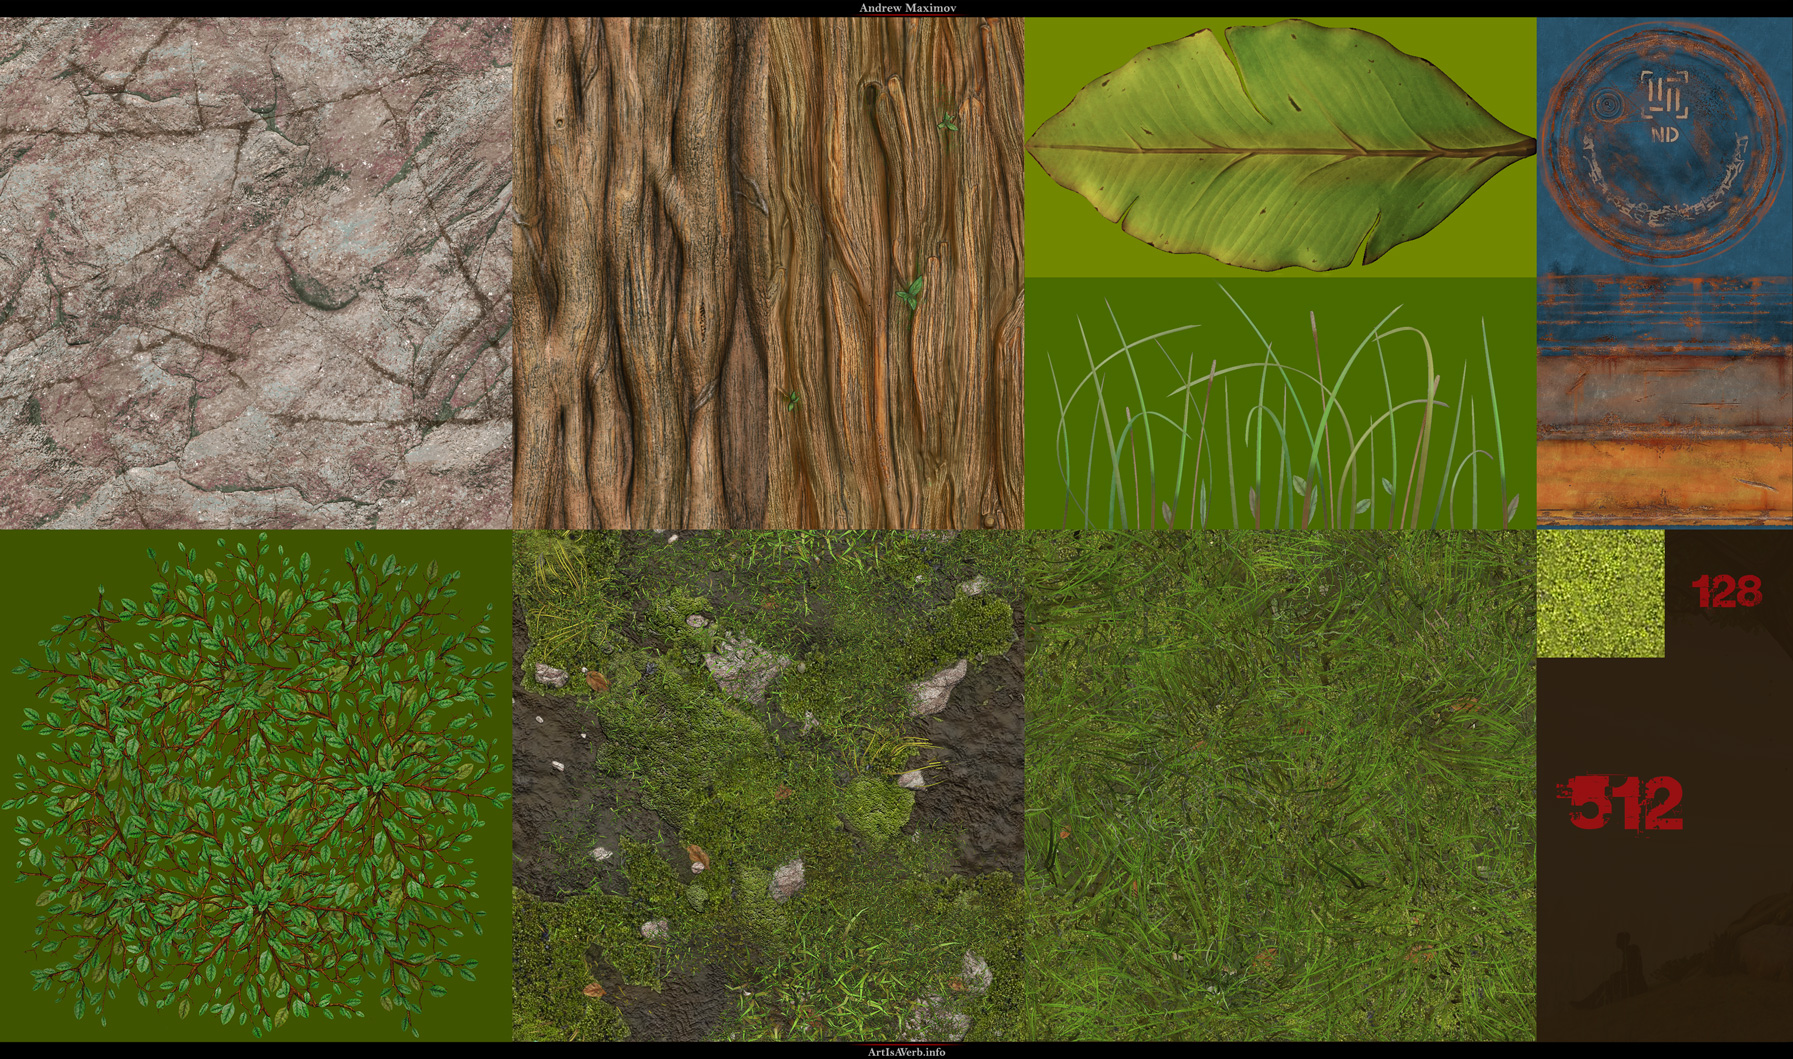
So you sculpted all these textures in zbrush then did the color maps in photoshop? Even sculpted the big leaf and ground moss in zbrush?
If so what was your staring object for sculpting the big leaf? Did you use zspheres or light box?
Also for the flat ground textures did you sculpt a few pieces of grass then duplicate it around the zbrush canvas?
As devils advocate why not just paint the leaves in PS and pull a normal map with ndo2?
Again great job. Thanks for any feedback!
GoZ is an extremely comfortable tool that leaves you with no reason not to do a proper basemesh in your package of choice. So yeah before you get to paint a 2.5D textures you've got to prepare your "brushes"/tools and before you do that you take the 2 minutes to do a proper base in max/maya or whatever. I mean it literally takes you less then 60 seconds to do a base for a leaf or grass.
Some colormaps were done in zbrush, like the grass and the tree leaves for example. Others in photoshop.
As for the flat ground textures, fibermesh allows you to generate your grass like hair in zbrush and "style" it accordingly.
Oh no, no devils advocate here
http://www.mvirks.de/mvirksWord/wp-content/uploads/2012/12/gcs_details_web.jpg
http://www.mvirks.de/mvirksWord/wp-content/uploads/2012/12/lib_details_web.jpg
And I'm not even mentioning the quality loss that happens upon scaling and rotating your leafs around in photoshop. And also placing them around manually is just a hassle compared to painting them in ZBrush.
I hope that helps
Cheers
1. Your base mesh is just a basic sillohouette of a flat leaf (all quads) which you then sculpt in zbrush?
2. After you create one leaf you scatter it around the zbrush canvas and then capture your normal maps straight from zbrush?
Is there a scatter function in zbrush or do you place and rotate each leaf?
1.) Exactly. No all-quads required. I don't think I pay attention to that at all and it works out everytime. Subdivide your triangles once and they become quads anyway. So maybe in the days before dynamesh you needed all-quad meshes to compliment the anatomy of faces or something that precise, but right now I hardly seen it being an issue for anyone. At least for environment people.
Not necesserily flat though. Extrude that bad boy, give it some depth, so you'd have some edge transition after subdividing. Maybe even add a bend in max, so it just wouldn't be all to flat. You can play around there all you want.
2)In zbrush you can spray paint with your meshes, yes. And in order to make them rotate more randomly you could just create a 2.5d plane offset by random clouds, so that when you paint your leaves in a separate layer, they still pick their orientation from the normal of the underlying surface. That way it's more organic. And you can also always put a few leaves around by hands to get that specific few places that you want.
Zspeheres are ideal for branches, so the whole pipeline seems very natural. And don't forget to polypaint your leaf tool before populating the canvas. That way you end up with a finished diffuse texture right in zbrush.
If there's anything else, fire away
I didn't know you could spray paint meshes around. So useful for leaf and stone/rock textures. Although I admit I don't follow the conforming to a 2.5d plane offset you mentioned.
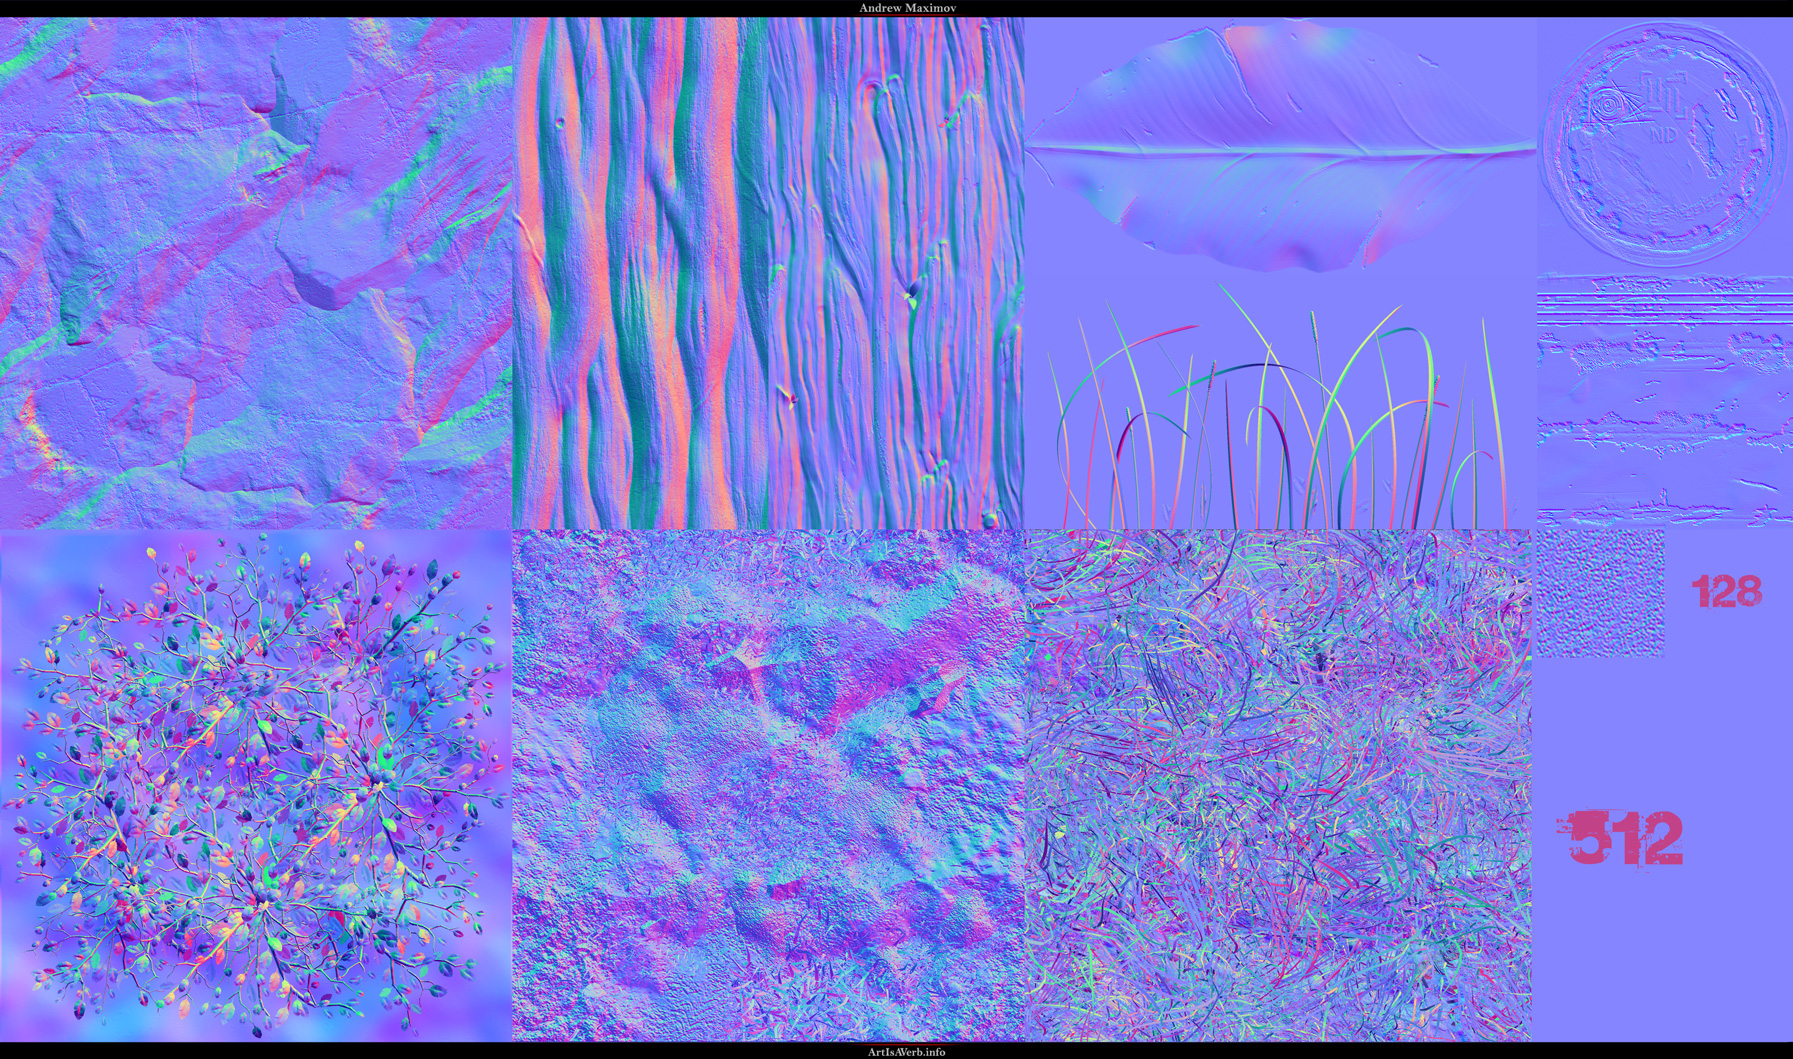
And just to confirm you capture your normals, AO etc right out of zbrush with a screen grab correct?
Your bigger plant/leaf looks really good. Everything is completely hand sculpted and painted? Also love the bark texture...Talk more about how you started that texture! heh.
Foliage forever!
Your talk about the concept of 'Beauty' in art, is really spot-on too; I too arrived at the same conclusion you presented, last year. That little concept is a real game-changer.
Hey, I was wondering how you applied color to your ground textures? I'm sure it was a mix between hand-painting/photo ref. If time allows, I would really appreciate a break-down of the ground texture(s) diffuse map!
Thanks.