New Architectural Interior and Environment Model
Hey all,
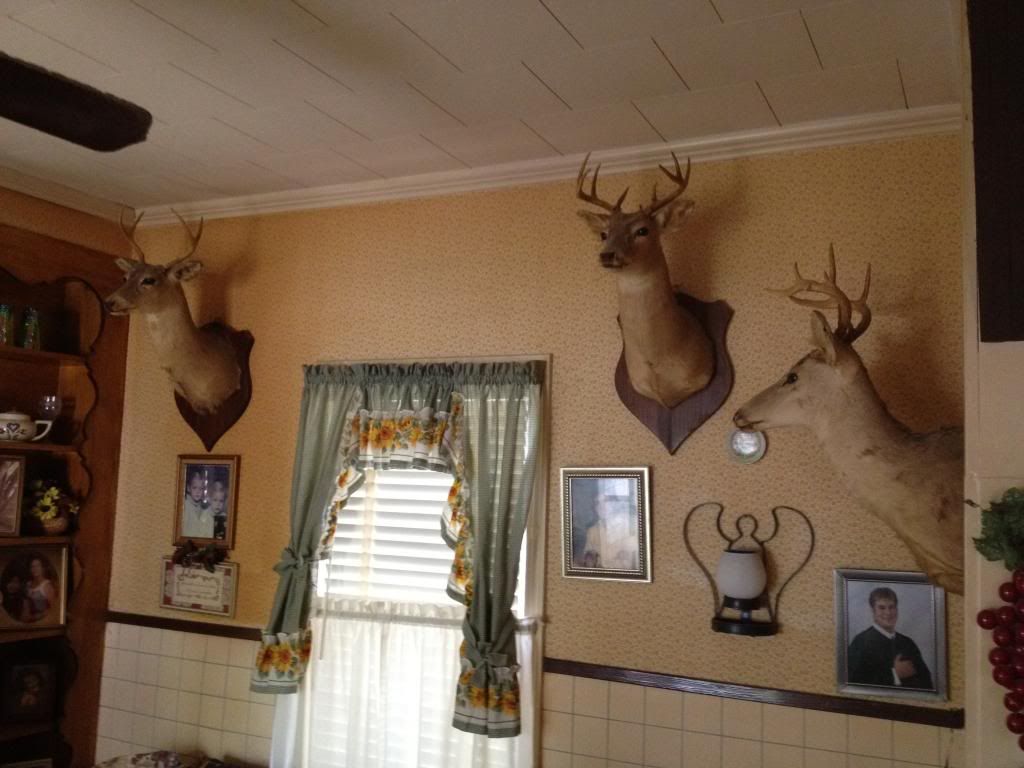
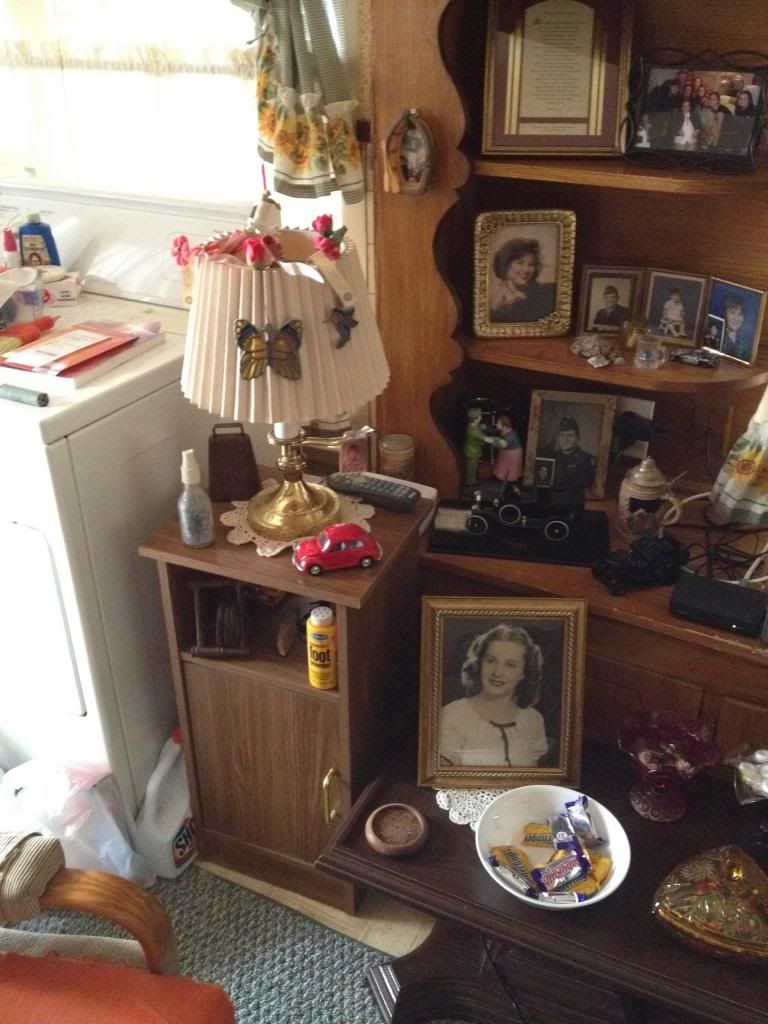
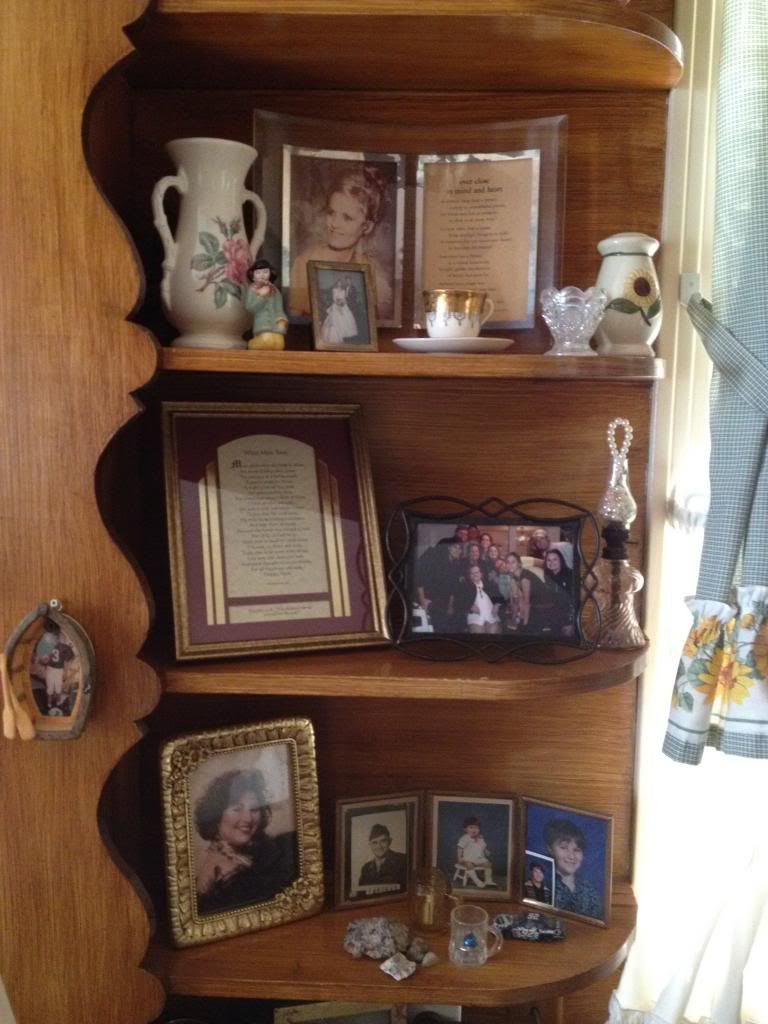
It's been a while since I've made a post here, so I've decided to challenge myself and include some documentation of my workflow. I have been wanting to do an interior scene for a while, and especially one of my grandparents' house. The place has a lot of personality and there are a lot of unique details and individual props. After playing LA Noire, I got inspired to try and create an environment with as many props as possible and have an ultra-pack environment where there is always something new to look at. I also am a fan of the way Quntic Dream created their environments for Heavy Rain because they are more convincing than your standard oversized and disproportionate environment of past games, that were specifically created for fast-paced gameplay and a first-person vantage point. So without further ado, I will show the work and progress of this piece and plan to get it fully textured, lit, and rendered in UDK.
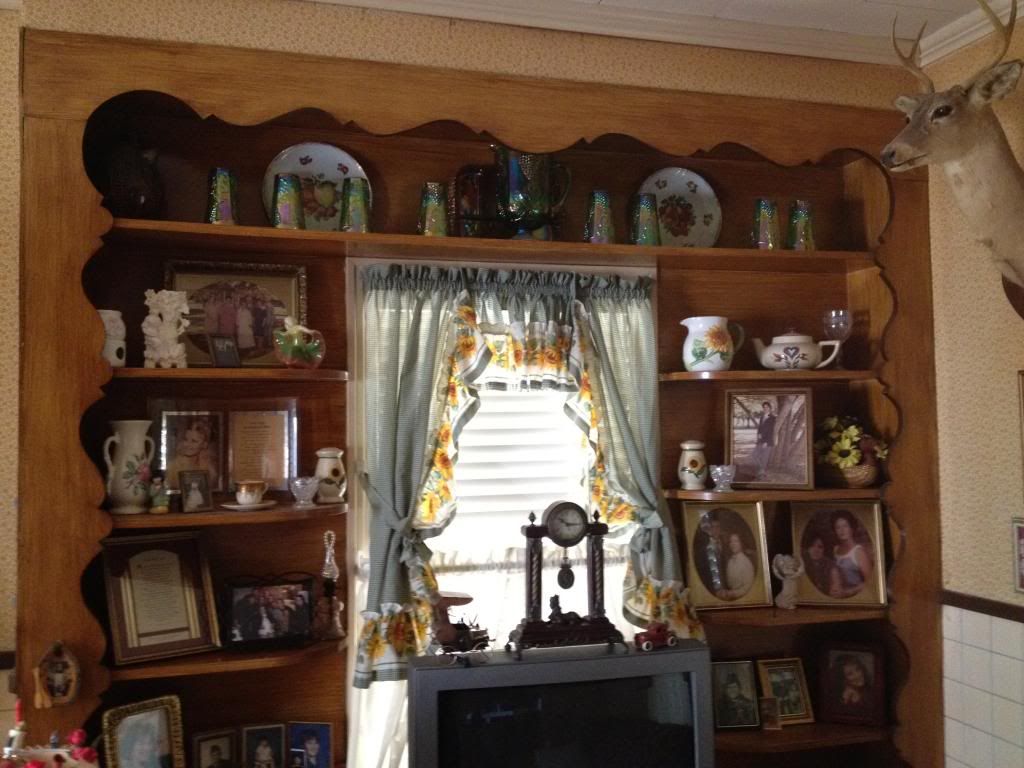
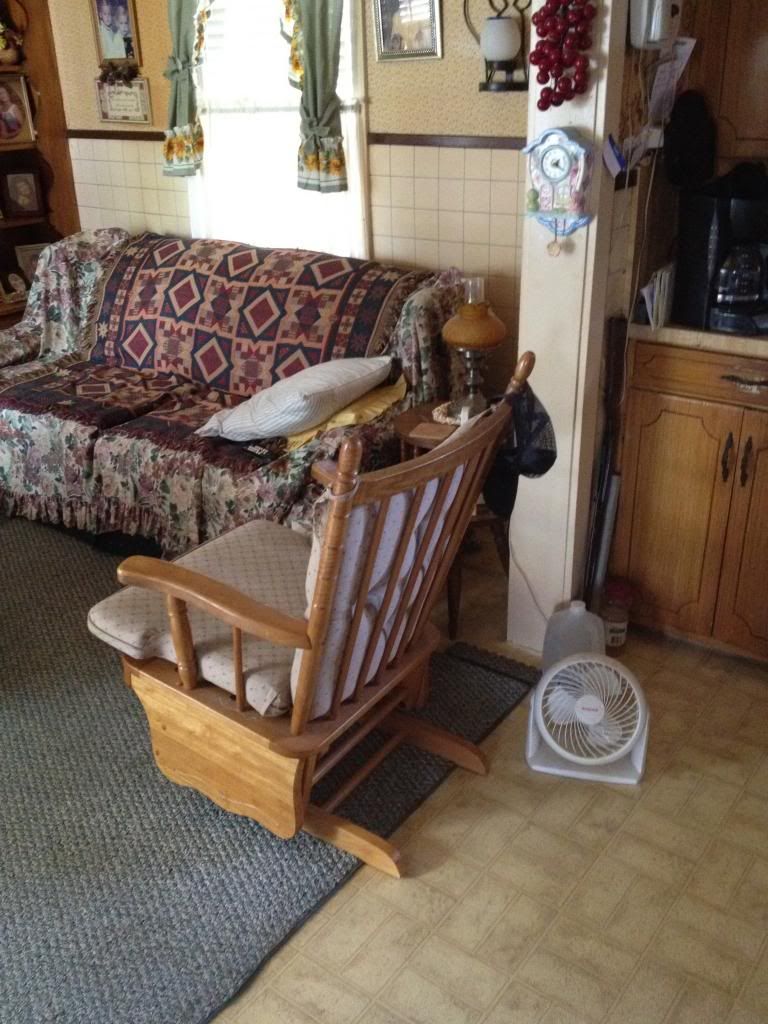
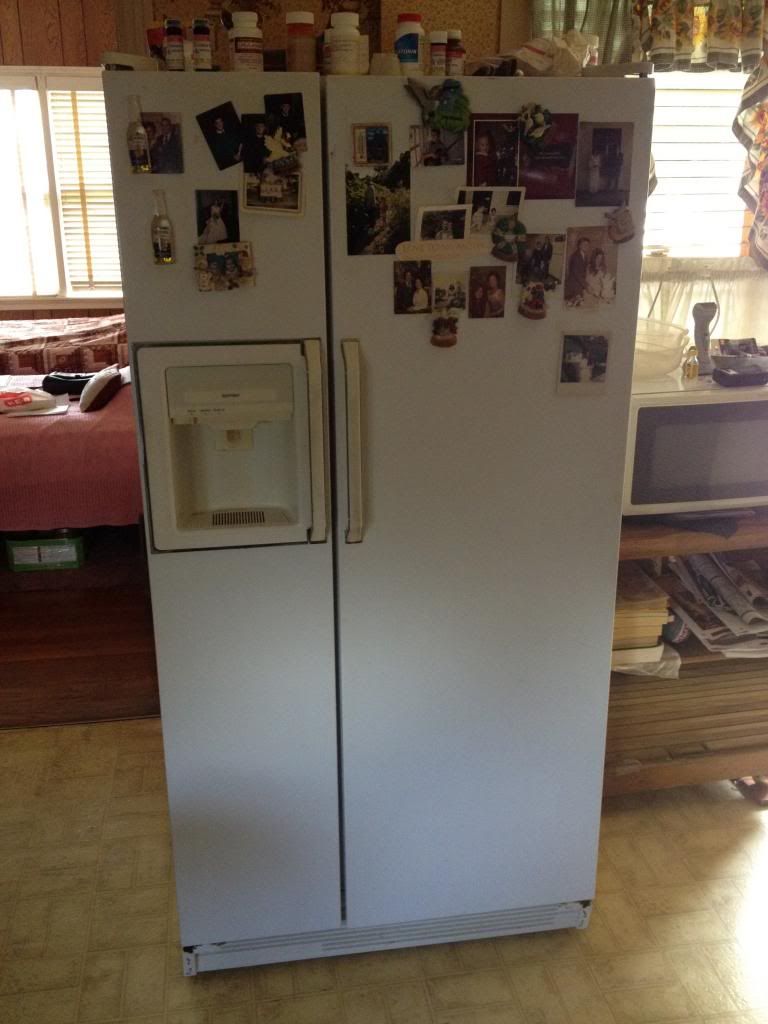
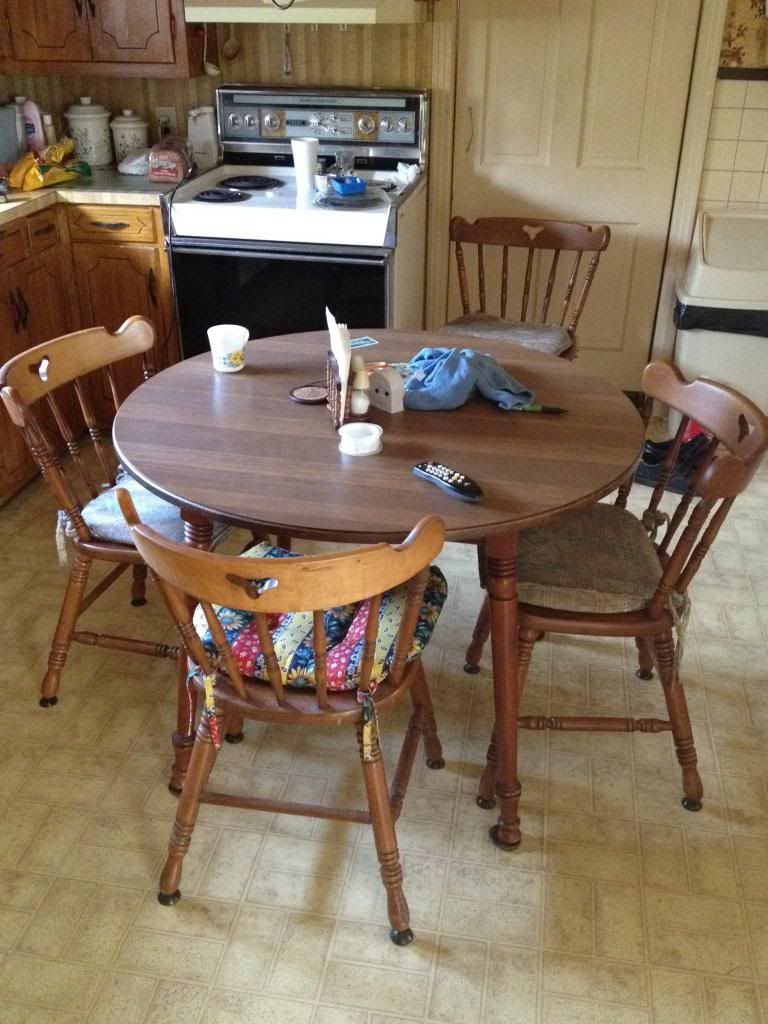
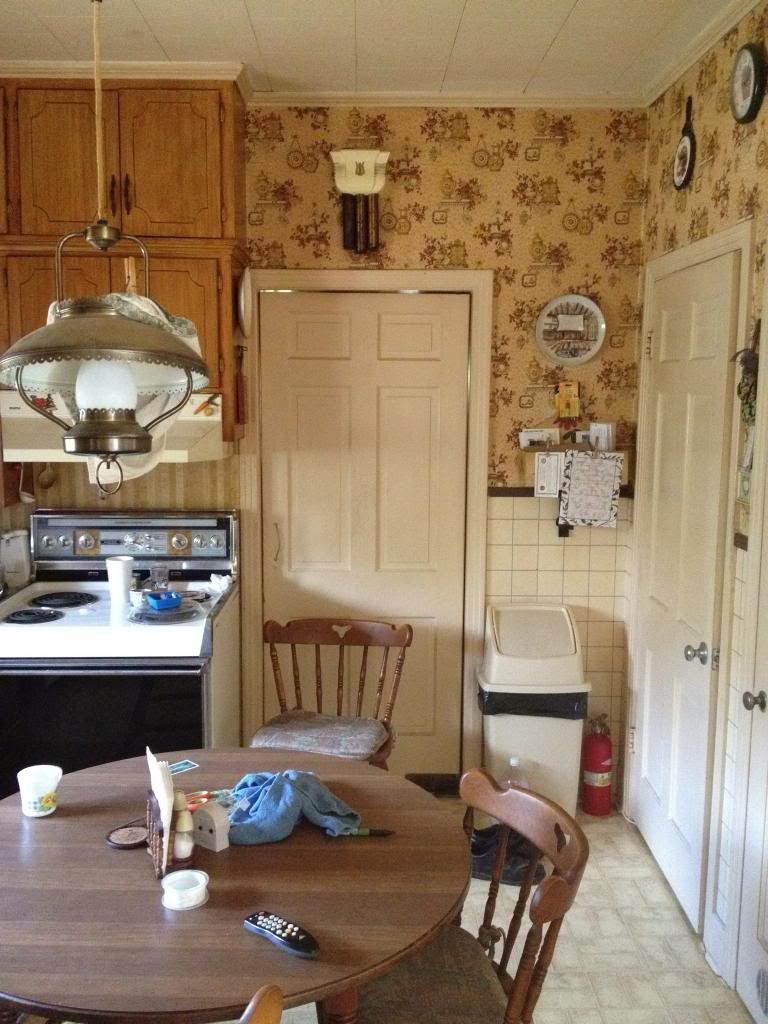
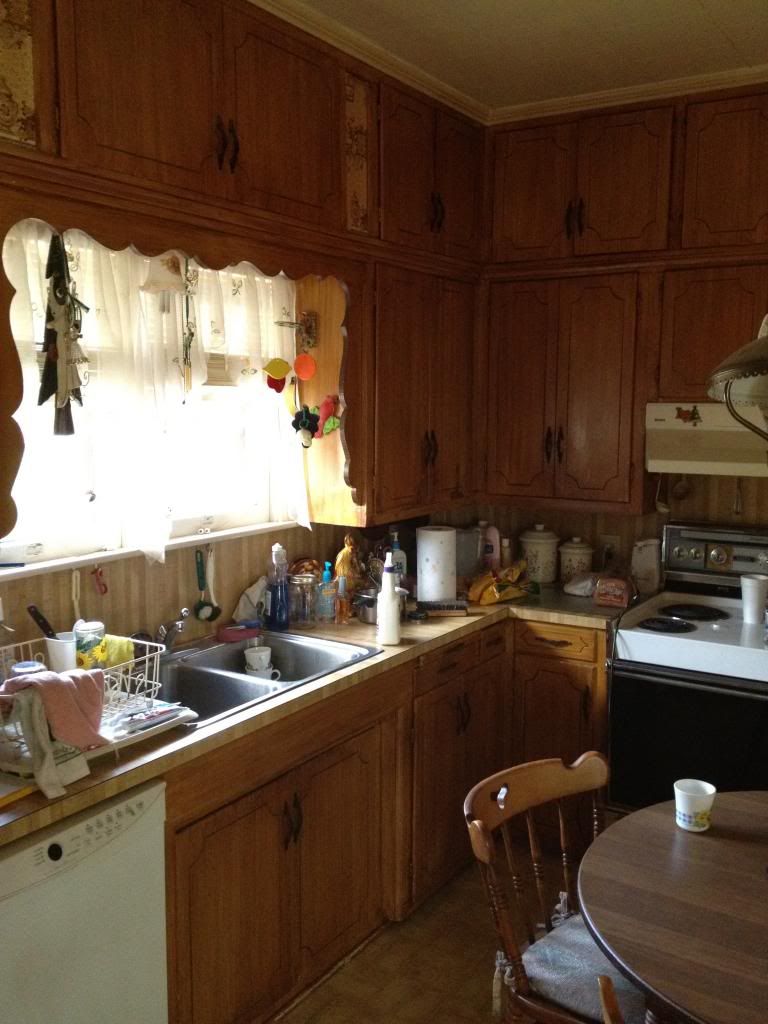
Reference Images:
I have some more moody night shots and lots of different angles, because I want to match the scene as closely as possible to capture the character. I won't post all of the pictures but a few to give an example of what I am going for.
First WIP Post:
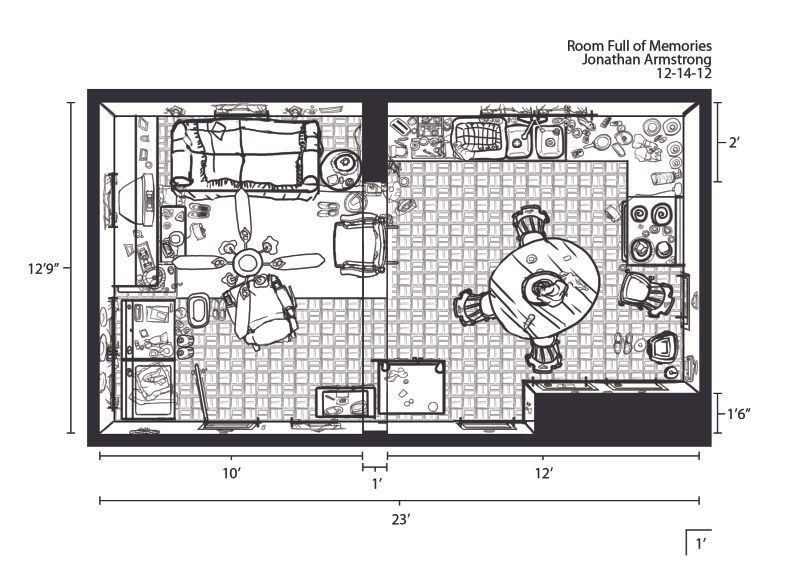
A quick blueprint that I made of the area.
I'll be back soon with more.
-Jonathan
It's been a while since I've made a post here, so I've decided to challenge myself and include some documentation of my workflow. I have been wanting to do an interior scene for a while, and especially one of my grandparents' house. The place has a lot of personality and there are a lot of unique details and individual props. After playing LA Noire, I got inspired to try and create an environment with as many props as possible and have an ultra-pack environment where there is always something new to look at. I also am a fan of the way Quntic Dream created their environments for Heavy Rain because they are more convincing than your standard oversized and disproportionate environment of past games, that were specifically created for fast-paced gameplay and a first-person vantage point. So without further ado, I will show the work and progress of this piece and plan to get it fully textured, lit, and rendered in UDK.
Reference Images:
I have some more moody night shots and lots of different angles, because I want to match the scene as closely as possible to capture the character. I won't post all of the pictures but a few to give an example of what I am going for.
First WIP Post:
A quick blueprint that I made of the area.
I'll be back soon with more.
-Jonathan
Replies
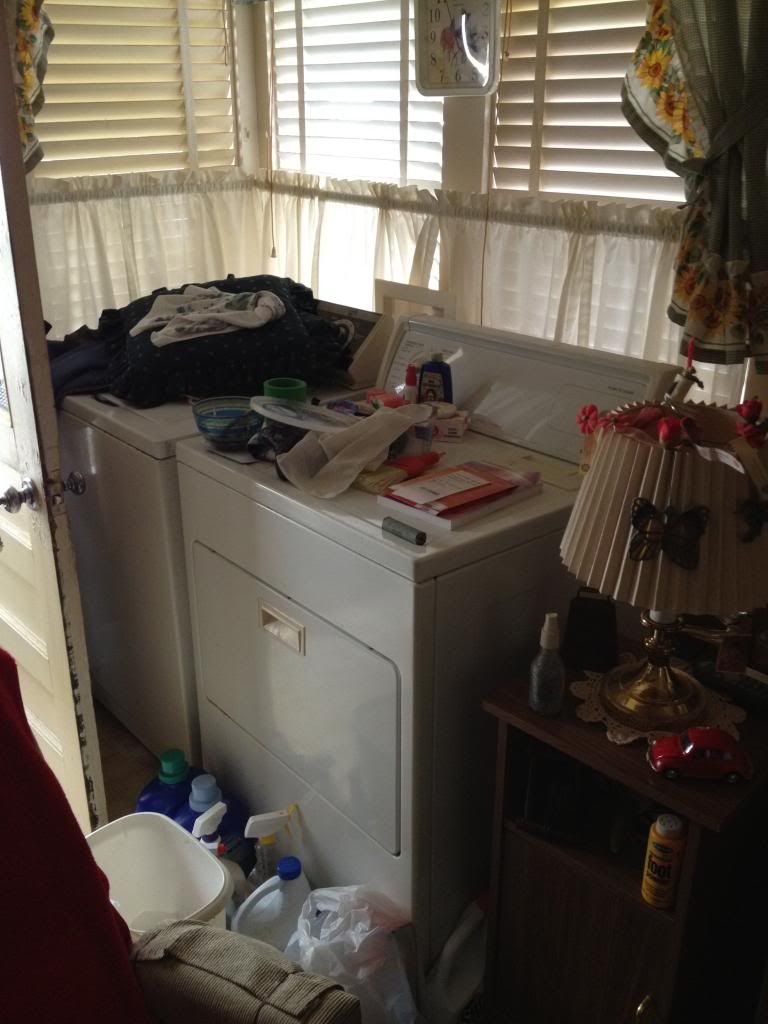
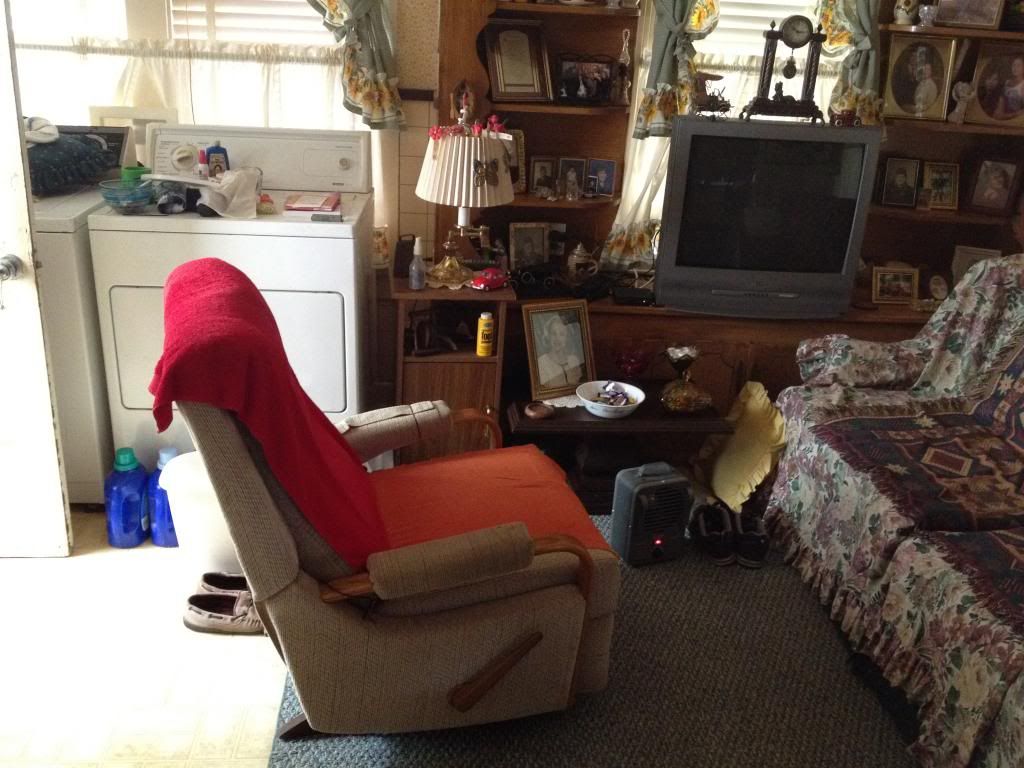
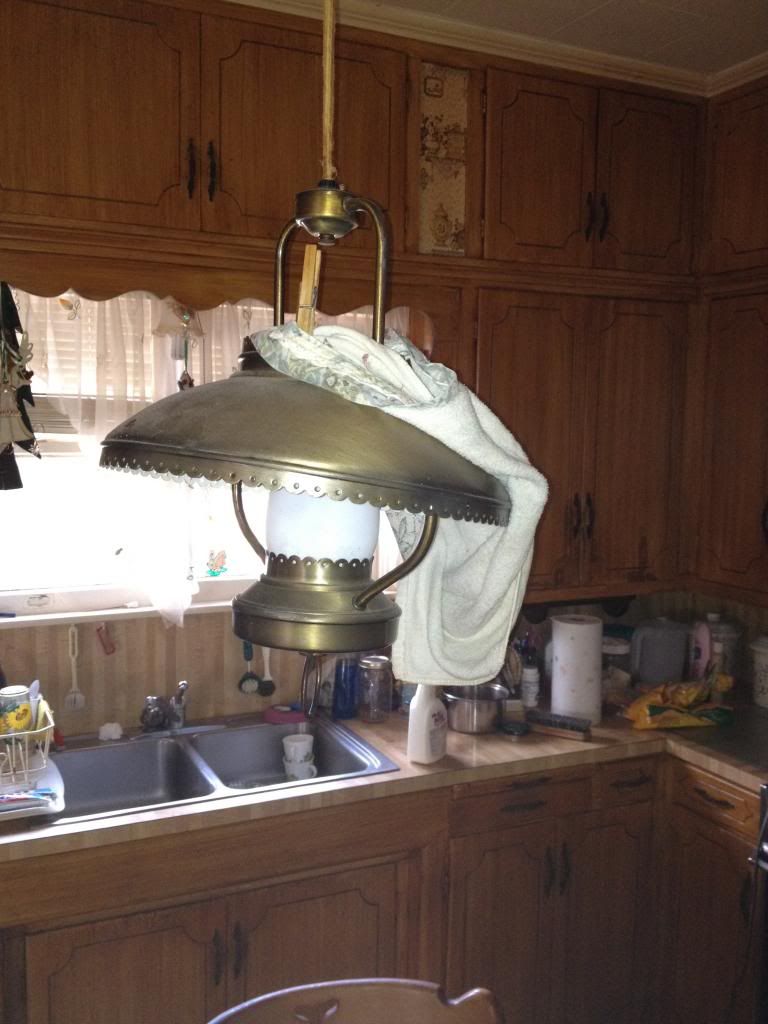
Drying that dish towel on the kitchen light can't be safe(?) :poly141:
Best of luck!
Drying the towel on the lamp wouldn't be safe, although I think that the towel was there to dim the light and have it directed only to a certain area so it wouldn't be in my grandmother's eyes while she watched TV from the back. Equally as unsafe
WIP 2:
So the blueprint that I used is not the most accurate. I tried to size everything based on the grid in Maya and using 10 units as one foot. I will size accordingly for UDK later. The shell of the room started out okay but I noticed that many of the smaller elements and furniture and appliances didn't line up correctly. The more I study the photos, the more I am enlightened to the placement of the objects and their spacial relationship. There are even new things that I discover each time I look at the pictures, or areas that I feel that I don't want to do because there is such a small prop with too much detail.
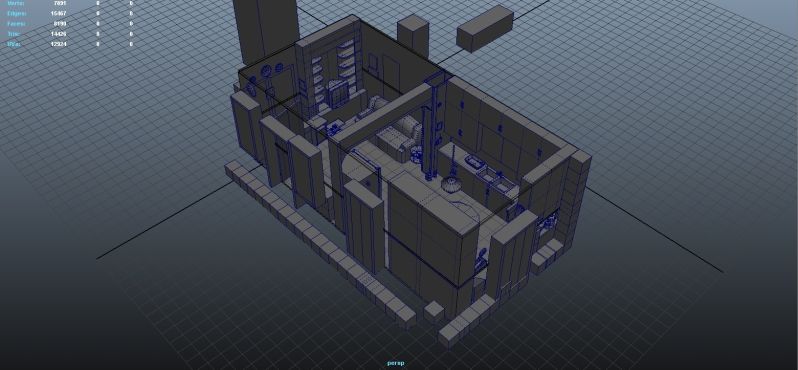
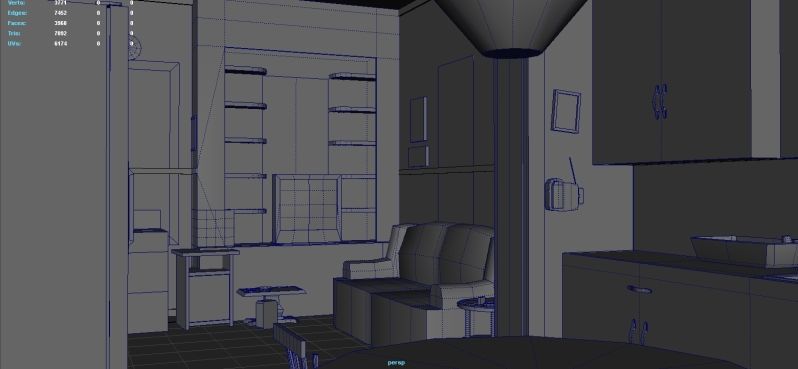
Here are the Maya captures:
I've been using the barbaric method of using cubes for my unit measurements. That's why all of the cubes are around the perimeter of the structure and may be seen randomly next to other objects in the scene.
Models are still in varying degrees of completeness. I at least try to rough in the overall silhouette before I replace with a more exact model (for instance, the lamp shape).
Added the ceiling fan and started the basis of the deer heads.
Thanks everyone for viewing!
@E_Hollaway I don't know that class but yes it is a lot of texturing. Thankfully most are photo-sourced, but the bad part is that the images where not taken straight on or with a better camera (I was using my phone) so there will be a lot cleaning to do and removing the graininess.
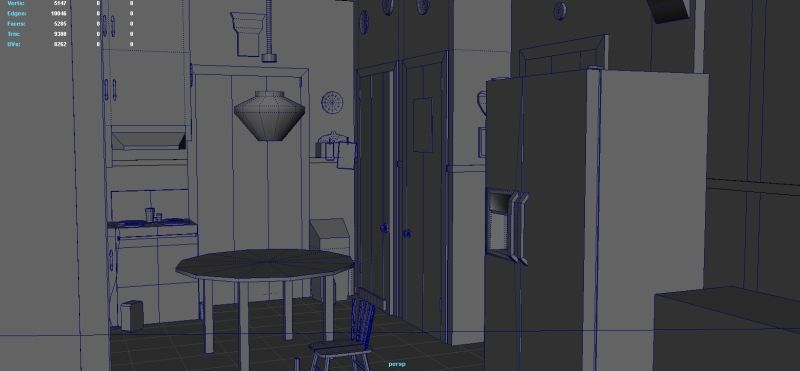
Progress: I have box-unwrapped a lot of the objects with my favorite grid texture. I have also been custom unwrapping certain items such as the props. I have also started on some of the major tiling diffuse maps for the architectural elements and now I'm moving on to the texturing of the flat surfaces. I'm putting most small props on texture sheets so I don't have tons of textures. I am also making sure to group them by those that will have similar maps: like all of the alpha objects on one sheet, for example, so that I don't have to have an alpha channel for each sheet if there are only a few small objects that actual need the transparency. The textures are pretty quick and dirty for the props as I'm mainly focusing on the placement in the UV space and the dimensions. I will polish the textures later, once I have a majority of objects textured and correctly unwrapped. The normal and spec maps will also come later, too.
Here are the screenshots: