How to take my Character further (with images!)

polycounter lvl 9
Hi there, I'm posting this because I feel I have hit a brick wall in my workflow and am not sure where to go next. I also could use a few questions answered about things in zBrush and such. I've been procrastinating with this character for too long now, being too proud to reach out and ask for a bit of help; so now I'm going to just do it. Excuse that some of these questions might be simple and obvious, or over thought, I spend too much time in my head.
I'll firstly just post pictures. This character is made entirely in Maya, and I've used control loops for smoothing/SubDividing. I want to take this Character down to a 20-30k poly model if I can. I'm just not sure on some specifics to do it. Especially since I've made it so dense and complex already in Maya.
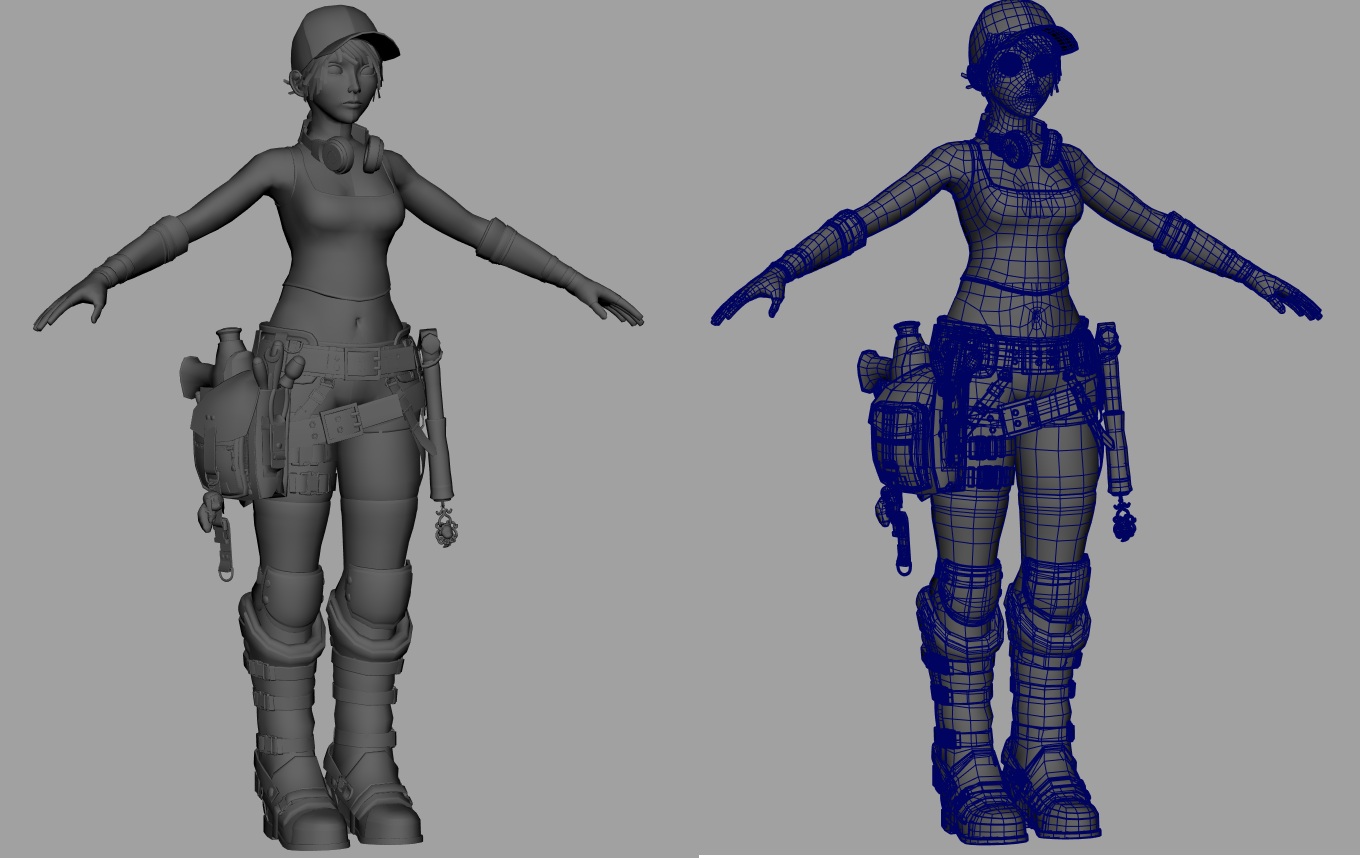
As you can see, some parts are very dense, whilst other parts need a good sculpt (clothes etc) - That was my plan, to model the hard surface stuff in Maya and then sculpt all the clothing and stuff in Zbrush. Unfortunately I'm not that well versed in Zbrush, i've tried to learn it but I find it too clunky and get frustrated by certain things that I have no idea how to fix. Like the whole importing of seperate elements is a pain. I guess you make a tool like a star or cube and replace it with your model by importing it?
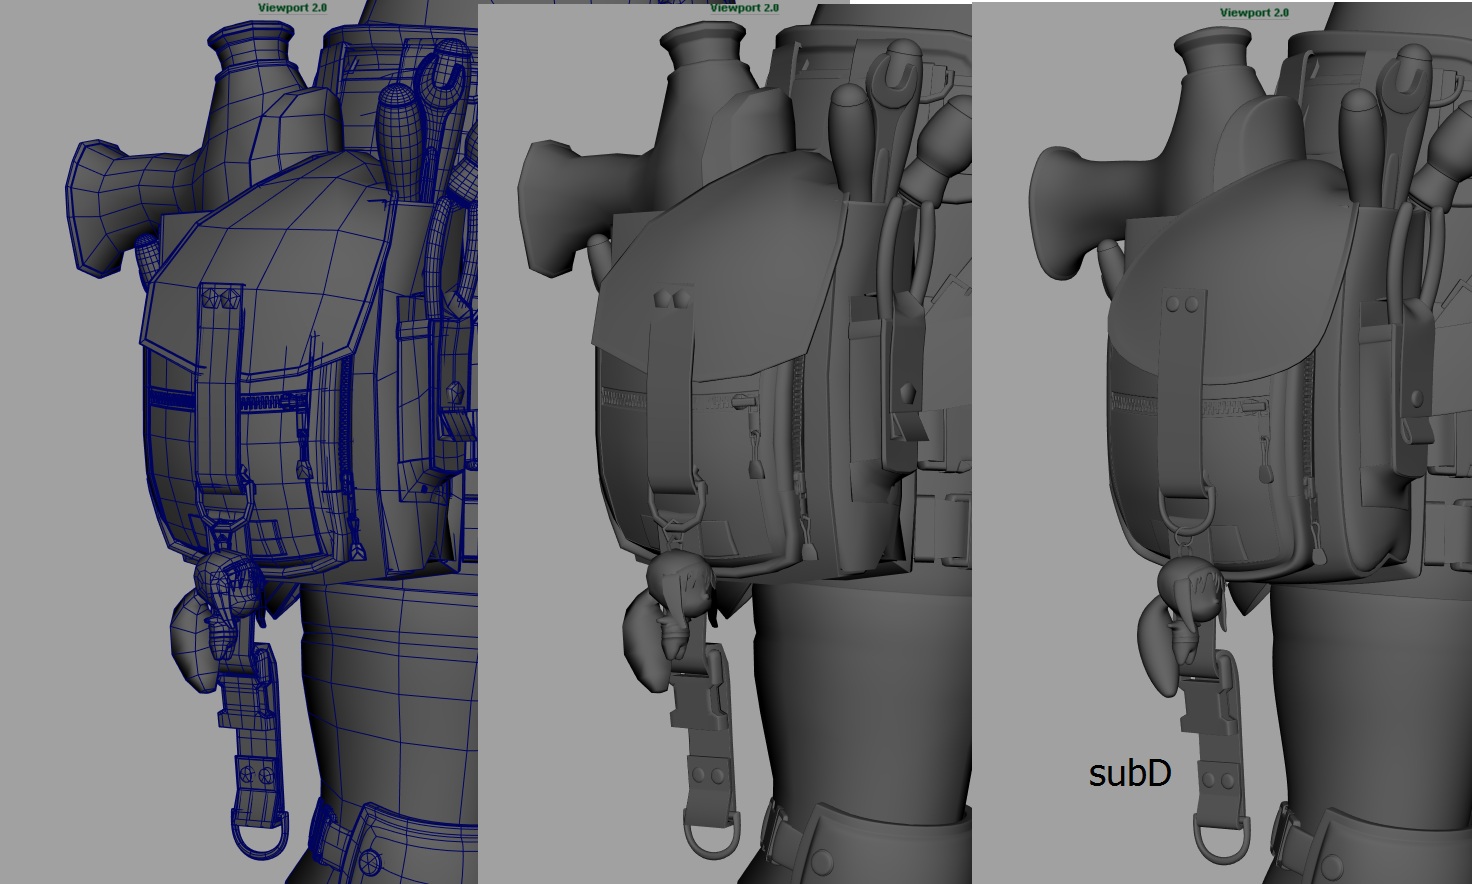
Here's a close up of the bag, it's so dense, i've even modelled all the zippers, I think I took it too far if I want to take it into Zbrush, and I've no idea how best to build a low poly for that for example.
Sorry, I'm rambling now, but I'm trying to get my thoughts down. I'm probably... definitely over thinking this I'm sure.
One more thing too that I don't really understand with Zbrush. I've made her body in parts as seen here :
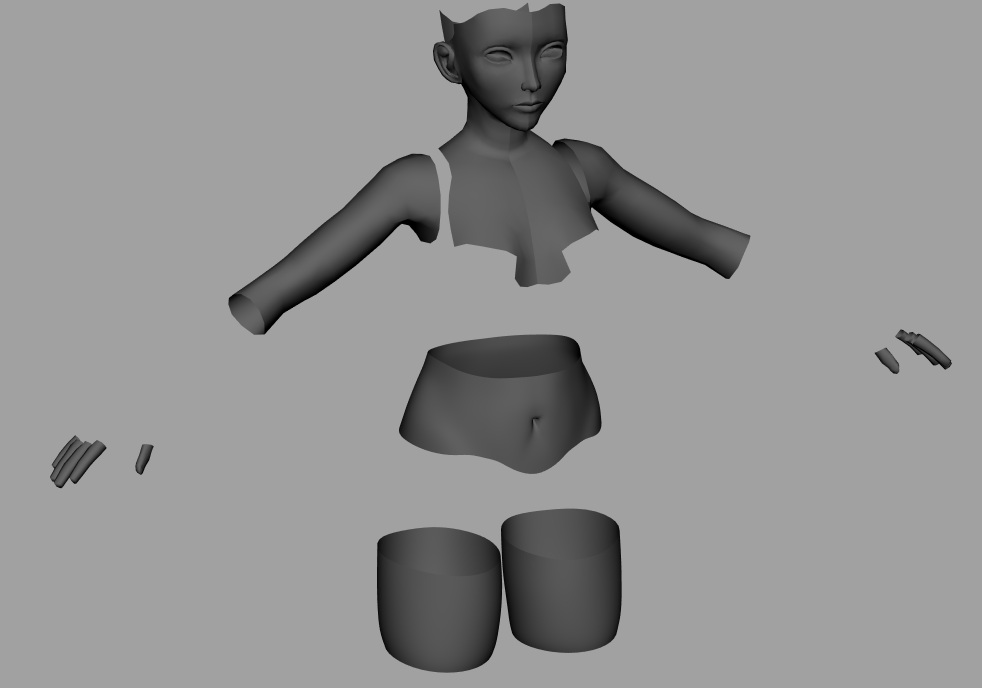
But when you subdivide this model in Zbrush it smooths out the models borders, moving them away from their original position, making gaps between the cloths for example and the leg. I've no idea how to work around that.
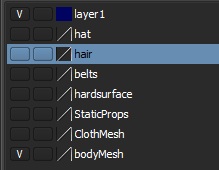
I'm also exporting the model out in seperate obj's, seperated like this :
Is that a good idea? Have I modelled too much? Should I remove all the supporting loops and stuff I've got for subDivision and just go sculpt this thing? I really don't know where to take this from here to progress it further. This is about the furthest I've got into low poly character creation and i'm finding it difficult to understand it.
Forgive the rambling, I hope it makes sense and I hope someone can offer me some guidance. I need it
Thanks!
I'll firstly just post pictures. This character is made entirely in Maya, and I've used control loops for smoothing/SubDividing. I want to take this Character down to a 20-30k poly model if I can. I'm just not sure on some specifics to do it. Especially since I've made it so dense and complex already in Maya.
As you can see, some parts are very dense, whilst other parts need a good sculpt (clothes etc) - That was my plan, to model the hard surface stuff in Maya and then sculpt all the clothing and stuff in Zbrush. Unfortunately I'm not that well versed in Zbrush, i've tried to learn it but I find it too clunky and get frustrated by certain things that I have no idea how to fix. Like the whole importing of seperate elements is a pain. I guess you make a tool like a star or cube and replace it with your model by importing it?
Here's a close up of the bag, it's so dense, i've even modelled all the zippers, I think I took it too far if I want to take it into Zbrush, and I've no idea how best to build a low poly for that for example.
Sorry, I'm rambling now, but I'm trying to get my thoughts down. I'm probably... definitely over thinking this I'm sure.
One more thing too that I don't really understand with Zbrush. I've made her body in parts as seen here :
But when you subdivide this model in Zbrush it smooths out the models borders, moving them away from their original position, making gaps between the cloths for example and the leg. I've no idea how to work around that.
I'm also exporting the model out in seperate obj's, seperated like this :
Is that a good idea? Have I modelled too much? Should I remove all the supporting loops and stuff I've got for subDivision and just go sculpt this thing? I really don't know where to take this from here to progress it further. This is about the furthest I've got into low poly character creation and i'm finding it difficult to understand it.
Forgive the rambling, I hope it makes sense and I hope someone can offer me some guidance. I need it
Thanks!
Replies
For your current model you'll have no trouble getting it down to 20-30K (these are huge densities, you could go down much further without too much effort). Most of your savings will be in the little things, so look for high density objects. From the look of it, your tools each have a few thousand polys and they could come down to two hundred or two and still be their own model. Most of the boots, belt, and tool purse can be done in normals.
Depending on the style you want to go for (it's fairly comic looking) I wouldn't say you need to add massive detail in zbrush. You've already got lots of detail in geo for a bake. There are plenty of places you can detail cloth, but even if the only addition to the final normals now was through photoshop normals, you'd still have a solid end product.
Right now maybe look for a single reference for the level of detail you want to reach and post it and ask how to get it, because that'll almost answer itself
http://www.kalescentstudios.com/troyfolio/Images/Rubi_01.jpg
Kurt - Thanks again, appreciate your time.