first legit charchter model, UVWs.
polycounter lvl 12
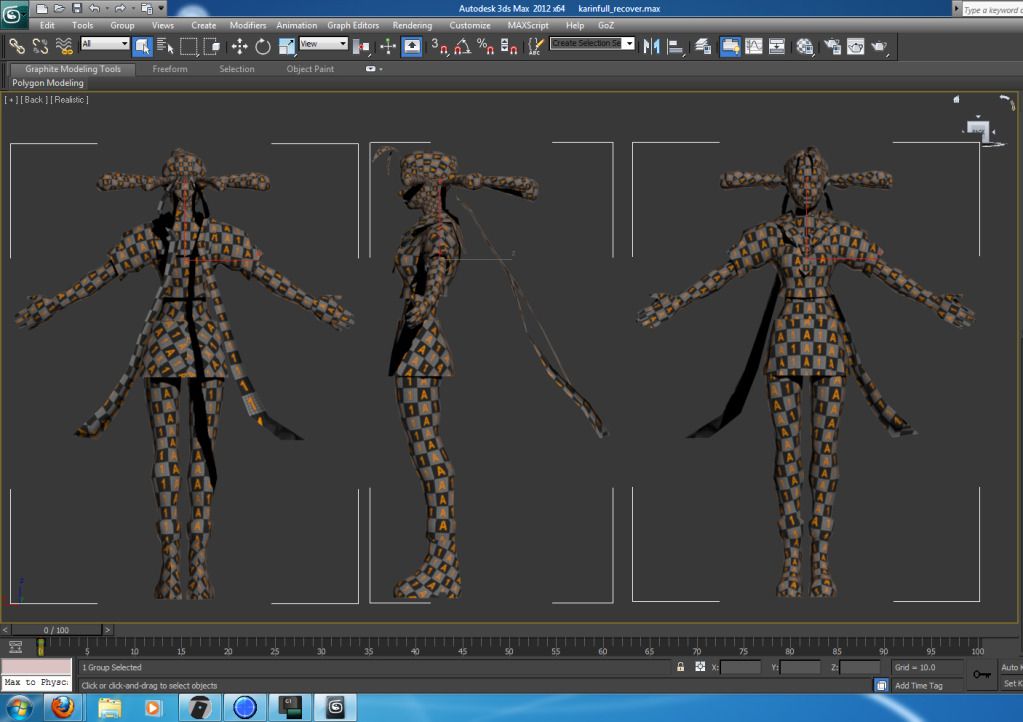
Any advice on these uvs before I texture, will i have problems when I start texturing? Is this good placement? Seams?
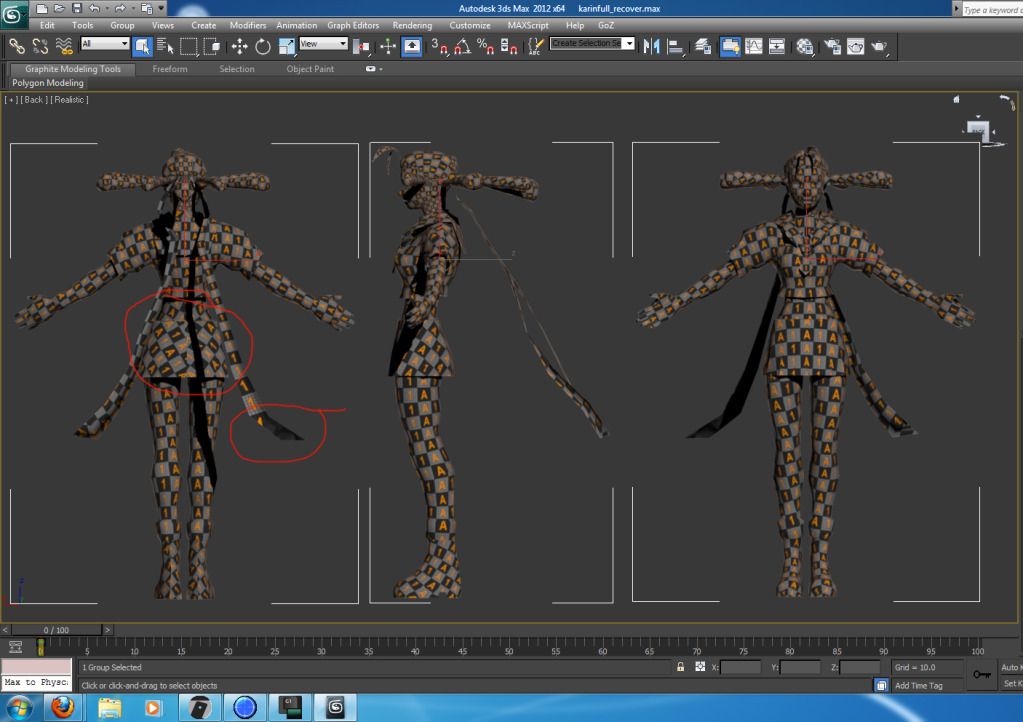
theses are the areas Im mostly worryed about. Sense there is more surface area on the bottom the uv curves downward into the seam, will this be difficult to texture?
any tips or advice would be greatly appreciated! thanks!
Replies
I think the unwrap could be better...
There seems to be a lot of similar pieces that could easily be stacked. The character doesn't really seem to call for too much asymmetry so you could easily stack a few UV shells and scale up the pieces to make better use of the pixels.
One quick thing you can do to mirror a character, is to apply the symmetry modifier to it after it's been unwrapped, it automatically stacks the UV shells, then you can make unique whatever really needs to be unique.
Do you need the pixels in the face or in the neck?
The face has a classic relaxed too much look, where the face is smashed into a tiny area and the neck and side of the head take up massive amounts of pixels. One way to get around this is to detach the face, relax it and massage it into a good shape then weld the neck on. Stretching in the neck is easier to deal with and hide than it is to paint on a squashed face.
You really need to get a per pixel map loaded into the UV editor at the size you plan to use, so you can visualize just how big a pixel is on your character, as of right now you might only have 1-2 pixels for some of the fingers, so they might need to be scaled up depending on the kind of detail you want to put on them.
Everything looks nicely relaxed which will help with distortion but unless you crank up the texture size you will run into aliasing problems. Sometimes its better to straighten pieces out so you aren't painting diagonal lines and having to deal with stair stepped pixels.
Looking cool! It might seem like I picked it apart but really I think you just need a few UV tricks and some experience in texturing a model (next step) to get it where it needs to be.
Nice work so far keep it up!
I thought about the pixel density on the neck compared to the face and I was just going to role with it until I found a video on how to get rid of texture seams. When you mean detach the face do you mean cut a seam at the chin to her ears and then relax the uv island of her face? Thanks!
do you mean that checkered box where I stack all the uvs? how would I change its size?
how would I go about straightening? would I do that manually?
Again, thanks for the in depth critique and the kind words!
Sometimes a selection of verts will sometimes relax better than an entire shell. It also helps to turn on soft selection, grab a few verts like around the eyes or mouth and relax just those areas, you can also try the different relax methods to improve the results.
It looks like you have a custom checker pattern? So that might work if its the size that you intend to use. To display in the UV editor you apply it to your object and in the upper right corner of the UV editor you pick it from the drop down.
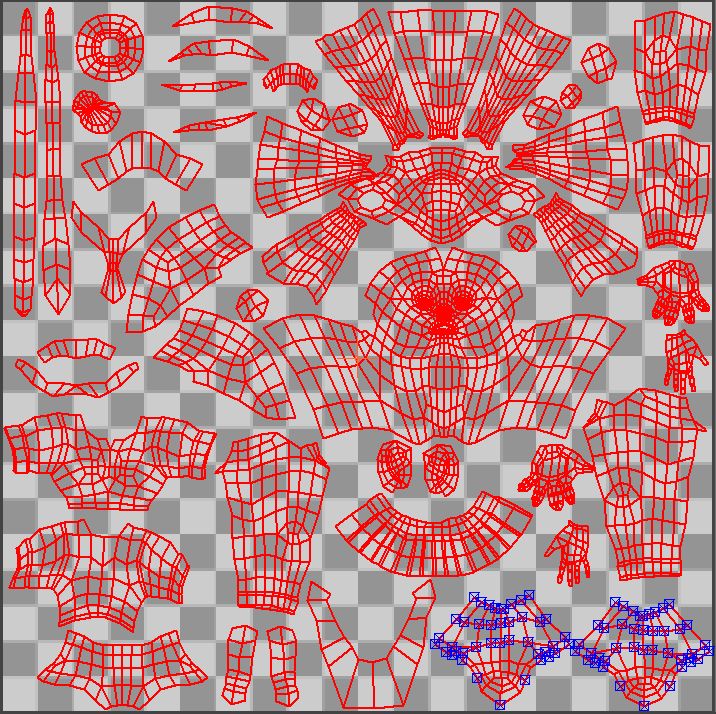
This is the 512px X 512px checker pattern that I use. If you look close every pixel is visible. I carve this up into smaller sizes and copy it for larger. but this will give you a good idea of just how big a pixel will be on your model and how many pixels in a given area you can work with.
In the UV editor you can select a edge, click loop and then in 'Quick Transform' pick 'Align Vertical' or 'Align Horizontal'.
You can also go into face mode, then into 'Reshape Elements' and click on 'Straighten Selection'. This will try to straighten all the edges and gridify or quadify your UV shell. It mostly works well with quads so watch out for triangles.
No problem keep the cool stuff coming!
You have a lot of empty spaces on your current UVs.
also it'll helps with lossy texture compression such as DXT if you ever endup puttin that in a game engine
Thanks man ill keep that in mind!
Awsome! This thread has tought me alot already, I appreciate it bunchez!