M37 Shotgun - Need help
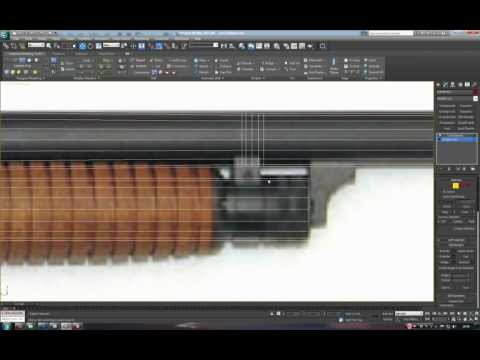
Hi guys, so I'm following this really good tutorial on youtube on how to create a shotgun from scratch in Max.
[ame=" https://www.youtube.com/watch?v=2Tgy0lBdJK0&feature=g-like"]Weapon creation tutorial - Part 1 (high poly model) - YouTube[/ame]
Huge props to Arenovalis for this great tut!!
Its my first time using Max instead of Maya and I've ran into a few problems on the bake and could do with some of you Max guys out there to help me.
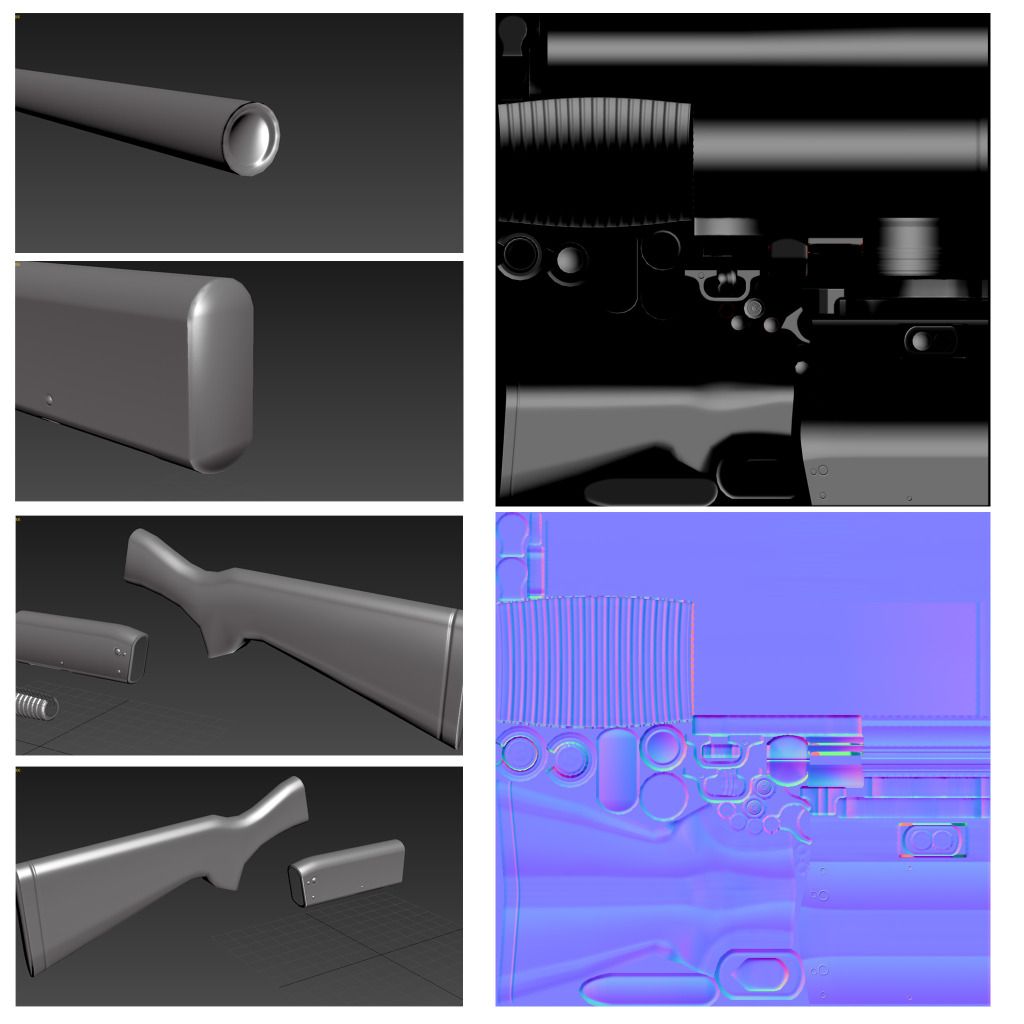
Heres an image of a few errors.

From the bottom 2 images on the left, the bake looks....OK on the right hand side of the model, but messed up on the left...
Ive uploaded the ray miss check screen, as well as the normal and the type of errors im getting. From my experience in maya, they look like smoothing group errors, but I've used the textools tool, and created smoothing groups from UV shells, as the dude does in the tutorial.
I've seen people assign different objects colours in max before they bake. Would this help? Can you see where im going wrong.
Also, why on the ray mischeck screen does it only show half the model?
I'd love some help. Thanks in advance!
[ame="
 https://www.youtube.com/watch?v=2Tgy0lBdJK0&feature=g-like"]Weapon creation tutorial - Part 1 (high poly model) - YouTube[/ame]
Huge props to Arenovalis for this great tut!!
Its my first time using Max instead of Maya and I've ran into a few problems on the bake and could do with some of you Max guys out there to help me.
Heres an image of a few errors.

From the bottom 2 images on the left, the bake looks....OK on the right hand side of the model, but messed up on the left...
Ive uploaded the ray miss check screen, as well as the normal and the type of errors im getting. From my experience in maya, they look like smoothing group errors, but I've used the textools tool, and created smoothing groups from UV shells, as the dude does in the tutorial.
I've seen people assign different objects colours in max before they bake. Would this help? Can you see where im going wrong.
Also, why on the ray mischeck screen does it only show half the model?
I'd love some help. Thanks in advance!
Replies
Im not too sure what you mean. What do you mean by both ends?
I made sure nothing overlapped or shared the same UV space.
Thanks for both your replies too.
It has a standard material on it atm. I do have xoliul shader installed but atm im not sure how to use it.
Haha ahh, ok!
Lemme have a look. Thanks man. I hope this works!
I've inverted the green channel in the render to texture options before baking and Im getting the same result.
The normal map looks fine, but like I said, the right side of the model is fine and the left side is awful.
Anybody encountered this before?
Hi, I'm not sure what you mean by this.
Ive Unwrapped the low, used the projection modifier and baked the high to low.
The normal when baked out looks fine, and the same on each side of the object. But when its applied, the right hand side of the model is fine, and the left is messed up.
Yeah, I use xnormal when I use Maya. Also NDo2. But I figured if i can do everything in Max I would like to learn that.
The top image shows the normal map, and the normal map applied to the object. The flat looks fine, but when applied to the object it looks messed up on 1 side.
So are one sides UV's flipped? This is ruining me!
Any help please?
It baked out ok, but as i moved around the mesh and clicked on it, the normals changed and went all skewed....just from moving round the object.
SsSandu_C
There were inverted faces, but I've corrected them and re-baked.
Heres a picture of my bake (left), and the tut's bake.
You can see that my faces look kinda, indented. As if they're concave. (They're not).
Can you see where I'm going wrong.
Also, my AO is coming out mostly white, picking up little changes in height. I've tried reset XForm on the high but it moves the mesh all over the place!? Strange.
Might have to reluctantly return to maya.......
Thanks for you help so far, i really want this to work!
A couple things I really like in MAX are how you can make a whole set of faces planar, with the make planar button, and how you can hold shift when inserting an edge loop and it will follow the curvature of the surface.
Are there any equivalent options in Maya you guys know of??
Tried this, seem like it only snaps to either the X Y or Z axis.
The faces I want to make planar are on an angle.
[ame="
Like here @ 0:10:15
Wow. Ok thanks man, really appreciate you taking the time out to look at it.
I'll give it a go and see what happens.
Hang on, it was already disabled. Hmmmm now im confused.
2. enter scale mode
3. open tool settings
now You have two options
4.1
In Scale Axis choose Normals Average
4.2
Use set to edge mode and select the edge You want the surface to be perpendicular to
eitherway You should be able to scale down the faces to achieve planar surface You want.
Make sure the Scale Pivot option is set either to default or manip.
Hey man. Long time no update. Thanks again for checking in.
So I started from scratch and used Maya instead of max. Used maya through University so I know it well.
Gone a couple different directions from you texturing wise. I dont want to completely clone your model and I'd like to make mine look a little different.
Just started on the texture and heres where im at. No gloss yet, but diff/norm/spec are all plugged in using Marmoset toolbag.
Crits welcome but im literally in the early phases of texturing.
Any crit would hugely be appreciated. Especially from Millenia seen as it was his tutorial.
Thanks again.