[wip] The Acid Container Prop
Hi everyone,
I am a self-confessed Polycount ninja, having been looking at (and occasionally commenting on) other peoples artwork. I thought it was time to put some of my mini projects on here to receive some much-needed critique, as solely posting on my course forum and getting comments from the same few people each time doesn't cut it.
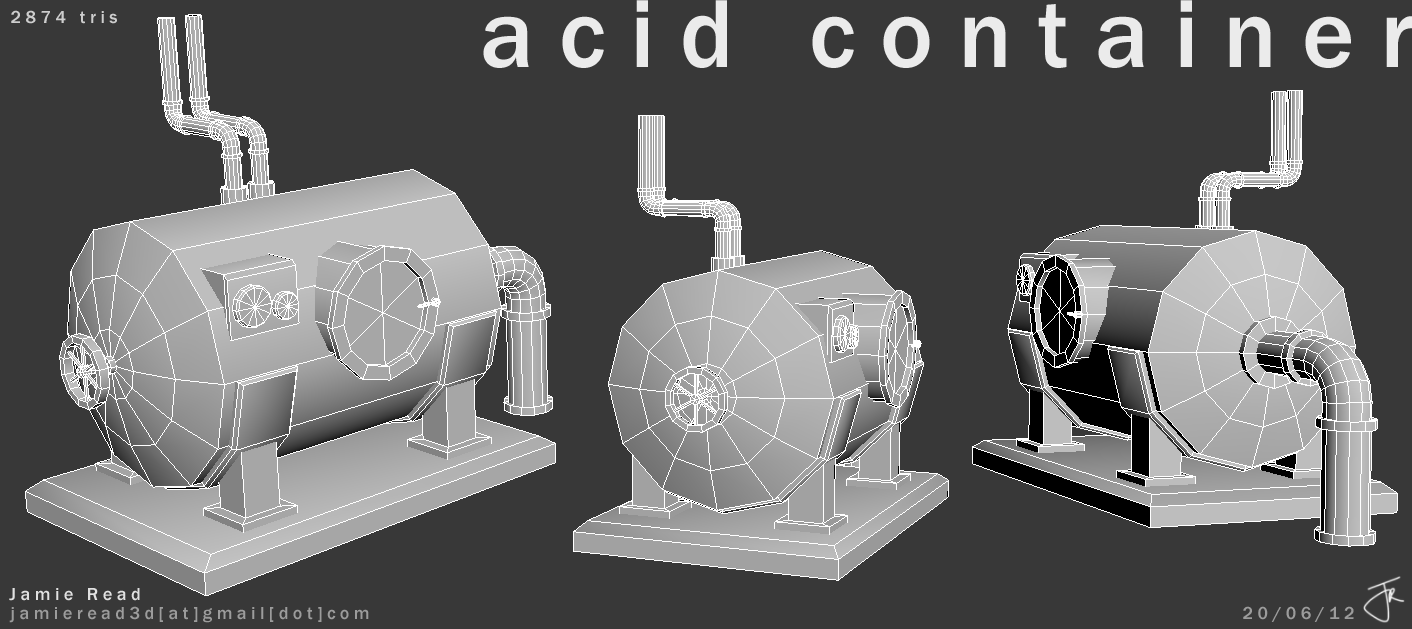
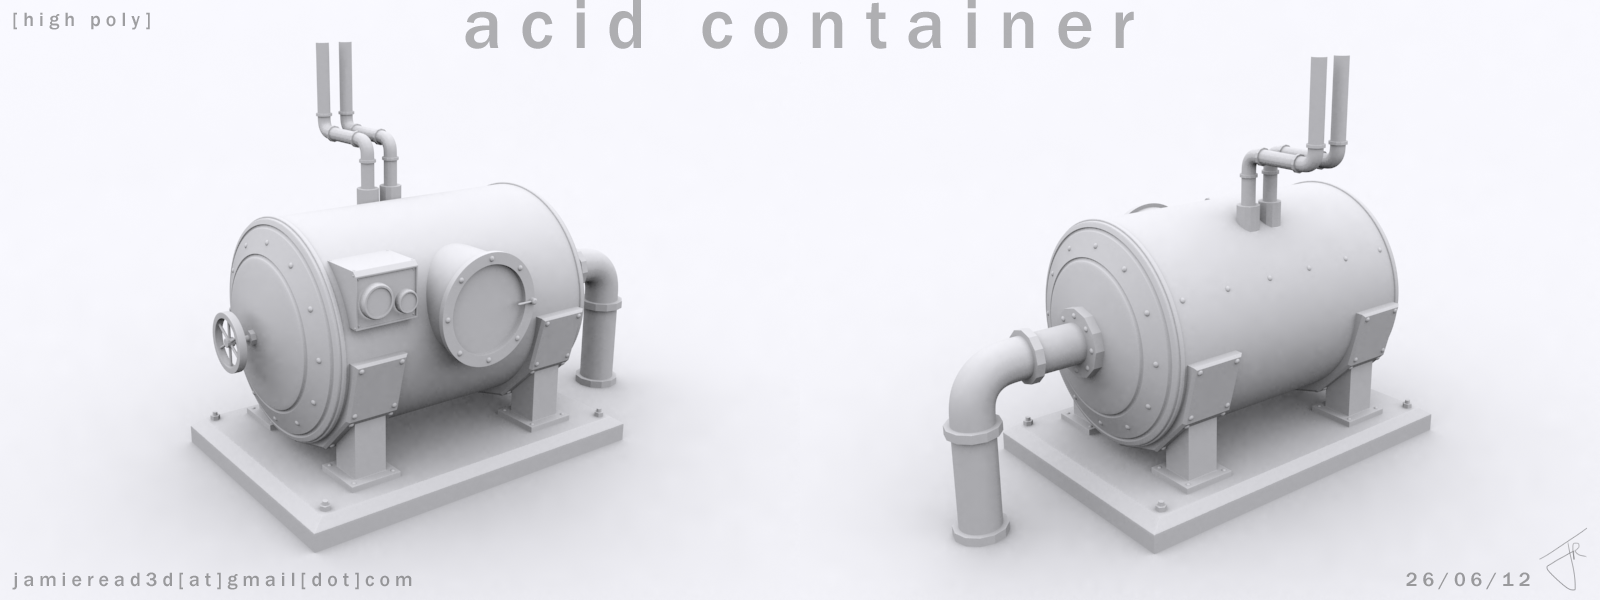
Here is an acid container prop I'm currently working on. Please note a couple of things:
- I am a complete UDK noob, so I can't do a great deal in the engine yet
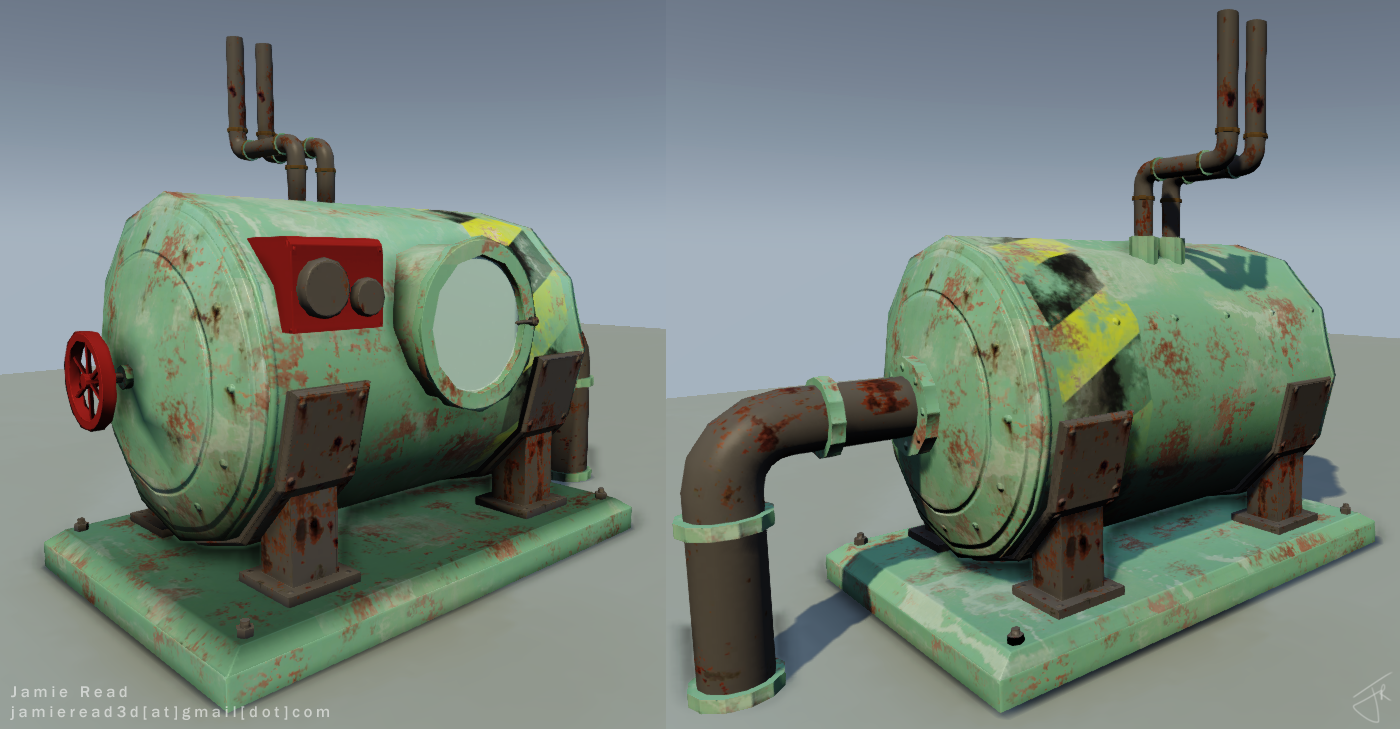
- The textures are very much wip/placeholders/slapped on. (The diffuse has been updated, so doesn't fully correspond to the UDK screenshots).
- The model in UDK (Image 3) does have a normal map on, but that normal map doesn't contain texture details like rust etc. just yet.
- I realise I wasted too many polys in the pipes, so that won't happen on my future models.
I want to get your thought on the model so far, but in particular, I'm looking for some help/advice/answers on:
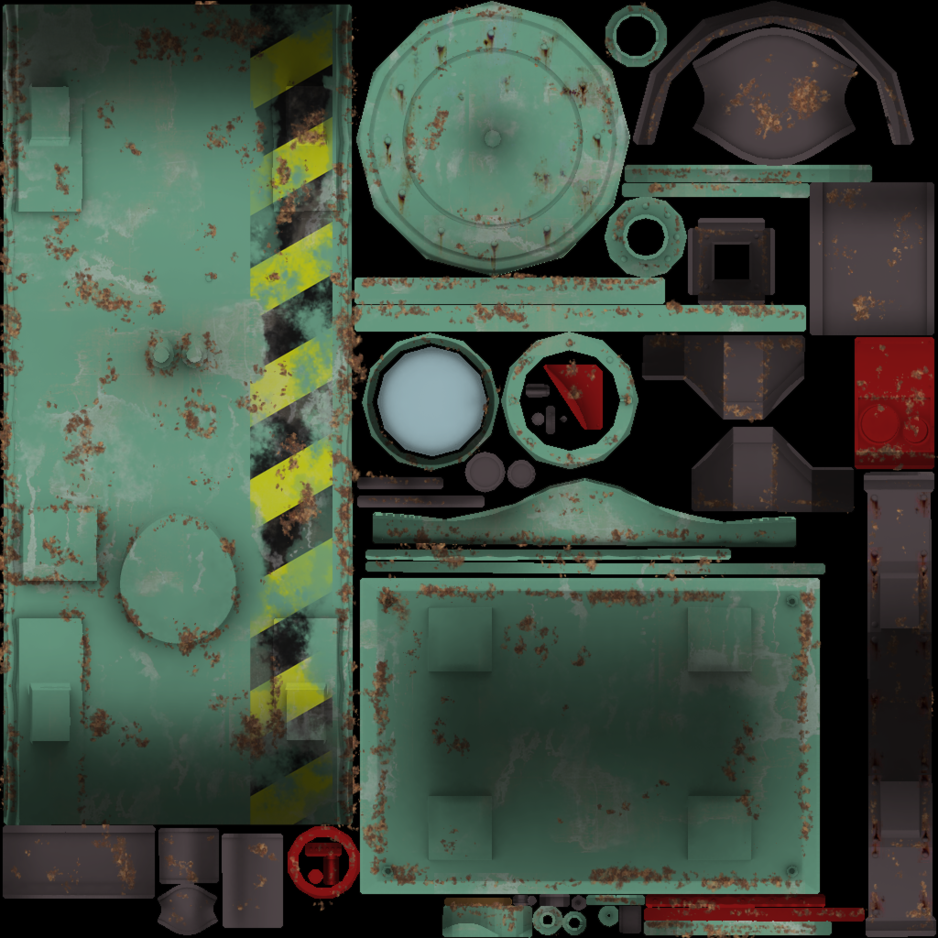
- Have I wasted a lot of UV space?
- Am I getting a good enough texture quality (1024*) for a prop of this size (2m tall) and is it worth using a higher res texture i.e.: 2048* for the purpose of a portfolio render?
Thanks in advance, I'm looking forward to any feedback and help.
I am a self-confessed Polycount ninja, having been looking at (and occasionally commenting on) other peoples artwork. I thought it was time to put some of my mini projects on here to receive some much-needed critique, as solely posting on my course forum and getting comments from the same few people each time doesn't cut it.
Here is an acid container prop I'm currently working on. Please note a couple of things:
- I am a complete UDK noob, so I can't do a great deal in the engine yet
- The textures are very much wip/placeholders/slapped on. (The diffuse has been updated, so doesn't fully correspond to the UDK screenshots).
- The model in UDK (Image 3) does have a normal map on, but that normal map doesn't contain texture details like rust etc. just yet.
- I realise I wasted too many polys in the pipes, so that won't happen on my future models.
I want to get your thought on the model so far, but in particular, I'm looking for some help/advice/answers on:
- Have I wasted a lot of UV space?
- Am I getting a good enough texture quality (1024*) for a prop of this size (2m tall) and is it worth using a higher res texture i.e.: 2048* for the purpose of a portfolio render?


Thanks in advance, I'm looking forward to any feedback and help.

Replies
I could also see you easily texturing this with one or two tilables and adding some of the custom details with alphas, and ao in a secound uv channel. That would make it much more impressive and optimized. Right now the texturing job is very unpolished and your diffuse is a little too bright. Im not buying the material (and im not sure what its trying to be at this point) either way you should start getting a spec map in there to define what exactly your surface is. The rust is a little heavy handed... probably want to tone it down a bit.
Hope that helps
Rule of thumb: twice the diameter, 1.5 times the polygons.
Keep it up!
here's a good example
@Snader - That image is really useful. I can now see how you can get an extremely similar result with much less polys.
@Iciban - The rust was definitely bugging me. I will go back and look for more photo textures and play around with the rust again. It just looks like someone has come along and thrown a load of mud at it at the moment
This is the kind of great help I was hoping for. There was me thinking yesterday that this thread would just get lost, so thank you.
- I went back and created a 1024x2048 diffuse which have been overhauled (still wip).
- Changed some of the geometry with the help of the image Snader provided.
I'm still working on this in my spare time; I need to finish the diffuse, add to the basic normal map, create a decals map and tweak the glass pane in the door to make it see-through. Let me know where I have gone wrong and what improvements to make. Thanks.
- I took some of the geometry from the pipes and used that on the main cylinder of the tank body instead.
- I (pretty much) finished the textures and presented the work using the Xoliul Shader 2.
I was having a little trouble getting a 50% opacity mask to work on the glass window, so that is the main part that still seems to need work.
Make the metal shiny, and make the detail pop out
Looking at it from different angles, I can see a slight normal - on the bolts etc, but to be honest its not doing much.
Also what res are your textures they seem to be quite compressed; if you look at your model its not as "smooth" or "crisp" as it could be;
but nice all round
My textures are 2048*
It is the rivots in the normal map that stand out the most. I will have to go back and add a little more depth to the rust etc.
I think Photobucket hasn't let me put the full-quality images on too, the ones I posted up here look a little blurry. I will check out another way of posting them up.
EDIT: I posted them up on Flickr instead and the quality is much better.
You're still getting that nasty normal waviness from not having enough geo, and your latest image doesn't look like there's an AO on it, so it's looking a little strange.
I'd suggest 24-32 sides for the larger tank at a minimum. This would look fine for a mobile prop, but if you're shooting for a console/PC range, game engines these days eat polies like a fat kid eats twinkies. Add more information where you need it, which is always, always around the edges of a model's silhouette. Get in a nice chamfer along the sides, add some supporting baking edgeloops, really give that tank some polygonal lovings.
Keep cracking at it, if you keep making progress like this, you'll be making ace props soon enough.
Here's my two cents:
- Do you have any Ambient Occlusion for your texture? I think, if you do, maybe push it more, if not, maybe check out some tutorials :
http://www.3dmotive.com/training/free/rendering-ambient-occlusion-using-mental-ray/?follow=true
- I think pushing the specularity would help a lot more, I mean this thing would be shiny, no?! Take a lot at this pic:
The sharpness of the specular really stands out and I think its a similar material to what you are going for. Maybe, to help push it, you should think about filling a layer above your spec with solid blue, setting it to overlay and pulling down the opacity. Experiment with different colours and different material overlays.
- I think adding some more detail to the high poly (which looks nice by the way!) would really push it. Using some floating geometry, you could add more rivets round the edge of the cylinder.
- I think making the base of the container a darker material would really help the main bit pop, because right now they're a similar colour and its making it not stand out.
- Have you thought about trying to present your model in Marmoset Toolbag? It really helps me out when I'm texturing to see it in Marmoset with some really nice lighting set up, and if you keep saving your texture it updates automatically. You can get a free trial!
You've got a nice prop
@MattyWS - Thanks man, it's slowly improving.
@ladyknowles - It does have AO on it, but I did turn the opacity down a fair bit because I wasn't sure just how dark it should be. The specular map does have a very slight blue tint to the metal parts, but I will experiment with pushing that further. I do have Marmoset Toolbag and I think I will stick to that from now on. I was giving the Xoliul Shader a go for the first time. Thanks for the other crits too, they will be taken on board and improved on!
Thanks for the help people, I really appreciate it. A new version will be up fairly soon..
I think you could easily make this prop more appealing by adding some value variation to the metal. The tank, the pipes and the base are all the same shade of grey. Try giving more variation the the various components of the prop.
3ds Max > Photoshop > Marmoset Toolbag
2048* diff/norm/spec
Thinking about it now, I have left the specular and normal maps at 2048, so I could probably half the size of those.
@nathanbarrett - Thank you!
@ParoXum - Cheers, it's really nice to have some really constructive critiques that help me on my way to producing a much better 3d art piece.