Search
-
Re: Seams after baking high poly to low poly in Substance Painter
 The high poly has sharp edges where the artifacts are appearing. Try clearing the sharp edges on the high poly. The low poly has sharp shading which is causing the artifacts in the first image. Try setting the mesh shading to smooth on the low poly. The low poly has sharp edges that don't match the UV splits. Try clearing…
 -
Re: [WIP] GWR 1400 Class Auto tank.

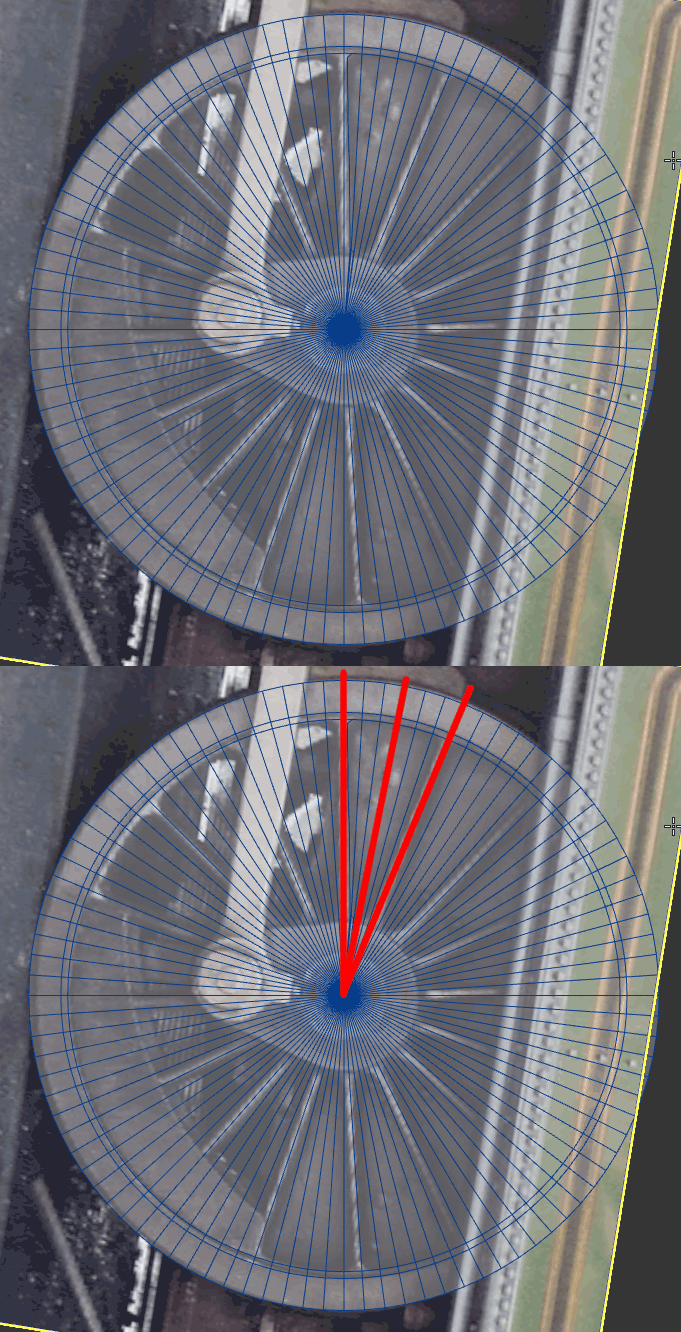 So today I started to tackle the wheels, originally I was going to model them similar to how you would model the alloys for a car, with an edge of a cylinder going through the centre of a spoke and another going through the centre between spokes. The problem with this method for this particular wheel is there's basically…
 -
Re: [FINISHED] Hales (futuristic army veteran)

 Obligatory monthly update Progress going a bit slow due to personal life issues. What I got so far: - pretty much finished the hipoly sculpt (gun and magazine excluded, they will be done separately). There are a few details missing but I'm planning to add them via height map along with a bit more definite paneling or work…
 -
Re: Can see my low poly in final bake, when baking inside of Marmoset.
 If you bake the normal map at a higher resolution, you should see this problem lessen. If this is not for a game, but for your portfolio or some other purpose where the texture resolution isn't important, this is the easy fix. The essential problem is that the normal map corrects for the vertex normals of the low poly…
 -
Re: M1025 Humvee
 Absolutely. Here's 7 images with different skins and environments. I sure regret the early stages when working the UV and normal map on this model. Instead of adding slightly more geometry to smooth corners, I did the "mistake" of making those edges hard and split them in the UV. This resulted in a doomsday headache when…
 -
Re: UV skewing?
 The required count depends on the size of the area you're painting on, the level of detail you're looking to get, and how efficient the vertices are distributed across the mesh. A million might not even be enough if most of those verts are in the wrong place, or the detail you require is too small. A general rule of thumb…
 -
Re: UDK normal map compression issue (or I'm really bad at normal mapping)
So, today I decided to take a spin at what passerbay told me, and very much about every savvy says about normal mapping worlflow, and took a simpler object to test this compression issue. The following images are the results I've obtained baking a normal map from a large and curved object. As pointed out I added more hard… -
Re: Crystal Cavern UDK Scene
 Dear Esther was my main inspiration for this one :) I do agree that the saturation could be toned down a little. My biggest fear with the lighting was having light sources coming from nowhere. I originally had more uniform lighting but my Instructor had me delete them all and start over :( My Demo Reel overall is pushing…
 -
Re: Daves Female Character Thread
 Dave: I think you smoothed a bit to much... you lose the volume then. your comment "after comparing in photoshop" makes me think you are trying to train your eye comparing only next to each other. Is this right? For best likeness I would recommend comparing more often. For better training I would recommend doing a part,…
 -
Re: Normal map of mirrored object acting weird
 When baking any texture maps you do not want mirrored UV shells to be stacked on top of each other. You will want to offset one of them (preferably the mirrored shell) by 1 unit in any direction of UV space. If you bake with them stacked, your software will try to lay down two different sets of information (one from each…
>9915 results