Search
-
Re: What do you use for Uv Unwrapping?
 I use Maya default with a dab of some custom scripts (TransUV, my own UV slot mover, and XFormUV) found on the net and UVAuto Ratio Pro for sizing. Maya's defaults are pretty good, just buried (like everything else).
 -
Re: no transforms appearing in channel box (Maya)
 can't see a material attribute anywhere :-/ What happens exactly, is that I can assign a new material - but the default lambert still stays by default. If I export as fox and reimport it works fine, but then I loose all my crease sets :(
 -
Re: Animation help with foot sliding
 Yea the copy paste POSTURE will only copy rotational relationships between the pieces and ignores world space. Copy paste POSE, can include Position data for the COM only. If you want the feet to operate in world space you need to use planted keys. But I'm glad you got it working. If you're happy to leave it at that, cool.…
 -
Re: [3DSMAX] Snap to grid problem (And ornatrix draw strands)
That's the default behavior, I'm afraid. You can do what pxgeek suggested or try if Polydraw > Branches gives you something useful. Might be quicker to create, but requires cleanup (you could extract on of the loops per branch or try if you can modify it to save the temporal splines it creates). -
Re: Problems with Maya (uv-mapping)
You have two UV sets on the object. The default upon creation and the one you made. Maya doesn't like to delete the default. Select the cube>select UV set map11>polygons>Copy Uvs to UVset map1. Delete the not needed UV set. -
Re: Polycount Spam E-Mails STAWP IT
 Sorry y'all. Vanilla should have changed default notifications for new users only, not ALL users. It should be reverted now. But... that means all our Notification settings are reset back to defaults. (!) Please check your settings. And sorry for the mix-up.
 -
Re: [solved] Substance Designer || Tesellation
![TorQue[MoD]](https://us.v-cdn.net/5021068/uploads/userpics/978/n9Y8GE4KMHMJB.jpg) Just a heads up, in Substance Designer 2018 + you now specify the tessellation through the material definition: Materials>Default>Definitions>Physically_Metallic_Roughness>Tessellation Once you do this, the Tessellation Factor parameter will show up when you edit the default material.
Just a heads up, in Substance Designer 2018 + you now specify the tessellation through the material definition: Materials>Default>Definitions>Physically_Metallic_Roughness>Tessellation Once you do this, the Tessellation Factor parameter will show up when you edit the default material. -
Re: zBrush - Polypaint with Texture
I'm gonna take a wild guess, you used a default zbrush cube and didn't remesh it before sculpting and painting it with symmetry on? The default zbrush cube puts poles at the center of the Z axis faces. Just dynamesh and turn off symmetry for texturing. -
Re: Bounding box prob.
 Like Gavku says, O will make it go away... O is the default key to toggle "Degradation Override" on and off - you must have hit it by accident, it happens to everyone. I still have no idea why that's a default, easy to accidentally hit key.
 -
Re: [WIP] Historical - US Invasion of Sicily

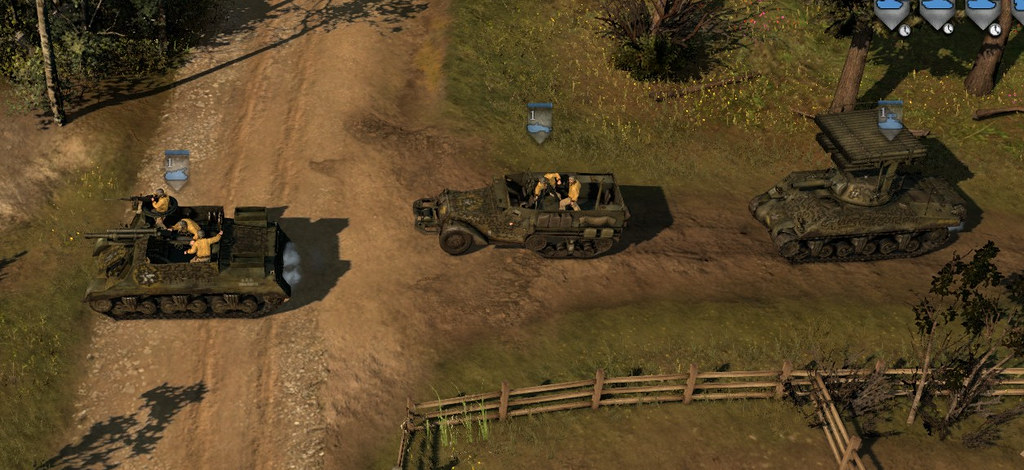 If you click on the image to view it 1:1, it represents the default zoom from the game. The net itself pretty much disappears, but the ropes are readable. I did a few iterations on the rope thickness and spacing between the strands, checking how they appear from the default camera.
>10217 results