Search
-
Re: [Blender] Any way to match this profile of bevel?
 Sorry my bad, I just realised I never opened the first image you posted. In this case your corner can be thought of as part of a circle. Find the middle of this imaginary circle, place the cursor there, and then extrude along XY using the cursor as pivot. As always there are many solutions but no reason to overcomplicate…
 -
Re: Advice for an amateur character modeler?
 It looks like your cage isn't extruded enough in certain spots. The cage needs to be extruded just off the model itself but not too far as that can also introduce baking errors. The cage just needs to have clearance all the way around, those black spots are where the mesh underneath the cage is pointing through.
 -
Re: Modeling Stone lantern
 You could build up one side as a plane, then copy and rotate around til you have all 4 sides. Then weld the verts as one object, and extrude edges inwards for your "feet" their. OR Build a box, put 2 edge loops evenly spaced then delete the middle face. Extrude edges for "feet" then mold the rest.
 -
Re: Autodesk Maya Uv unwrapping problem show up (after smooth preview)
@throttlekitty these are tree roots actually, I didn't extrude along curve as I find it will take more time to construct it. This is just normal extruding from the face but the topology for this polygon not that good as there are a lot stretching for the texture. Have to keep improving on building the topology. X'D -
Re: (Zmodeler) How to Extend an Edge?

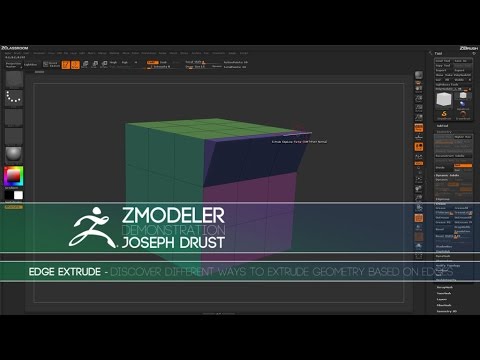 To what affect? You trying to simply select and edge then extrude it like you would in another 3D package? if so I'm not sure you can do exactly that, but the z modeler edge extrude function should get you where you need to go. Have you seen this video ? https://www.youtube.com/watch?v=GLs7A4V6wWo
 -
Re: Twin Warglaives Modeling Help! C:
 Set up the image plane ( you got some good references there) in the side view, and like Jackablade said just create a plane or a box and extrude along the shapes. Shift extrude comes in handy for stuff like this. Adjust the polys to you siluette and then go from there. Also, why did Esther just copy paste my post?
 -
Re: 3DS Max inset problem!
 I guess this is how max is calculating the stuff, you will get similar effects on the extrude tool, it is limited to some stuff and mostly extrudes along the normals or group normals, but not in a direction you like too. I guess you will probably need a script for this, cuz there are no other options for inset (except the…
 -
Re: Can some one explain this techinique?
 Yep it looks like regular modeling techniques I don't really see anything special. The graphite modeling tools inside of max have a decent extrude and bevel function. Personally I would just leave the ends open and shift/drag/extrude edges.
 -
Re: Need help with Zbrush. helpful tips and guide needed
 The eyes were cut using the Slice-Curve brush. One those polygroups were isolated (ctrl+click on them to mask everything else), it was extruded using transpose (hold control when moving to extrude). The actual eyeballs were inserted using the Insert Sphere brush.
 -
Re: How should I model this?
dunno if this is what you meant, but here's a quick hacky model job 15 min or so in max. basically started with a box and divided it then extruded out the nubs that made the groove... and then extruded out the side thing ... added some supporting edges and set edge flow on the places that weren't supposed to be hard…
>3548 results