Search
-
Re: 3DSMAX - UnChamfer Pro released!

 Thanks guys! Just updated the script with a few changes: Improved Automatic vector modes handling of chamfer 'ends' (first/last split in a loop). UV's and vertex colors are now supported (would be discarded previously) Added user-requested feature for evenly spacing vertices within a loop:
 -
Re: Can someone please explain to me how polygons and height maps work together?
A 'height map' is just a name given to a black and white map which is being used to convey height information. For hard surface they're normally only used with parallax shaders, and for organics they're used with either parallax or to offset vertices together with tessellation. -
Re: 3DS Max, Unreal Engine
 Also, there's nothing wrong with having just a second mesh in the fbx for your character. And Unreal might have a weld on import feature. (Just checked for Skeletal Meshes uncheck "Keep Overlapping Vertices") So you may not have to do any of this work.
 -
Re: How to model complex architecture
 Yeah but as you see those walls are connected , the curves on the walls are supposed to connect , if I model it piece by piece am I supposed to merge them at the end then connect all those vertices together move them around until they fit together? That's what I'm confused about.
 -
Re: Orloth - Final Major Project
 Thank you for the feedback. I hadn't thought about it in that way, and I like the idea quite a lot, it would also reinforce a multi tiered feeling to the castle walls if maybe the vertical slices aren't quite as tall as the outer walls. I'll play around with some ideas. Thanks!
 -
Re: "The Batterer" - laser pistol
 Hi! I'm looking at the bottom shot and the front of the gun seems a bit cramped and busy to me. The two tesla ball things on the side seem very close to the triangular coil. Some space between them (like you've got with the vertical ones) might relieve some tension there.
 -
Re: Red Dead Redemption Techs
 I didn't see any overhang, except where they had vertical cliffs, which look like custom meshes. The vast majority looks like heightmapped terrain. Looks to me like they started with that, then split and edited by hand. But yeah, would love to hear a breakdown from the source.
 -
Re: [WIP] Silmeria from Valkyrie Profile 2 Sculpt

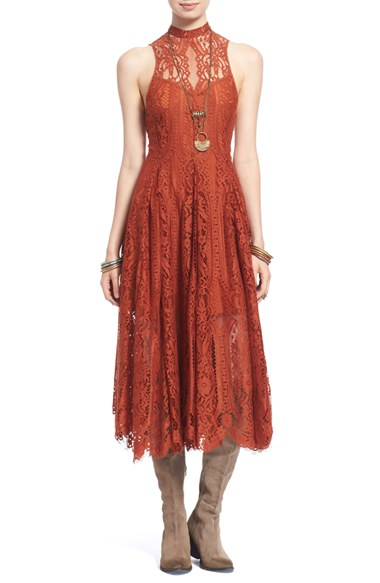 Hey I like the character design the overall shapes look good to me. My only suggestion would be to redo the folds of the dress using some reference. At the moment it looks quite stiff. The dress should hang closer to her body with the folds dropping straight down vertically.
 -
Re: Monthly Community Noob Challenge April 2015 (29)
 @Justo: I like your base mesh. Your floating vent on the egg box is a bit too far back. In the concept the cylinder and vent seem to line up vertically. I cut in the egg box hinge and added the heating element. Most of the hardsurface is done, moving on to straps.
 -
Re: Maya 2017 numerical field input for moving verts by the vertex normal axes.
You can just select vertices you want to move and then use (in Edit Mesh menu) the Transform tool. This creates also a history node which you can find in Attribute Editor after applied where you can imput Local Translate values you need.
>7637 results