Search
-
Re: Refinery Hallway Scene
 Hey Jason, it's definitely worth it. You don't want to have compressed textures by default shown in your final. You most probably want to have the full resolution of what each texture is (wall is 512, then it should appear 512). I realize that game textures are compressed, but the overall look will appear better (and show…
 -
Re: Colt Dragoon
 Looking pretty sweet man. Just a couple things: Your spec could benefit from a little more variation/contrast I would say. Nothing too crazy though. Also some type of reflection (cubemap/realtime) on the metal would help it alot. Also a 2048 texture I have to say, is pretty redonkulous. A 512 is more likely for a first…
 -
Re: University Assignment - Motion Capture
I am actually using 3ds Max not motion builder. I simply used motion builder to get the mesh working with the mo cap data. This is the pipeline we got taught at University so i have just been doing that. In terms of blending i had a stand idle in each animation but i was hoping to have just 1 stand idle animation and… -
Re: pelt mapping help!
 Pelt isn't really ideal for that type of object with multiple separate sub-objects and those objects are so simple they should be unwrapped another way besides pelt. Pelt is more ideal for one continuous selection of complex faces, like skinning a beaver. You would probably find Peel and point to point edge selection in…
 -
Re: Practicality vs Aesthetics
What is important is a consistent balance of function and form. You can stylize things heavily, but consistently, or you can build supporting functions that justify a form (like the sweet M16/katana sheath in the article I'm linking) http://platinumgames.files.wordpress.com/2012/12/e6b1bae5ae9ae7a8bf5.jpg… -
Re: 3DS Max (Change X-Ray Opacity)
 There are a couple of benefits. 3ds Max will render the visibility using Scanline and Mental Ray renderers. And you can set the opacity value unlike See Through mode. And you don't need a material assigned. I guess it doesn't work with DX Shaders, but neither would a material. Here's a visibility toggle script I had…
 -
Re: [WIP] Newbie pieces
FINAL UPDATE!! I know I could work on that piece like forever and there are always things to find which could be improved, but I am proud and satisfied with and finally I call it done! Some trackback: The cashbox was modeled highpoly and lowpoly in 3D Studio Max 2012, baked with 3D Studio Max 2012, normal detail was added… -
Re: MGS4 art making-of articles @ softimage.jp
They did mention they use "sub-normalmaps" in conjunction with regular normal maps. It's plausible they can achieve medium level details with the normal map in a 512 texture... then have another 512 texture that has all the high level details all mapped to a separate UV set. So all the perforation, fabric texture, etc on… -
Re: Tooth Fairy Box Prop_WIP
 Hey! :) The prop looks real good :) As far as the map being a 512,depending on where its going to be in an environment and how important it is, im going to say 256 seems the better choice to me.I know people are going to reply saying that unreal props use 512 maps XD Do you have a normal map acting in that last image? If…
 -
Team Fortress 2: Polycount Pack

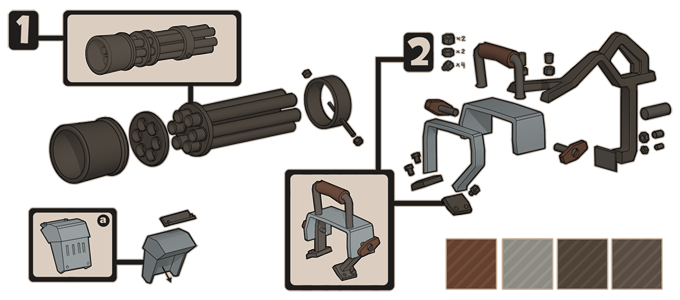 THIS CONTEST HAS ENDED. Winners will be announced July 12, 2010 with the Polycount Pack being released for Team Fortress 2 thereafter. To coincide with the launch of the new Polycount site, Polycount is teaming up with Valve Software to bring you the Team Fortress 2 Polycount Pack. Yes! That's right, an exclusive Polycount…
>6331 results