Search
-
Re: Sculpt to Hand-painted workflow ONCE AND FOR ALL!!!

 I wrote a response to this last week and polycount ate it, twice. Something to do with posting attachments? Anyway, @Jacob, your third attempt is killer. Matching the reference was a really good call. #4 is good as well, but you could give the directional light a stronger color and work more color variation into the stone.…
 -
Re: Sculpt to Hand-painted workflow ONCE AND FOR ALL!!!

 You'd better use node setup. It is more flexible.
 -
Re: Sculpt to Hand-painted workflow ONCE AND FOR ALL!!!

 I've been working on a node setup in substance designer, to make a hand-painted map from a height and normal map. Tried it with your maps then worked some on it, think it turned out ok, some parts, like the highlights are a bit underdeveloped right now.
 -
Re: Sculpt to Hand-painted workflow ONCE AND FOR ALL!!!
 what are you guys doing to get the lighting to come diagonally from the top left? are you combining the green channel of the normal map with another one? I'm able to get a similar result but it involves 6 photoshop layers with the red and green channels set to different blending modes.
 -
Re: Sculpt to Hand-painted workflow ONCE AND FOR ALL!!!
So. Here's how I bake my matcaps. I set up the scene in Blender with my lowpoly model with the settings below. I assign it an unlit material and add the normal map to the material. Then I add the mapcap sphere as a second texture and set it so it's mapped to "normals". I rotate the model so it's facing upwards, and then I… -
Re: Sculpt to Hand-painted workflow ONCE AND FOR ALL!!!

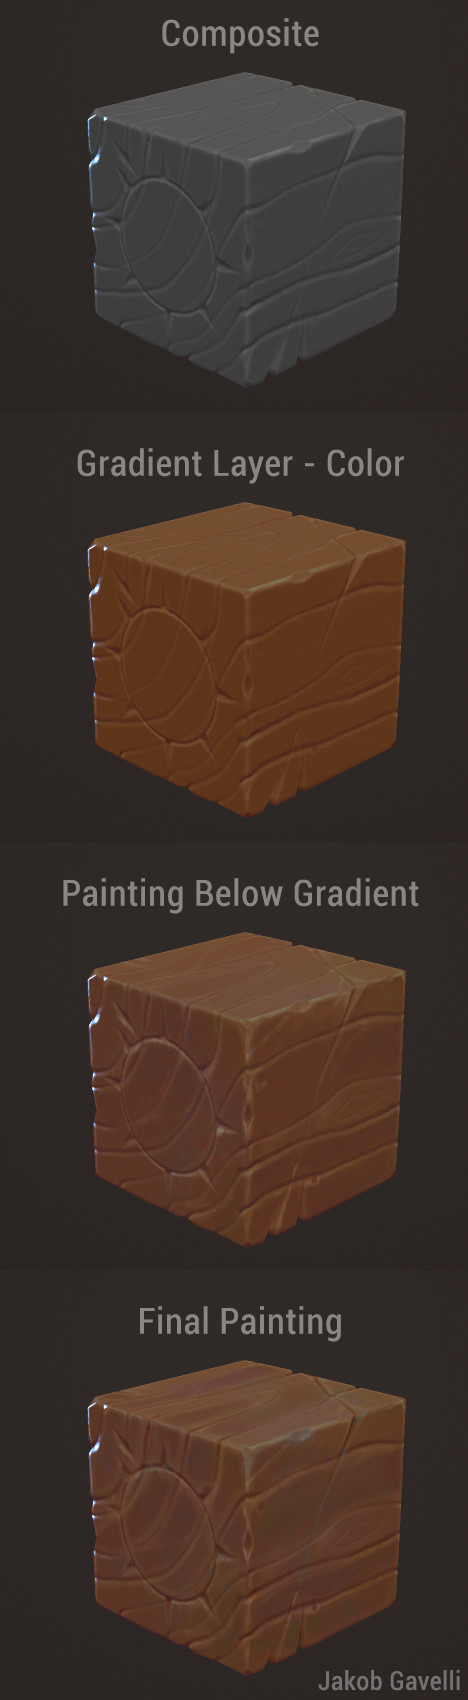 Oh shit! Nice revive @wirrexx haha, thanks for taking your time to play around with the bakes! Yeah, one of the biggest takeaways from this thread is that you can't run a mediocre sculpt through gradient maps and a nice stack in photoshop and expect good results. I was looking at tutorials from Faf and Orb etc a couple of…
6 results