Search
-
Re: Maya flow path object anyone every got this to work?
 Wire deformer is alright but only good if your object starts following the shape of the curve... I find that a bit fiddly sometimes. It seems like Flow Path Object is dodgy like Max's Path Deform WSM modifier, if everything isn't aligned right when you set it up then it can go a bit crazy...
 -
Re: Render does not show all of my model, Maya
 Sorry, I didn't read your reply properly kawe you're basically saying the same thing. I think the tool to make the normals all face the way is under Normals>Conform. n88tr, if you find it is backfacing polys give that a go, along with edit>delete all by type>history, and modify>freeze transforms
 -
Re: Getting back to 3D modeling/ have a few questions
1. Press 8 (default hotkey) to toggle the Environment Settings window (otherwise go Rendering -> Environment) and change the Color swatch under the Background heading 2. Make a copy of the model (shift click once on it) and apply a Push modifier with a value of 0.01, then apply a black material to it with the Wireframe… -
Re: BLENDER deleted shortcut key map item

 Hi So you have a modified keymap. First thing that you can try is save your customized keymap(in case you haven't done already) so that it is not lost when you switch to another keymap. Then simply load the Blender Keymap. And start from there again. This way you can also compare where your hotkey is missing. HTH Tiles
 -
Re: How do I create a shader that looks like the SkinShade4 from Zbrush in Unreal?
 SkinShade4 is a "standard" material inside zbrush. If you open up the materials palette and expand the modifiers section you can check out all it's shader settings. It doesn't look like anything too complicated (just a slight increase in ambient contribution and blue tint in the specular from what I can tell). You could…
 -
Re: Trimsheet normals inverted when rotating UV islands

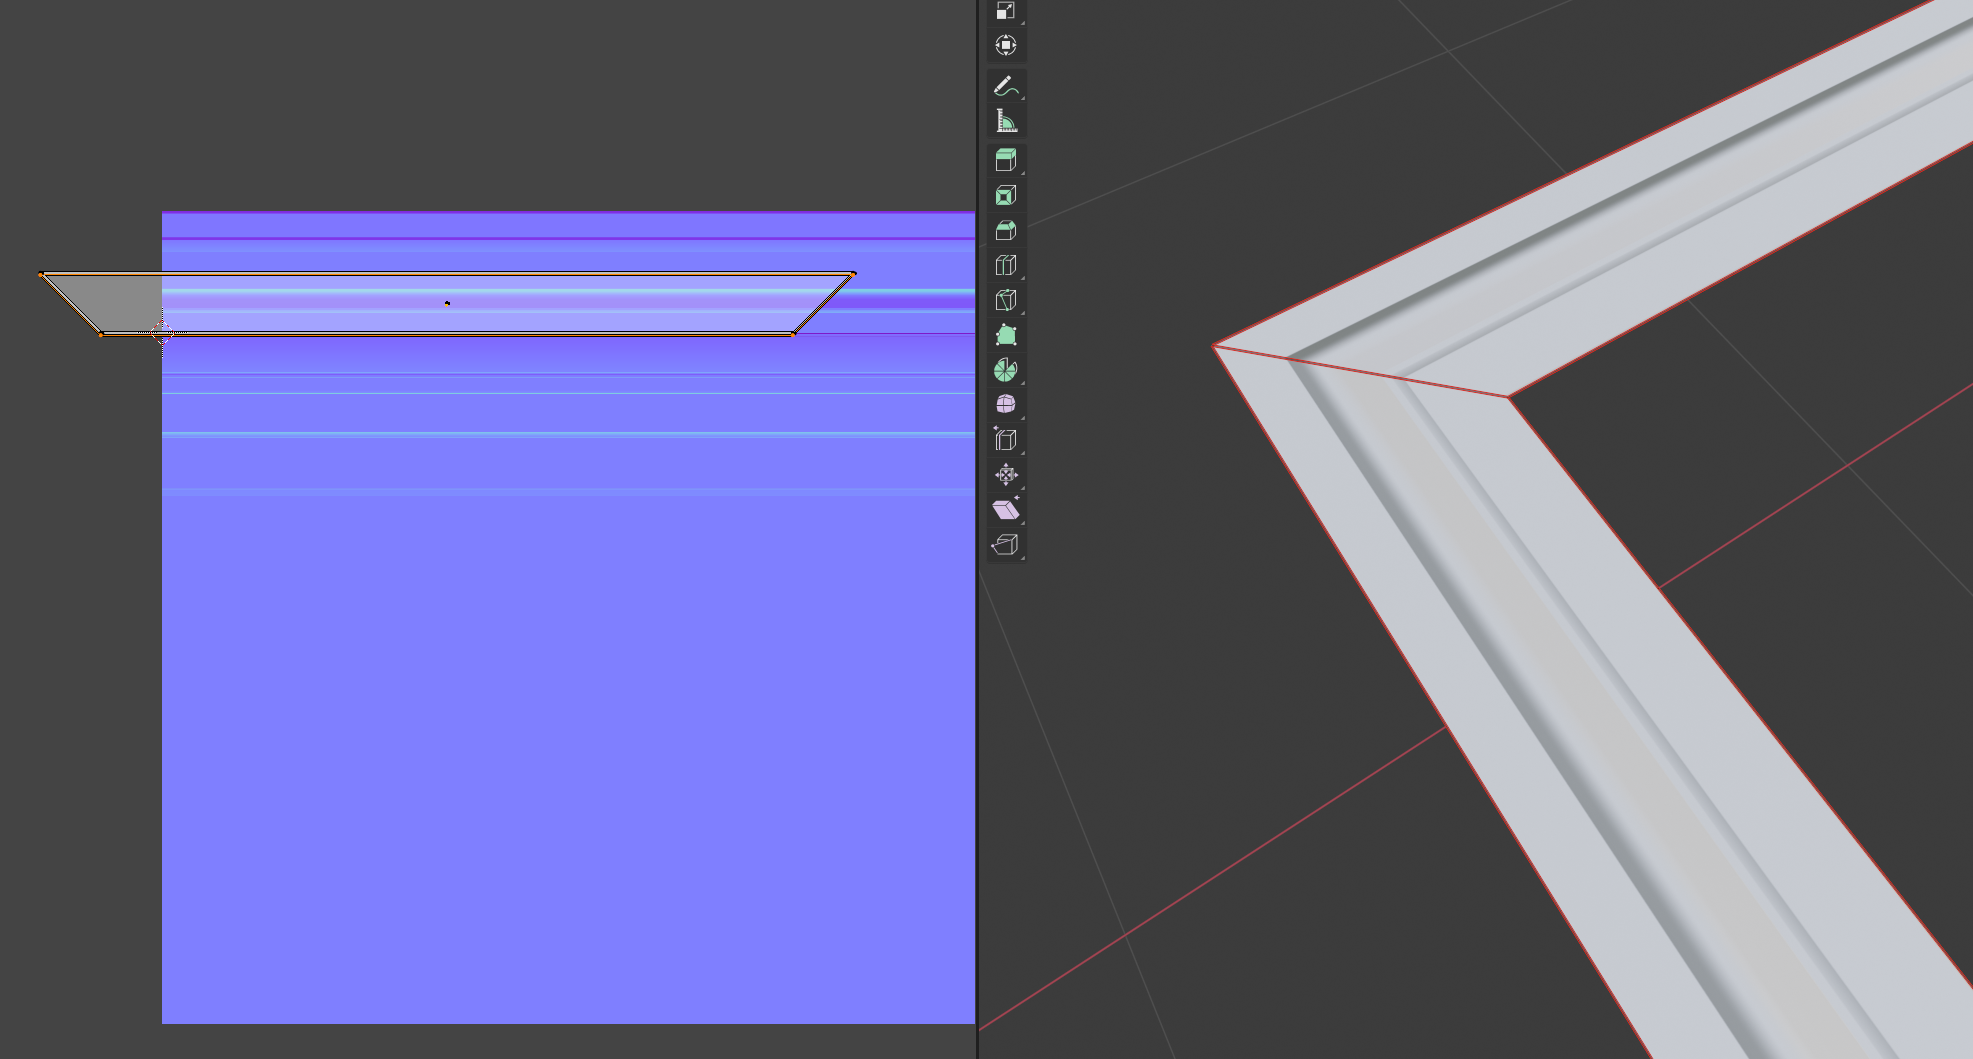 I agree, it doesn't make sense. I cannot recreate this either, it's working as expected for me. Did you rotate in edit mode or object mode and applied transformations? Which version of Blender are you using? I guess there are no modifiers on the object?! Would be best if you could share an example file.
 -
Re: 30 years of MAX
 I agree that that's a making a big assumption. 3Ds max was a completely different program to 3d studio. You couldn't even use a mouse in 3d Studio but max had all the modern features like a modifier stack and mouse viewport movement. I started with 3dstudio and used version 1.0 of max.
 -
Re: Trying to model a destructible building for Portfolio. Don't know where to start...
 An example in depth physics based workflow enabling a 'explode' modifier, particles and smoke sim, just as a general overview of the various techniques implemented, natively. (...old'ish tute via my particular DCC app of choice) https://cgterminal.com/2014/10/04/blender-creating-destroying-massive-building-tutorial/
 -
Re: [UE4] Blackout Police Station
 Bit of an overhaul - after soaking in many game screenshots and videos - modified some existing assets, blocked out some more, made a new structure, tried to make lighting/composition/etc not suck, that kind of thing: Now if only it was super easy to make these emergency lights have lovely volumetricyness..
 -
Re: On making panels on hard surfaces workflow
 Gaps aren't an issue as long as they don't look bad when it's baked down to a normal map. If there is a gap, but a mesh underneath, it'll look like that part is attached to some sort of framing underneath. You can also use a push or inflate modifier to close the gaps, but leave the seams you want.
>11681 results