Search
-
Re: Sketchbook: Esbjörn

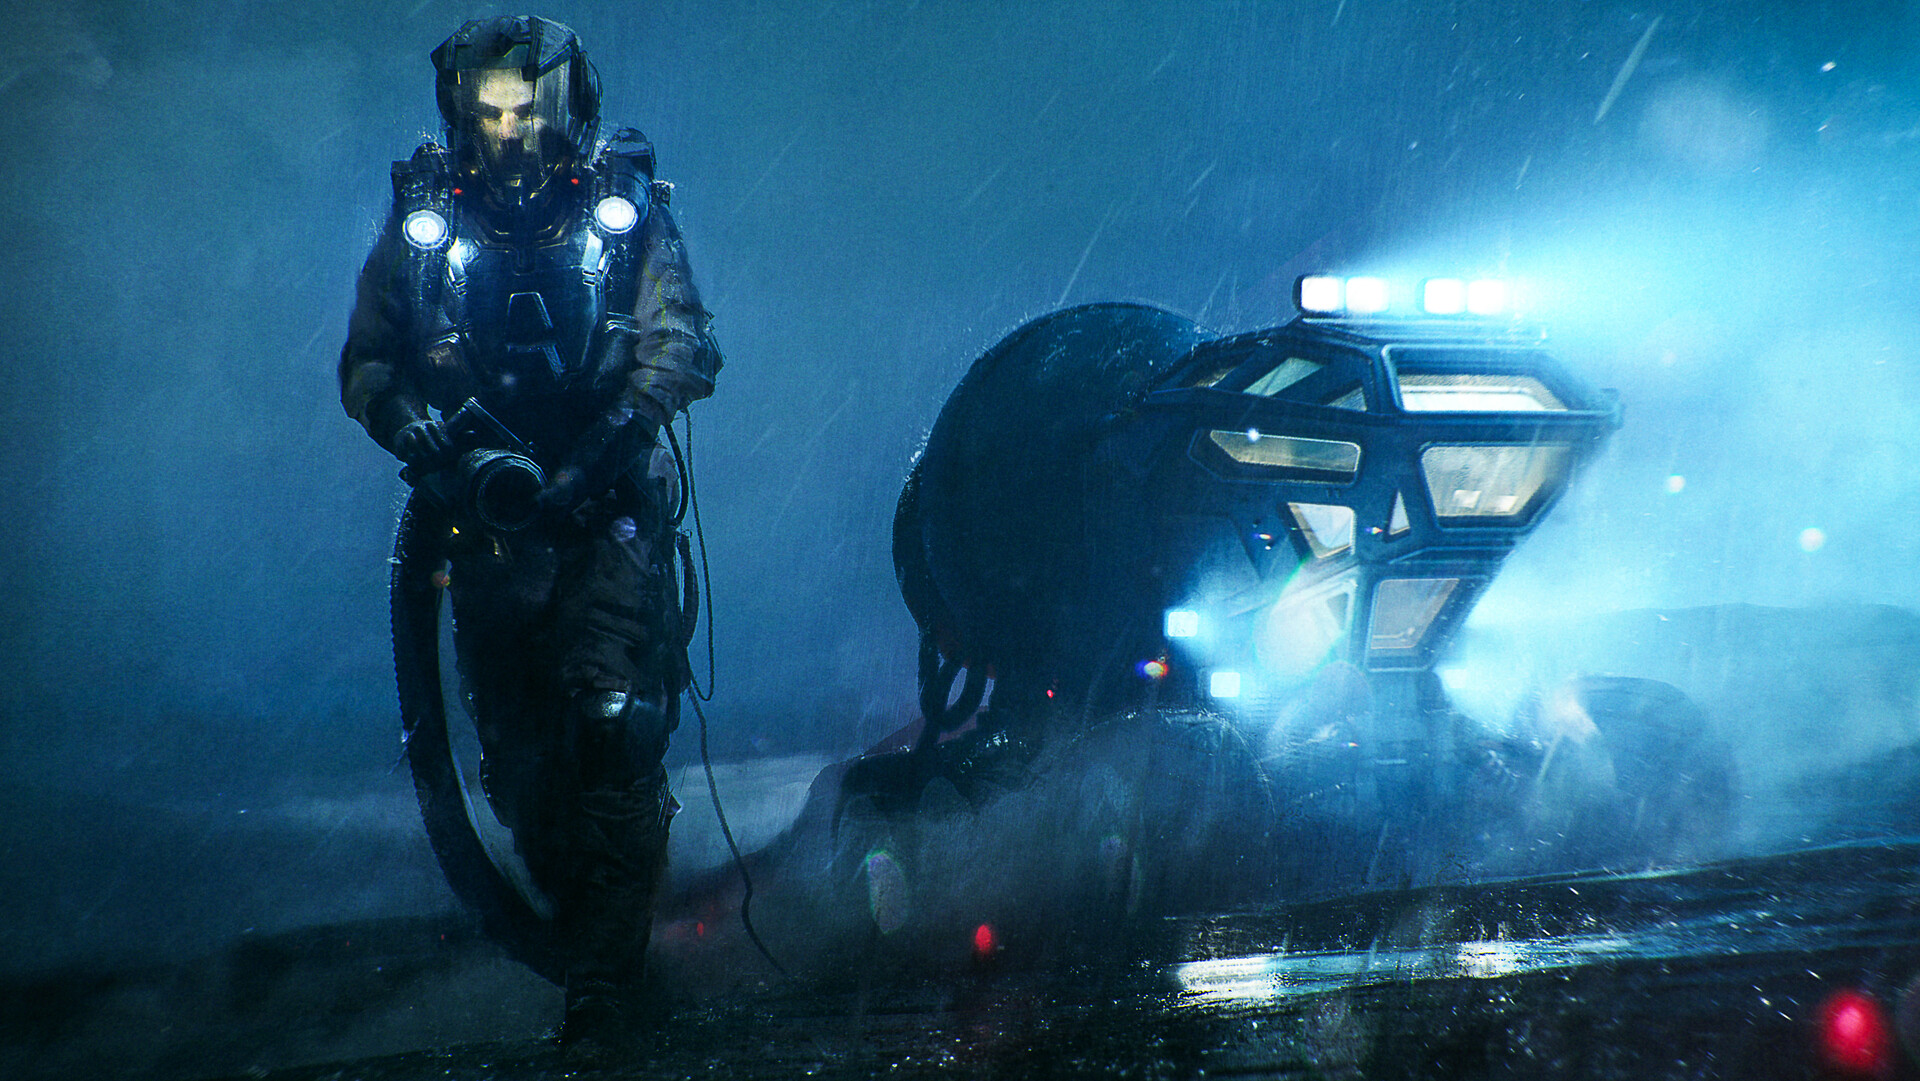 Hey, This is something I've been working on my spare time. Its made for an upcoming tutorial, showcasing the the complete 3D concept art workflow. This is just the images produced in the tutorial. process: procedural water wave shader: procedural drip shader mask: Procedural Arnold blend shader:
 -
Re: Aligning modular pieces so the textures line up?
 Sorry, thought there was maybe a general workflow for this. I’m using Maya and UE4. just wondering if there’s a technique for not getting any seams whatsoever between all of your modular pieces that connect together? Assuming there’s maybe just some vertex blending where the seam is where the modular pieces meet?
 -
Re: First time using UDK landscape and world machine
 Your white outline problem is probably the texture mips bleeding your texture bg color over the rest. Can you post your foliage texture? It seems to do a pretty bad job because of the global density your leaves produce here too, on another note.
 -
Re: help with modular scene ?
 Yeah, remember that you can always have few textures, but several materials which changes the texture look by for example blending stuff like rust into it, or changing the colors/saturation ect. Also take some artistic freedoms, not every bolt plate has to exactly the same as on the concept.
 -
Re: From ZSphere to Character. Avatar-esque Na'vi....
Hep Baj, Overall very nice - however, the buttocks needs a bit of work; cheeks and where the thighs join up to it. His groin area could also be pulled a little down in the front to create a softer overall silhouette blend between the legs. Ras PS. embrace the zSpheres. -
Re: Common shadow setups for mobile games?
 Most mobile games avoid dynamic shadowing altogether as being too expensive. Blob shadows instead (alpha blended decals). @RyanB has been posting some great optimization tips in the Unity section. For example: http://polycount.com/discussion/182384/lighting-for-mobile-in-unity-optimization
 -
Re: Number of unique bakes in Environment Art?
 Well I think there are so many answers to this and depends on the studio/workflow as well. I have noticed more of a push towards multiple shared materials/textures, blending, masks, etc than 0-1 unwraps and unique textures. Of course there is always a balance for quality/texel desnsity.
 -
Re: Vertex painting and LODs
 What I told is the common practice. You can make that new texture with hand, or do a vertex blend setup in your modeling package, and you can simply bake it down. Here is an example: https://scontent-fra3-1.xx.fbcdn.net/hphotos-xpt1/t31.0-8/11406707_651948291608321_7150929477793605364_o.jpg
 -
Re: Characters - getting better
 So, adding some hard surface sci-fi elements to this guy. These are quick 3d sketches. I don't think 2 is working. Maybe elements of 1 and 3. I will also add some more detail to his face/head to blend with the suit bust. Any opinions?
 -
Re: Artstation Game Environment/Level Art challenge

 Some quick updates, work has hopefully cooled off a bit, just got to switch off the lazy brain mode. Got some base colours down in UE with super simple vertex blending. Next, substance materials for rock and sand to start that whole thing off!
>11471 results