Search
-
Re: Maya 2013 Rigging Question
 I have animated stuff directly in Unity before for simple meshes. If you can key transformations of a mesh it should not be a big issue. You could scale in just 1 axis to get a squash effect for example. I animated rotating fans for example, translated cylinders and what not pretty easily.
 -
Re: Krabtank
 This is great, really awesome modeling tons of detail, maybe a bit too much like the new transformers. I guess that could be a new style that just doesn't sit well with me. But it depends on how you do the materials if the forms will hold up or blur together. Still, its very impressive!
 -
Re: New model topology
 Anyone can share some tips on getting rid of triangles? Somestimes after dividing the polygons, a triangle or a few may fore around the intersection. I try to maintain the loop and try to transform those triangles into squares. But it just seems that they end up showing around somewhere else. It's very frustrating.
 -
Re: Trimsheet normals inverted when rotating UV islands

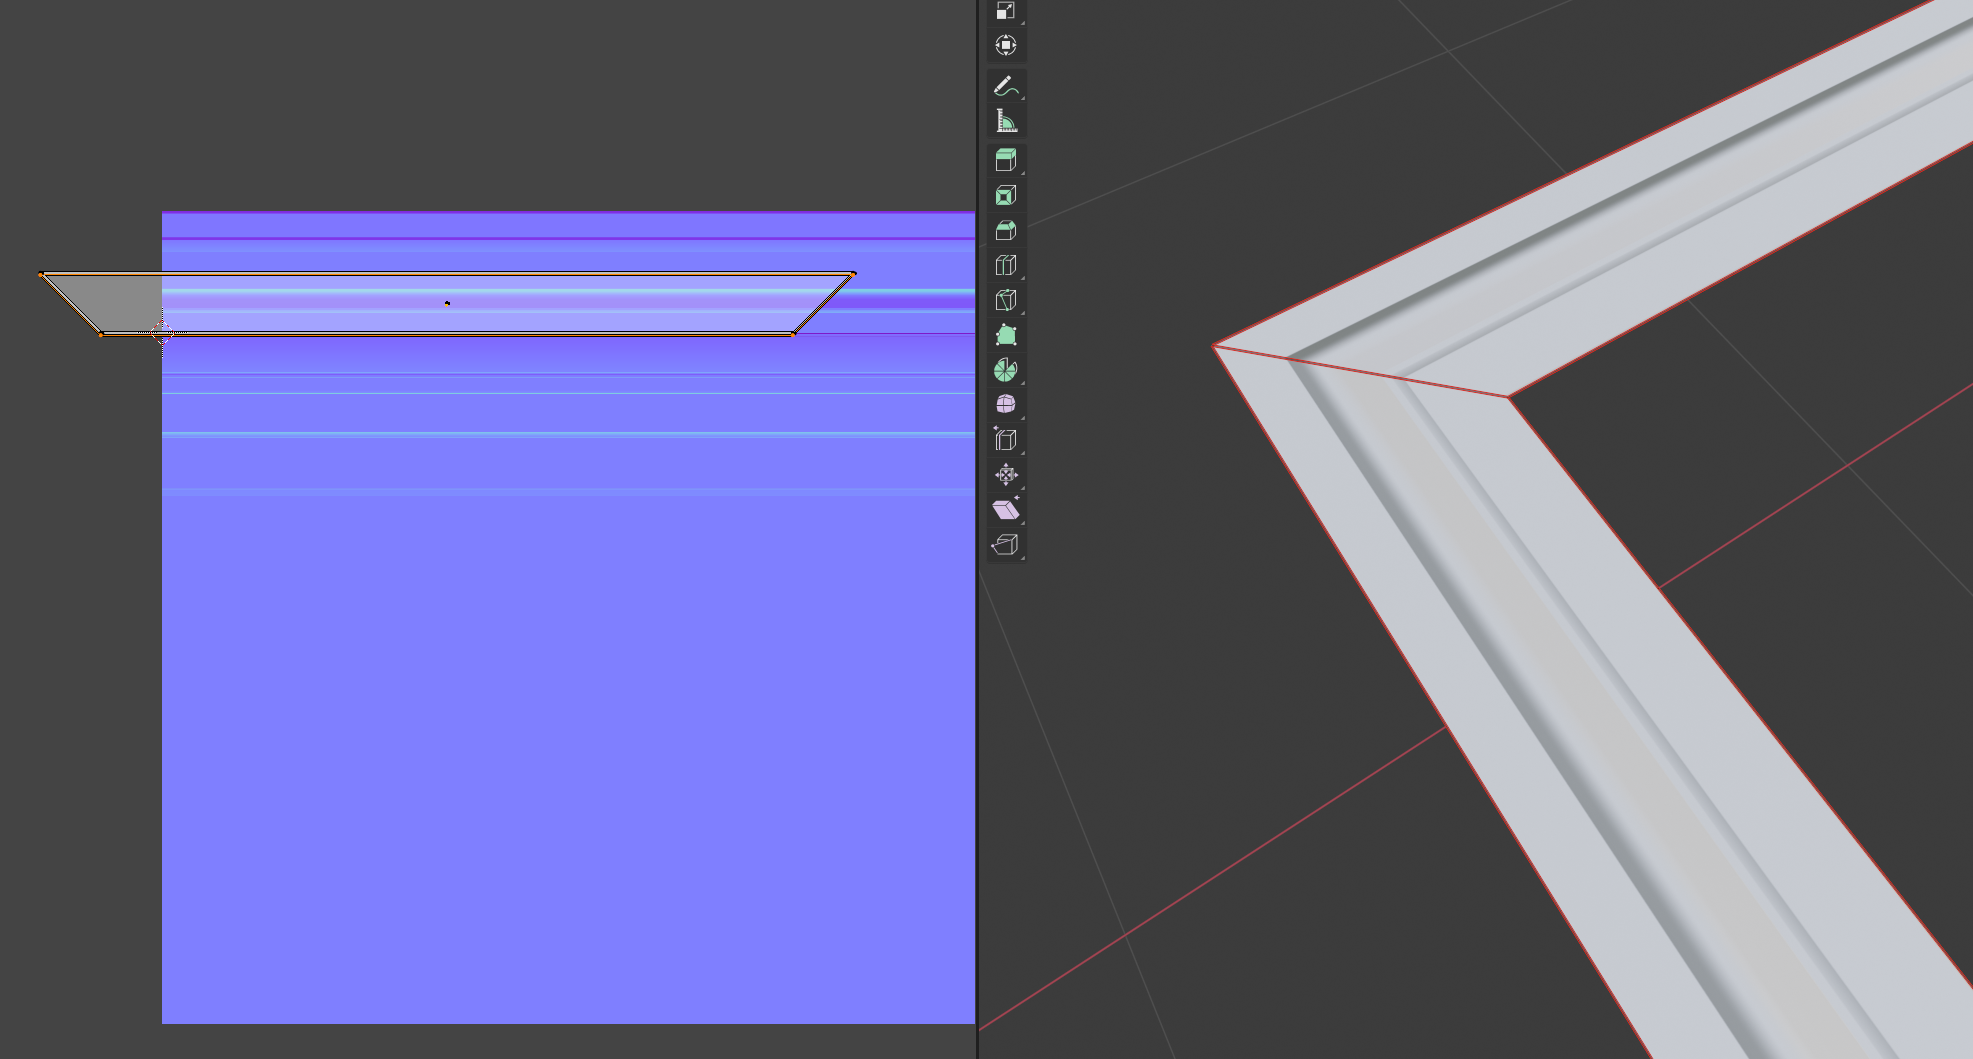 I agree, it doesn't make sense. I cannot recreate this either, it's working as expected for me. Did you rotate in edit mode or object mode and applied transformations? Which version of Blender are you using? I guess there are no modifiers on the object?! Would be best if you could share an example file.
 -
Re: Materials and draw calls
 It does but it doesn't mean that you can do anything. It can render things like that only when they are totally the same thing except the transform. Objects with different materials cannot be batched. From my experience, even a few hundred materials can be fine depending on the hardware.Mobile stuff, not so much.
 -
Re: R2 Astromech

 Been playing around with learning rigging. Nothing easier than rigging a robot :) Set up a bunch of connections and set driven keys so I can have just 1 controller transform this r2 unit from standing to walk ready. Not perfect but good if i need quick posing
 -
Re: Spots in normal map from Maya's transfer maps. What's going on?
 Seems to be related to how close the lp is to the hp surface. Could this be something with some spots are covered by outside ray and other areas by inside? Tried transforming the LP to be a bit smaller and thereby increase the gap between the lp/hp. Removed these spots on some areas but not all. Can't make sense of it yet.
 -
Re: [UE4] crash site environment
 This already looks great, especially the main craft imo. I've been working on a similar personal project, where i've extracted heightmaps from mars, but I've gotta ask, how many textures do you have on your terrain and how did you make it transform so seamlessly? :)
 -
Re: Solved: Suite 2 NDO can't edit normal map
ok. that got me the new normal shape. with some fiddling I found out I could transform it. Was the video author using keystrokes in addition to the visible mouse actions? I don't know much about shortcut keys in Photoshop. Anyway, I can progress from here. Thanks! -
Re: MayaLT 2016: Thicken a mesh without extrudeing
you can push the mesh out along its normals by selecting the faces and doing edit mesh > transform component, and then dragging your Z (blue) handle out. the more you do it the blobbier your mesh will get though, but its good if you only need to make smaller adjustments.
>4288 results