Search
-
Re: [FINISHED] - UE5 Realtime Metahuman - Ryan Gosling: Drive

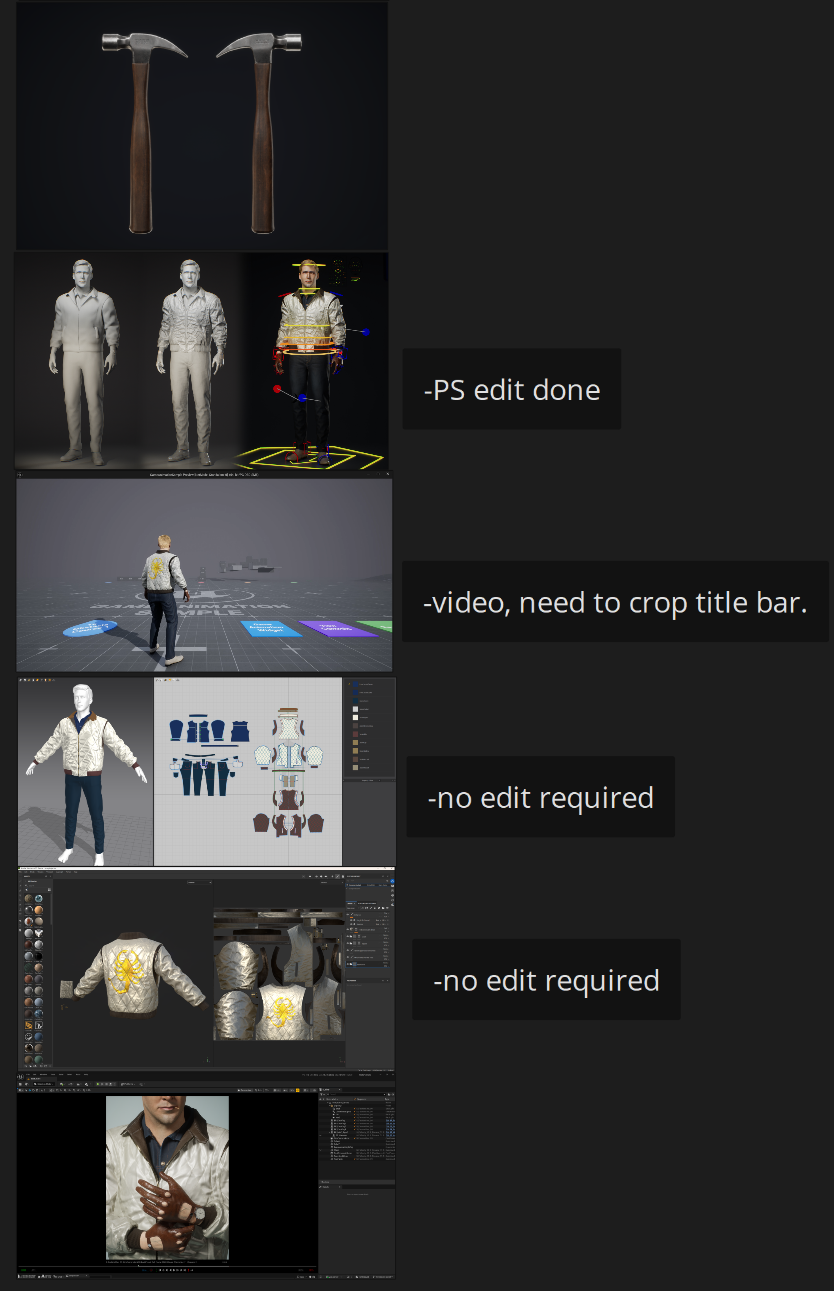 For my Artstation setup I was mainly looking at an awesome, recent character art post: Exiled Pink Knight by SeungHwan Jeong. My character is much simpler in comparison, but I took what I could in terms of how to present work well. So I took some headshots in Sequencer and MRQ, and also took some screenshots of my…
 -
Re: Sketchbook: 30daysofsculptV

 Day 18 Reference: https://www.artstation.com/artwork/YB1K0X by SUN MAN Time Taken: 2h Notes: Meh. I dont think I managed to capture the sharp features present in the concept. Any time I tried to sharpen it it turned out too masculine or uncanny. This was a challenge for me, hopefully I can see some thing I'd have done…
 -
Re: Ambre (WIP) - 3D Game Environment Art
 Forgot to share this, but I set up a basic scene in Unreal to get a better understanding of the visual language of the scene. At this point the only thing I feel like I will struggle with is sculpting the ground around the face and trees, and blending it in with the rest of the landscape and the other elements.
 -
Re: Baking round, hard edges with blender's multiresolution modifier
 I became interested in it because it was able to bake the armpits here without any artifacts. It produces very clean normals quite easily as long as the topology is okay. Using cages I always have trouble on sharp angles like this that are not cage-friendly. If it doesn't work with hard-surface/creasing I will only stick…
 -
Re: Questions about unwraping UV and Normal map

 I bake to test the sharing on left is separate uv on right is share uv here the sharing area so I was wondering is it a good way to do this or better to avoid the sharing. is it gonna be problem in engine? is it better just share if got symmetrical and not like my example .
 -
Re: Texel Density & Trim
if you're not sharing texture with other assets then only use trim techniques where it actually helps and don't be afraid to bump your texel density if that's what you need to make it look right. at 1024px/metre, 1 pixel is <1mm across : at this density you need to get pretty close to a surface to see pixels (even at 4k)… -
Value map driven color gradient?
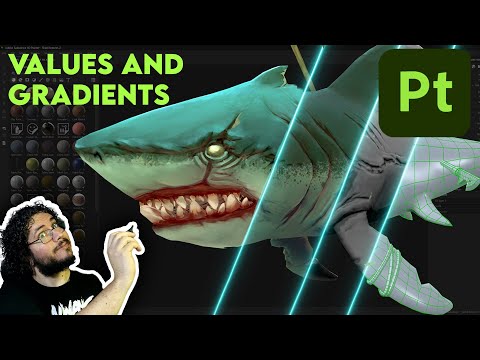 Hey all, I'm not entirely sure how to describe what I am looking to do in Unreal, But basically I followed along with Abe Leal's newest video on the Adobe Substance 3D Youtube channel where he textures a shark characters but he uses a technique where he creates a value map first and then uses a color gradient that uses the…
 -
Re: Help needed with UVW Unwrapping
 Okay, here's some tips. Also you had some weird geo (doubled verts) on your mesh that I cleaned up. Also I deleted 3 of the 4 fins, you can just mirror them back (Once you've finished the UV's—would make sense to have them overlapped / share the same texture to save space). You might also want to bookmark this for further…
 -
Re: how do you keep a consistant light source
Hey JO420 Im no pro but ill share my own process of creating textures none the less. For organic objects. I try and find a hi res reference picture of the object I want (we shall say Human in this case) with the skin tones im looking for. 3d.sk is a good place to start if you can get registered there (though its not free)… -
Introducing DigiKlay: A New Digital Sculpting Tool (Free Beta & Full Version Available)
 Hi everyone! I’m thrilled to share DigiKlay, a lightweight and intuitive digital sculpting tool, perfect for artists looking for a simple yet powerful solution. DigiKlay is designed to streamline the sculpting process while offering essential tools for both beginners and experienced users. Here’s a quick overview of…
>27705 results