Search
-
Re: So You Want To Make Rocks?
 Here's a rock a did a while back, I hope that it helps as a visual aid. Its all in Zbrush, but for more complex rock formations I use a combo of Z and 3D coat. You would like to have clear cut and defined areas for your rocks, and try to balance noise and calm as you compose them. As for your reference, if can be broken…
 -
Re: Images of my 3D chair prop

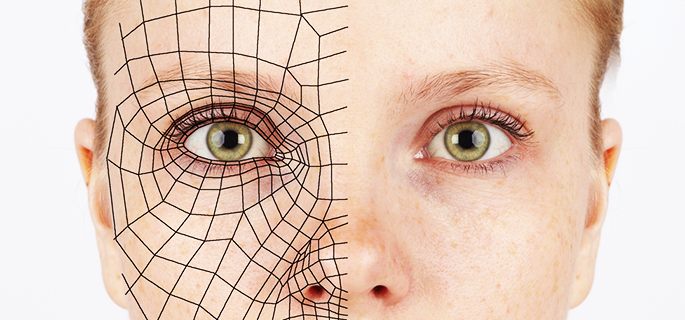 I'd recommend drawing on top of a photo, the minimal lines you think you would need to define the form. Then try modeling using those lines. And examine others' models that seem to have good flow. It takes time to learn how to perceive and create good edge flow. As you practice and improve, you'll be able to create good…
 -
Re: Elite desert soldier specops guy dude
 hmmm the head might be the weakest part , i know this is supposed to be stylized etc, but the facial features are waaay too defined making it look like someone who came out of a plastic surgeon and not good looking at all ( at least imo ) , the hat is also a tad distracting now , just makes it harder to look at the face…
 -
Re: Trying to learn pbr
 Doesn't UE4 only support metalness maps.. the specular maps are just an artistic tweak to control the sharpness of the reflections.. whereas in toolbag they are what define a metal and the color of the metal.. UE4 takes that info from the albedo for all the areas that are masked as white in the metalness map and…
 -
Re: Old Colossus
 ajr21764 + limesimme - the reason ive have the topology like i do is to help the silhouette and help define the creases and wrinkles, if i change it to a more even distribution like pictured wouldnt that loose the definition ? almighty_gir - yes i know im just over killing it a bit to start off with so i can get everything…
 -
Re: Does TB have problems displaying black vertex colors?
 @EarthQuake Thank you for replying; I did not know the math that was behind that. However, shouldn't that be applying only to the vertices being painted? As you can see from my Maya screenshot, painting one small portion of the mesh black (value 0 I assume) automatically tints everything that doesn't have a defined vertex…
 -
Re: The Monthly 'Newb' CHARACTER Challenge | March 2014 | Adviser Pilot Girl
 @PyrZen: I have had that problem a couple times. Have you tried using local symmetry instead? @Abidus: Try using z-remesher to a lower polygon count; it looks lumpy and a hard to sculpt on right now. @atomicguppy: I think the borders defining the lips are way too sharp and the nose too straight in the side profile. Started…
 -
Re: Help me on hand-paint!
 hey there! looking pretty good! I think its lacking a lot of primary shading though. you would really benefit from adding a few gradients from top to bottom over the whole prop, and ad some overall AO shading. EDIT: When looking at your sketchfabs I realized turning it back to "shaded" mode makes your stuff looks a lot…
 -
Re: People, faces, anatomy, all that good stuff (Cortes' sandbox)
 Yep. I'm following Ryan Kingslien's method at Zbrushworkshops where he just uses a sphere and starts with big masses of clay after a few subdivisions from the get go. I think it helped get the rough forms in but now I need to finesse them at lower levels to really define them and understand them better. So at this point am…
 -
Re: How to use the specular color output in SD?
You need to use a shader that supports it. The spec gloss one does but you'll need different outputs from the metal rough Shader. You can hack it into the metal rough Shader by defining the area as metal and putting the desired specular colour I to the basecolor channel. It's worth mentioning that you can have the outputs…
>35317 results