Have anyone figured out how new Curvature Smooth node works in Designer?
So far I find it best for doing various edge masks just on top of a final normal map . Tried to make it work in Painter but as always it's weird and never same , works only on square textures i.e a dead end.
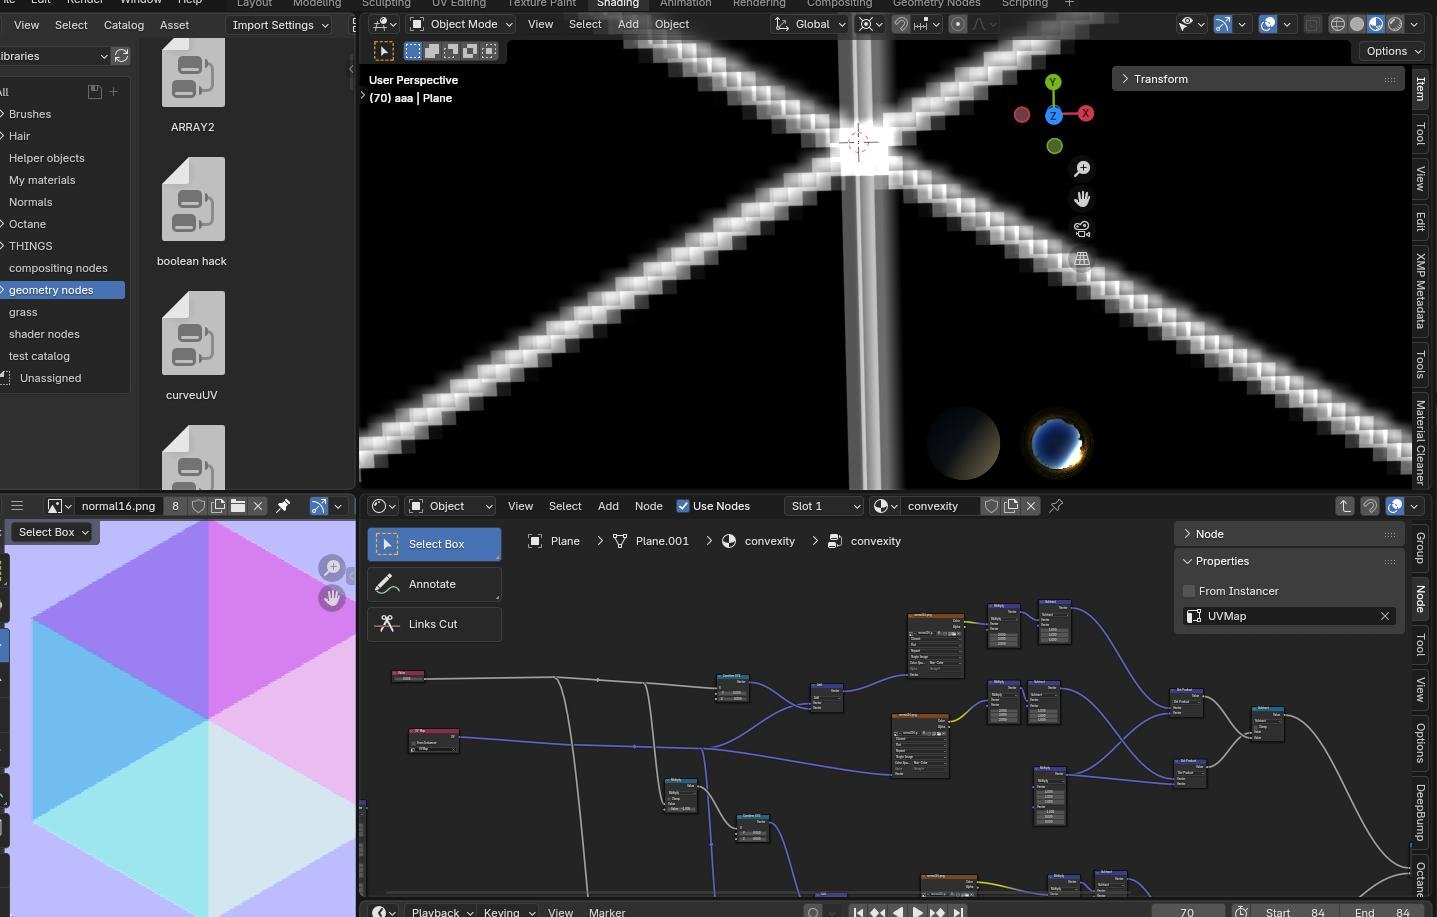
Want to recreate it for Blender shader editor.
I see it sort of shift iteratively in x and y positive and negative detection the dot products of normal XY channels vs plain XY vectors and then subtract from before shift . No actual blur involved probably which is extremely hard to do in Blender. just loops of fading shifts. But this is mostly my guess. I couldn't understand some parts at all when open the node in Designer . Am I on the right path ?

Replies
if you want to mask by a specific normal direction though - just dot(normal, other normal)
Hacks like that explain why it breaks down under some circumstances
edit:
ok so I've had a look . Hopefully this helps with some of the weird bits
The only variable they seem to be using is the builtin $sizelog2 -which is log2(pixel size of the input) == log2(512, 512) == (9, 9) etc..
The constants they declare are mostly the log2 of image size - this function which sets the image size on one of the blends ensures that the final output is 32x32 px. if you pass a 64,64 px node in, it will set the relative size to -1 : (5,5) -(6,6) = (-1, -1)
In terms of what it does..
You're basically right...
They're splitting the normal map into x and y components, making several copies, blurring them to various degrees and blending them back together with less and less influence as the sharpness (image size) increases (The blends set opacity with (1.0 / $sizelog2) ). This is a hacky/ingenious way to pretend you're sampling multiple times over distance and is a similar principle to building fractal noise.
Things i noticed...
The progressive down-sampling takes the place of a loop.
It may be hard to reproduce in blender. If this were a glsl/hlsl shader you'd need to render a texture for each downsample at least and possibly to handle some of the composition