[SOLVED] How does one fake lighting hair strands on a surface?

node
Hello I'm back with another hair question!
I've been using planes ( lots of planes...) to create the hair that is on my model.
I like it but I want to know if there's a certain texture map and method, that would allow me to uhh add depth to the texture.
Like having certain parts of the texture highlight to fake individual strands.


I want the lighting to affect the hair more like.... this? (sorry for the ugly paint, its representational !) and not like an airbrush.

The hairs are all planes and they all have a similar maps setup.
so yeah , is there a way like...when rotating your model , the light hits the plane, but lights up several strands(lines) along that plane , to make it look like there's hair on top of the plane?( or at least at its apex)
The way I see it now, the lighting is spread out across the planes evenly.
I've been using planes ( lots of planes...) to create the hair that is on my model.
I like it but I want to know if there's a certain texture map and method, that would allow me to uhh add depth to the texture.
Like having certain parts of the texture highlight to fake individual strands.
I want the lighting to affect the hair more like.... this? (sorry for the ugly paint, its representational !) and not like an airbrush.
The hairs are all planes and they all have a similar maps setup.
so yeah , is there a way like...when rotating your model , the light hits the plane, but lights up several strands(lines) along that plane , to make it look like there's hair on top of the plane?( or at least at its apex)
The way I see it now, the lighting is spread out across the planes evenly.
Replies
It's just that my question was about something pretty specific which you don't exactly find at face value on tutorials.
I'm not using splines for the hair on purpose and I have a hard time finding out what is the correct texture setup for controlling how a light interacts with a plane. --- I was expecting it would like a specular map or something that I could just draw over the strands I wanted highlighted >_> but for some reason (I'm using 3ds) no matter how I touch the maps that have to do with lighting , the light just smooths out across the texture : /
Is there no map type that just dictates which part of your texture can highlight and what parts don't?
The same way opacity maps work.
Maybe I'm just too noob , I don't feel like I should even have this issue.
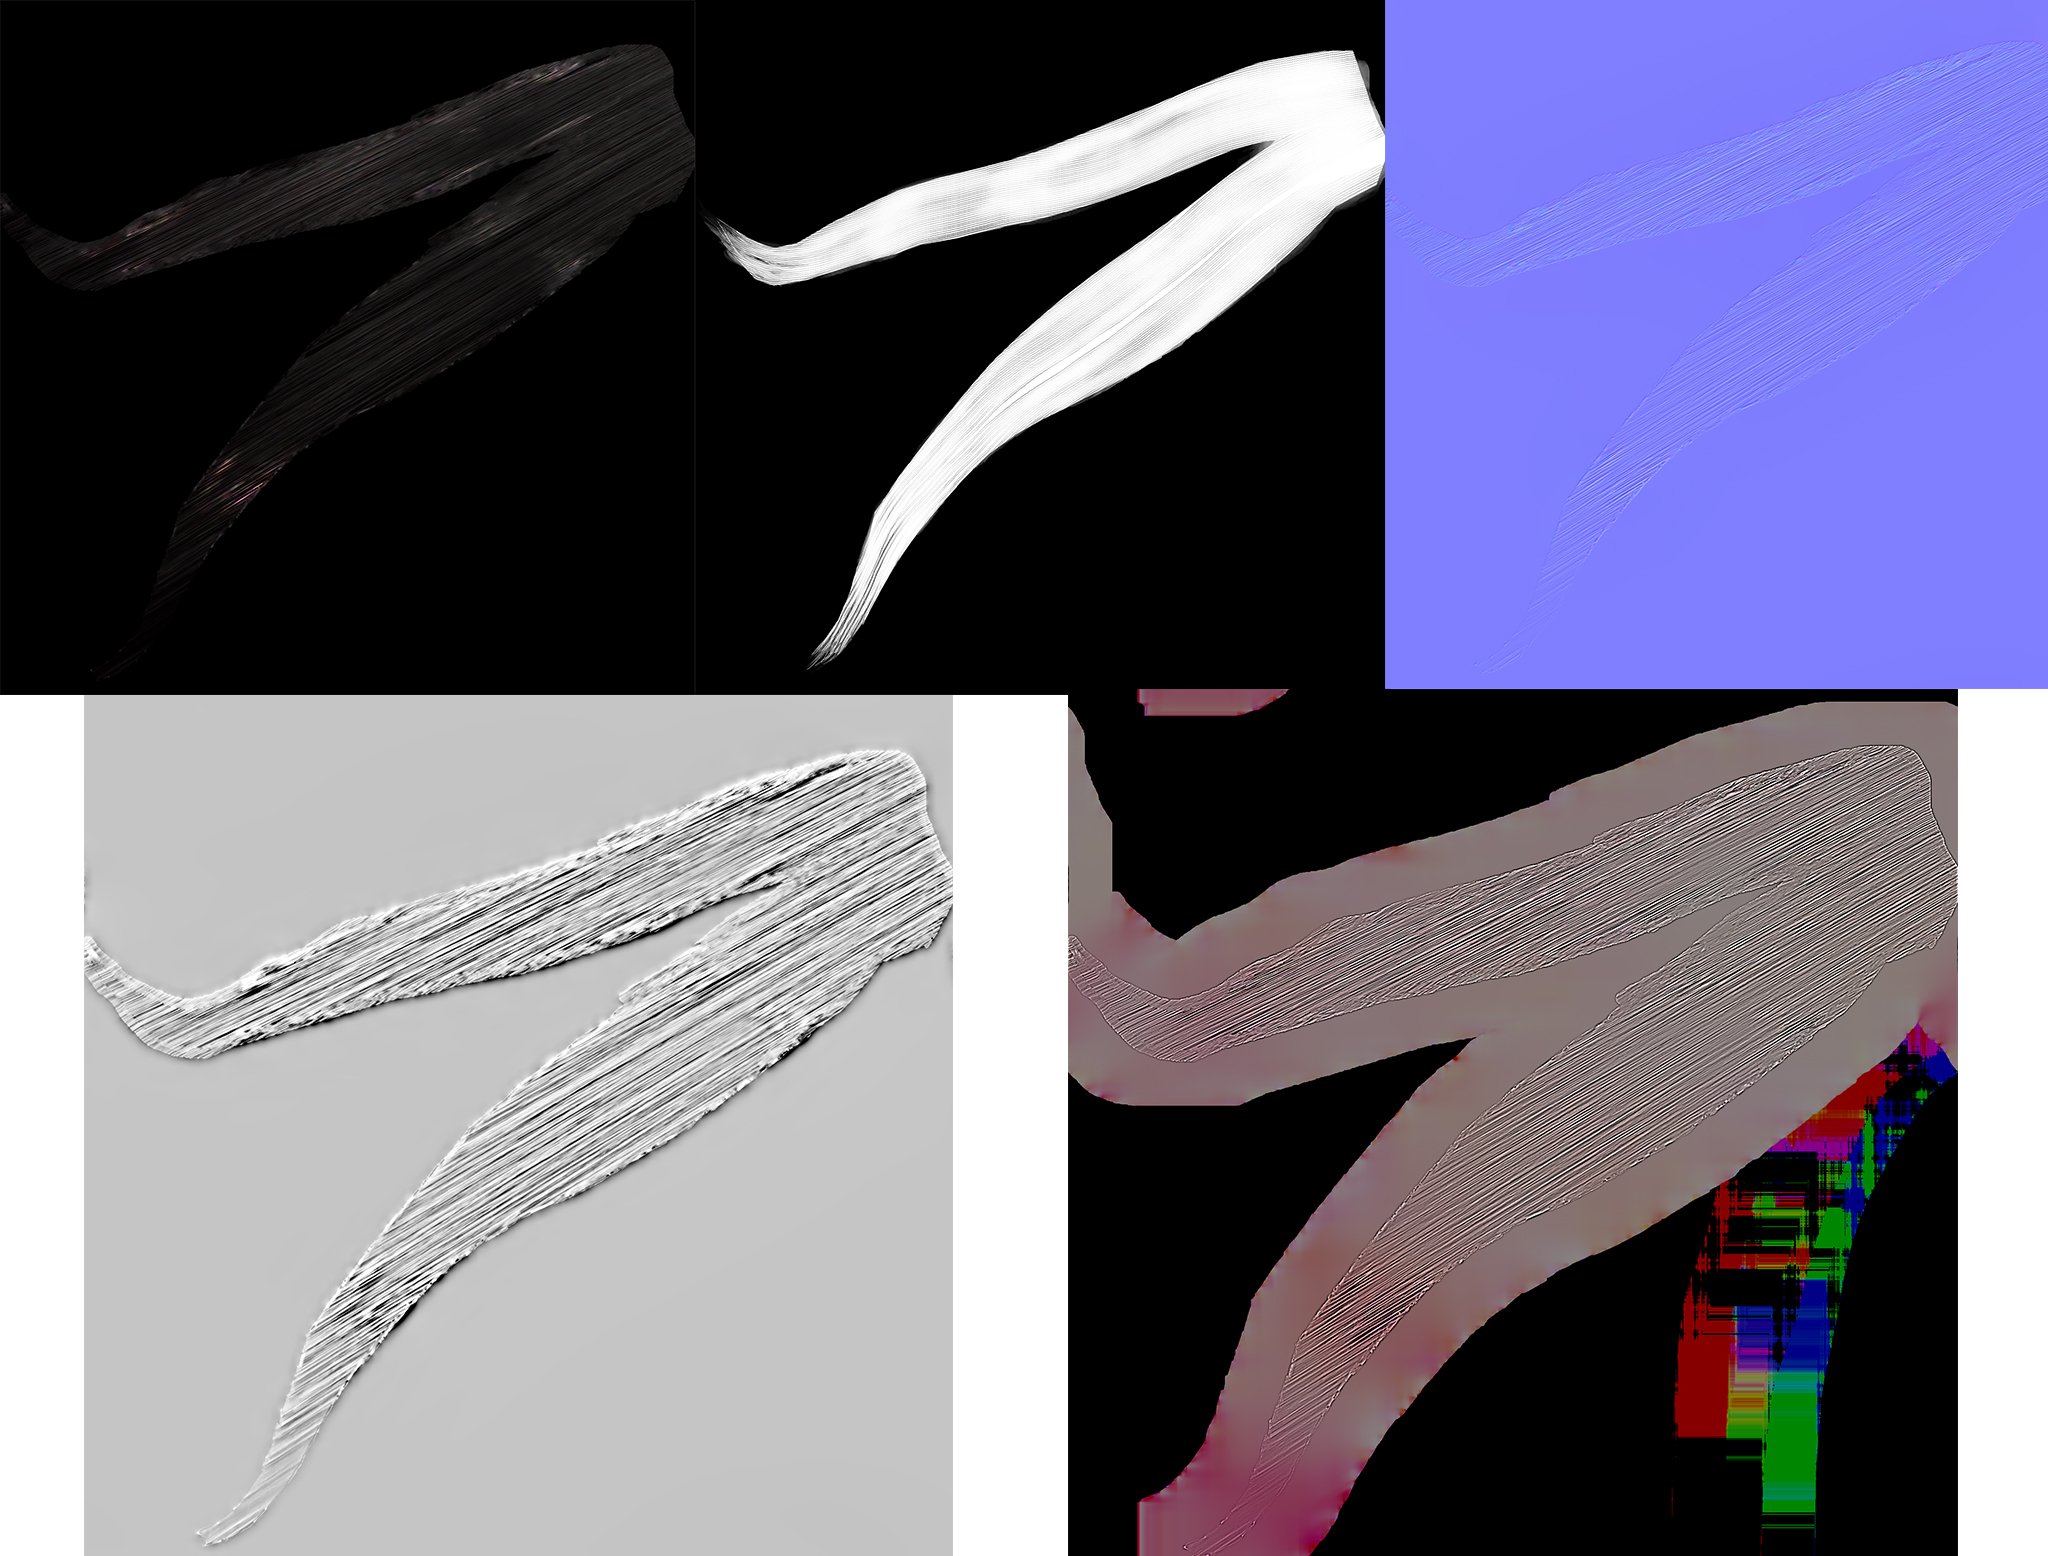
First make one good Alpha map for masking the hair. Then figure out your materials as solid colors and mask them off with the same alpha.
Here's a few tips for you:
Straighten your UV shells so they're mostly going along one axis. The way you have them at a 45° angle creates choppy pixels where you should have mostly straight lines.
The alpha you have doesn't match up with any of the other textures. Your normal map should be made from the alpha. Your albedo, specular and gloss shou§ld be solid colors, but then restricted by the alpha. See that it works, then add variation to the alpha and regenerate the normals.
Read this, and stalk the OP: https://polycount.com/discussion/211075/wip-realtime-hair-practice
Becoming the hair-master is not harder than searching these forums for "realtime hair" or "realtime bust" and seeing/asking people how they made it, then practicing for yourself.
The dude in the post i linked does the same thing you're doing, adding hair-strands as a texture onto a pretty simple mesh.
He does start from a great alpha map, though, which is why I agree with Alex above.
Your time has not been wasted, I will get on this asap !
Guhhhh.... That was grueling....
Alot of these maps in the tutorials are inexistant in 3ds 2013 (or I'm a dingbat)
Fresnel for instance I see nowhere as an option. Oh and the specularity map still does nothing : (
But uhh yeah I fixed all the UVs to be straight so that helped.
Also kinda hard to know which map fits where in here:
(like... is depth the same as displacement? what about height map X__X ?
and where the hell does fresnel go?! Also I have no idea where anistropic lighting is for 3ds 2013 >_>)
Here I have a scene with two planes. The rear one is just there to test opacity.
On the hair I told max to reflect yellow light to test it.
My material is simply diffuse, specular and gloss values in the basic parameters and an alpha that will reveal the plane behind the hair:
In this example I don't have a scene light, so I get no reflection, though I do in the viewport.
Here I simply added a light, and lo and behold I get a reflection.
At this point I can do one of two things:
1: I can override the specularity settings with a specular map. This will override the basic parameters i set up, and dictate at what intensity and what color the reflection will be per pixel in the map. The more intense the color in the specular map, the more it will override the color of the light it's reflecting. A specular map always overrides the basic parameter.
Here's the specular map I made up just to show how this affects reflections:
See how that makes the red text reflect even though that bit is black in the alpha? Also see how the hair now reflects white? The specular map has no color in the hair area, so the reflection color is dictated by the color of the light, which I left white. If I had a blue light, the reflection would be blue on the hair and red on the text.
Option 2: leave the spec map slot empty, then put your alpha in the specular level slot. That will now only constrict your specularity, letting you drive it with the basic parameters.
Now specularity can be controlled in basic parameters for quick iteration.
Option 3: Put a rainbow picture in the first slot, and the alpha in the second, and now you have rainbow colored hair but only on the hair strands
Googling "fresnel 3ds max" gave me a bunch of answers
Thanks again!
Getting absolutely no feedback from the maps >_>
There has to be something else I'm missing.
I'm using corona lights is that related? the renderer won't display anything unless I use corona lights.
And there's no feedback in the viewport either : /
Isn't the specular color supposed to be overwritten by the specular map? *grumble*
I'm using a corona renderer for 3ds 2013.
But uhhh.. you're right I should try with a more updated version, will get back to post results.
https://coronarenderer.freshdesk.com/support/solutions/articles/12000039648
It produced some interesting results, but there's a lot I gotta play with... (especially to get rid of those white splotches)
Still.... it does sort of do what I initially wanted.
I only changed the material for some parts of the hair, left the rest untouched for comparison.
Now I just need to figure out this fresnel stuff.
I also accidentally managed to get this effect:
(halo lighting thing around the head)
*edit*
Seems like I just have to leave it to render for like 99999years and the noise goes away>_>
I think we can consider this topic *SOLVED*
Thanks everyone!