Normal Map - Flat Surfaces Bake as Concave

Hi, I've recently begun having a problem when baking out maps in
XNormal, and I have been unable to find a solution elsewhere.
Basically, almost every flat surface that I bake normals for ends up
looking concave, rather than flat. This issue becomes worse as faces
become thinner, or more elongated. I've included images below to
illustrate this issue on two basic models, in order to show that it is
not a problem specific to complex surfaces. These models were created
in Maya LT 2016, and all normal maps were baked with XNormal.

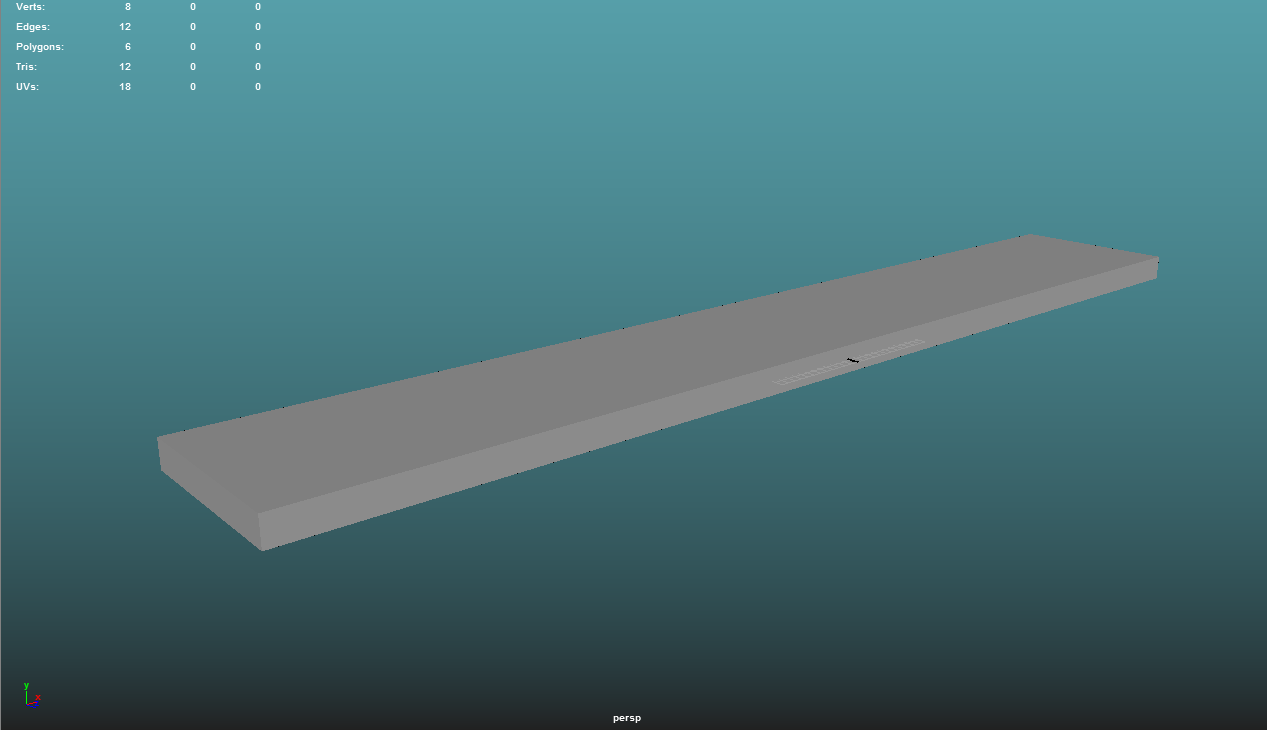
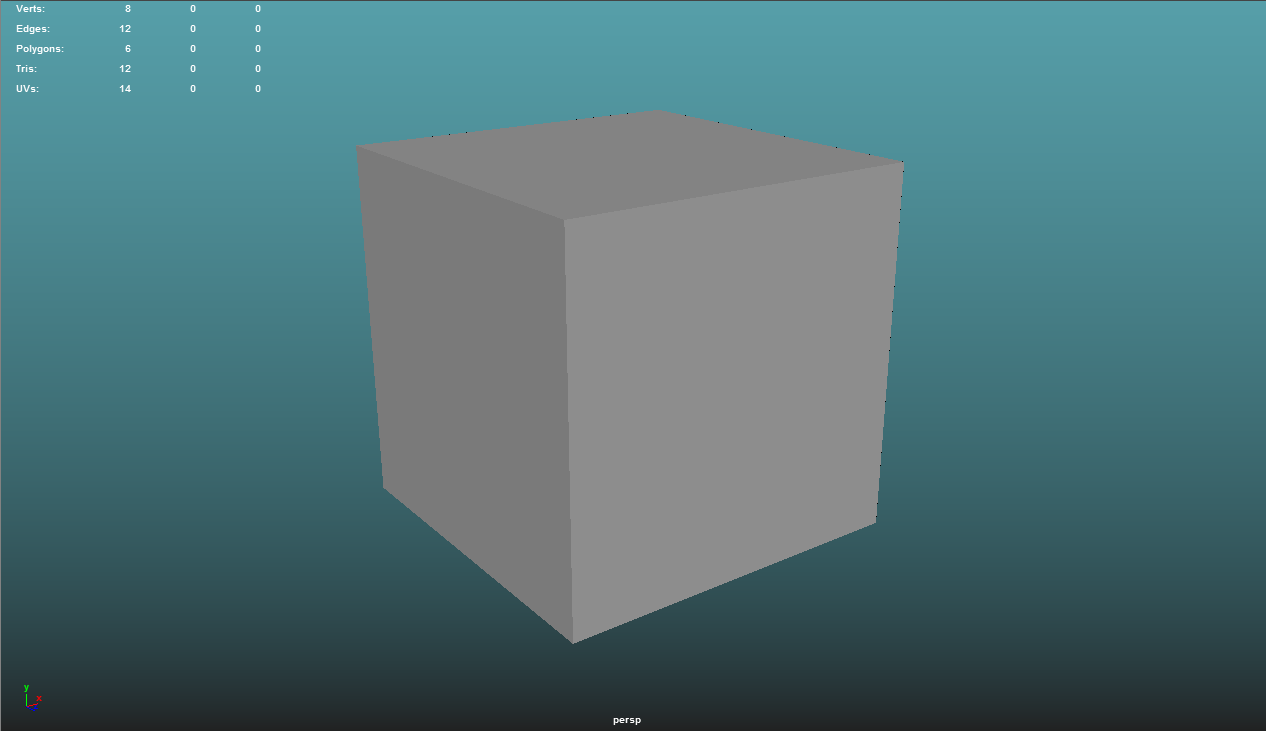
Here is the first model - a basic cube. The only change made to the cube was softening all edges, as it is the "Lowpoly." This is the final model that the map will be applied to in UE4.
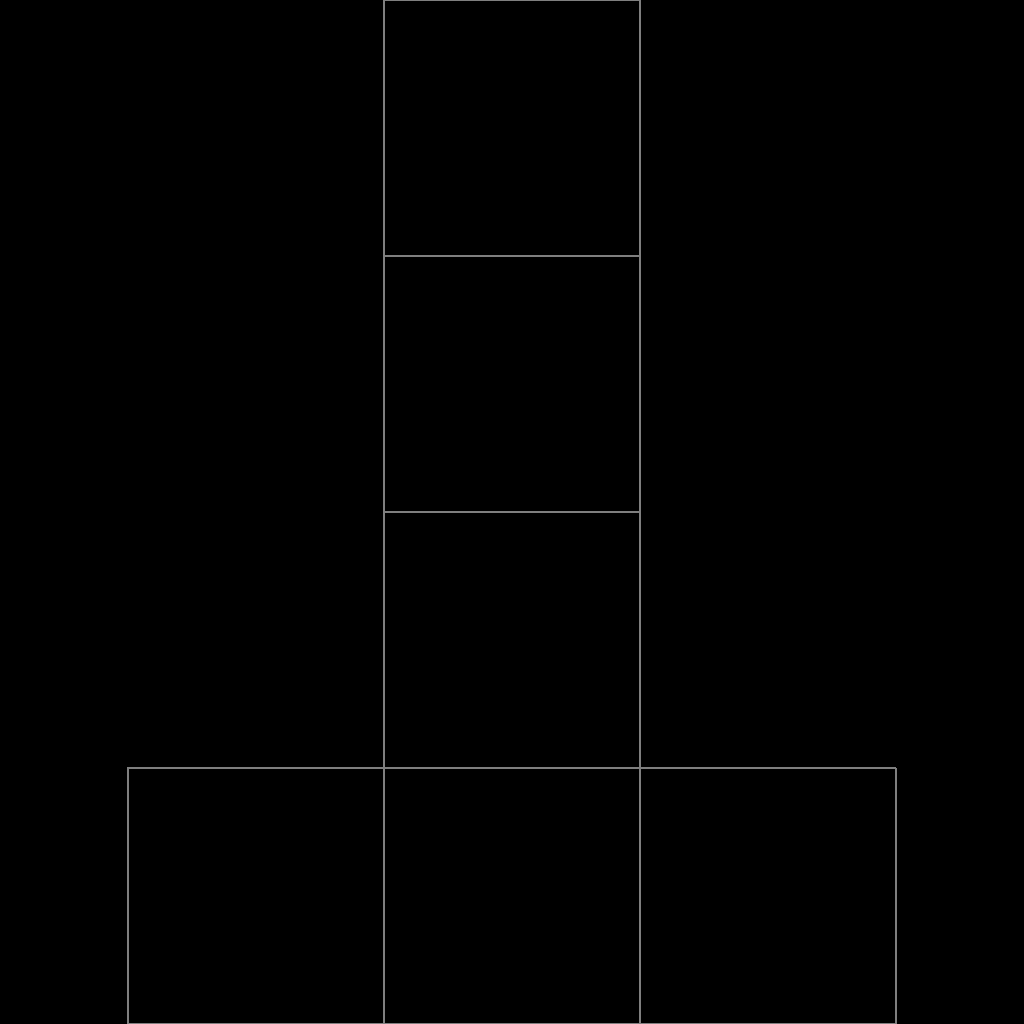
The UV layout is default.
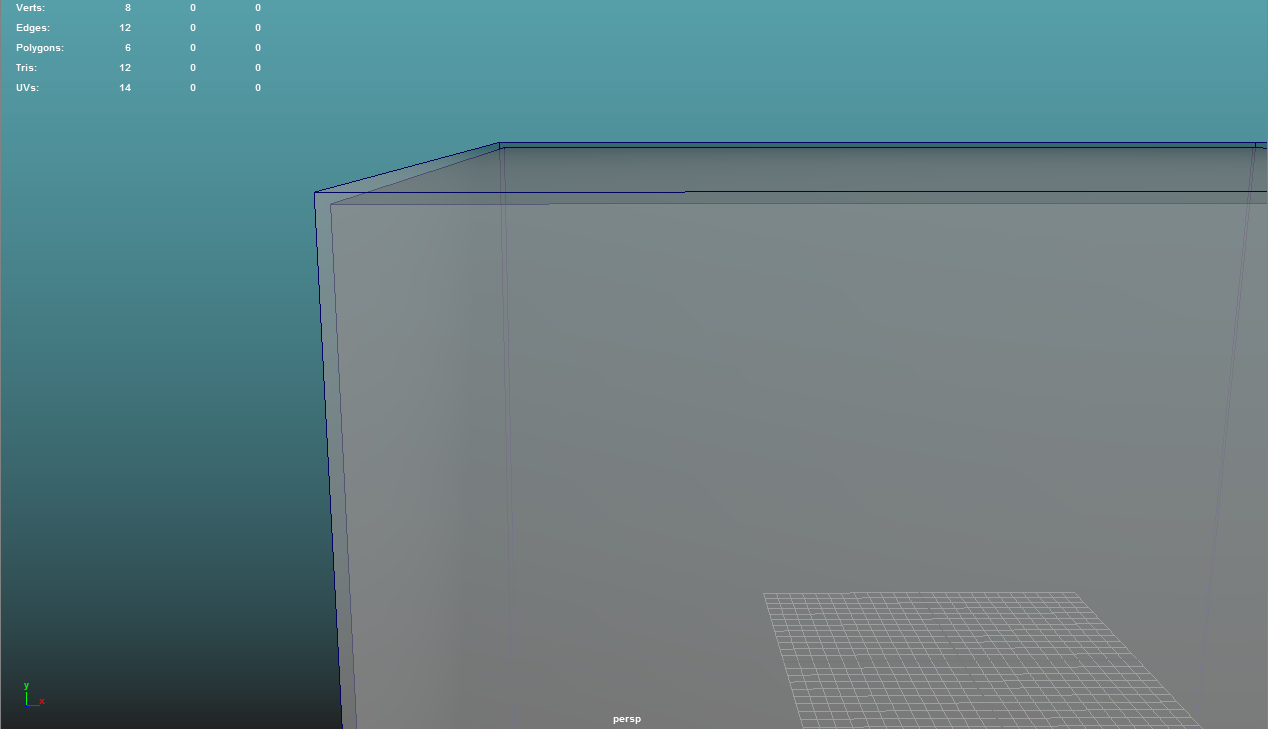
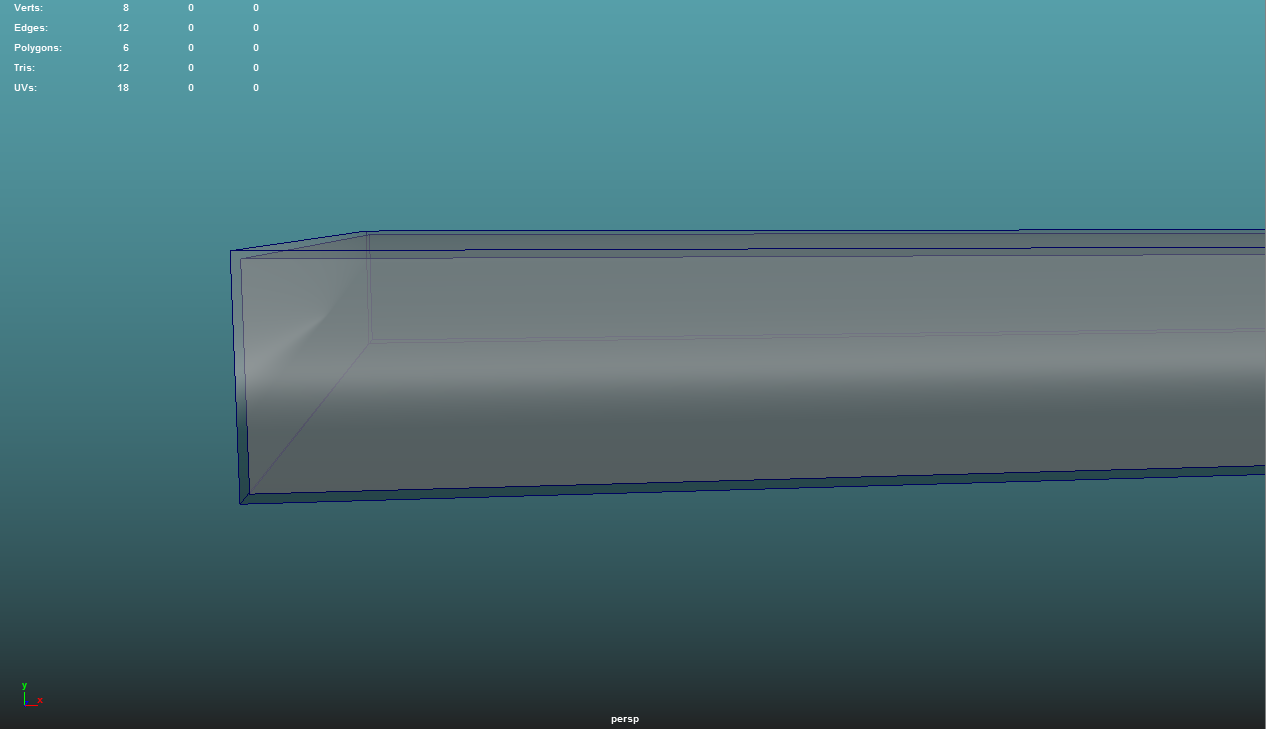
Here is an example of the custom cage mesh overlapping the Highpoly. The cage is a slightly inflated version of the Lowpoly, and is also completely soft-edged. The cage model goes into the Low Definition Mesh section of XNormal.
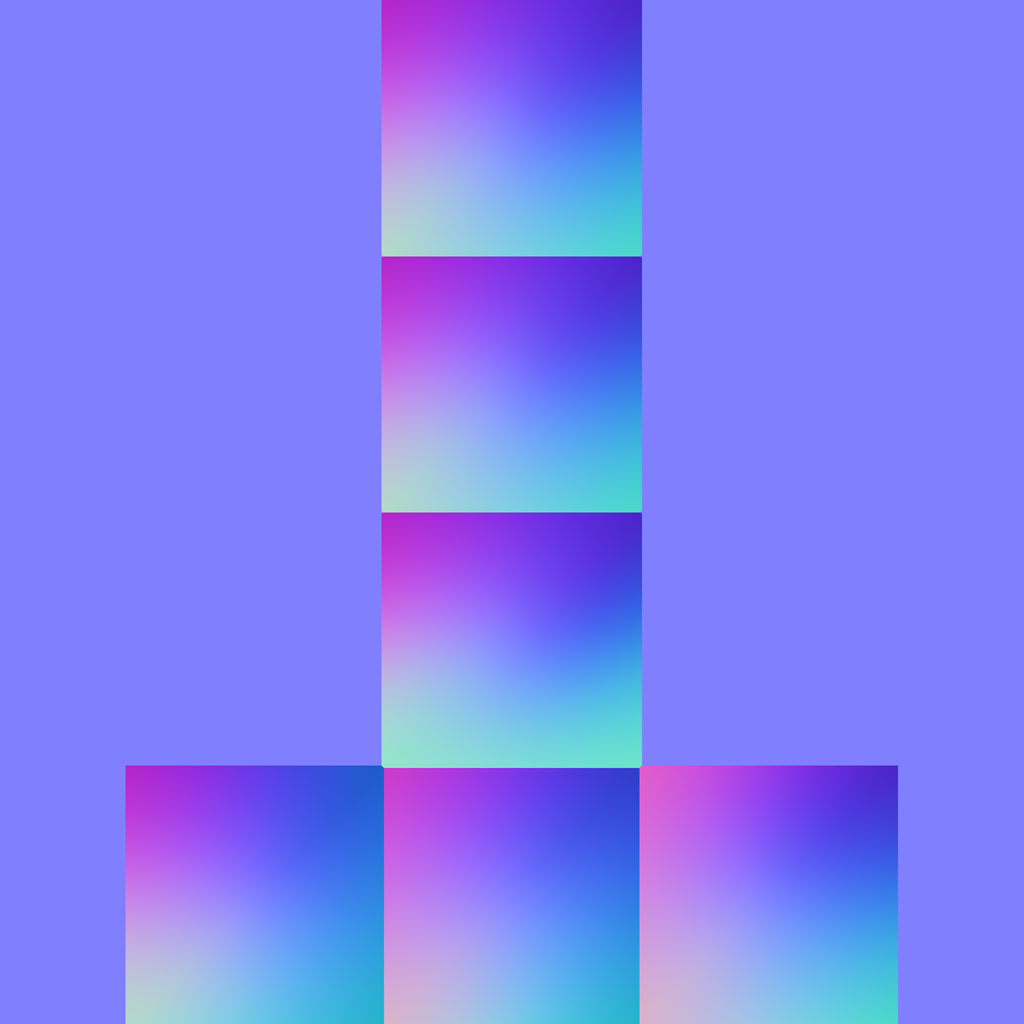
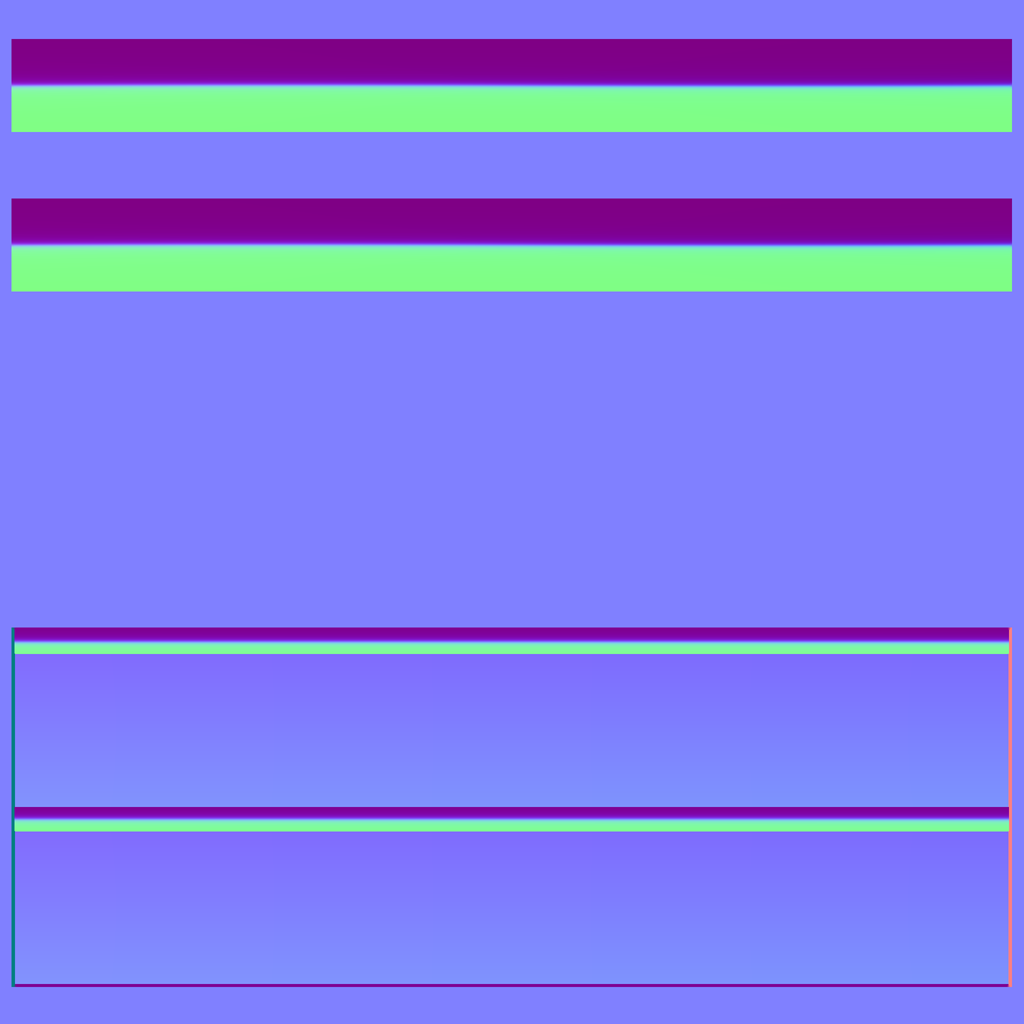
Here is the render from XNormal. The faces look strange, despite there being no complexities in the input models.
For a more extreme example...
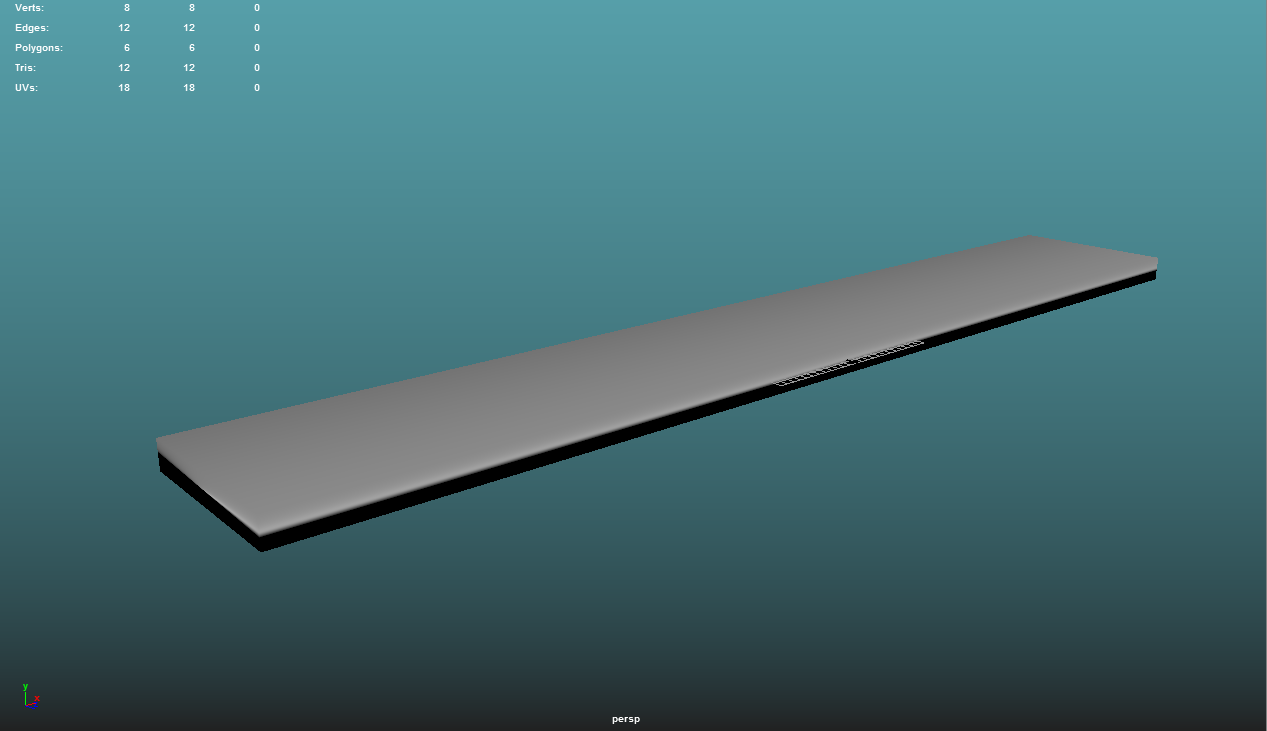
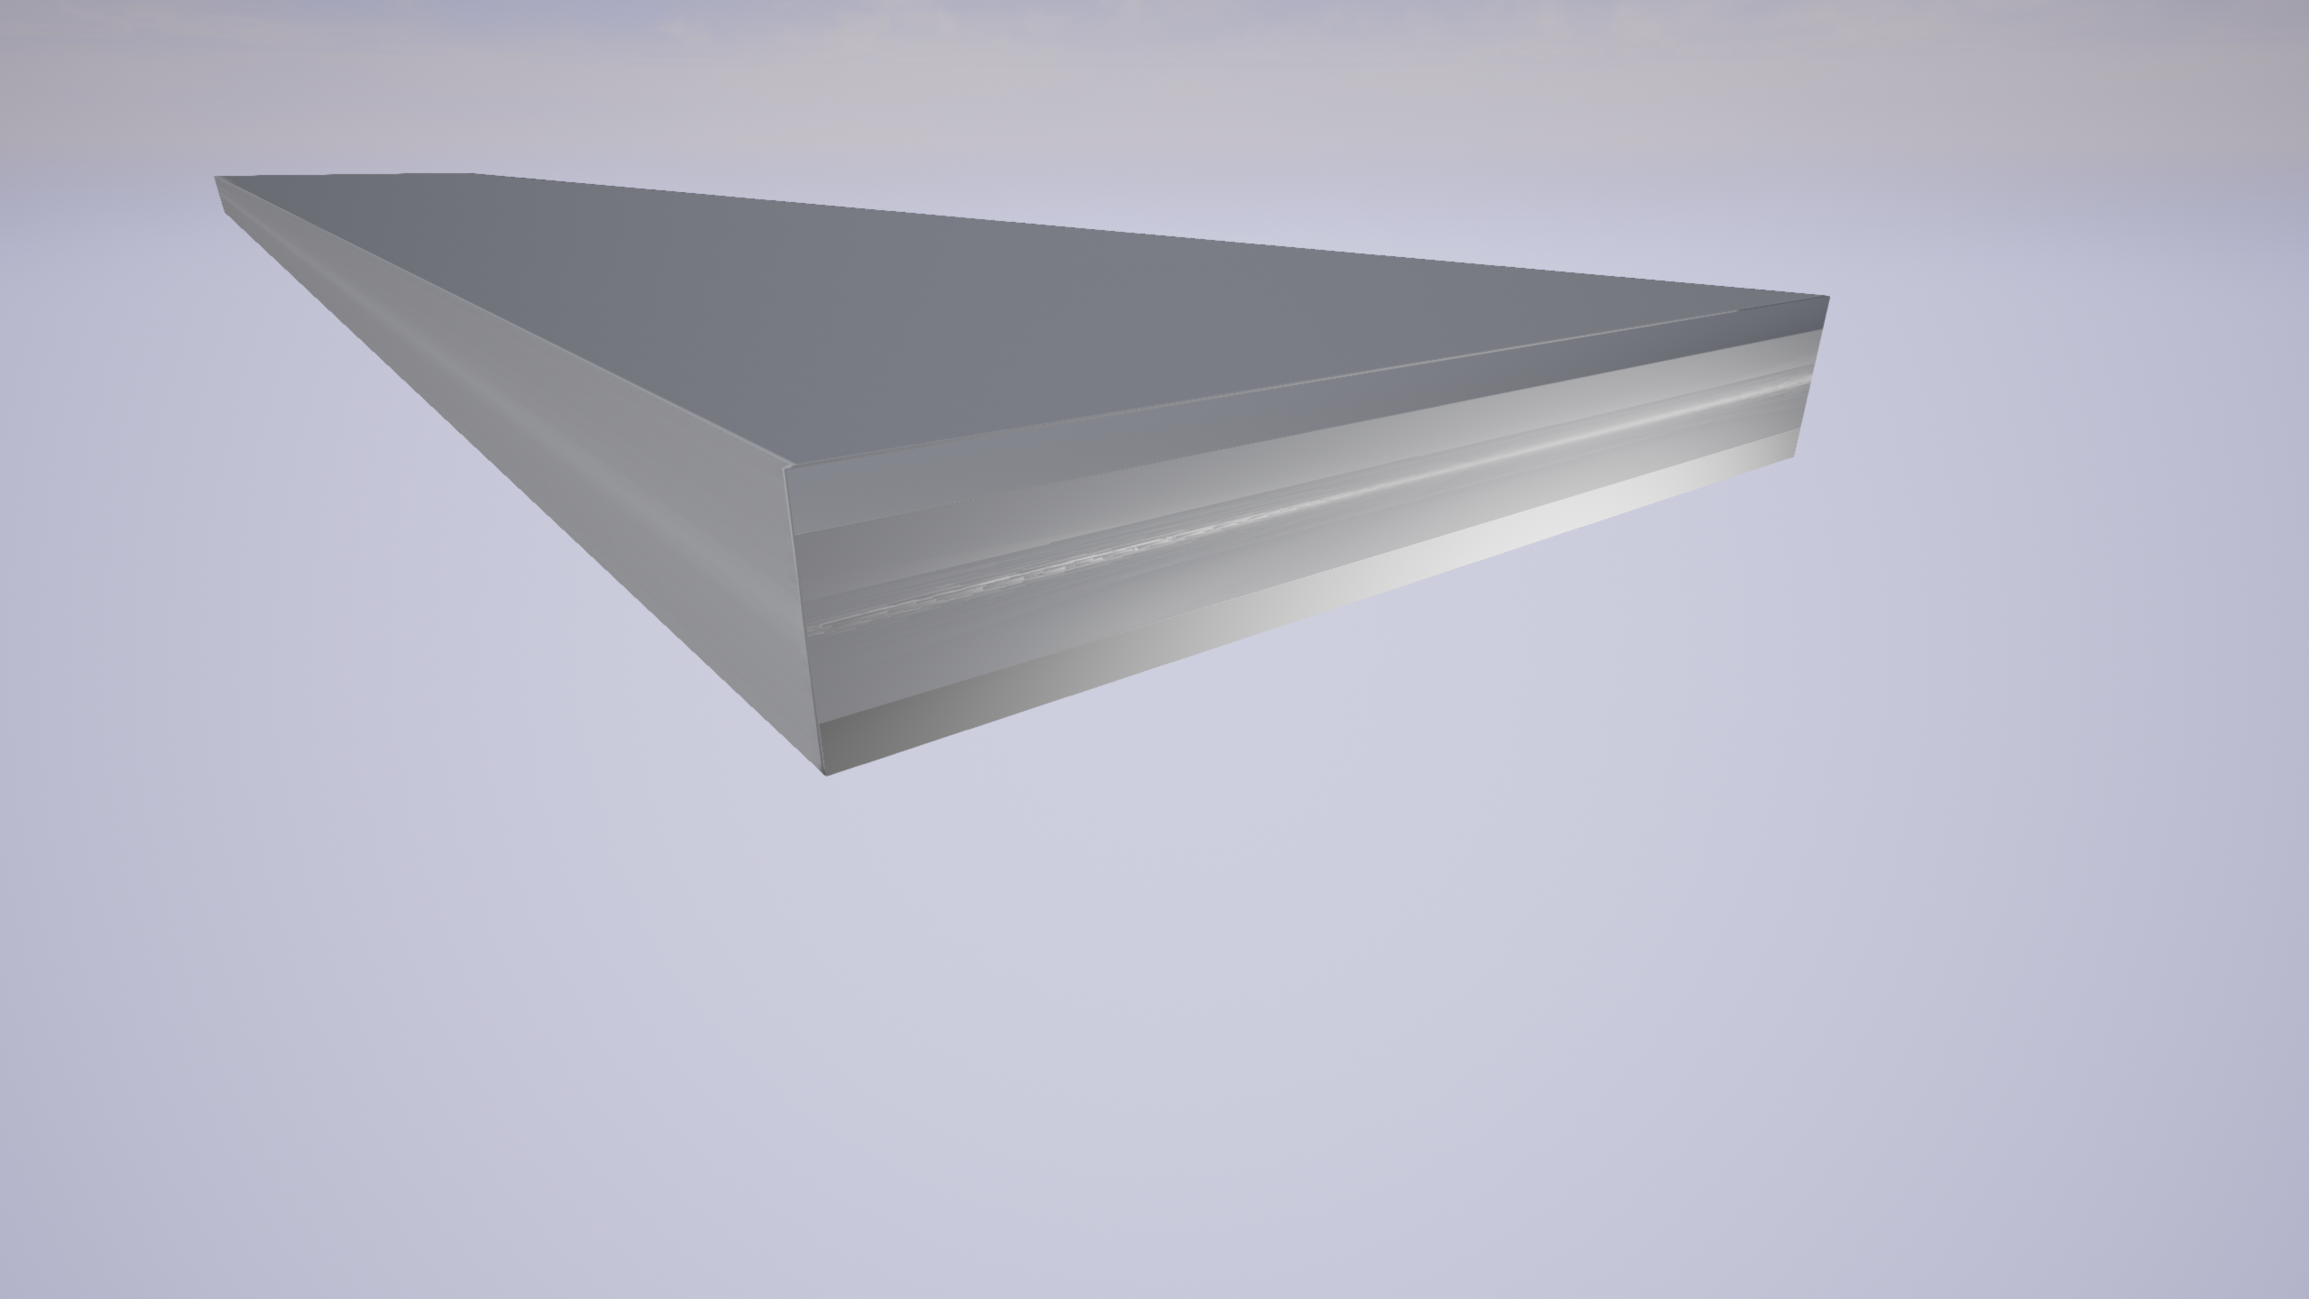
Here is the other simple model - a very elongated cube. Once again, this model was unchanged aside from being completely softened.

I adjusted the UV map on this model to be closer to a 1-to-1 representation.
Here is the Highpoly. Once again, it is the exact same box, but with hardened edges. This goes into the High Definition Mesh section of XNormal.
Here is the cage shown overlapping the Highpoly. It is also just a soft-edged, slightly inflated version of the Lowpoly. This goes into the Low Definition Mesh section of XNormal.
Here is the resulting normal map. Obviously, the problems from the cube render have been massively increased on the thin edges.
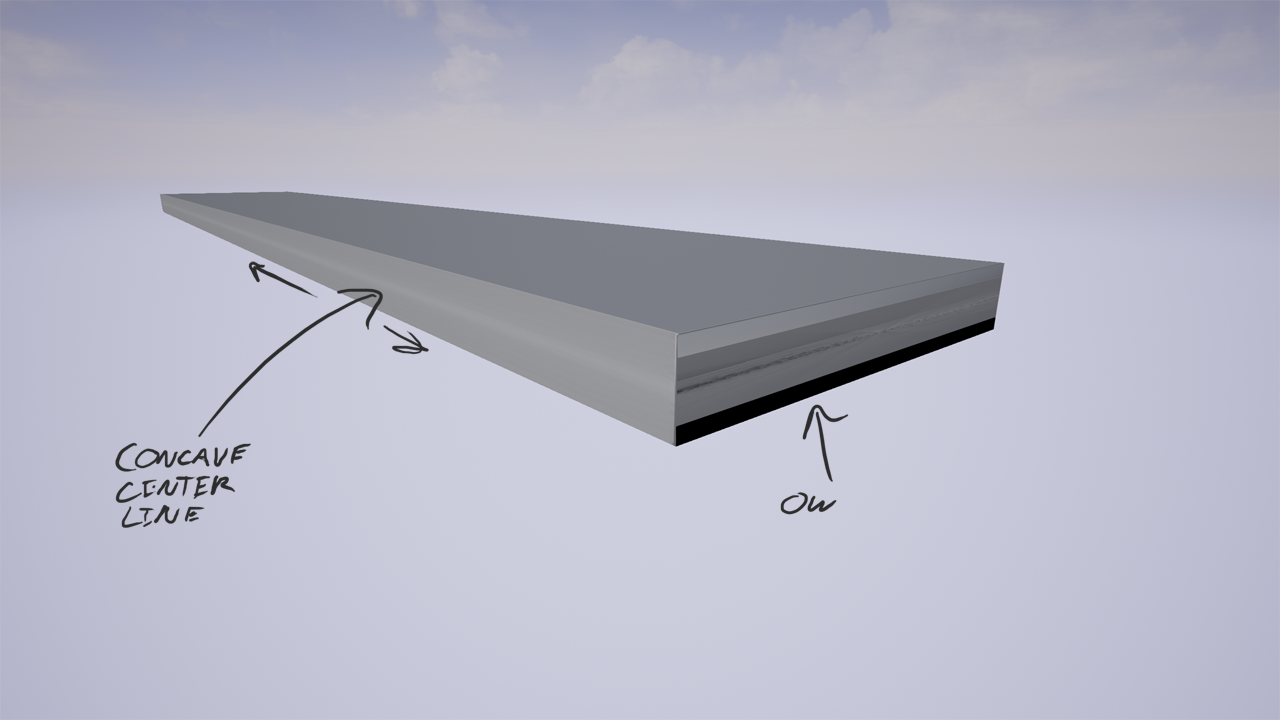
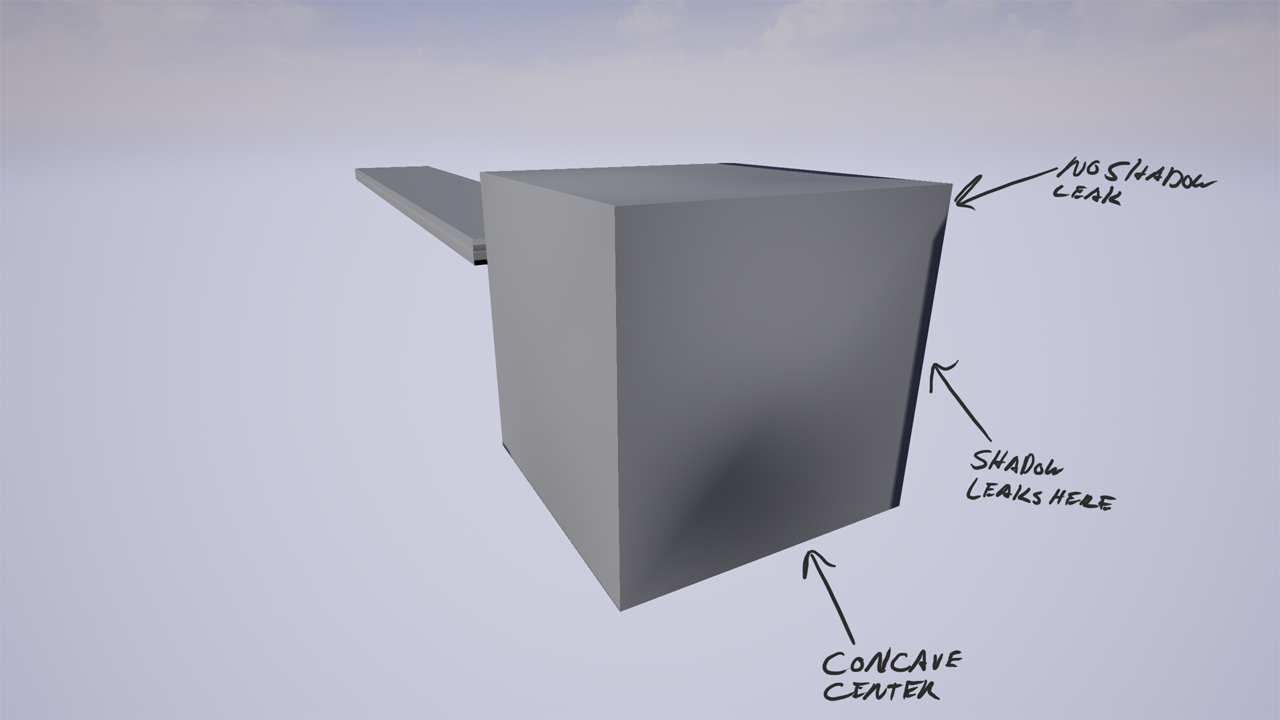
Here is the UE4 render. The thin faces seem to have a visually indented line running through them. The side faces had an aneurysm, and don't even come close to matching any of the model inputs.
Here is just a quick show of a strong light hitting the model at close range. I'm not sure where that normal detail is coming from.
Below, I've included screenshots of my XNormal setup, just in case a setting got messed up at some point, and I didn't catch it.


The strangest part about this, is that it seems to be a recent issue. I've been using Maya LT to XNormal for a while, and don't remember this ever being an issue in the past. One day I tried to bake a normal map as usual, and suddenly any face that was somewhat elongated had that nasty gash running down the center. I basically cannot bake any normal maps until I can figure out what's going on. I couldn't find any similar issues when googling the problem, and the stickied threads on here didn't seem to help this particular error either. I feel like I must have accidentally jacked a setting in Xnormal or Maya, because this came out of absolutely nowhere.
Thanks in advance for any help or advice you can give me. I'm at a total loss.
Here is the first model - a basic cube. The only change made to the cube was softening all edges, as it is the "Lowpoly." This is the final model that the map will be applied to in UE4.
The UV layout is default.
Here is an example of the custom cage mesh overlapping the Highpoly. The cage is a slightly inflated version of the Lowpoly, and is also completely soft-edged. The cage model goes into the Low Definition Mesh section of XNormal.
Here is the render from XNormal. The faces look strange, despite there being no complexities in the input models.
For a more extreme example...
Here is the other simple model - a very elongated cube. Once again, this model was unchanged aside from being completely softened.
I adjusted the UV map on this model to be closer to a 1-to-1 representation.
Here is the Highpoly. Once again, it is the exact same box, but with hardened edges. This goes into the High Definition Mesh section of XNormal.
Here is the cage shown overlapping the Highpoly. It is also just a soft-edged, slightly inflated version of the Lowpoly. This goes into the Low Definition Mesh section of XNormal.
Here is the resulting normal map. Obviously, the problems from the cube render have been massively increased on the thin edges.
Here is the UE4 render. The thin faces seem to have a visually indented line running through them. The side faces had an aneurysm, and don't even come close to matching any of the model inputs.
Here is just a quick show of a strong light hitting the model at close range. I'm not sure where that normal detail is coming from.
Below, I've included screenshots of my XNormal setup, just in case a setting got messed up at some point, and I didn't catch it.
The strangest part about this, is that it seems to be a recent issue. I've been using Maya LT to XNormal for a while, and don't remember this ever being an issue in the past. One day I tried to bake a normal map as usual, and suddenly any face that was somewhat elongated had that nasty gash running down the center. I basically cannot bake any normal maps until I can figure out what's going on. I couldn't find any similar issues when googling the problem, and the stickied threads on here didn't seem to help this particular error either. I feel like I must have accidentally jacked a setting in Xnormal or Maya, because this came out of absolutely nowhere.
Thanks in advance for any help or advice you can give me. I'm at a total loss.
Replies
Something I'm wondering is, have you tried baking without a cage? When it comes to a cube, for example, it isn't exactly needed. The other thing I notice is that you haven't converted your cage to tri's, which I know can cause some strange effects in 3dsmax, so it may do just the same in Maya. Also, when it comes to anything hardsurface, it can help to convert the lowpoly model to tris as well, especially considering when you move it into different programs or a game engine, it may calculate the triangles differently than the baking program does. This will invariably lead to messed up smoothing and your normals will wind up wrong. This doesn't appear to be the issue here, but it is something to keep in mind.
Here is a picture illustrating what I'm talking about, it uses the term smoothing groups, but a smoothing group basically refers to a group of polygons sharing the same smoothing hardness level.:
The method I said is most convenient, merely giving each face its own smoothing group/hardness appears to give a bit of an error here in the form of a visible seam, but this can be avoided by chamfering your cube's edges instead of leaving it at a 90 degree angle. If you chamfer all 90 degree angles (thereby eliminating them), everything can remain the same smoothing group/hardness despite your UV island arrangement. Now that I remember this, this is really what you should do. You might be concerned that it raises the tri count, but if you are making game art, the tri count isn't really what matters to the game. You see, the engine physically splits the model at its smoothing groups or differences in smoothing hardness. It'll create a duplicate set of vertices which overlap, resulting in a higher overall vert count. When you chamfer your model at the 90 degree angles and eliminate the need for different smoothing groups/hardness, you either produce less verts than would otherwise be created by the game engine upon importing your model, unless you are specifically using quad chamfer, in which case it will result in the exact same vert count. So you see, vert count is more important than tri count overall, and you won't see any dips in performance because the extra triangles because the vert count will be the same. The smoothing and normals as a result will be much cleaner, and the silhouette will even be better looking. Overall, it's a win-win-win to do this instead.
@chronic - I was just using the cubes as an easy way to show that the problem wasn't specific to one model that I made. Any model with long, flat surfaces perpendicular to each other has the same baking issue.