(UE4) Sea Restaurant Part 2

polycounter lvl 8
I've been working on this for a year, actually it's roughly 4 months, but I had very little time to spend on this project last year so that's why this took this time. Whatever, let me talk about the project.
The part one is finished, this was a nvidia waveworks study I did to learn and understand the usage of that plugin on unreal, you can see the project here: https://www.artstation.com/artwork/rR0kdE
In that time I watch Snohetta releasing a news about they're working on a underwater restaurant, when I saw this my mind just blown away and I wanted to do something like that using unreal... due to the size of the first project, I was unable to make everything on one project, so I decided to split the projects in two parts. The beach and The Restaurant.
From that, the restaurant is almost done, I back to work on this on the end of last month and from a bunch of assets stored on my hard drive, I started build the scene and make things together.
Every single idea I had worked, thank God! and the challenge now will be the underwater part of the restaurant, right now the top/surface of the restaurant is finished, I'm taking the screenshots for showing on my portfolio and going to start the video captures of the scene soon, then I'll move to the bottom part.
About the project and things I'm using:
Outdoor trees: Dviz tree pack one and two, an amazing tree pack from friends here in Brazil with AAA quality scans of trees, shrubs, grass and etc, really worth to take a look and pretty well optimized.
Scene props: A mixture of modelling/sculpting myself and from packs where I do optimization and retextured, also I recycled many assets from my previous projects I used on unreal or other render engine to get it ready or almost done to use on this project.
The nature enviroment (island and ocean underwater): Here is also a mixture of things I made on zbrush some stuff and use megascans, since they open all their library for unreal artists, this huge effort was able for many of us improve our projects with great quality scans, thanks epic and quixel, you guys are awesome!
Illumination: This scene uses full movable light with SSGI from unreal 4.24.1 I love this screen space global illumination, this makes the movable light projects so rich, even with current beta stage, actualy this amazes me how well it works. Yeah, it's far away from perfect and even more far from using GI from raytraycing. But I don't have a RTX card, so this is what I can play with.
The fauna: As an ocean, there must to have fishes, and I used a marketplace pack to give more life on the underwater, the only fish I created (retextured, better saying) is this poor "nemo" and he isn't rigged, and even on the final scene If someone would like to help rigging this fish, he can appear on the captures, otherside there is no place for him.

The ocean surface: Every single ocean shader I have sucks, except wave works, but this is not a waveworks project... so I decided to use the ocean plugin from ue4 comunity, it's amazing and works damn well for my ocean surface, you can check more and download on their discord page: https://discord.gg/Xzrbpup
Ok, enough talk, let me show you some screenshots from the project so far
Hello world:

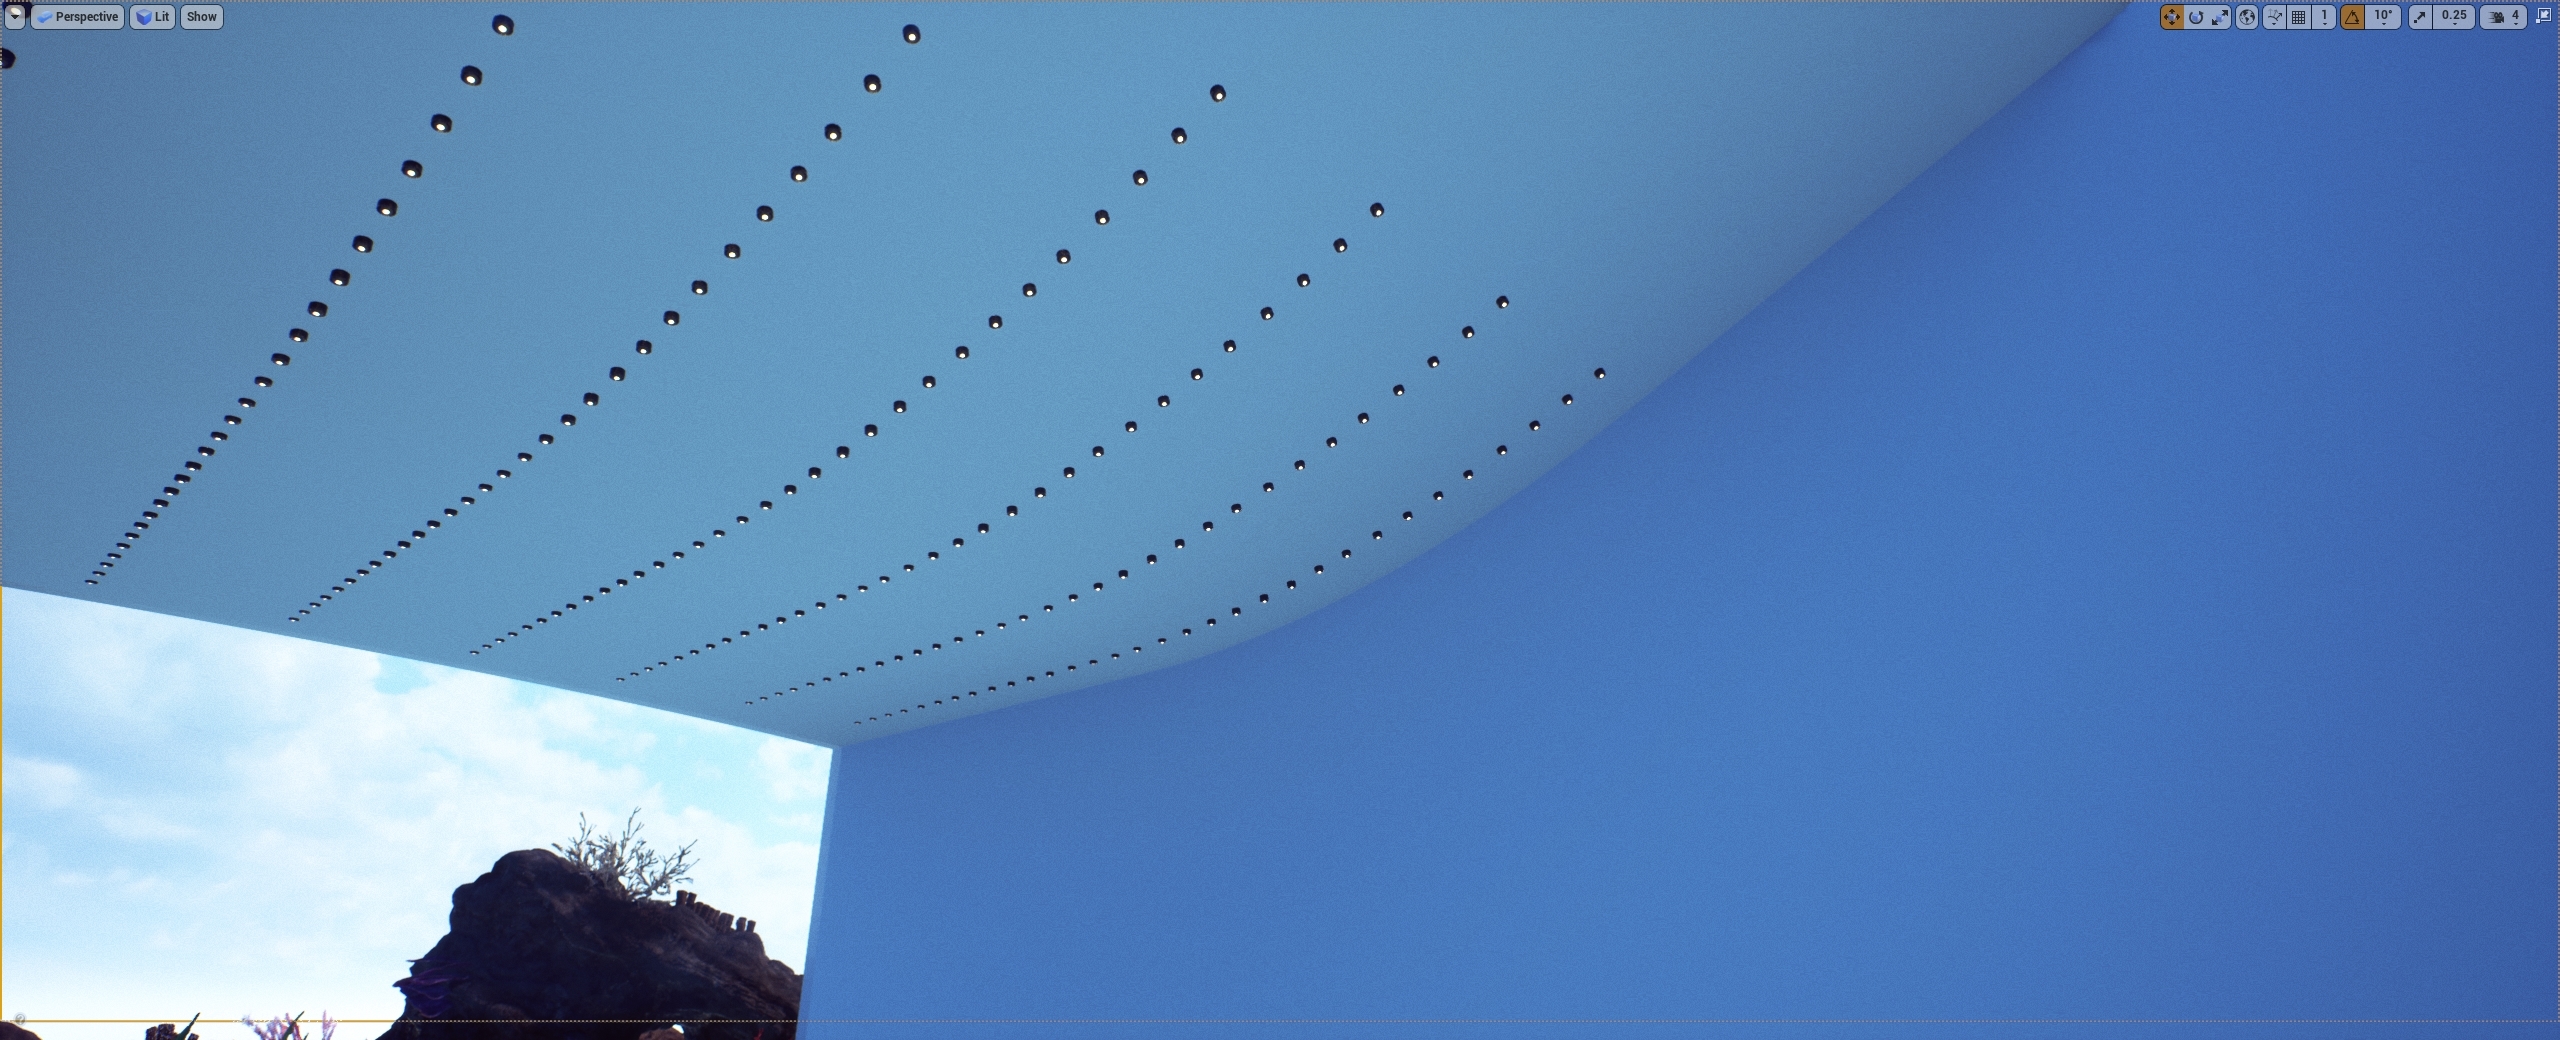
Start placing the shit together and testing the ocean shader I have, yeah it sucks:


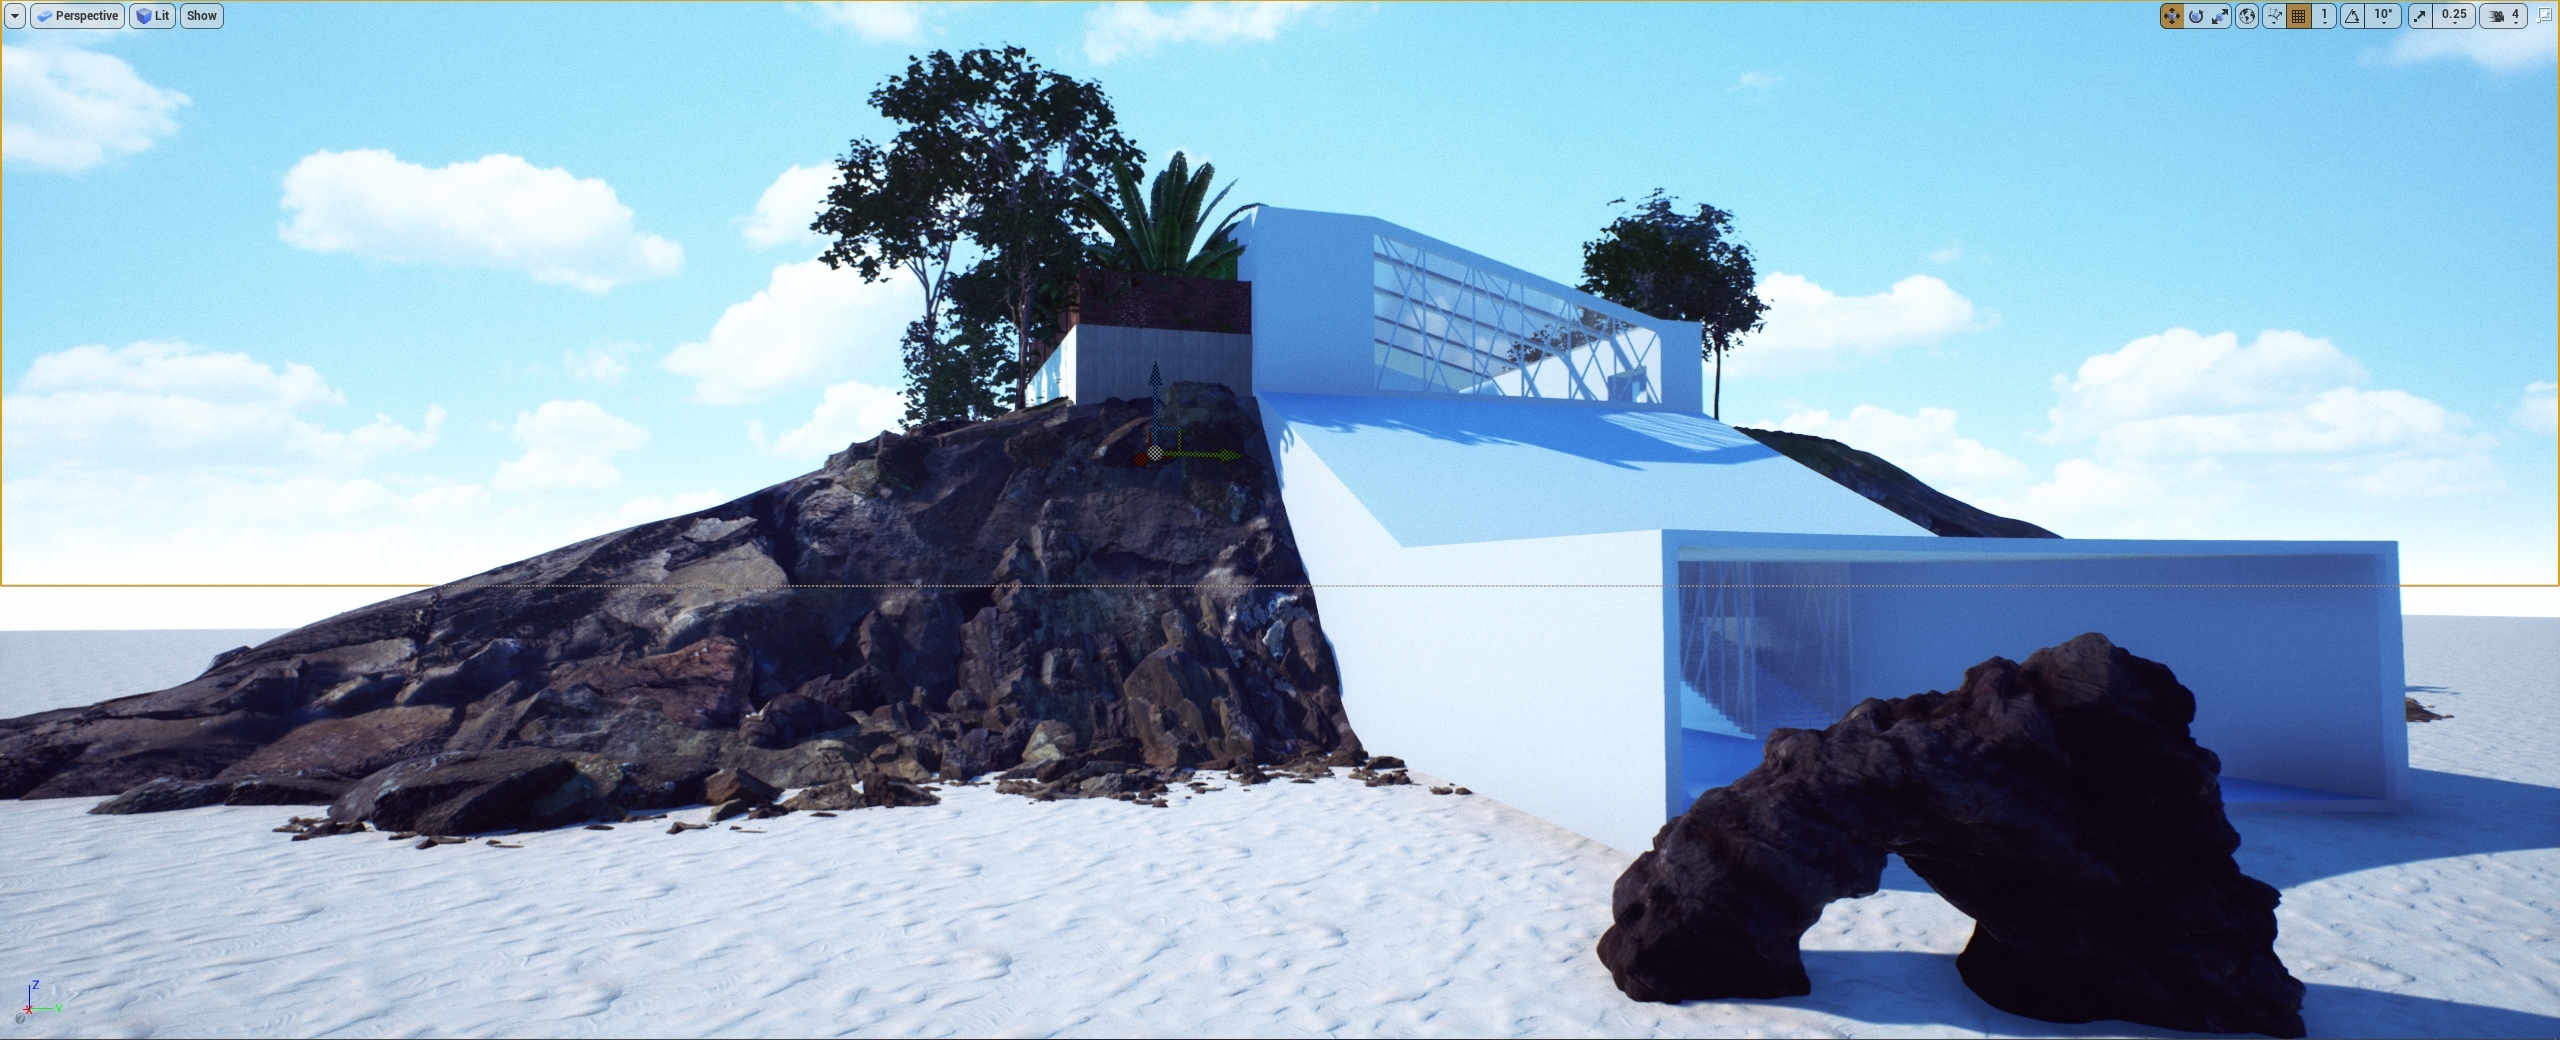
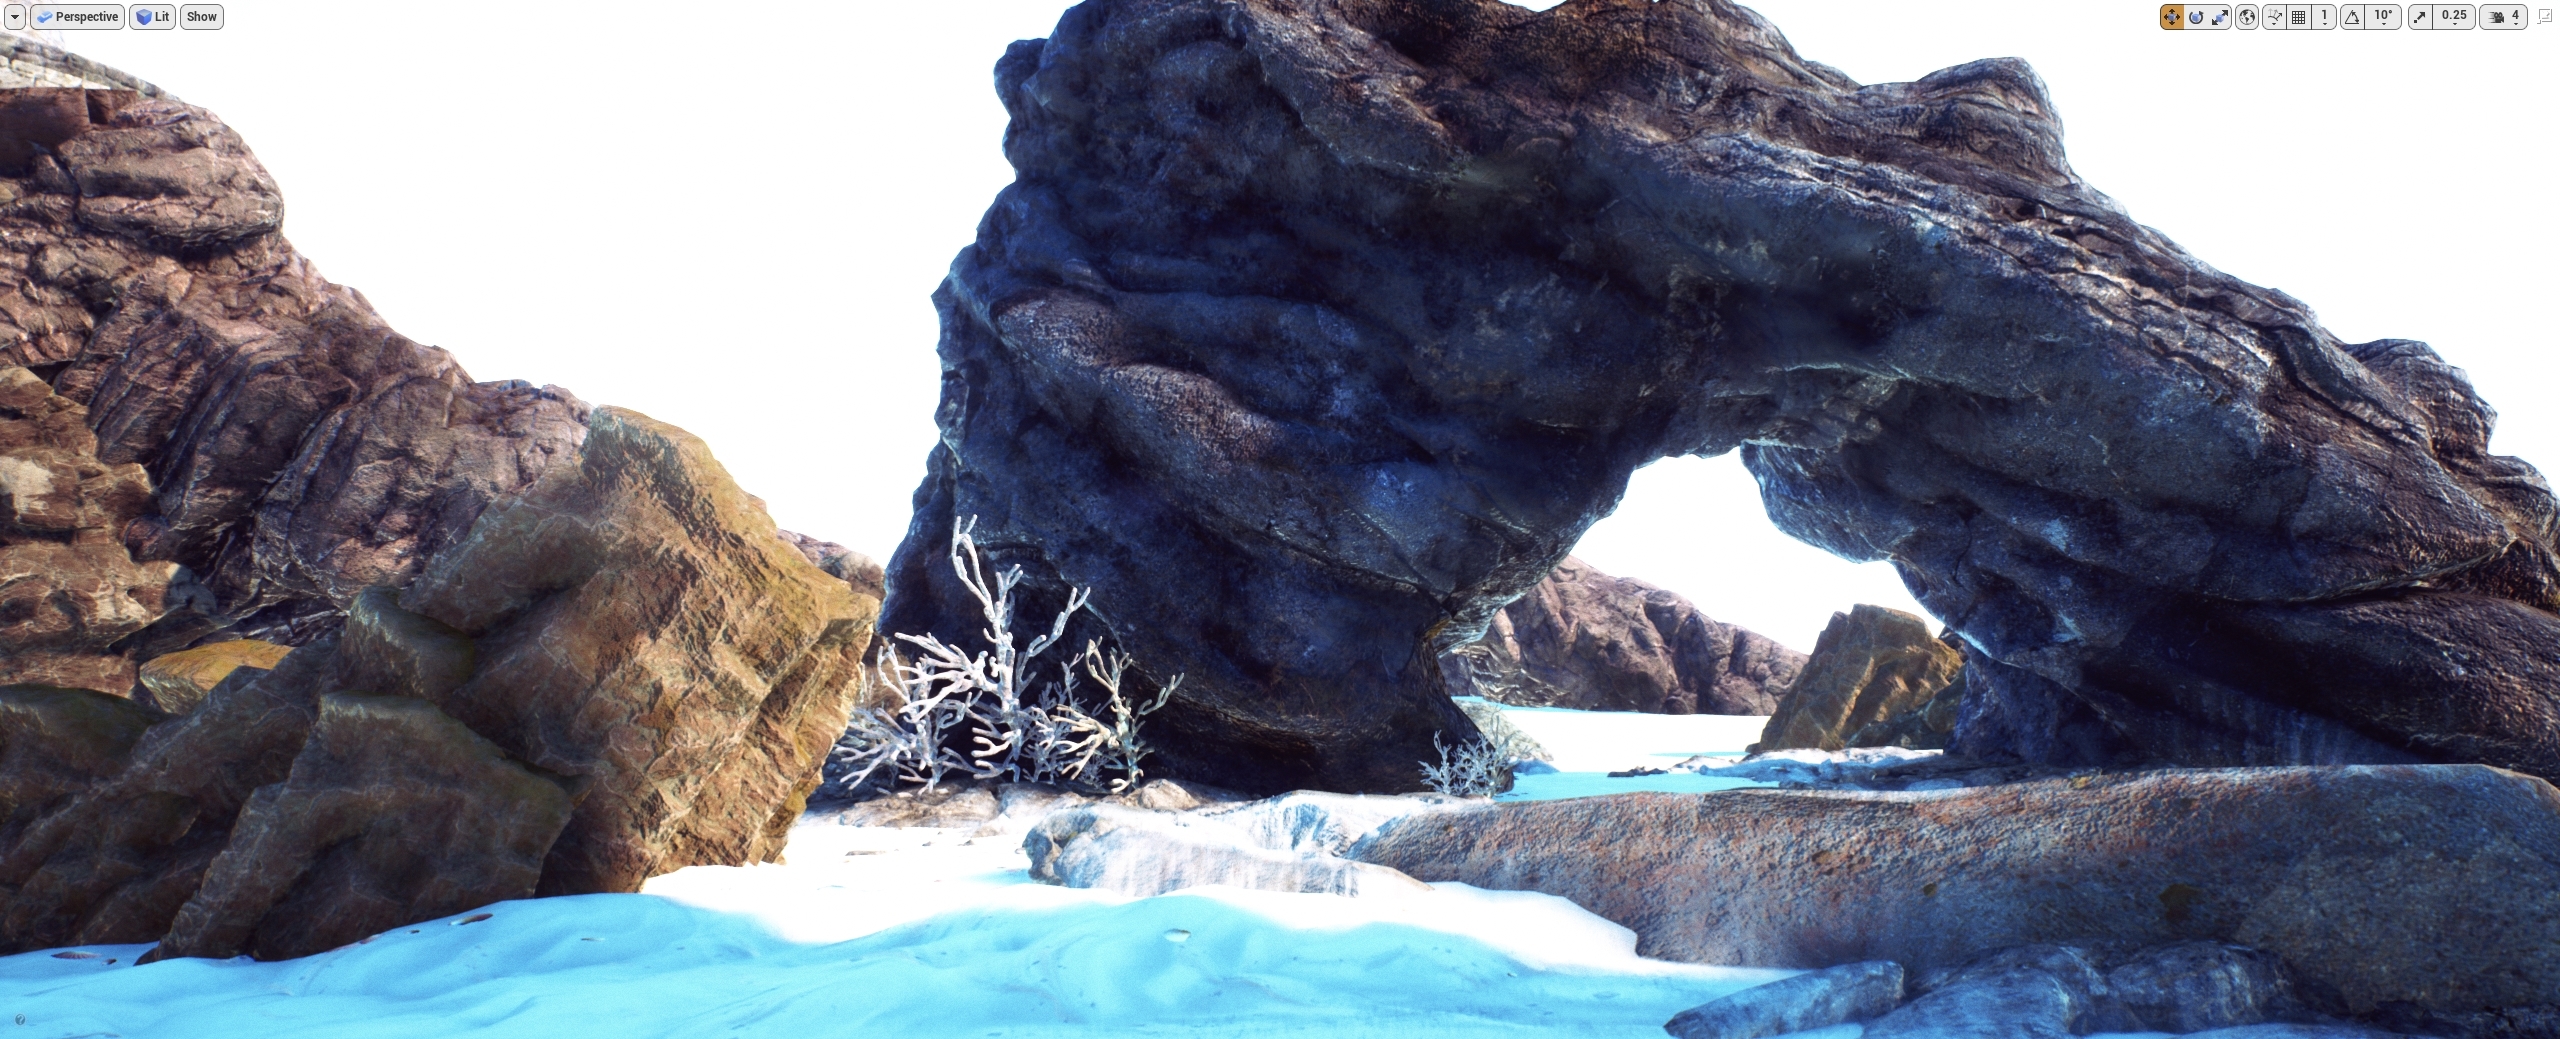
Yeah the island is here:

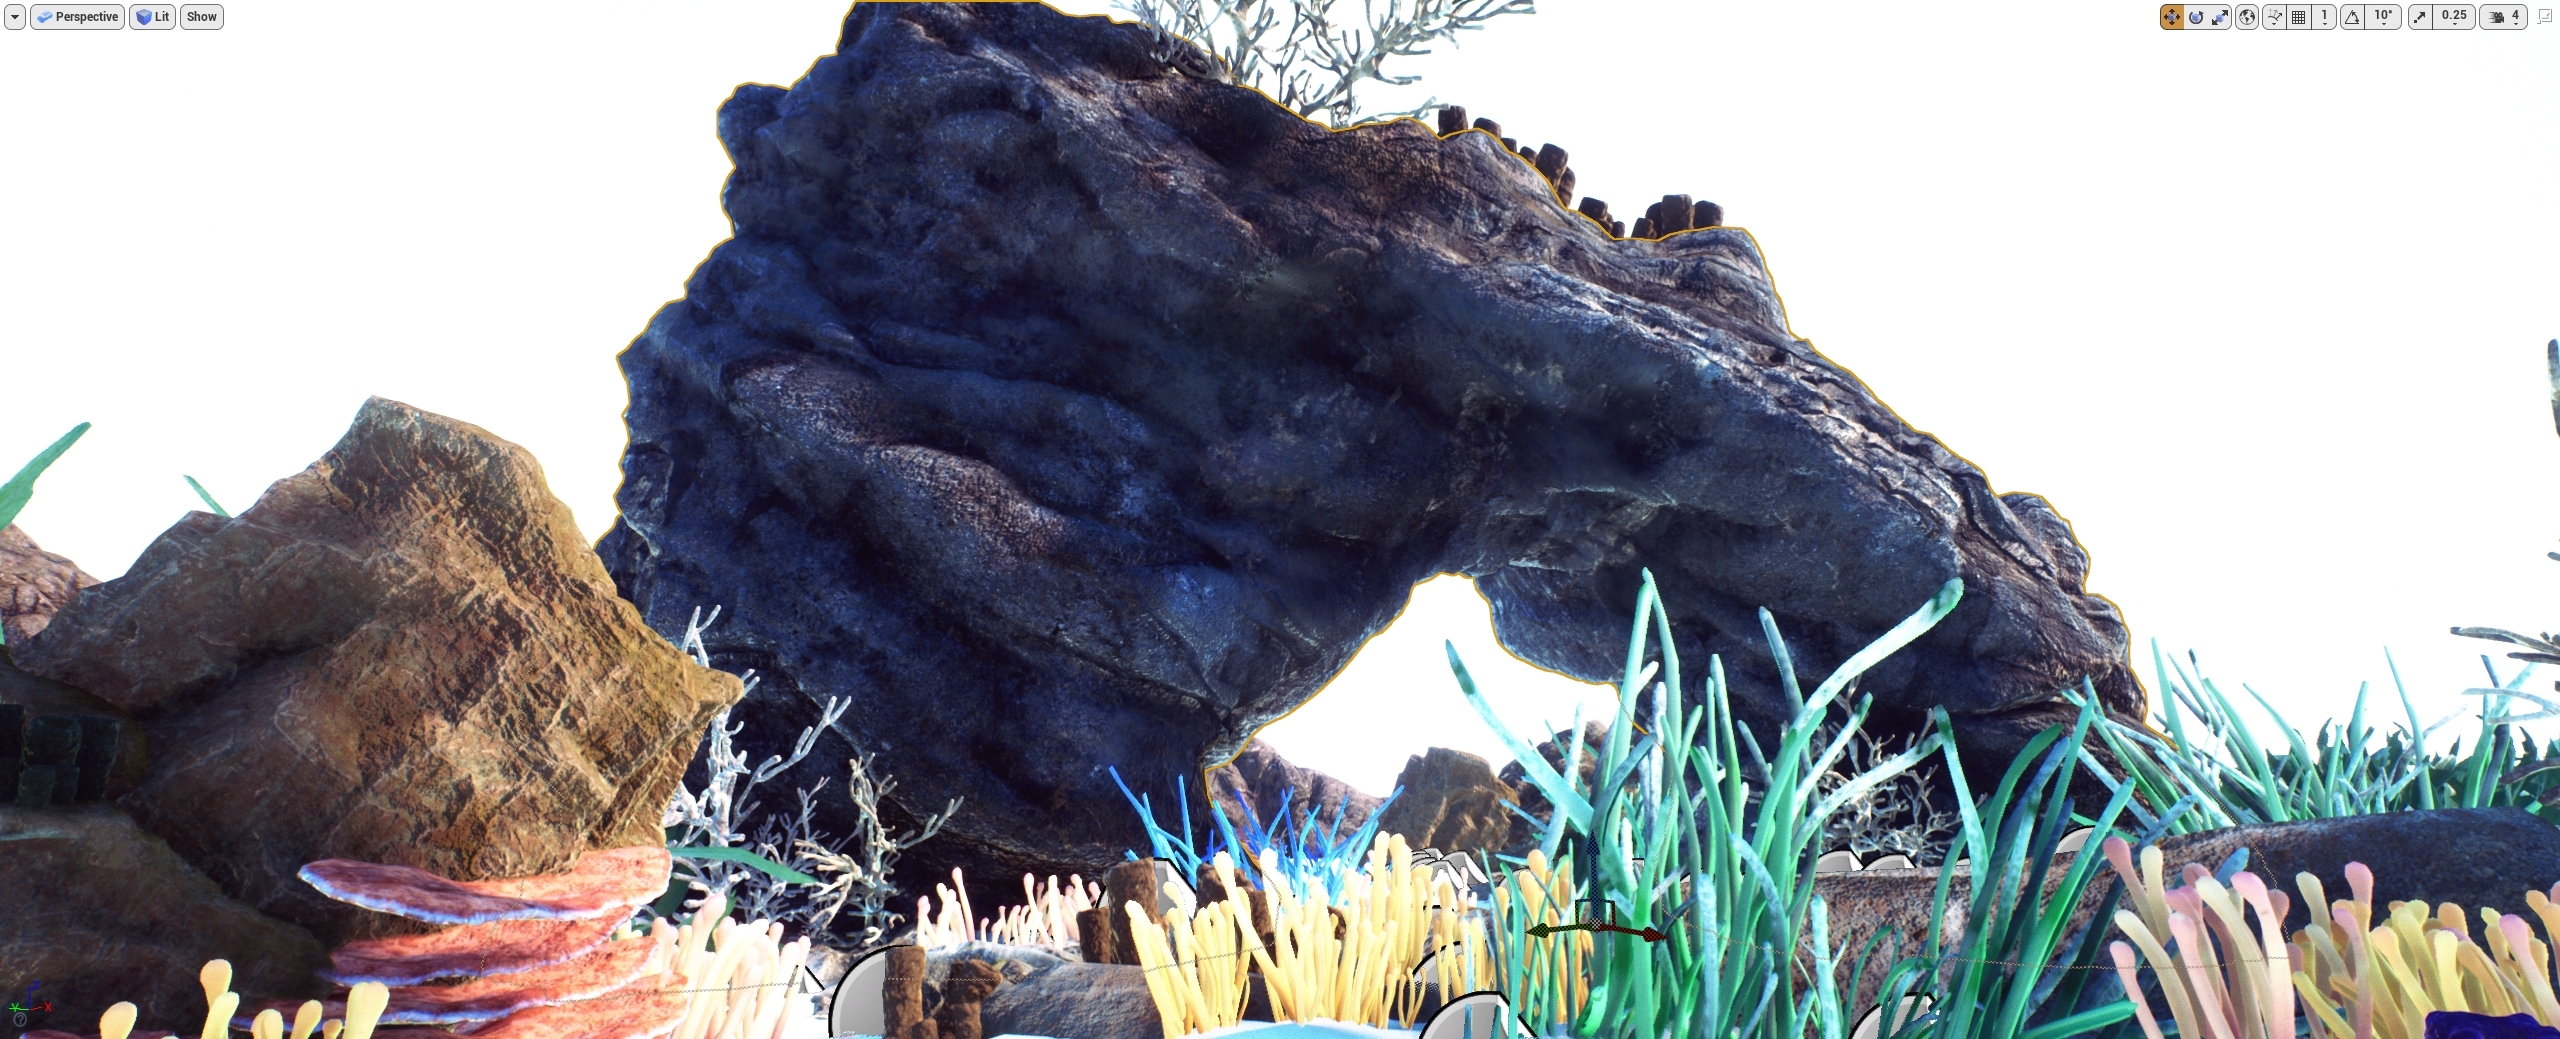
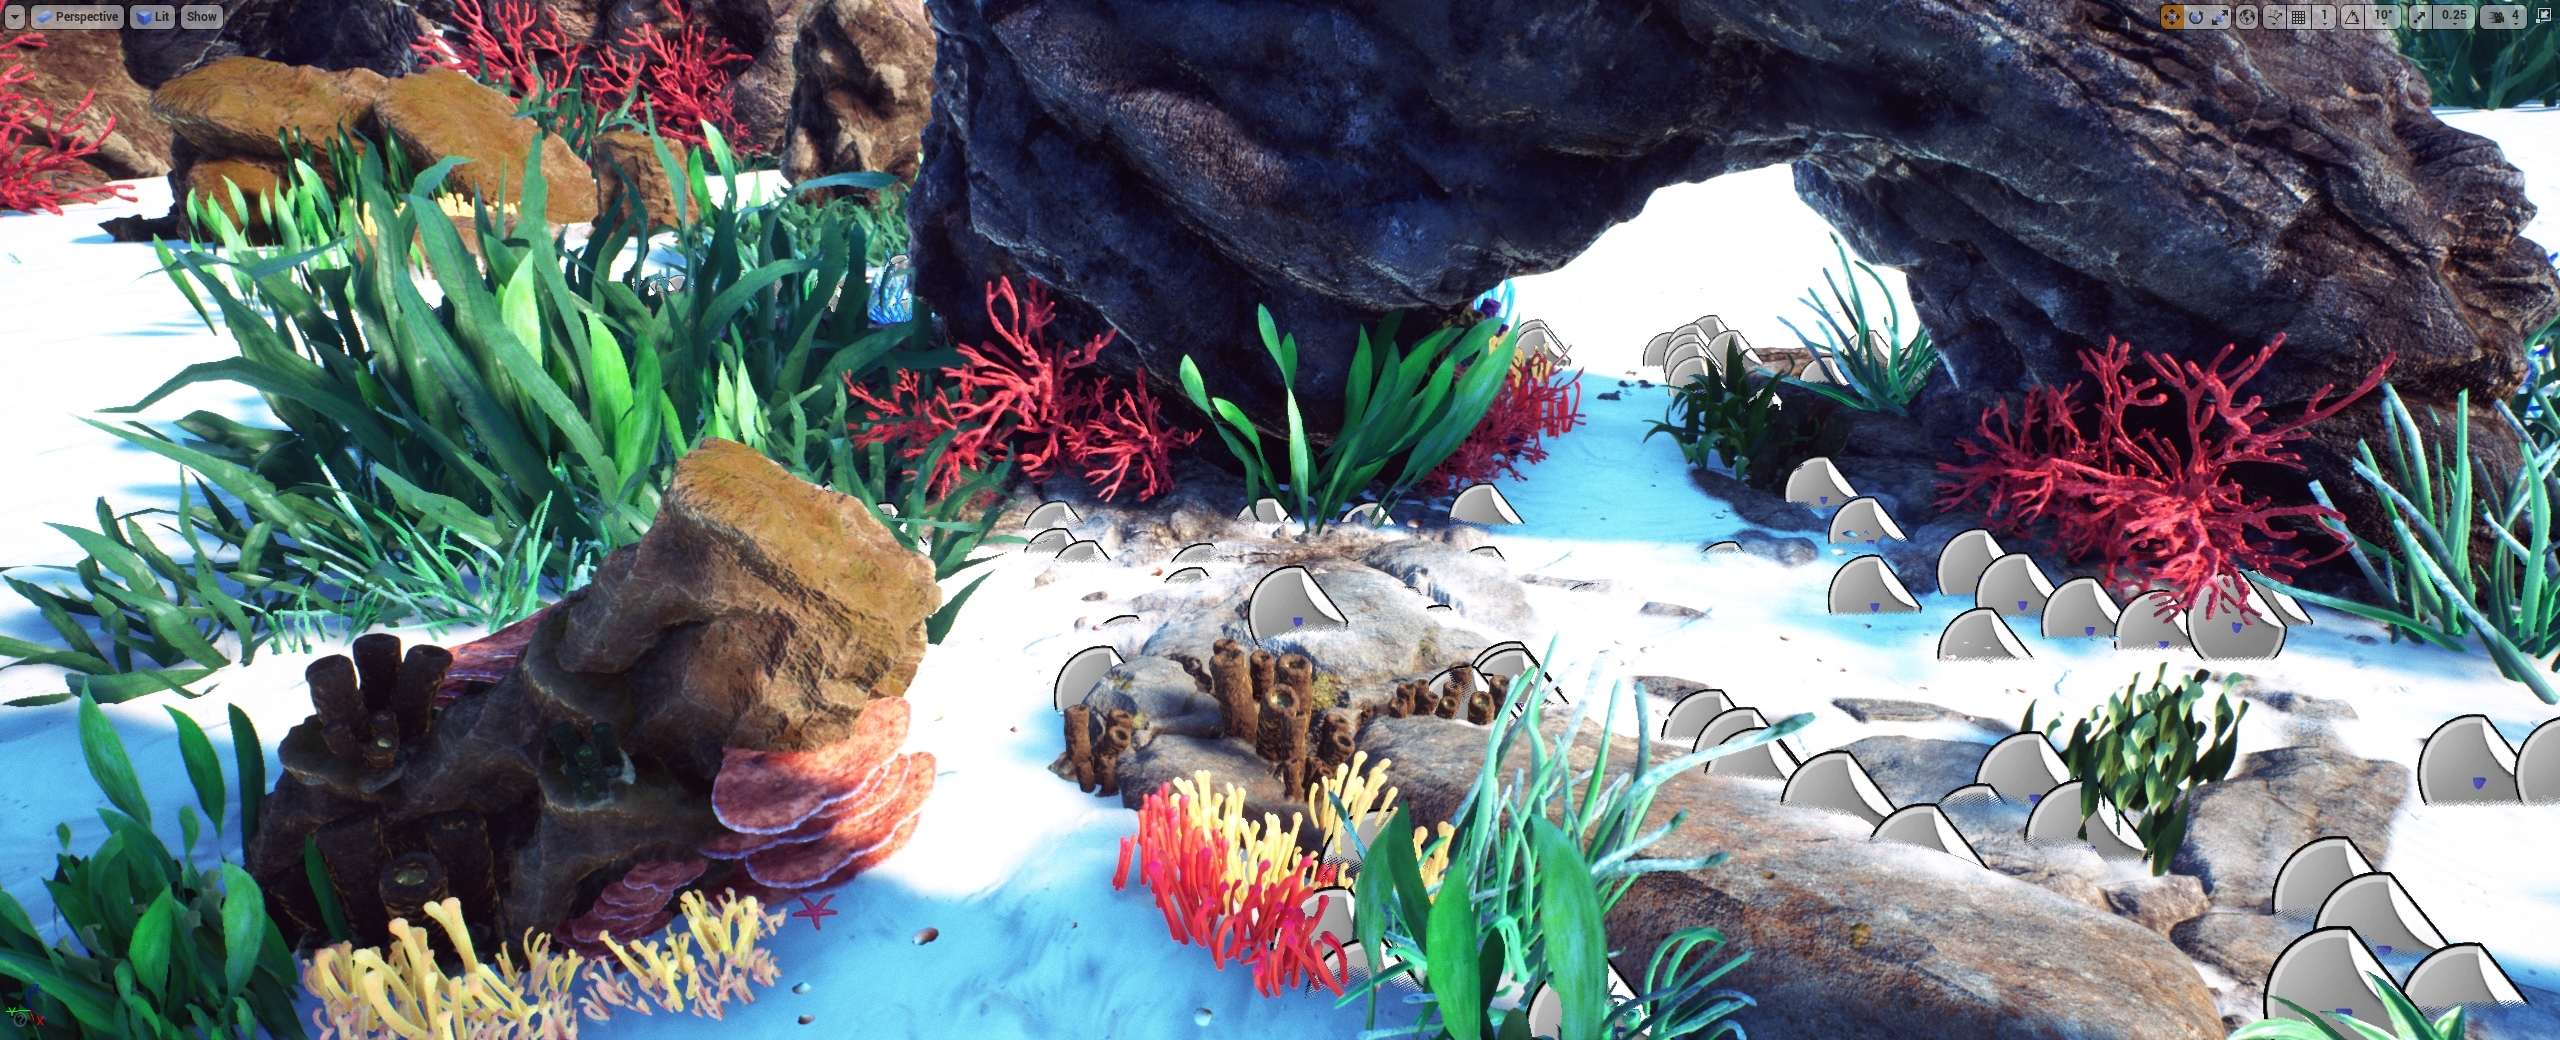
In the future, this will turn on a nice garden:
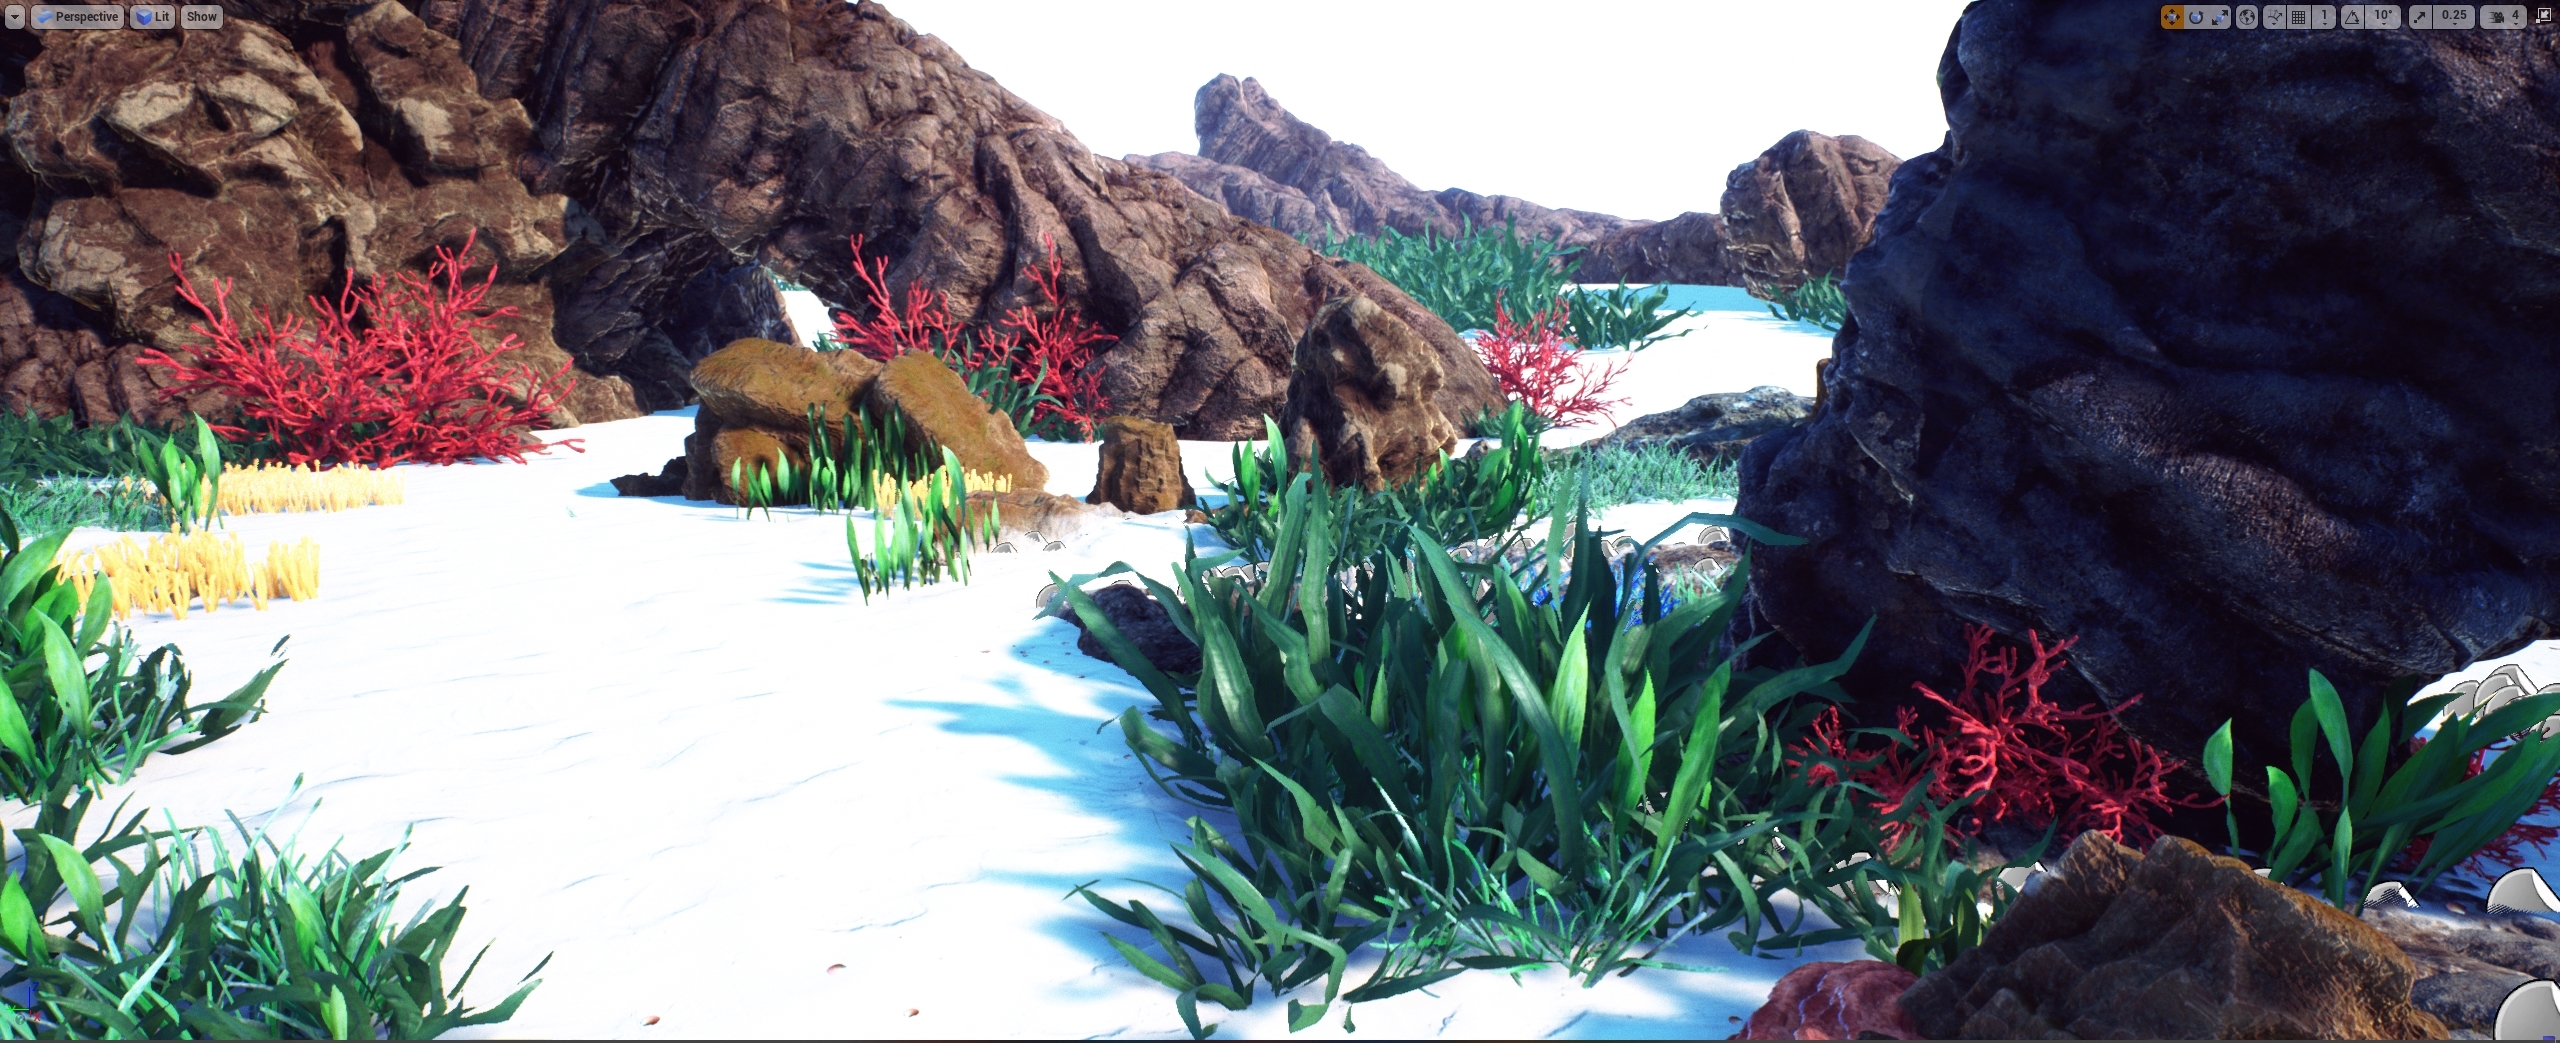
And the trees on garden, just like I wanted:
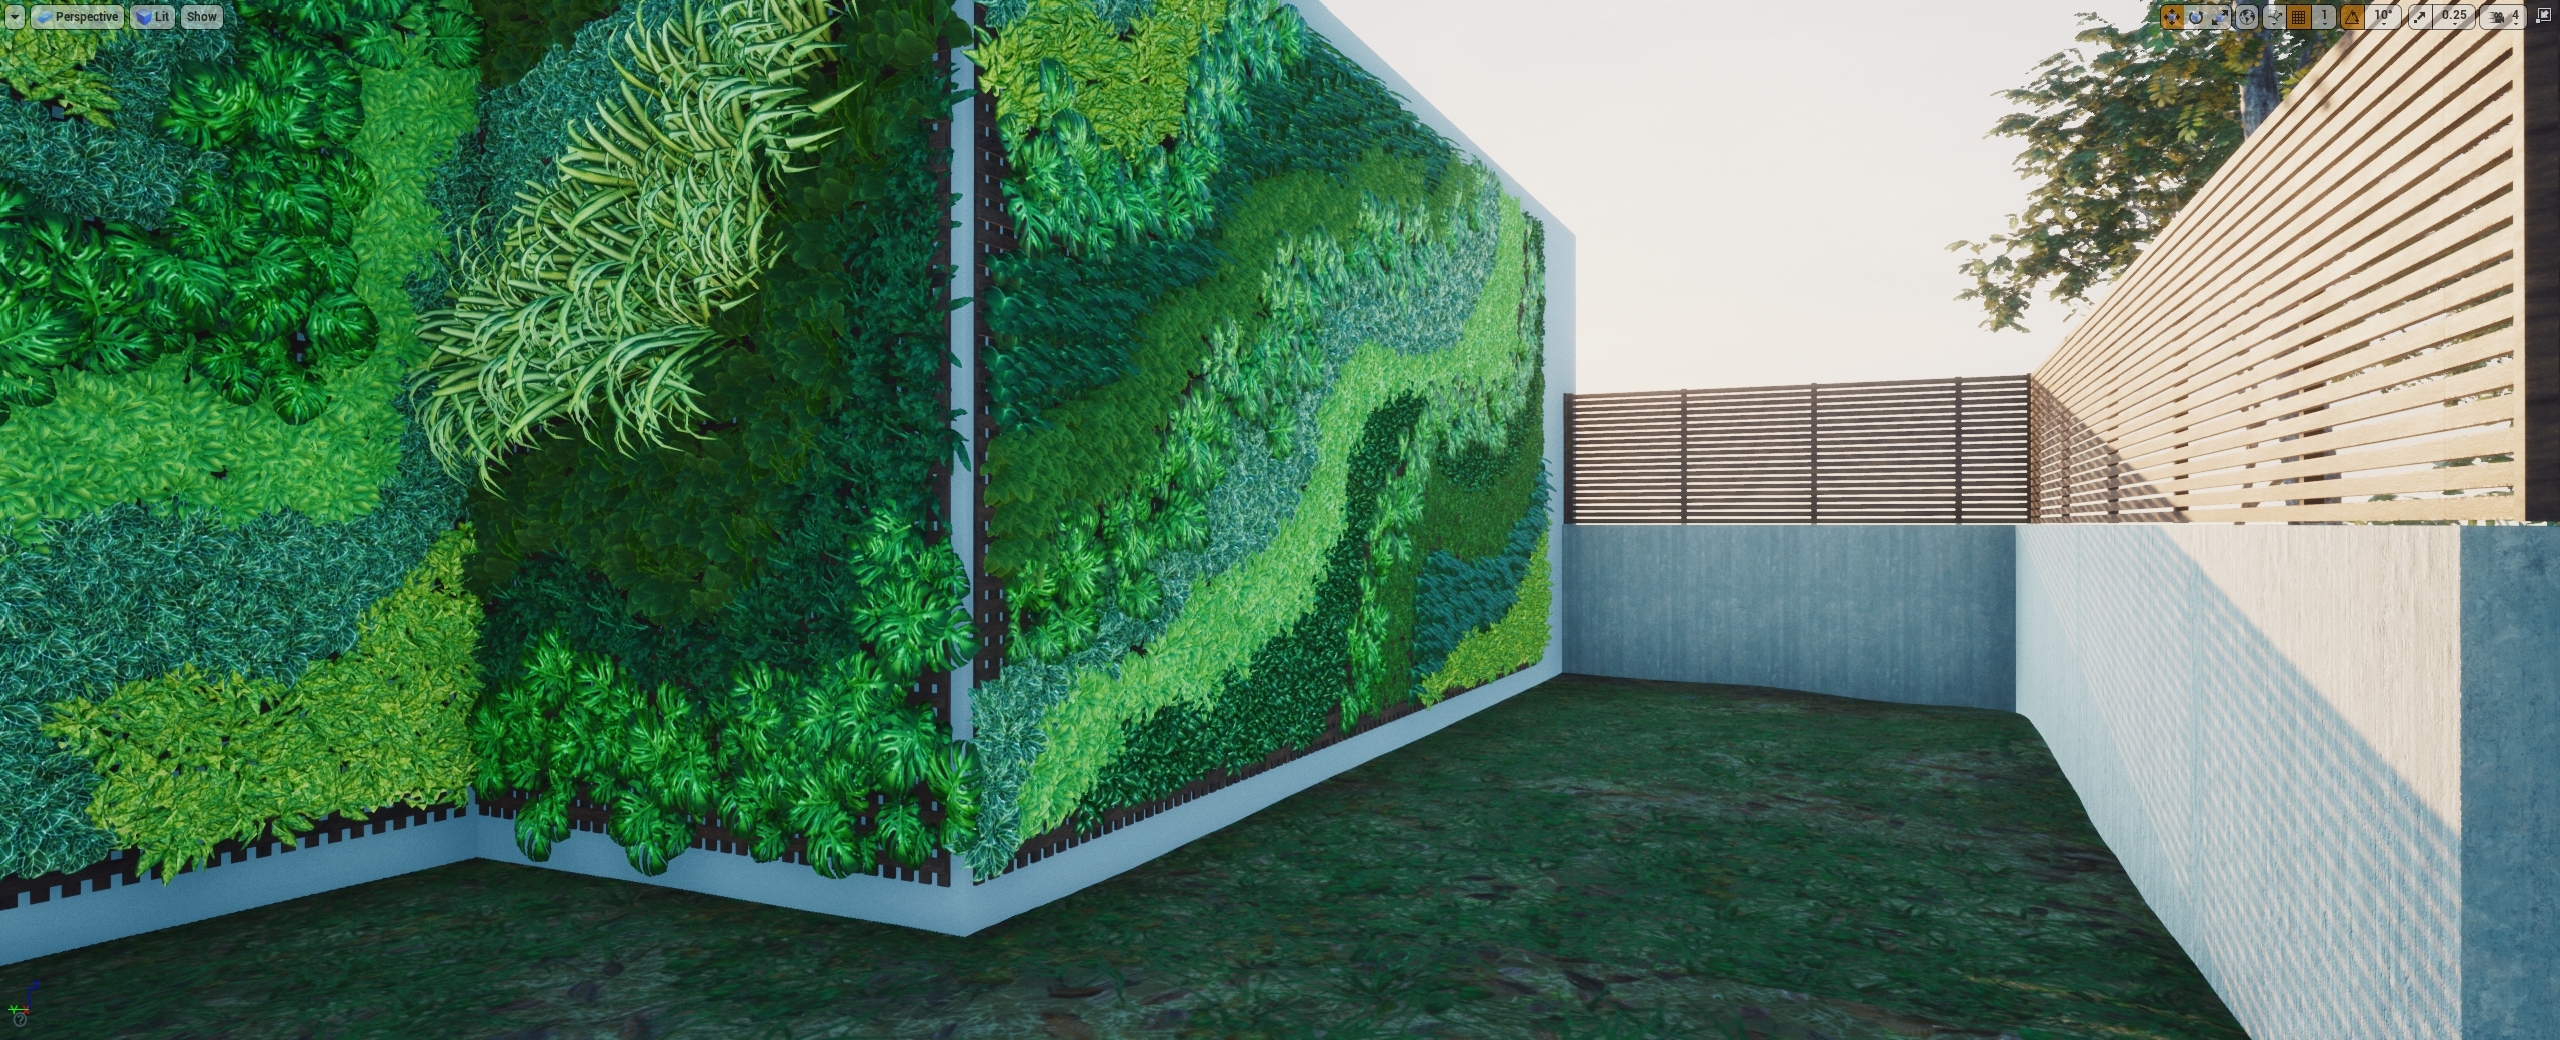
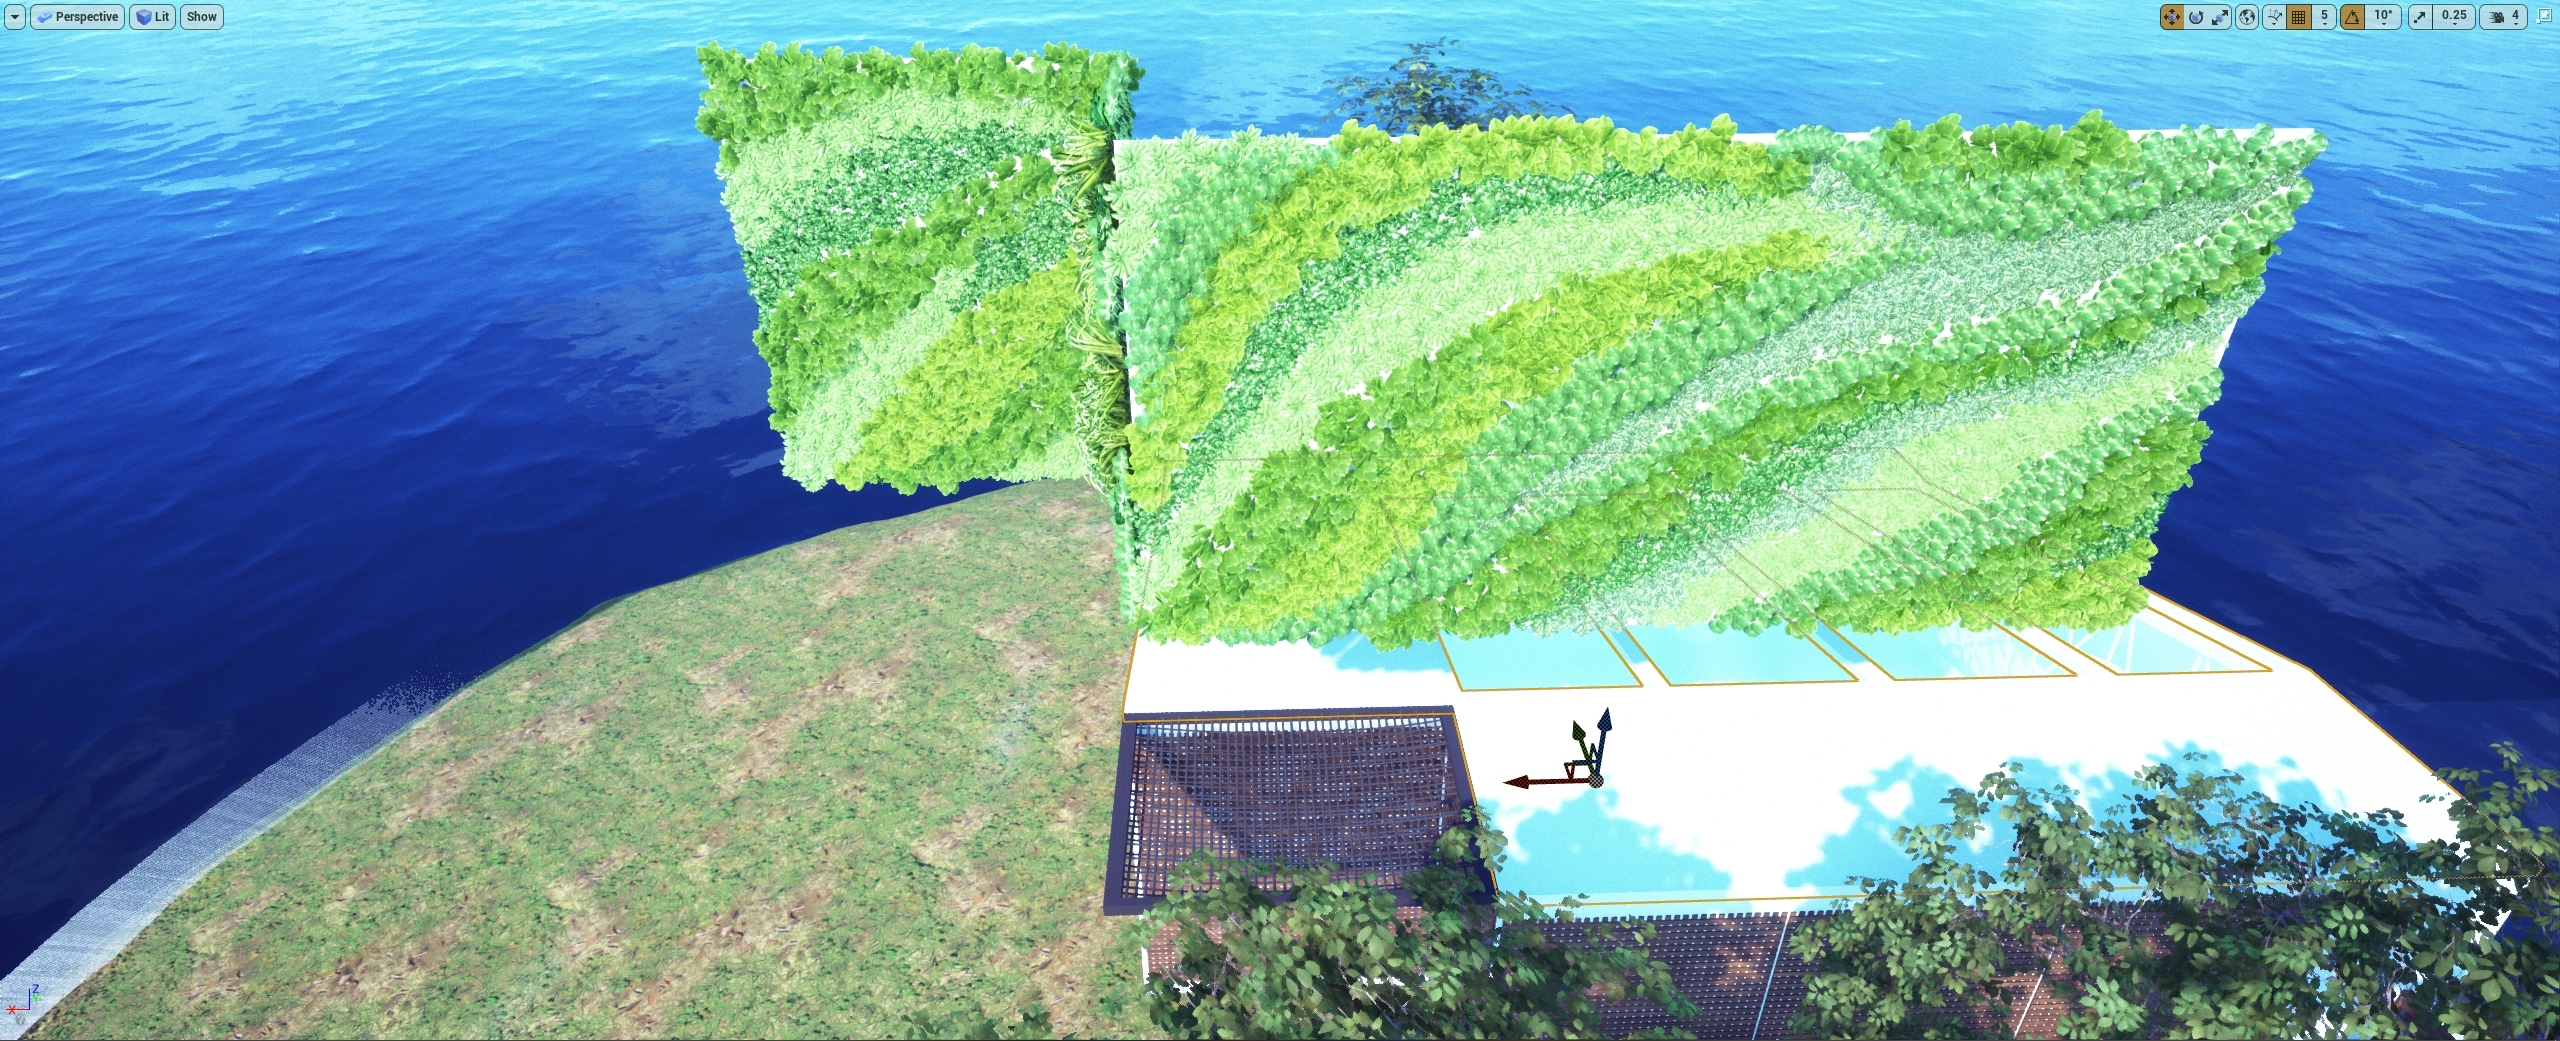
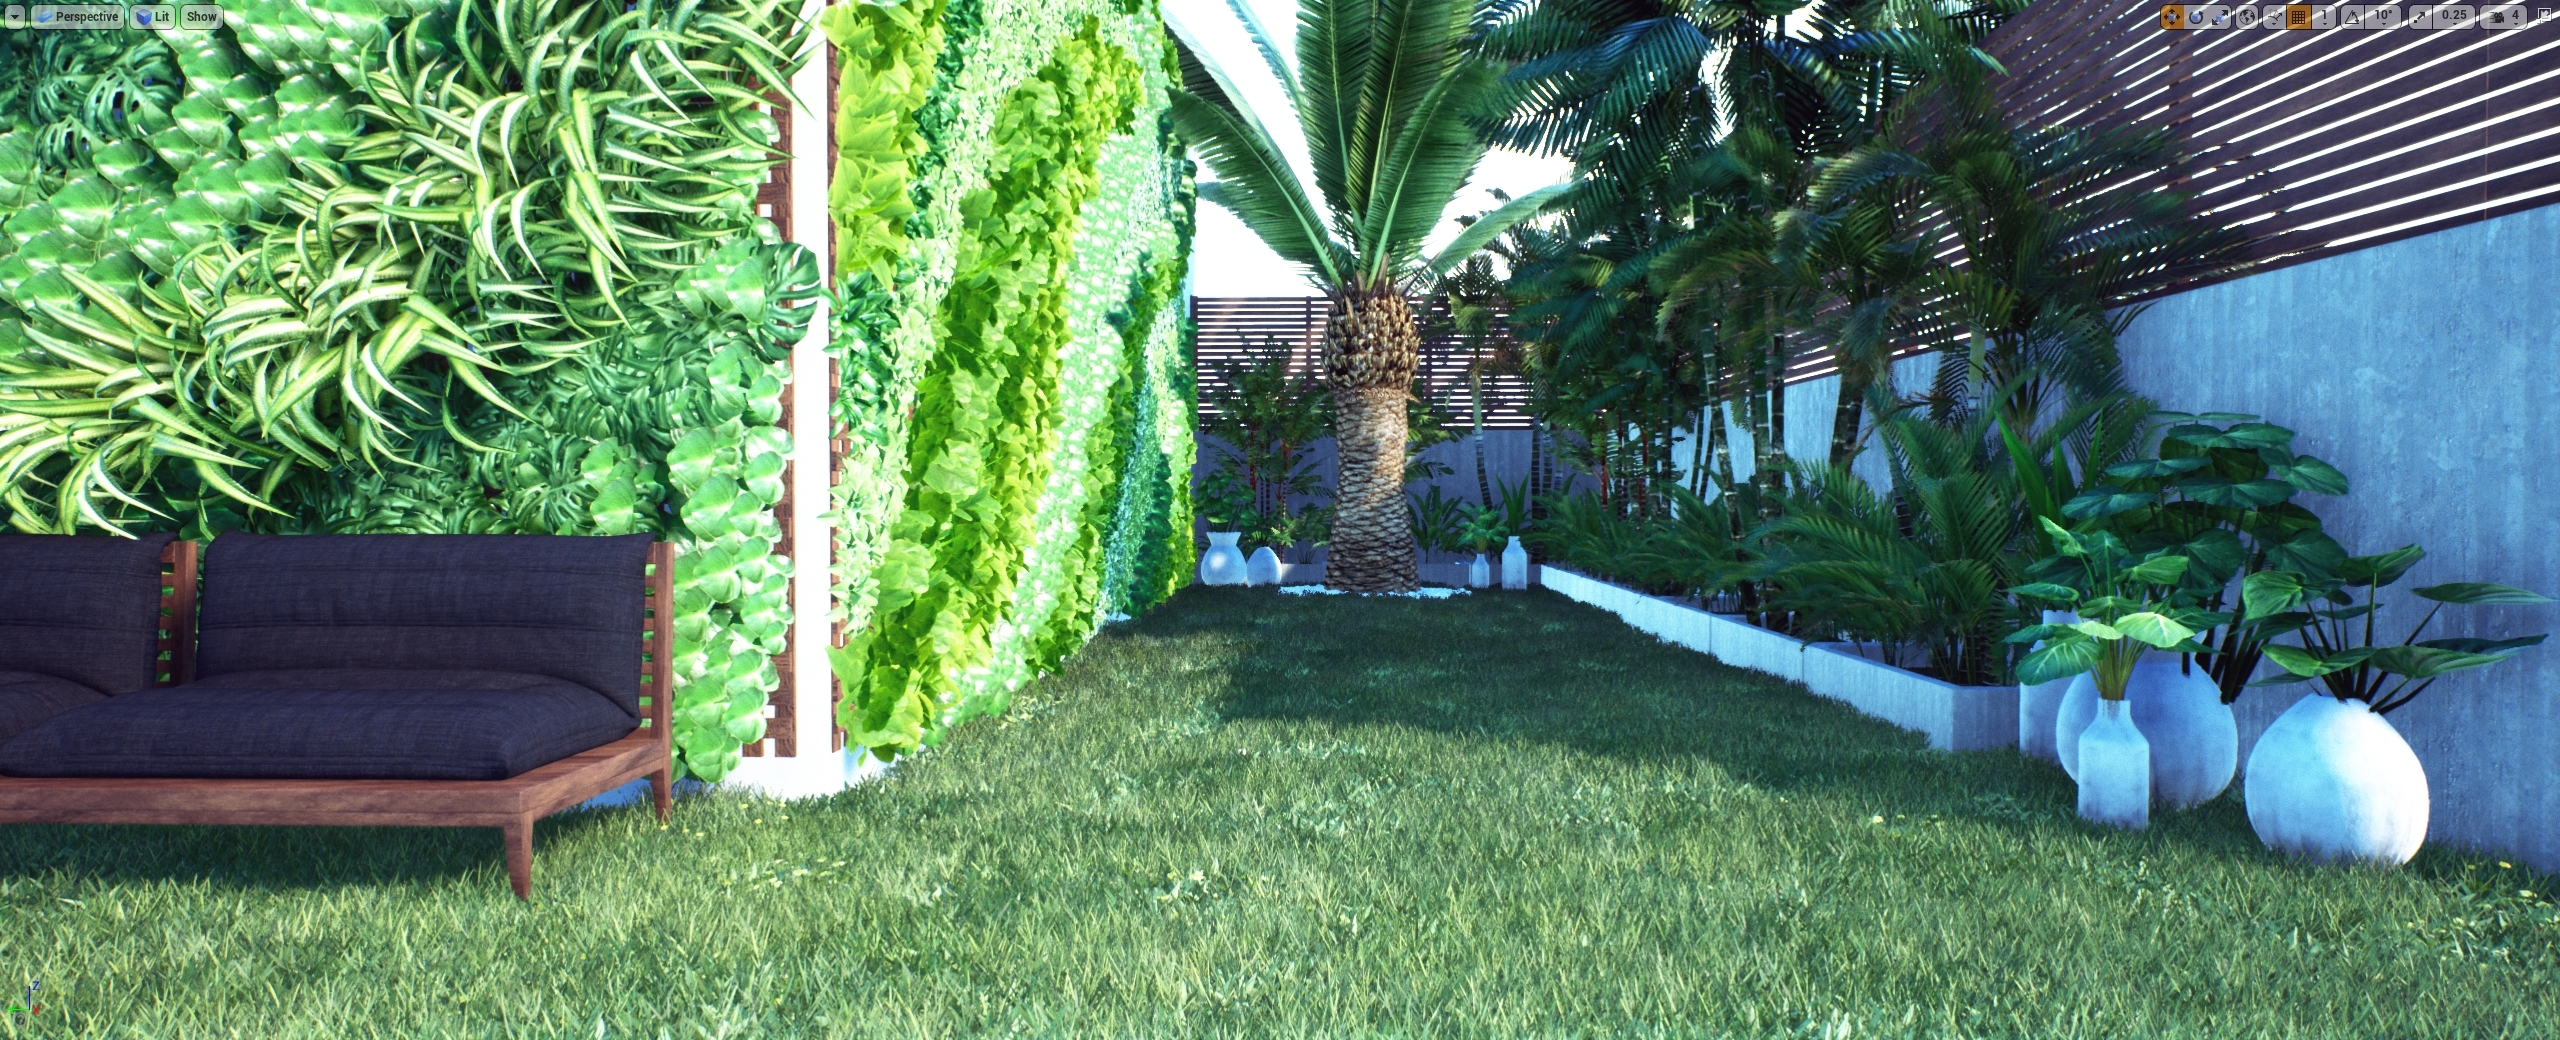
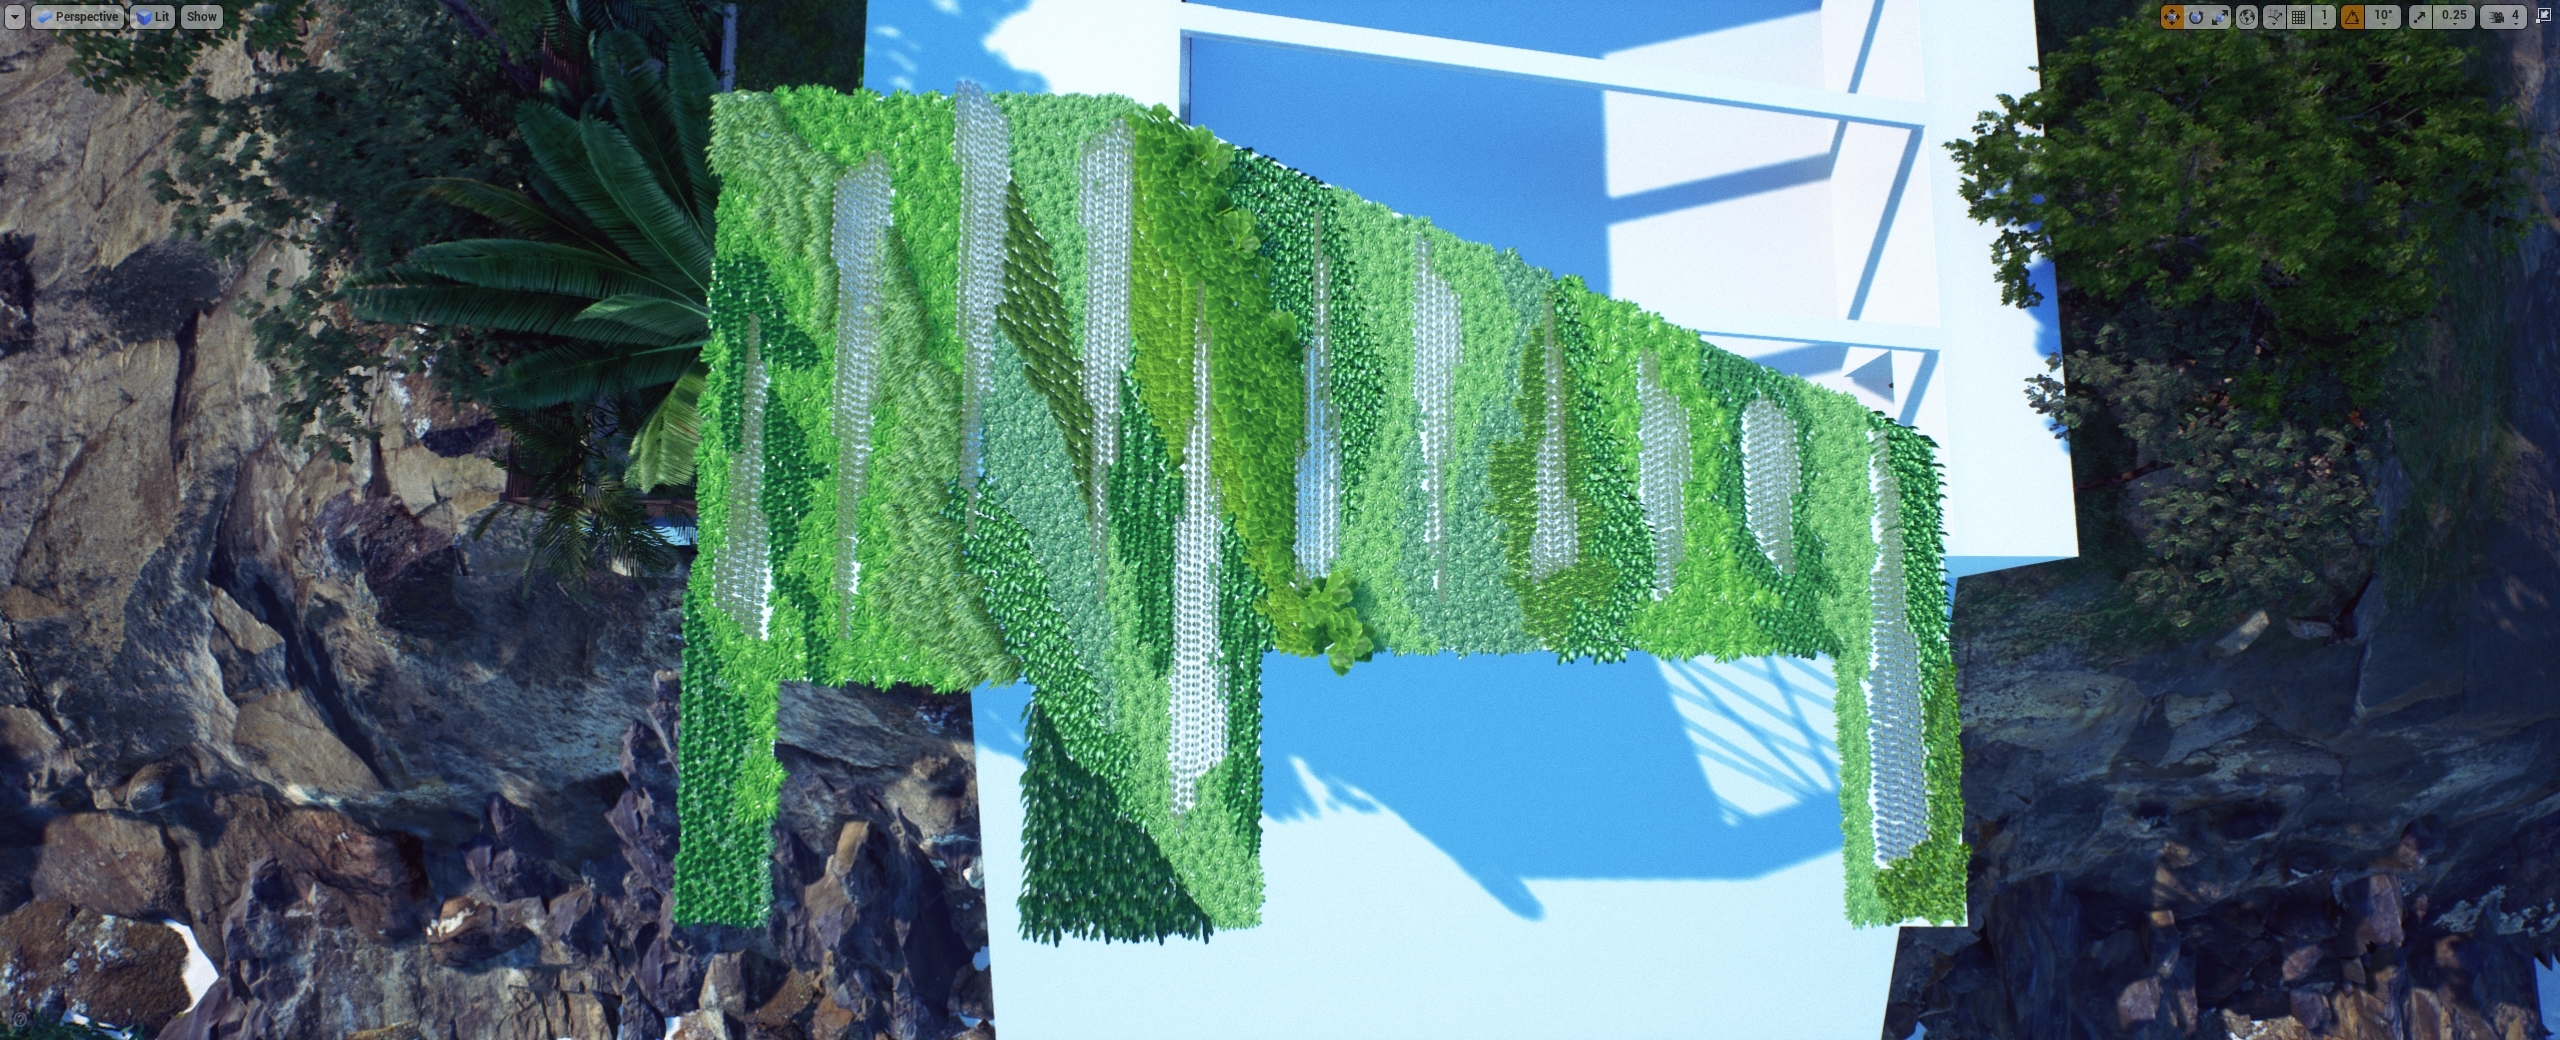
Ok, lets advance in time a bit, this is the vertical garden I imagined for this part:
The leafs are overbright and looks like radioactive shit, lol I know, but this is the first steps, not likely the end results are MUCH better, but yeah
After a few time the garden shows up (it's not like this anymore, because somehow all my brush instances where gone! I had to do the whole garden again), please disconsider the shitty light, Thanks.
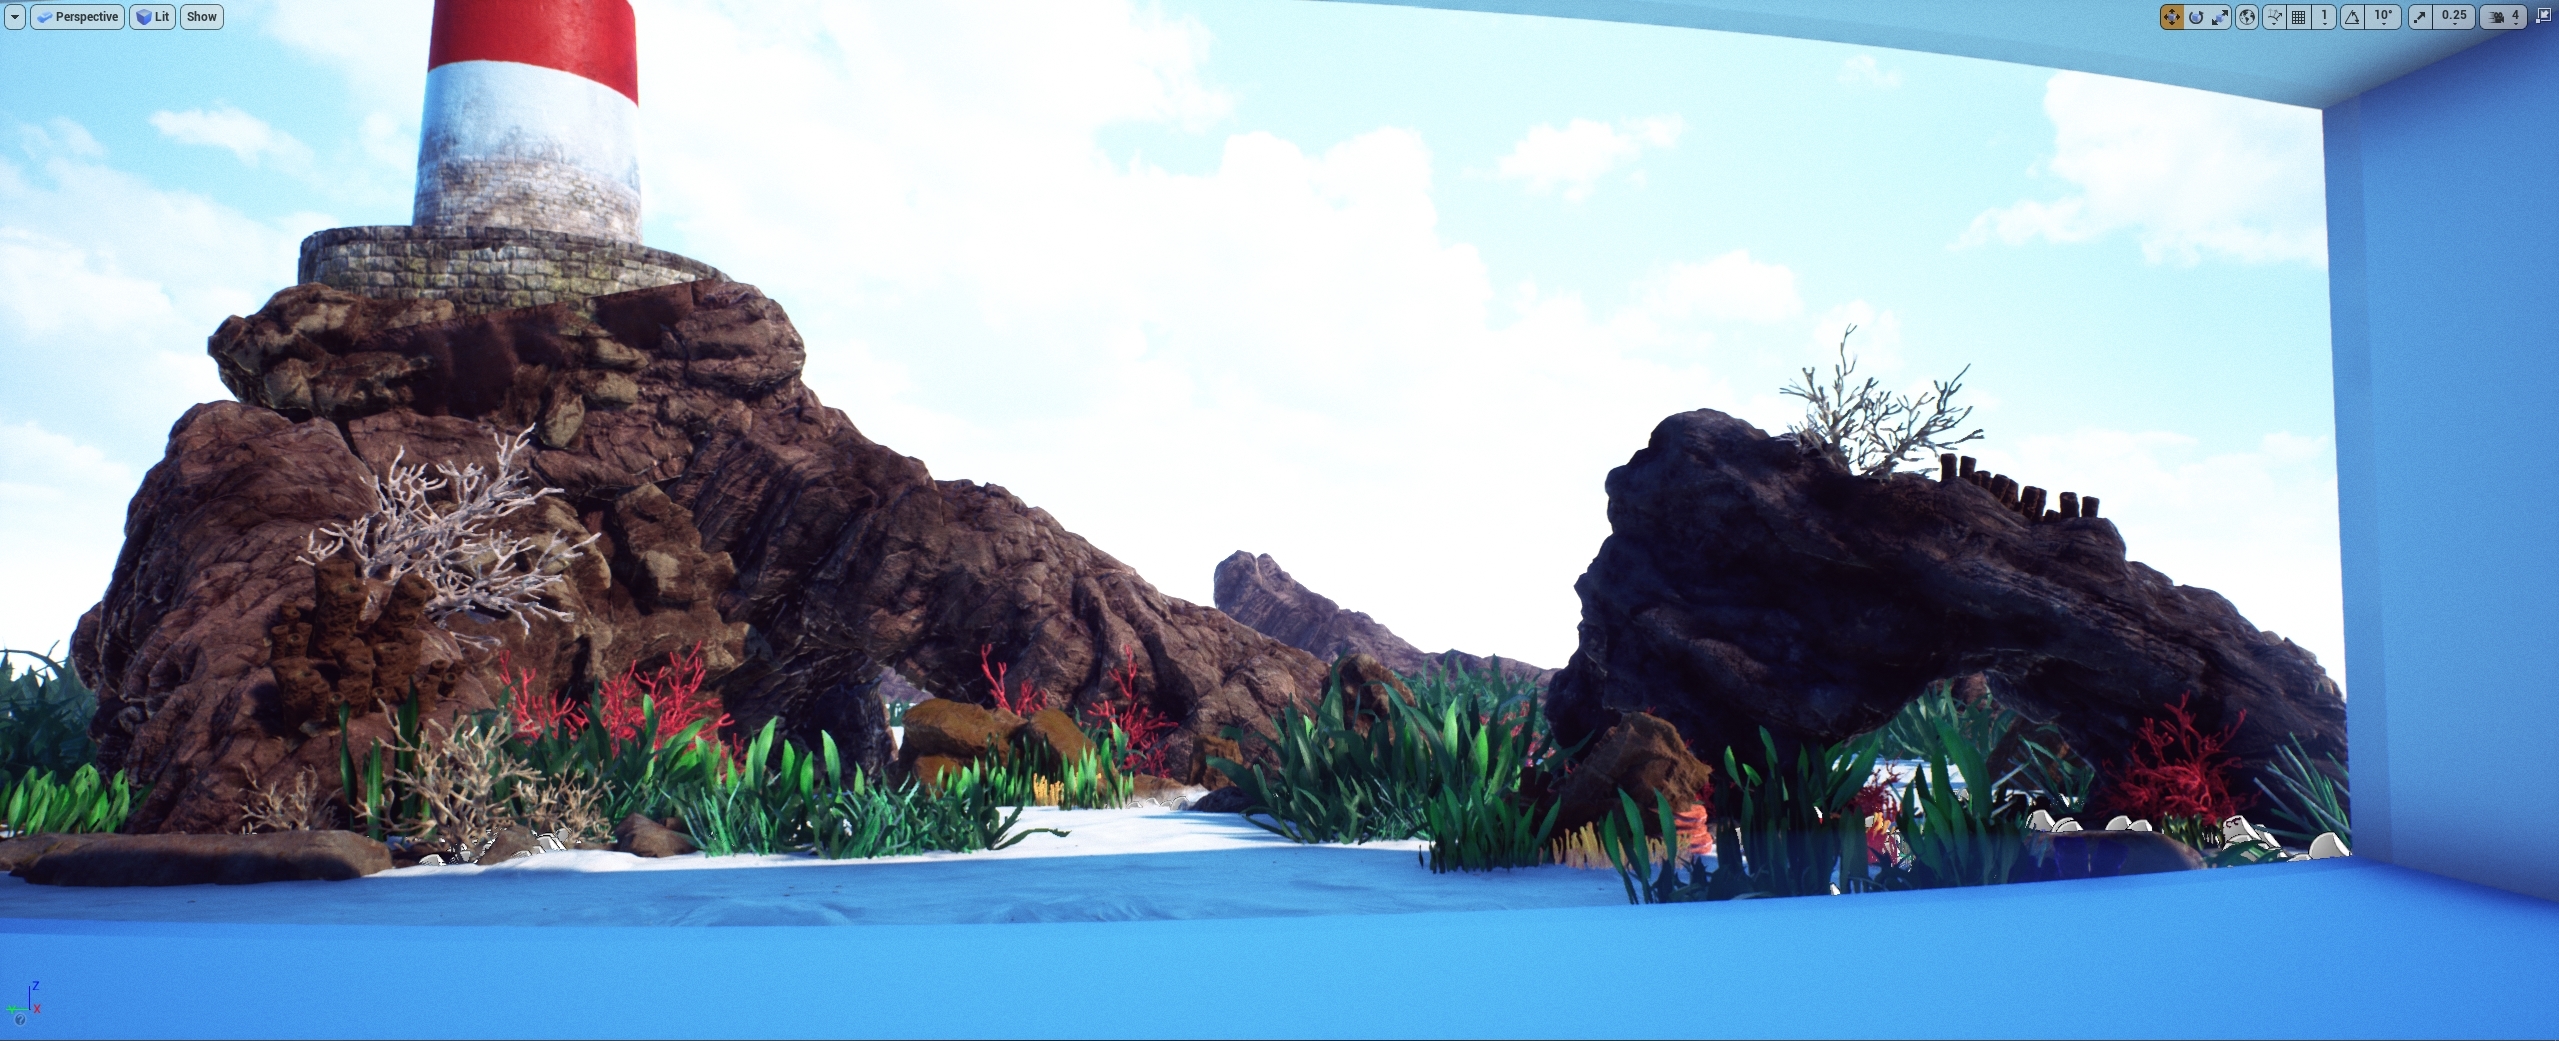
This time I started to build the bottom part of the ocean using the megascans with the assets I had made:
And the bottom of the ocean start to show up...
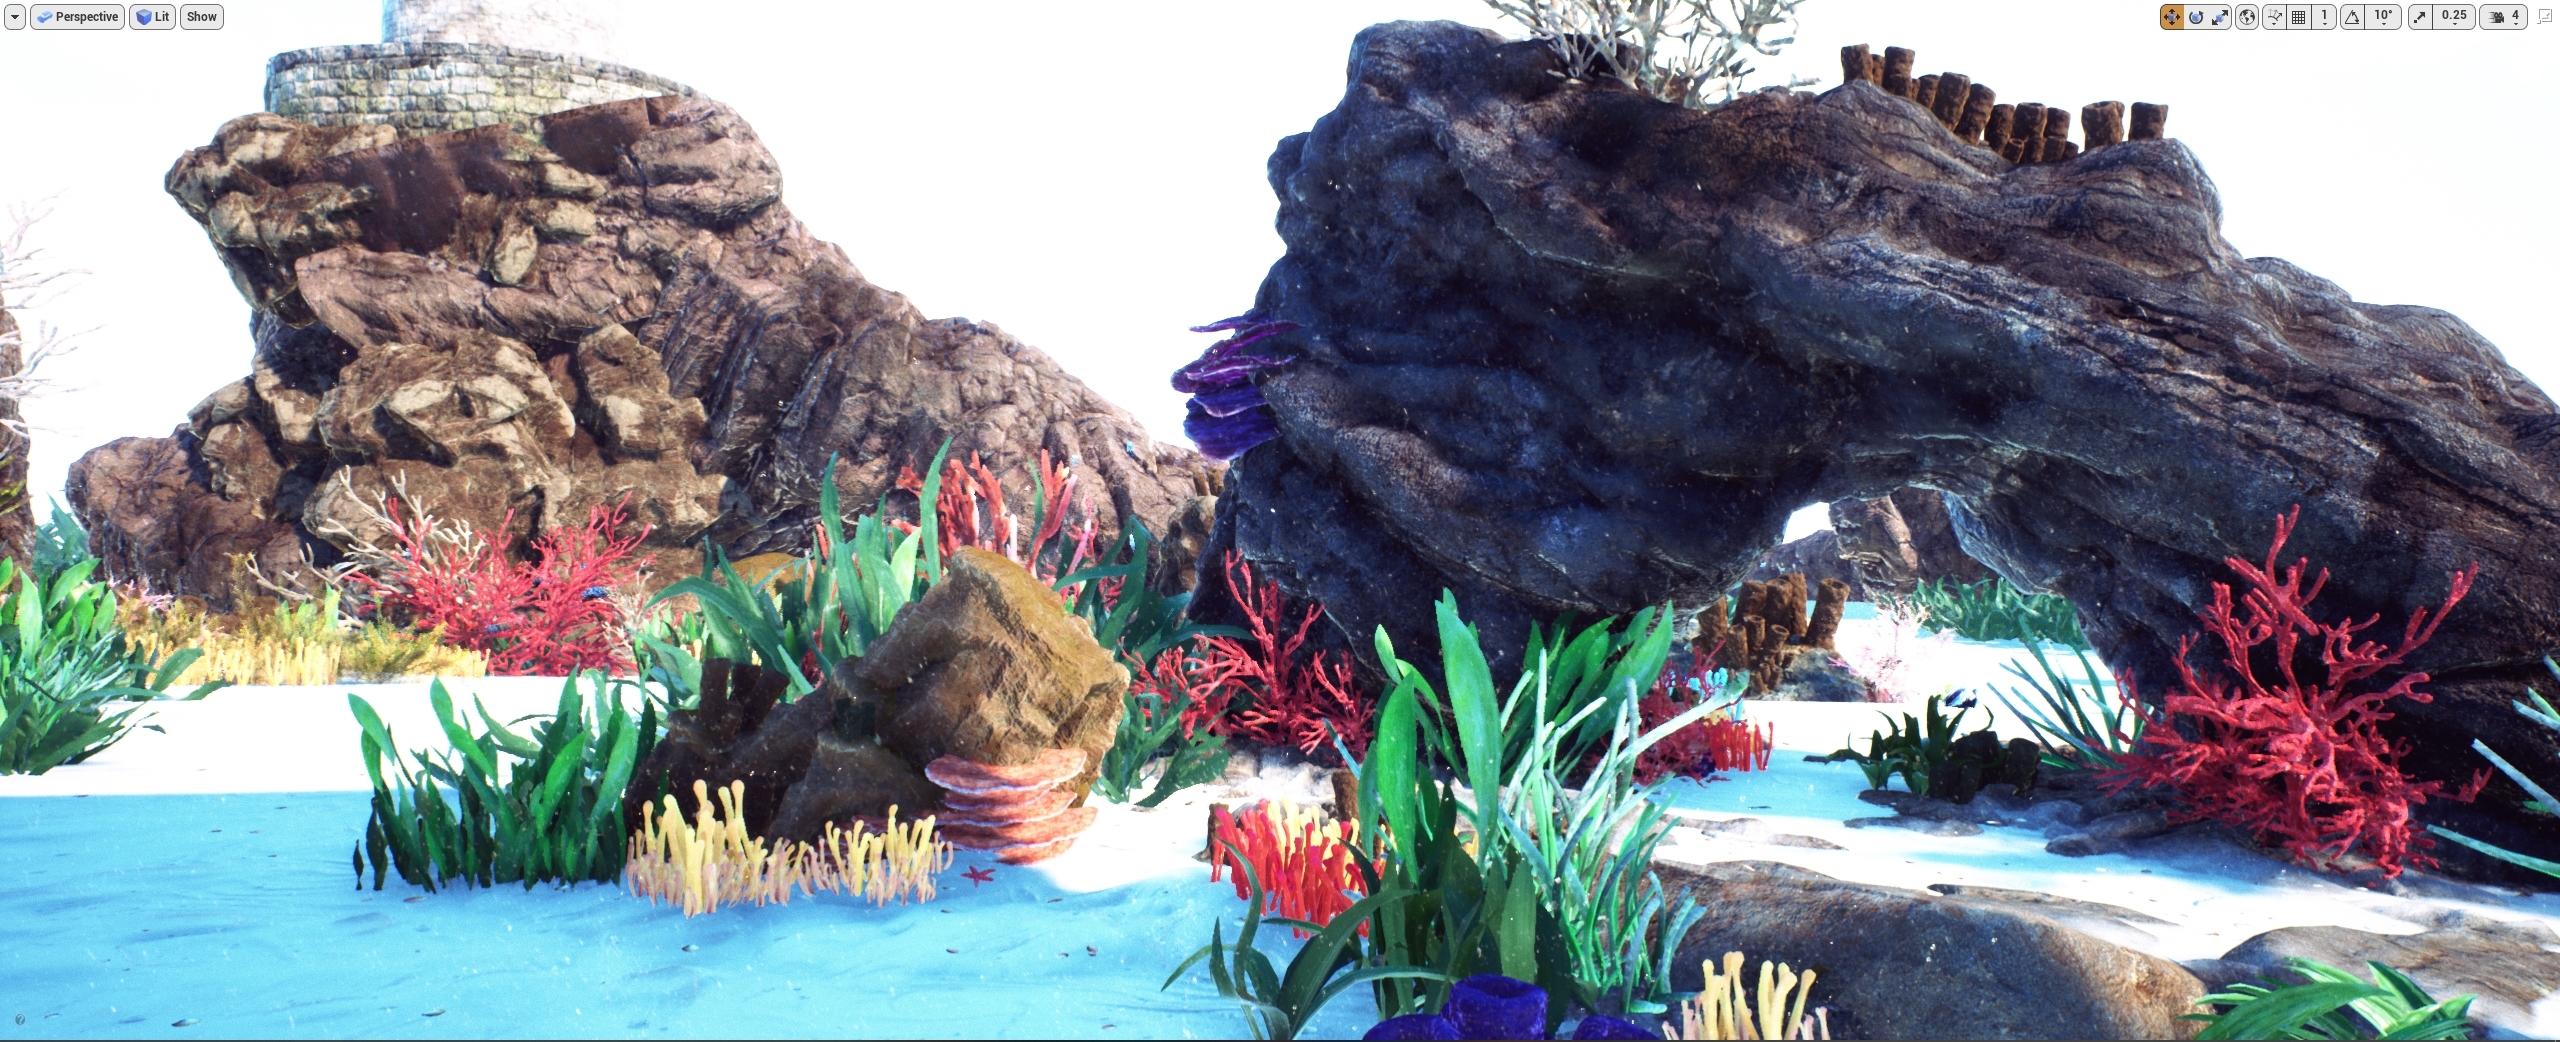
This time was the first time I could visualize the bottom of the ocean from inside the restaurant
Then I added bubbles, small particles It is very subtle but very dense when comes closer.
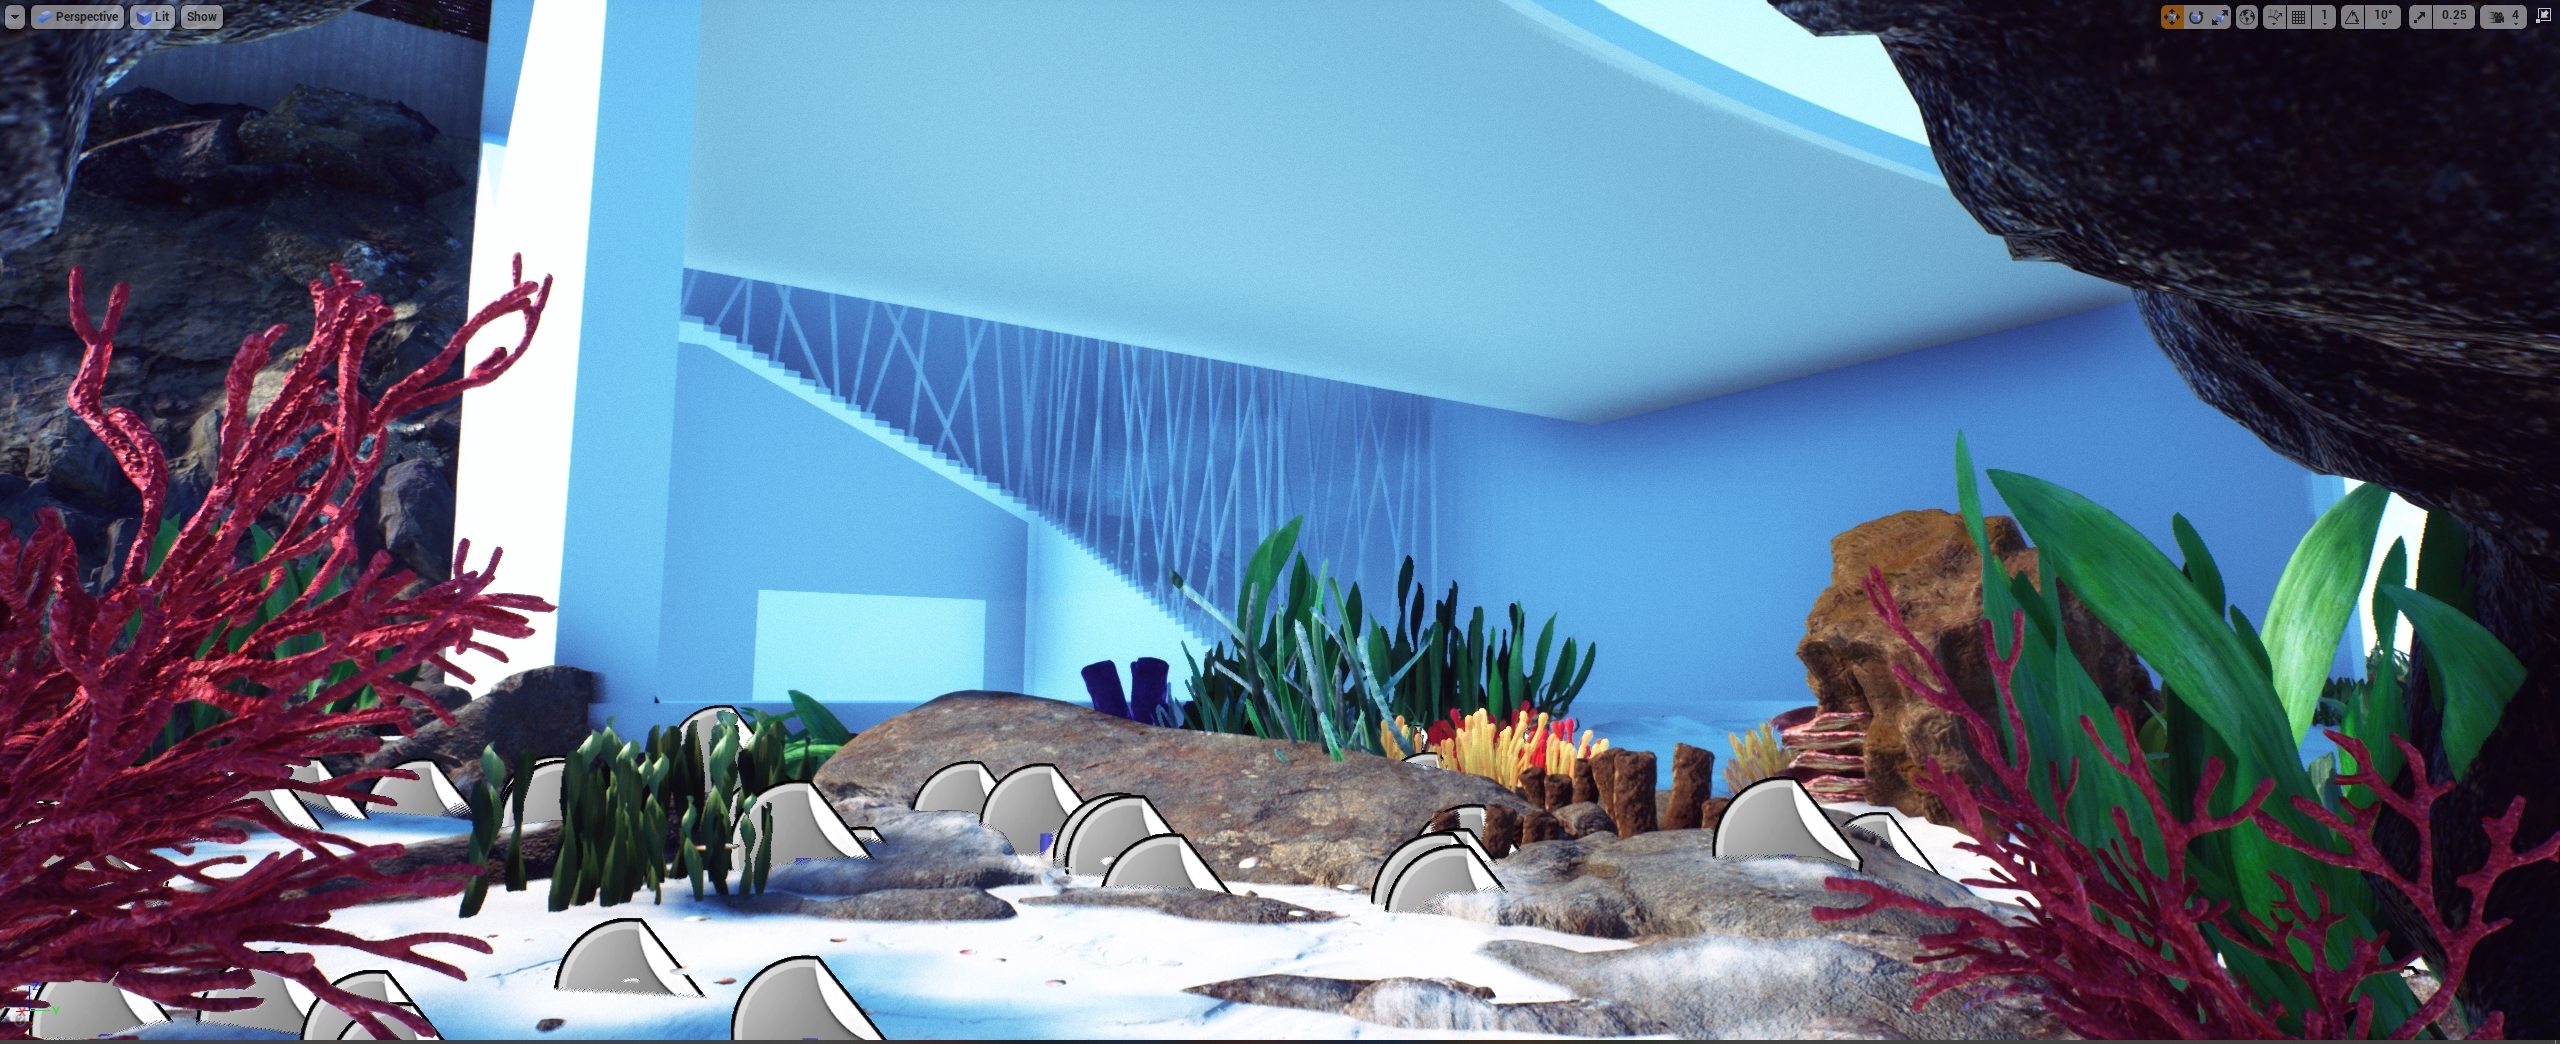
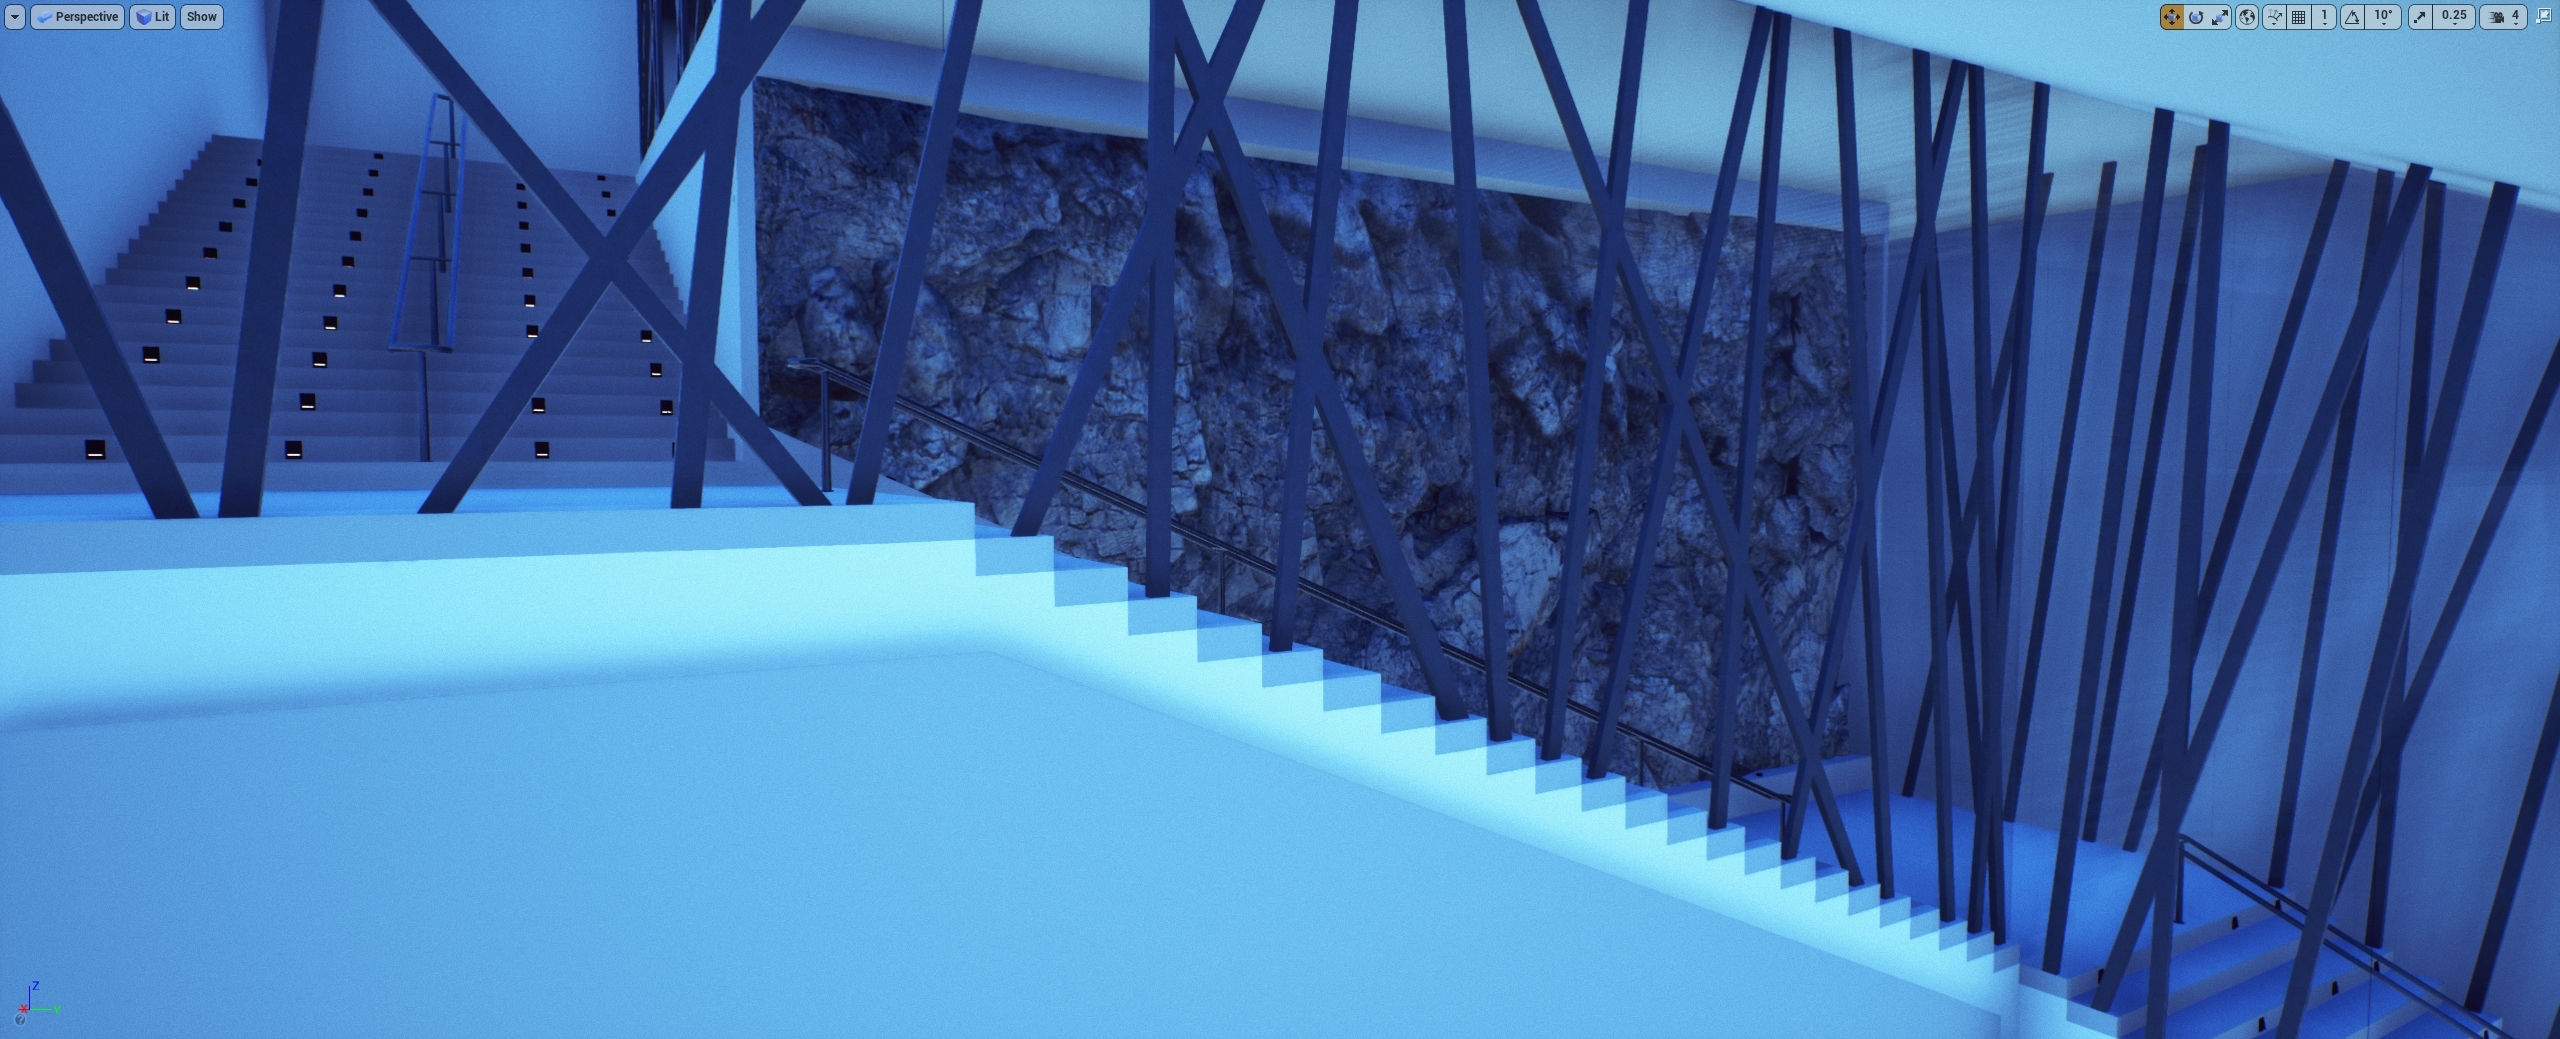
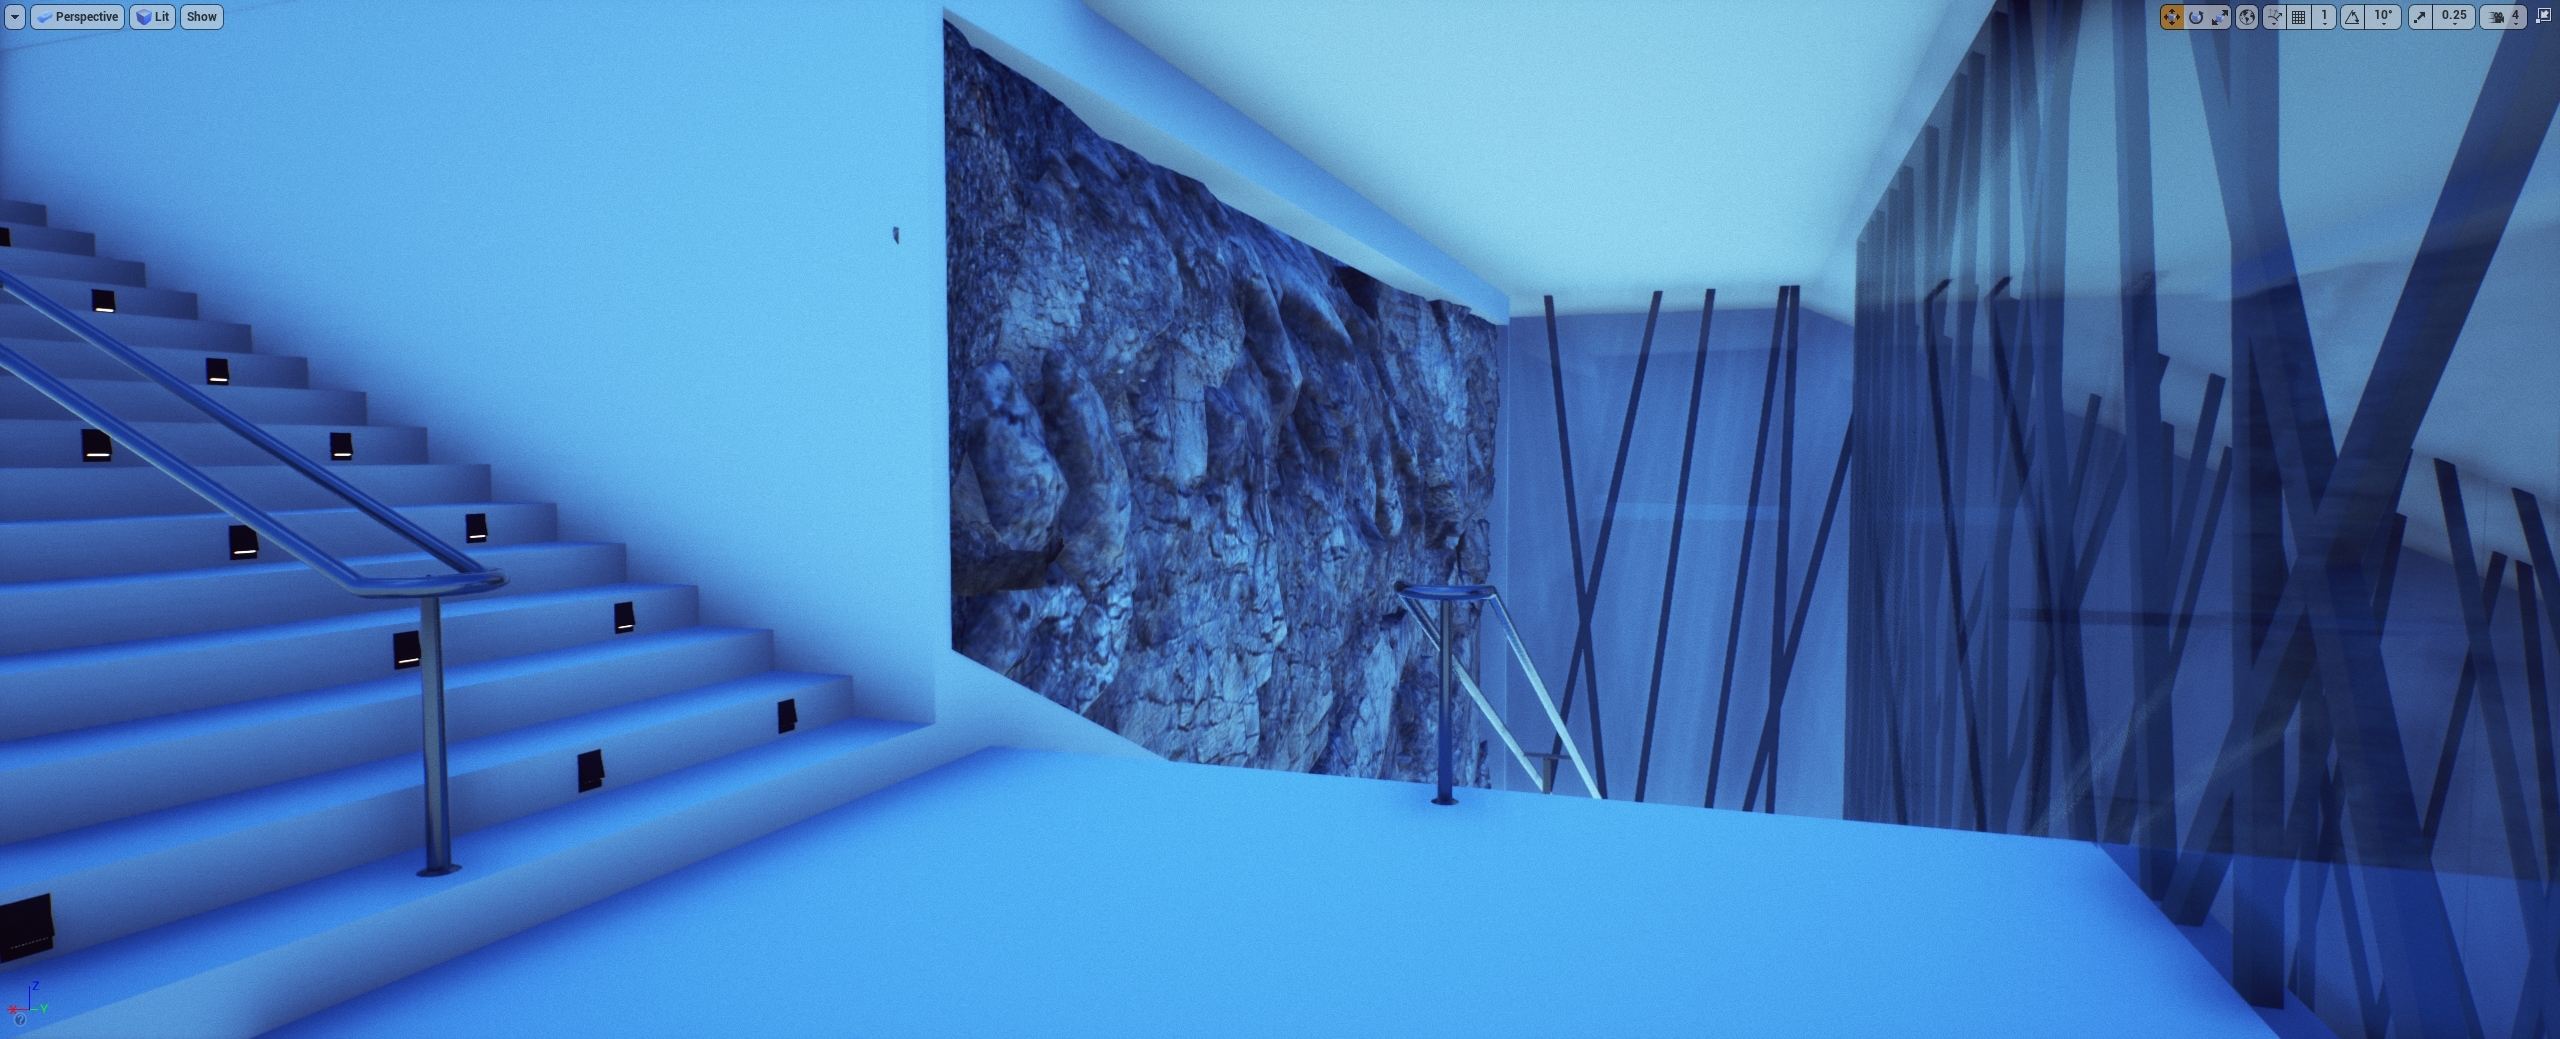
So I worked on the interior part from the bottom site, the idea of this restaurant was concepted and heavy inspired on snohetta under, but I wanted to try my own vision and imagined if this whole bulding was "caved/sculpt" from the top to the bottom
This is when I discovered SSGI, holy damn shit the crappy movable light started to turn something more pleased to look at, even without the post setup ready and the rest of illumination adjustment done.
As you see I was amazed with SSGI, the luminance from movable light was gone and there is no reflection spheres capture there, just like a fckg miracle. lol
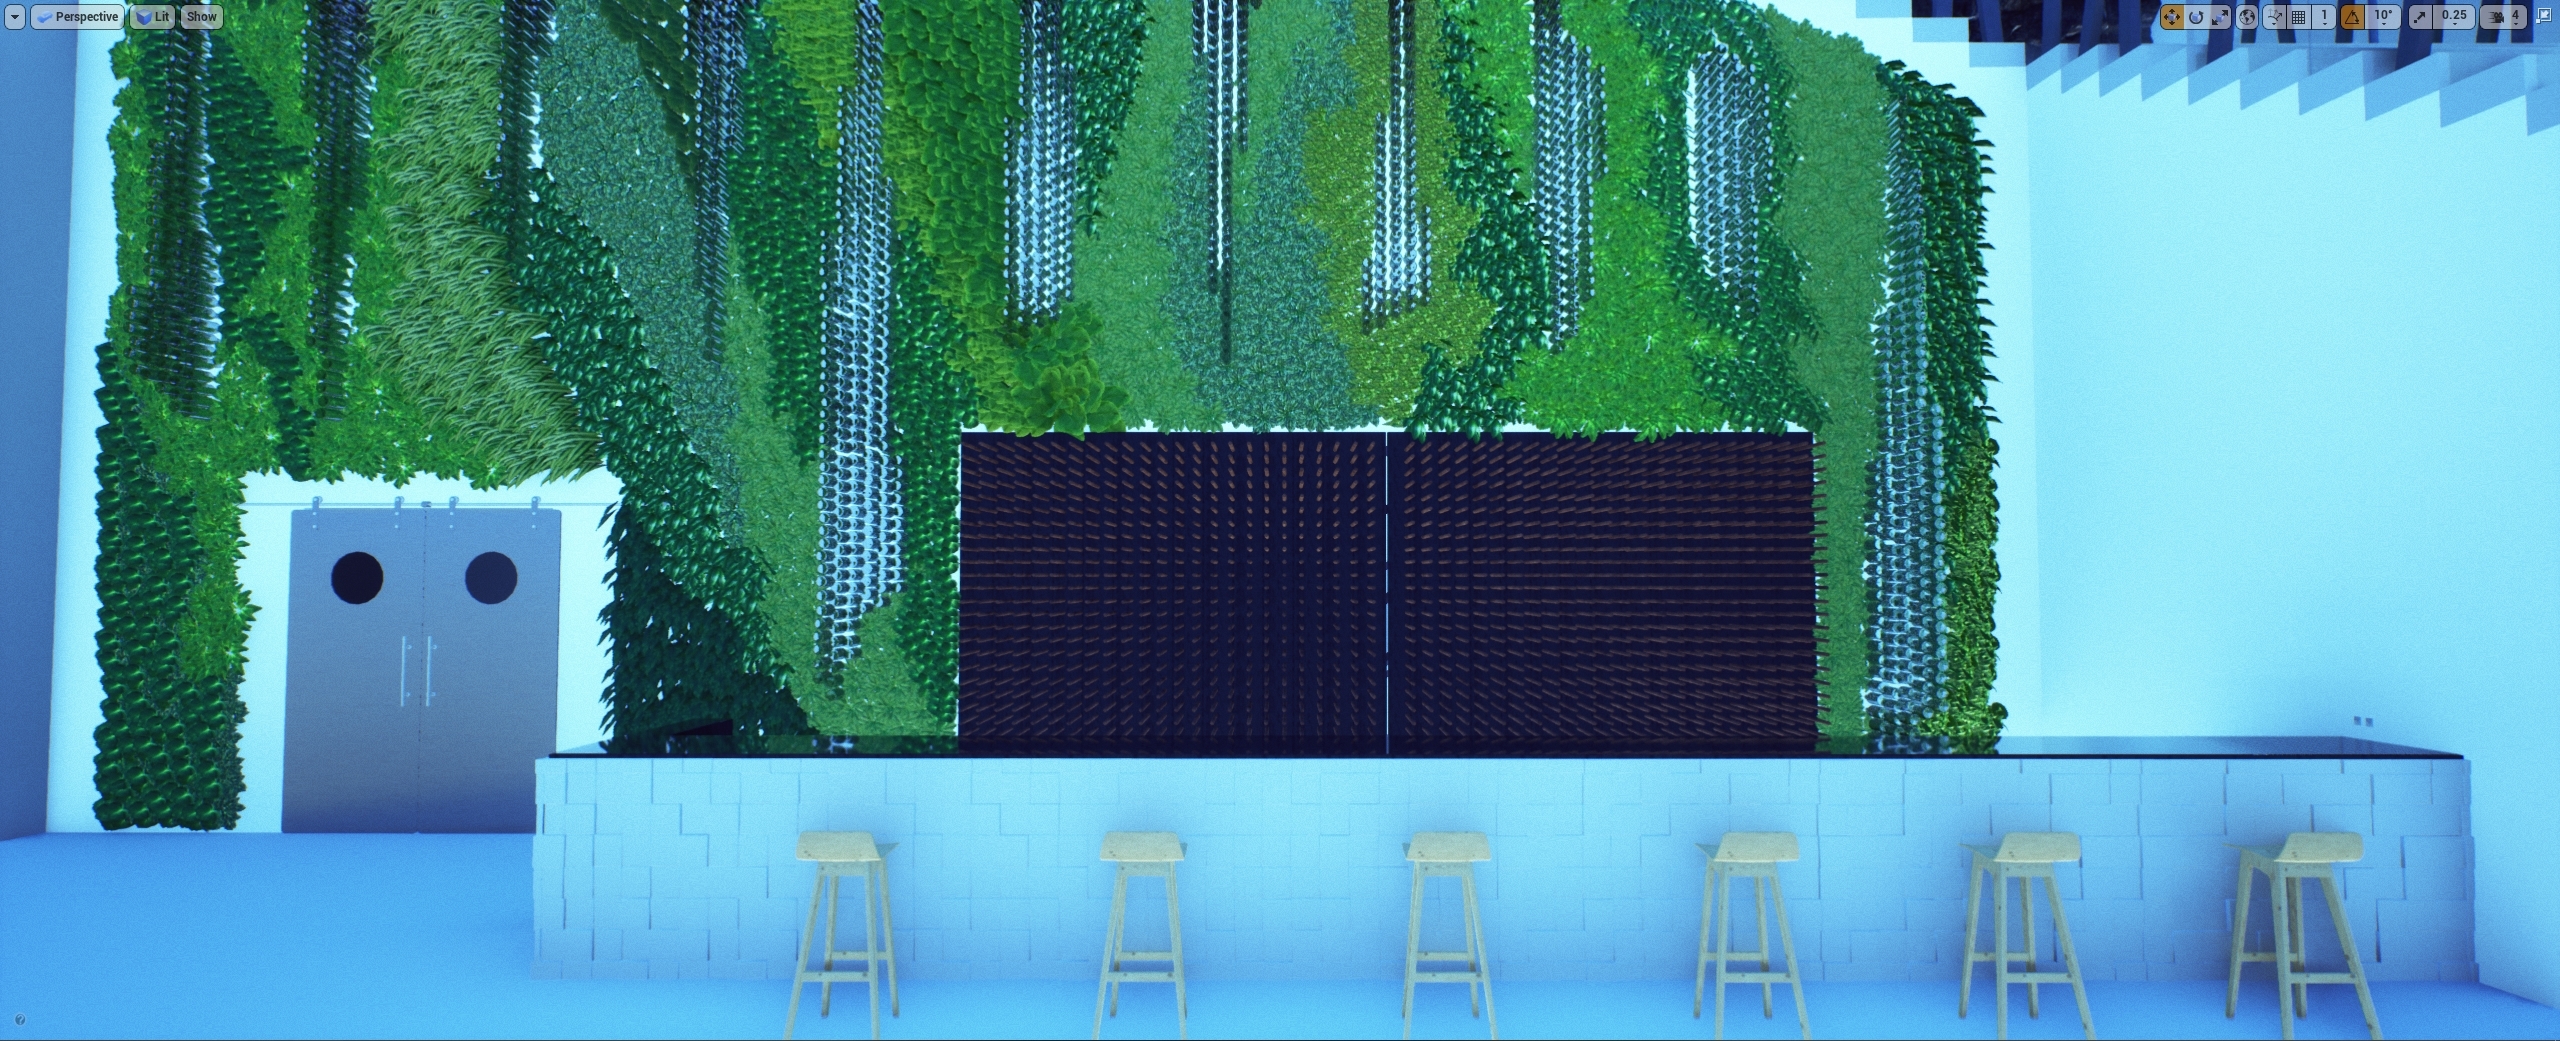
This is where I start the vertical garden wall from the bar on the bottom underwater part, it has "some" bottles that will receives light from behind, making a nicely effect, I saw an idea like this on pinterest and wanted to do something like that.
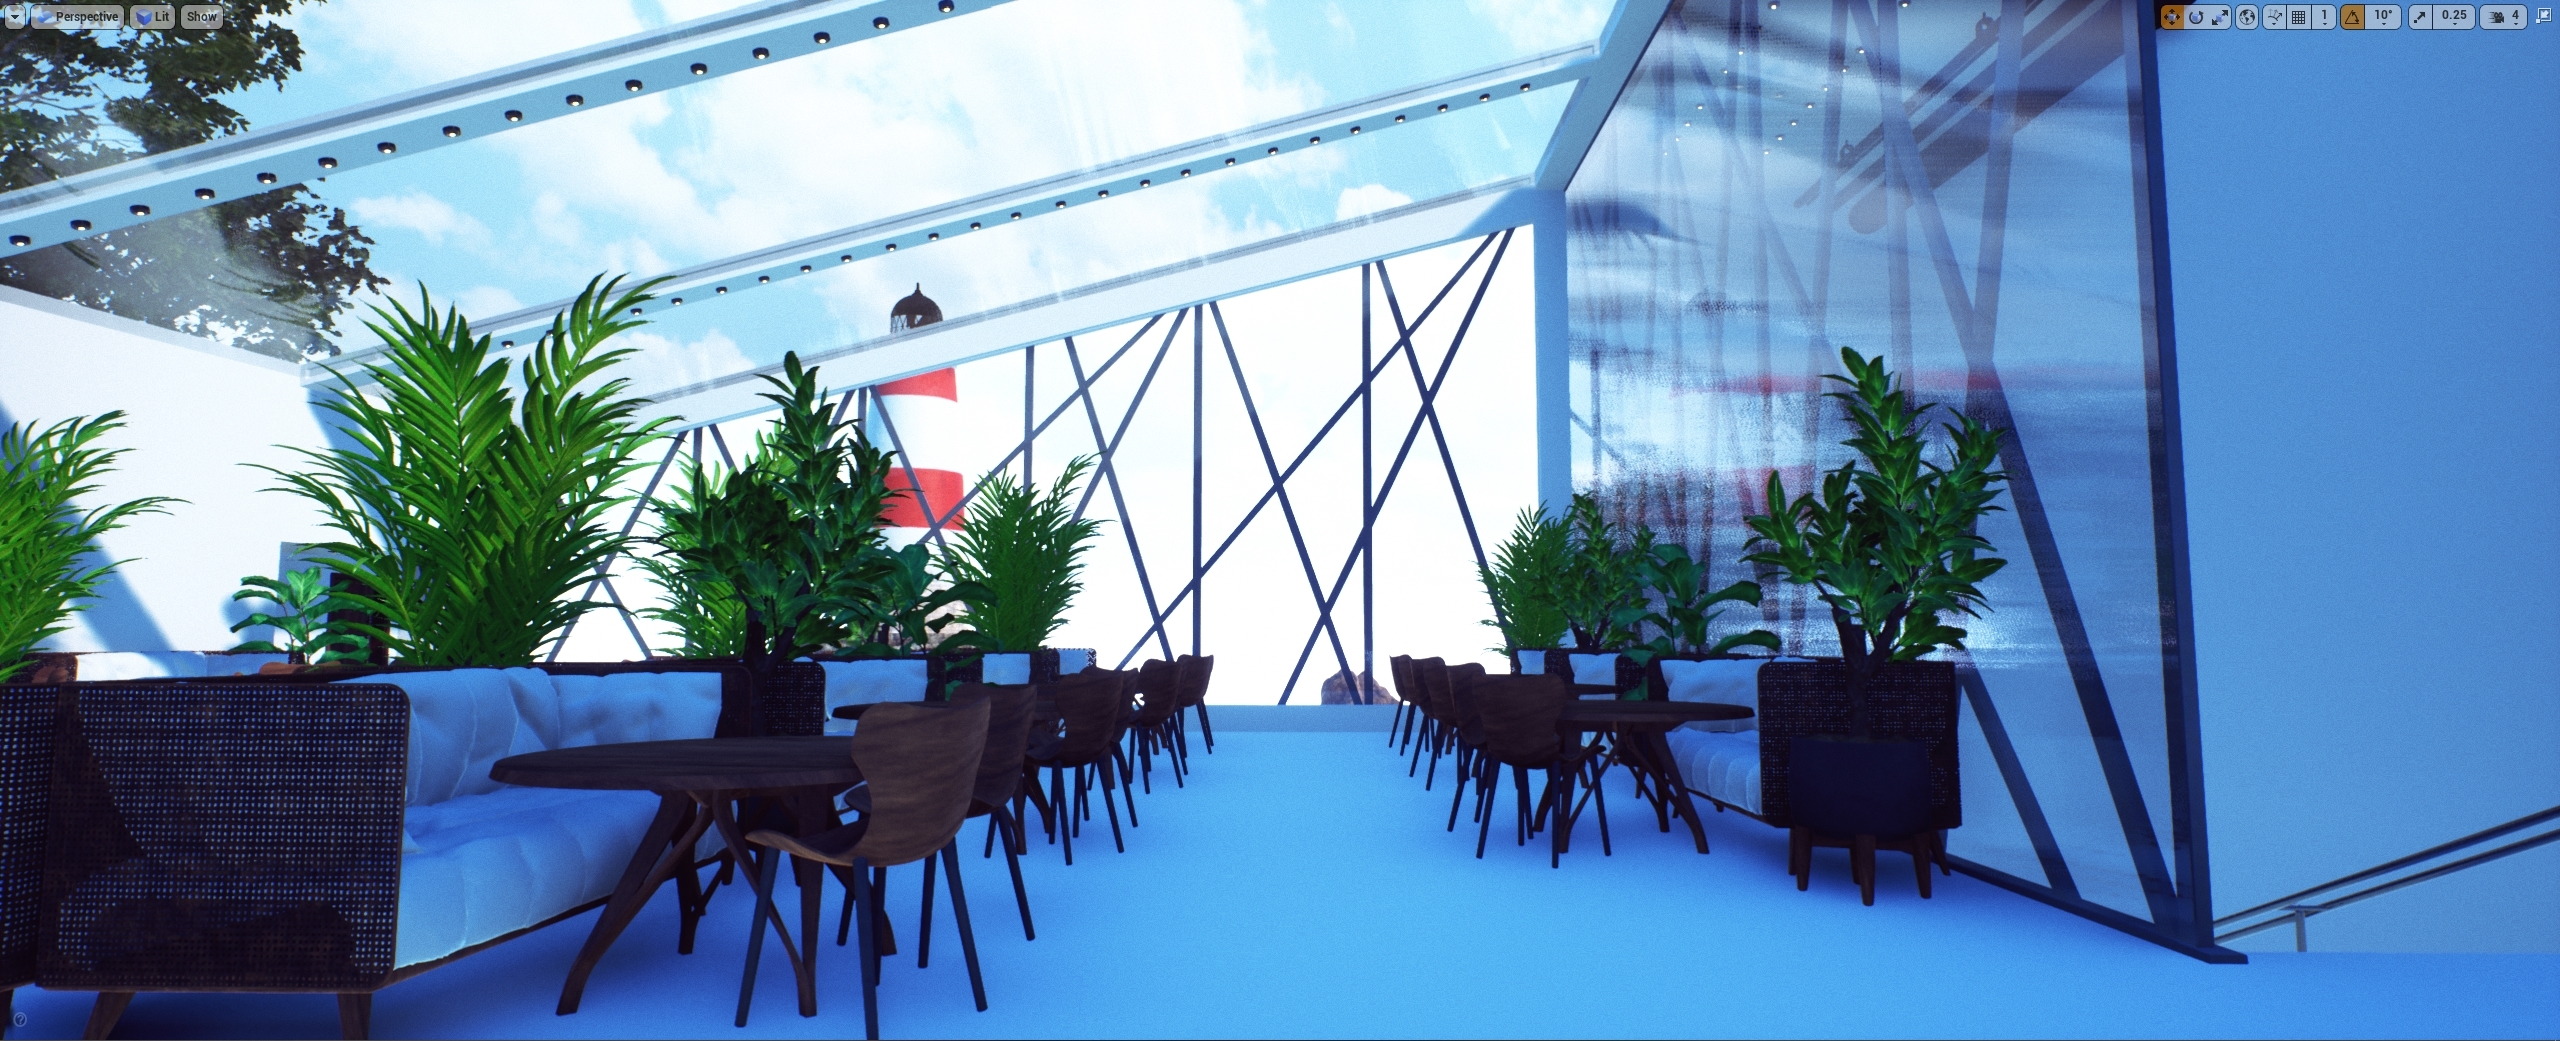
Then I back to the 1st floor and start placing the tables and chair, that kind of stuff

Start the docking area

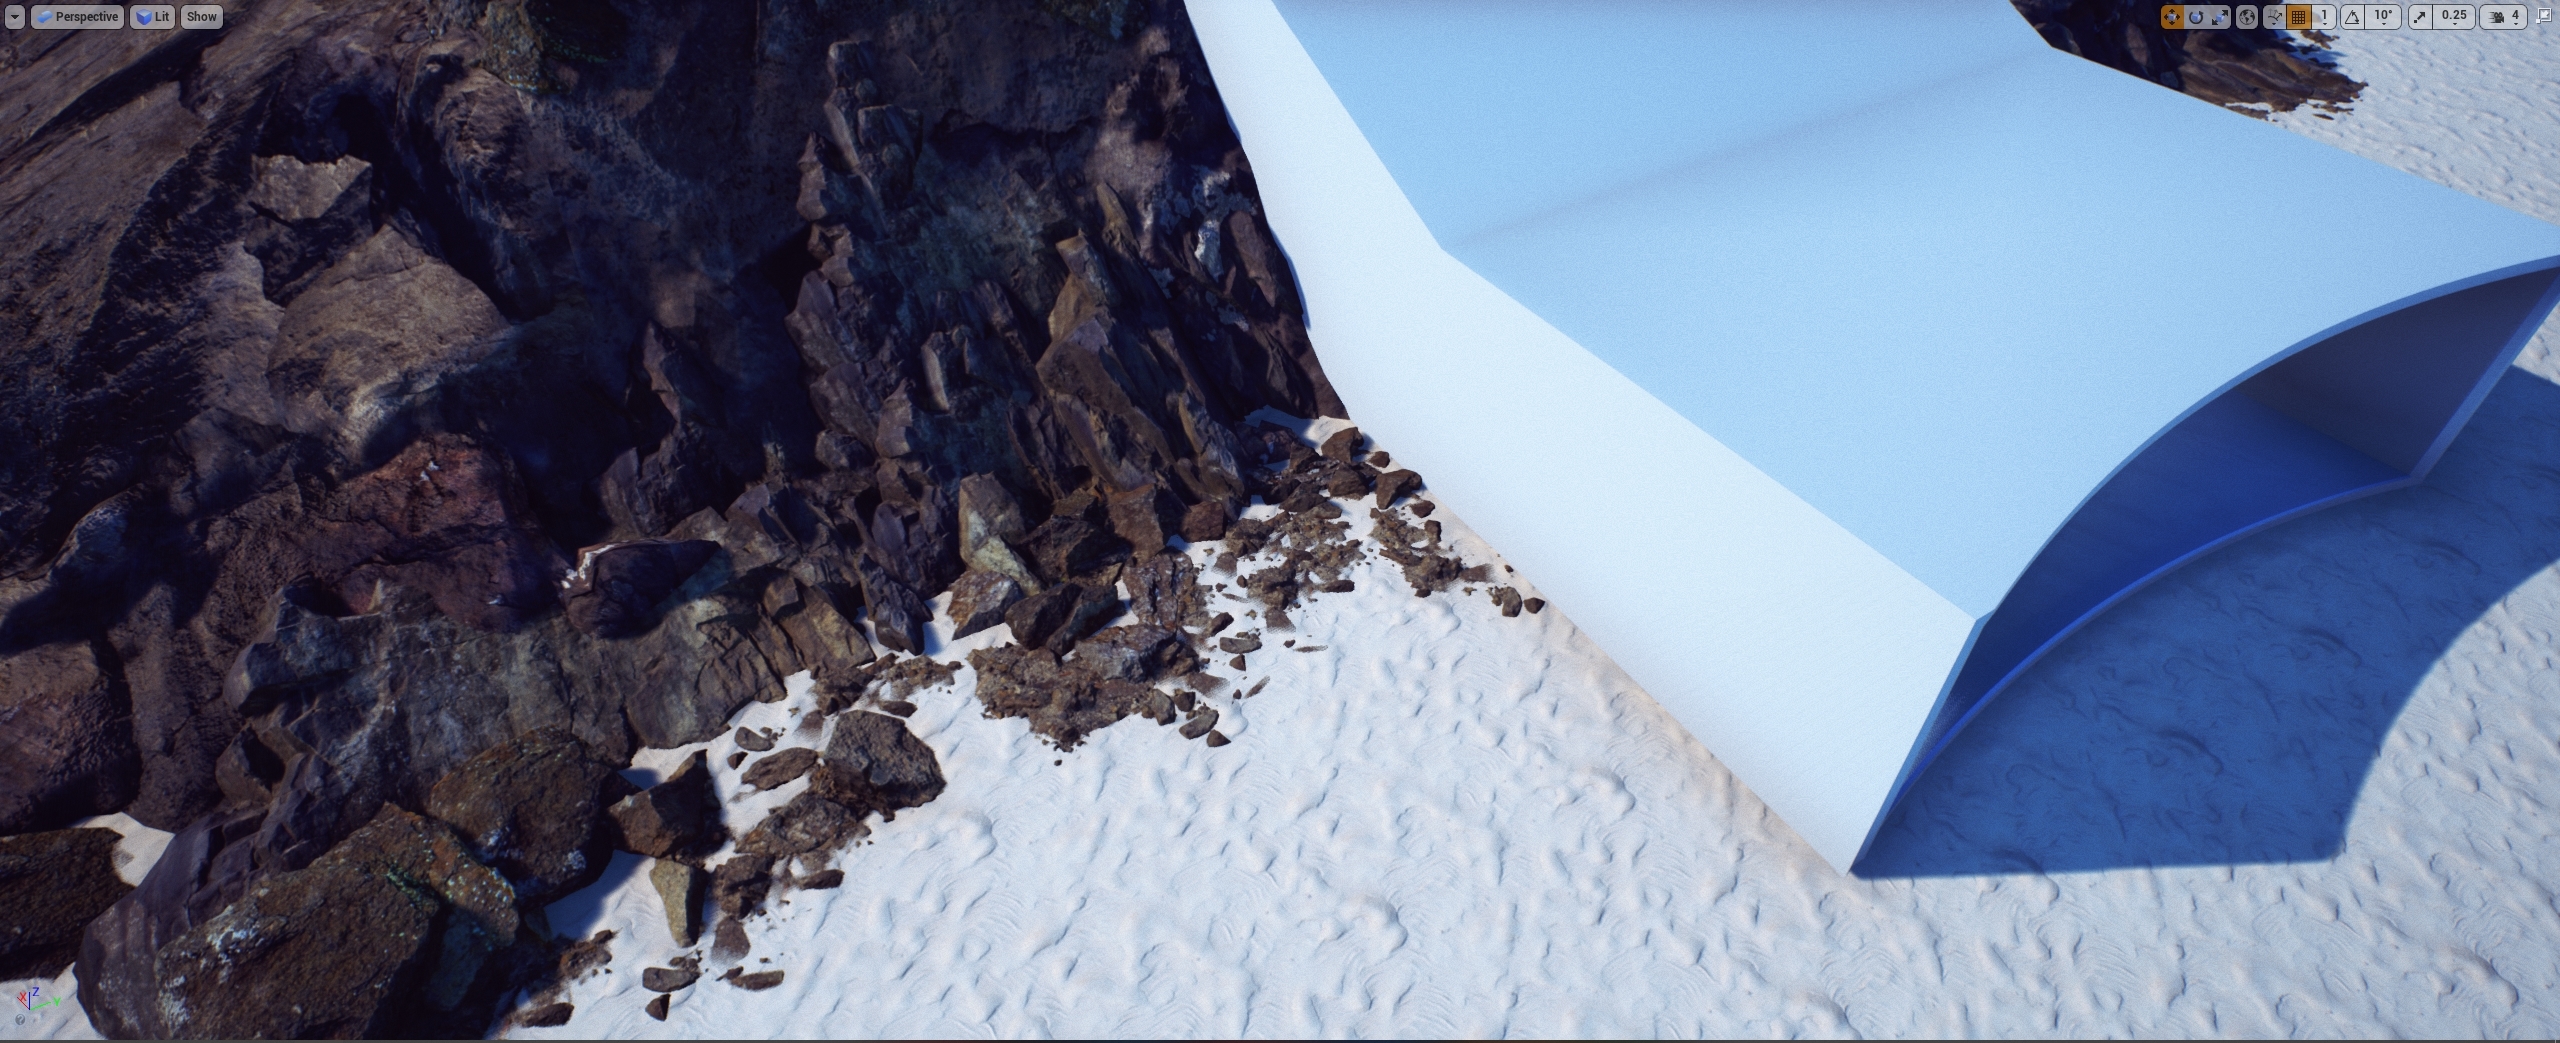
oh noes, the ocean plugin flooded all my work, but its fixed using a custom static mesh with a "hole"

First time the whole building receives texture


And I start to placing some artifical lights, this is on the entrance

The idea of bootle "works" or kinda, I will return there when finished things on 1st floor


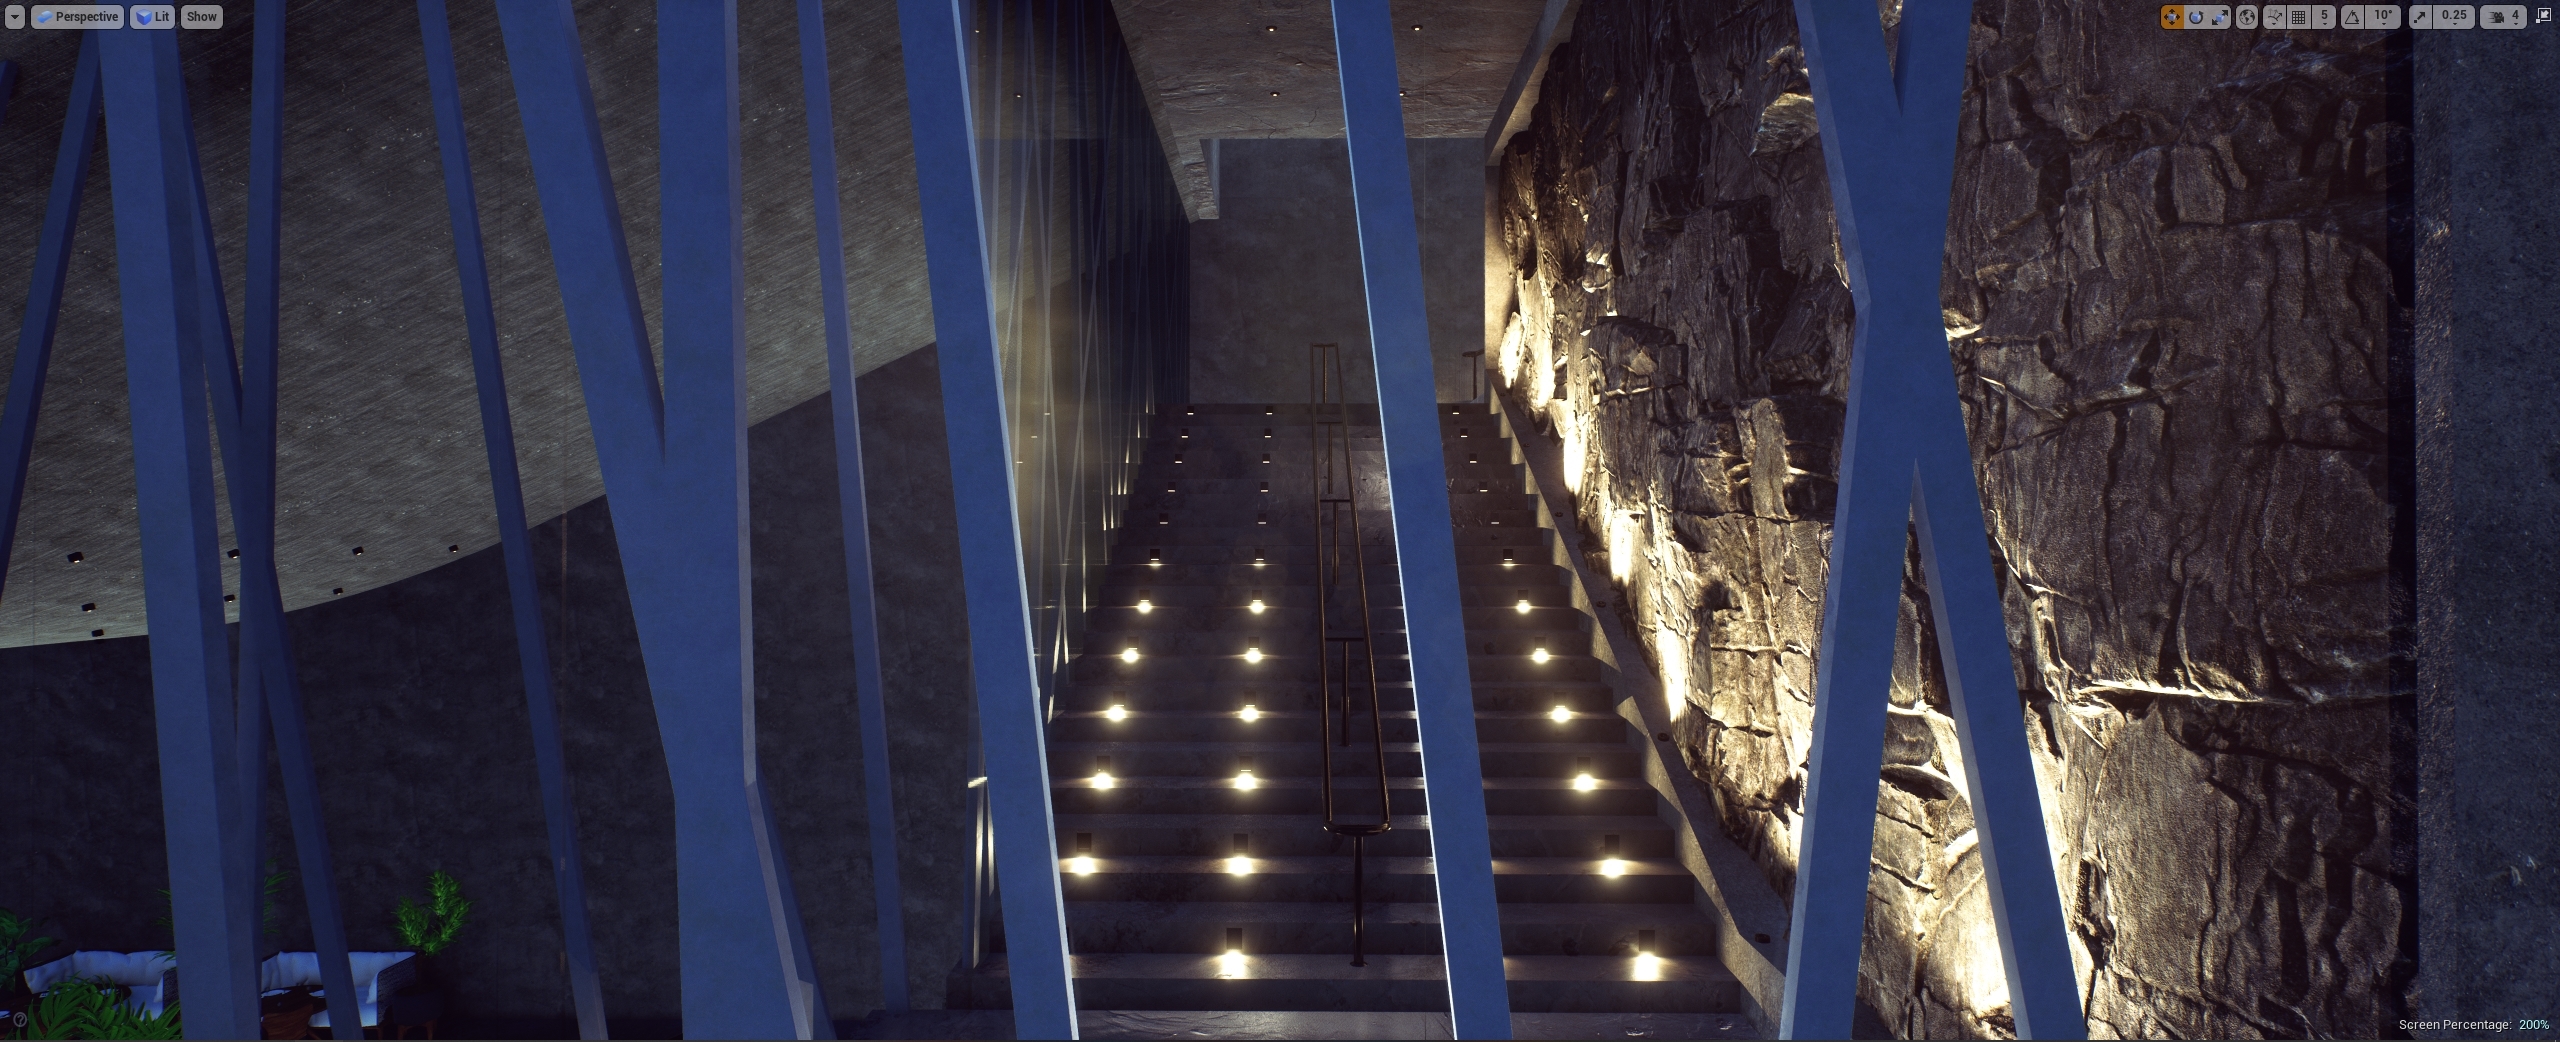

I know the lights are strong, but this is an testing stage, this part is where elevator from 1st and 2nd floor comes togheter

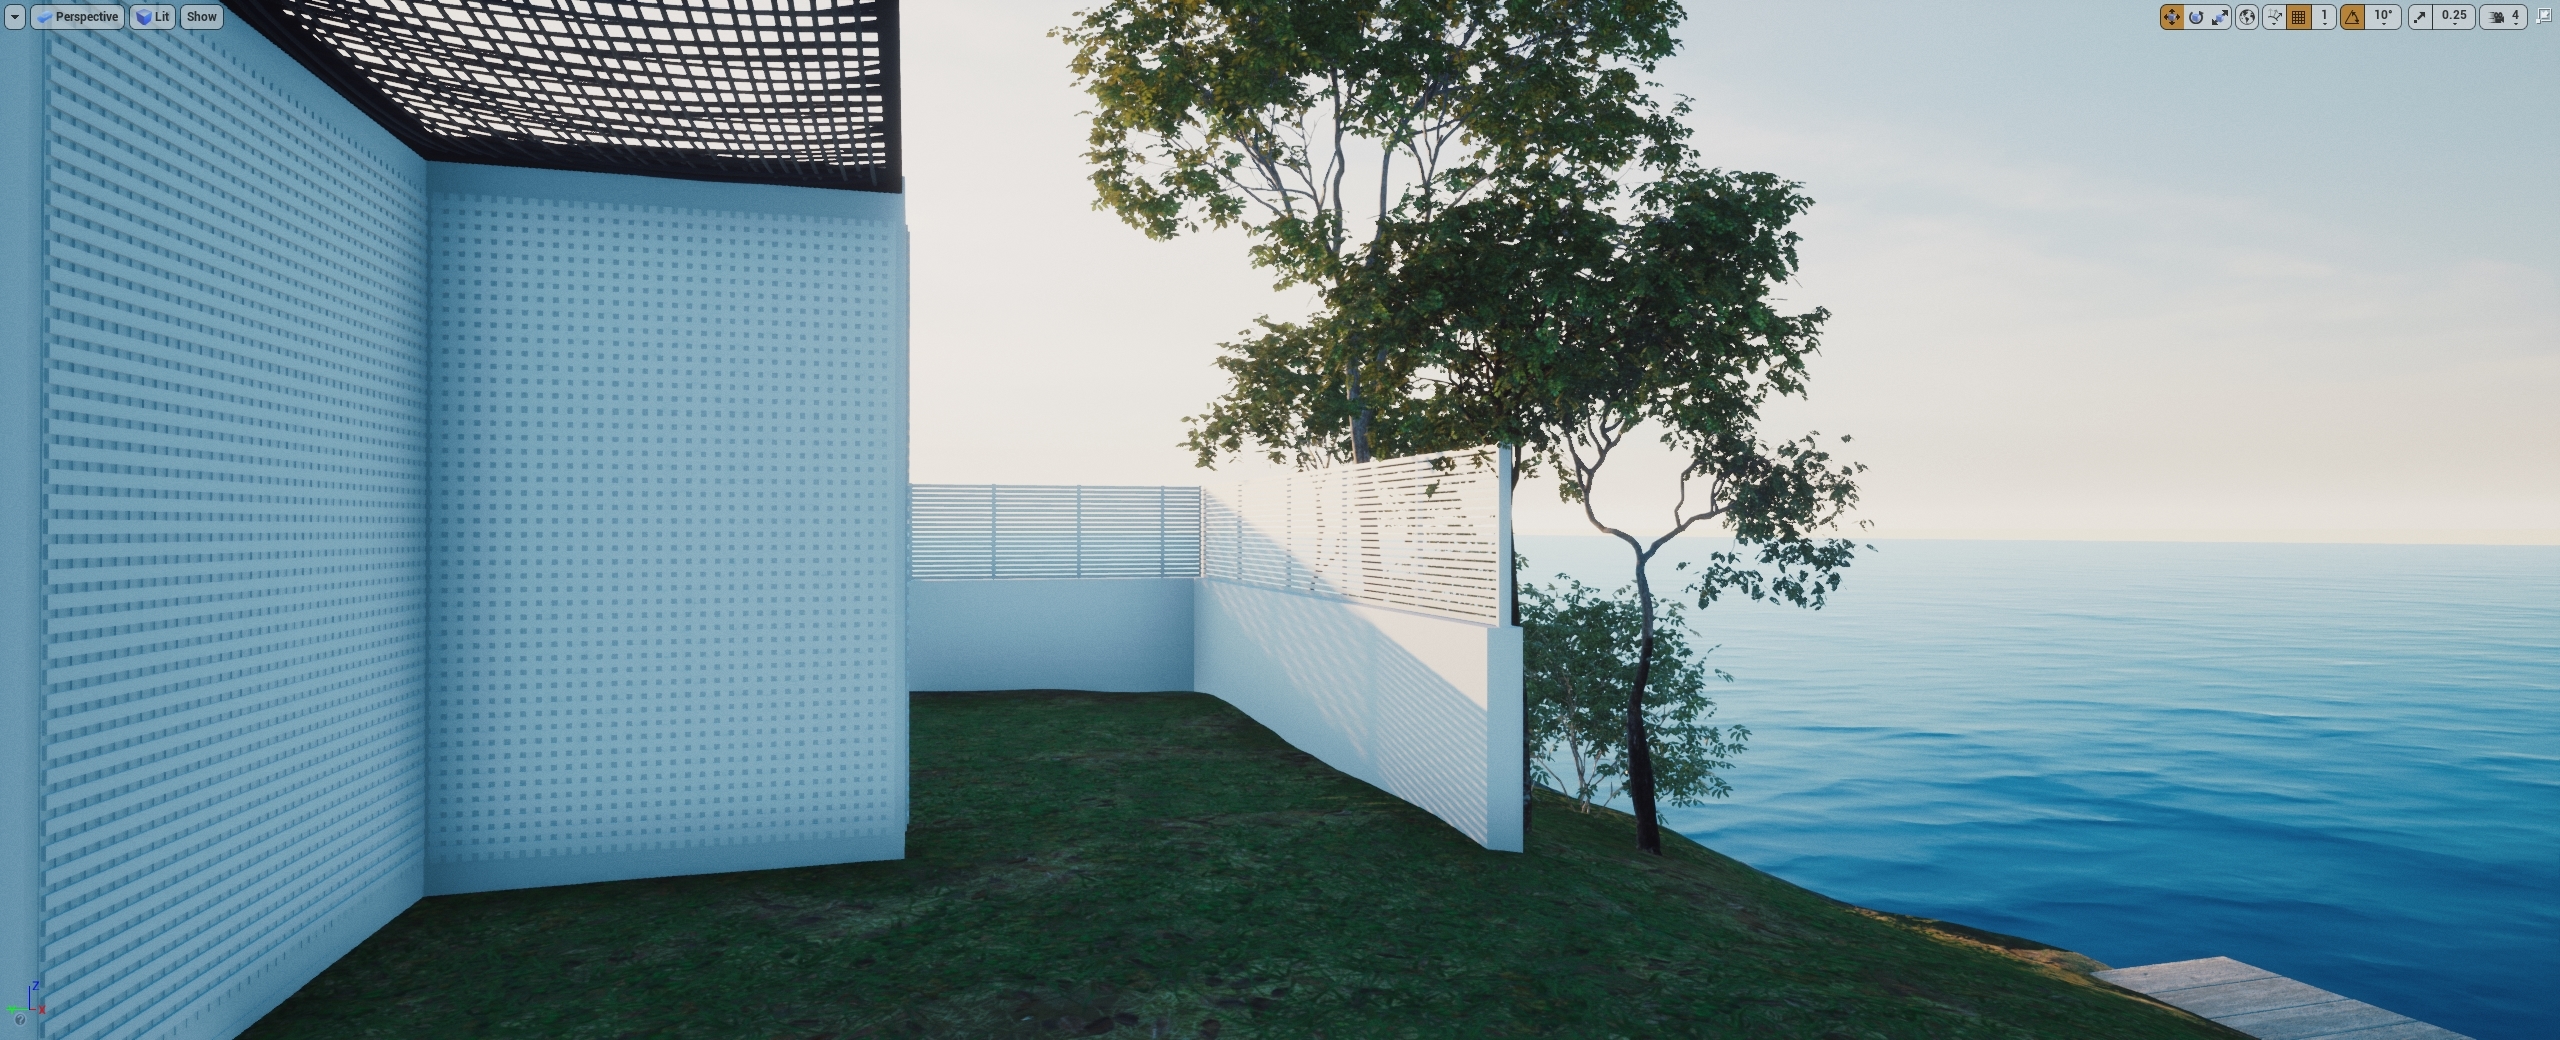
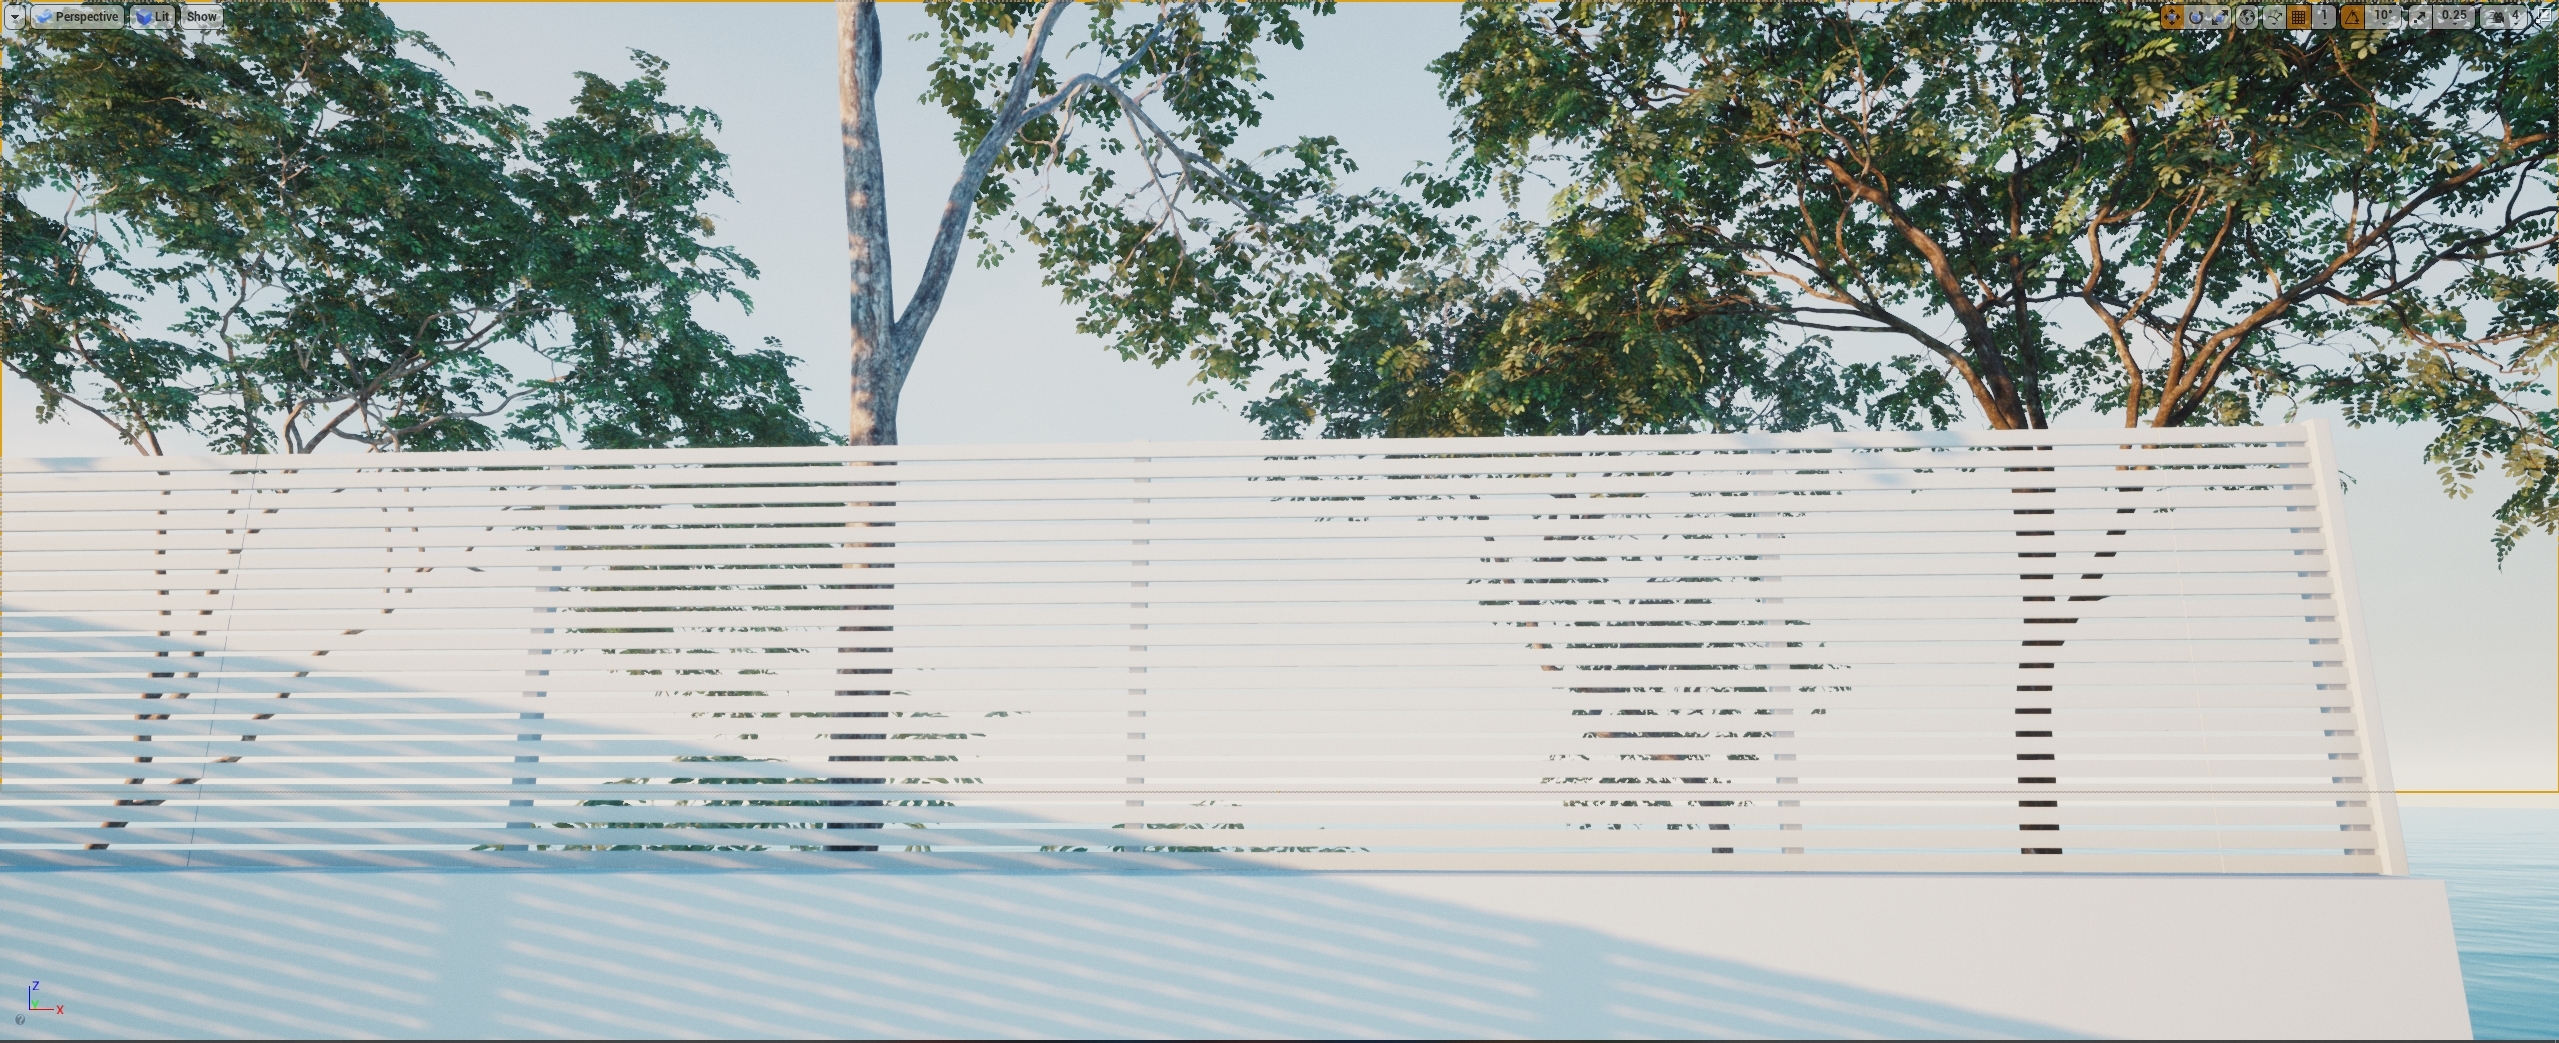
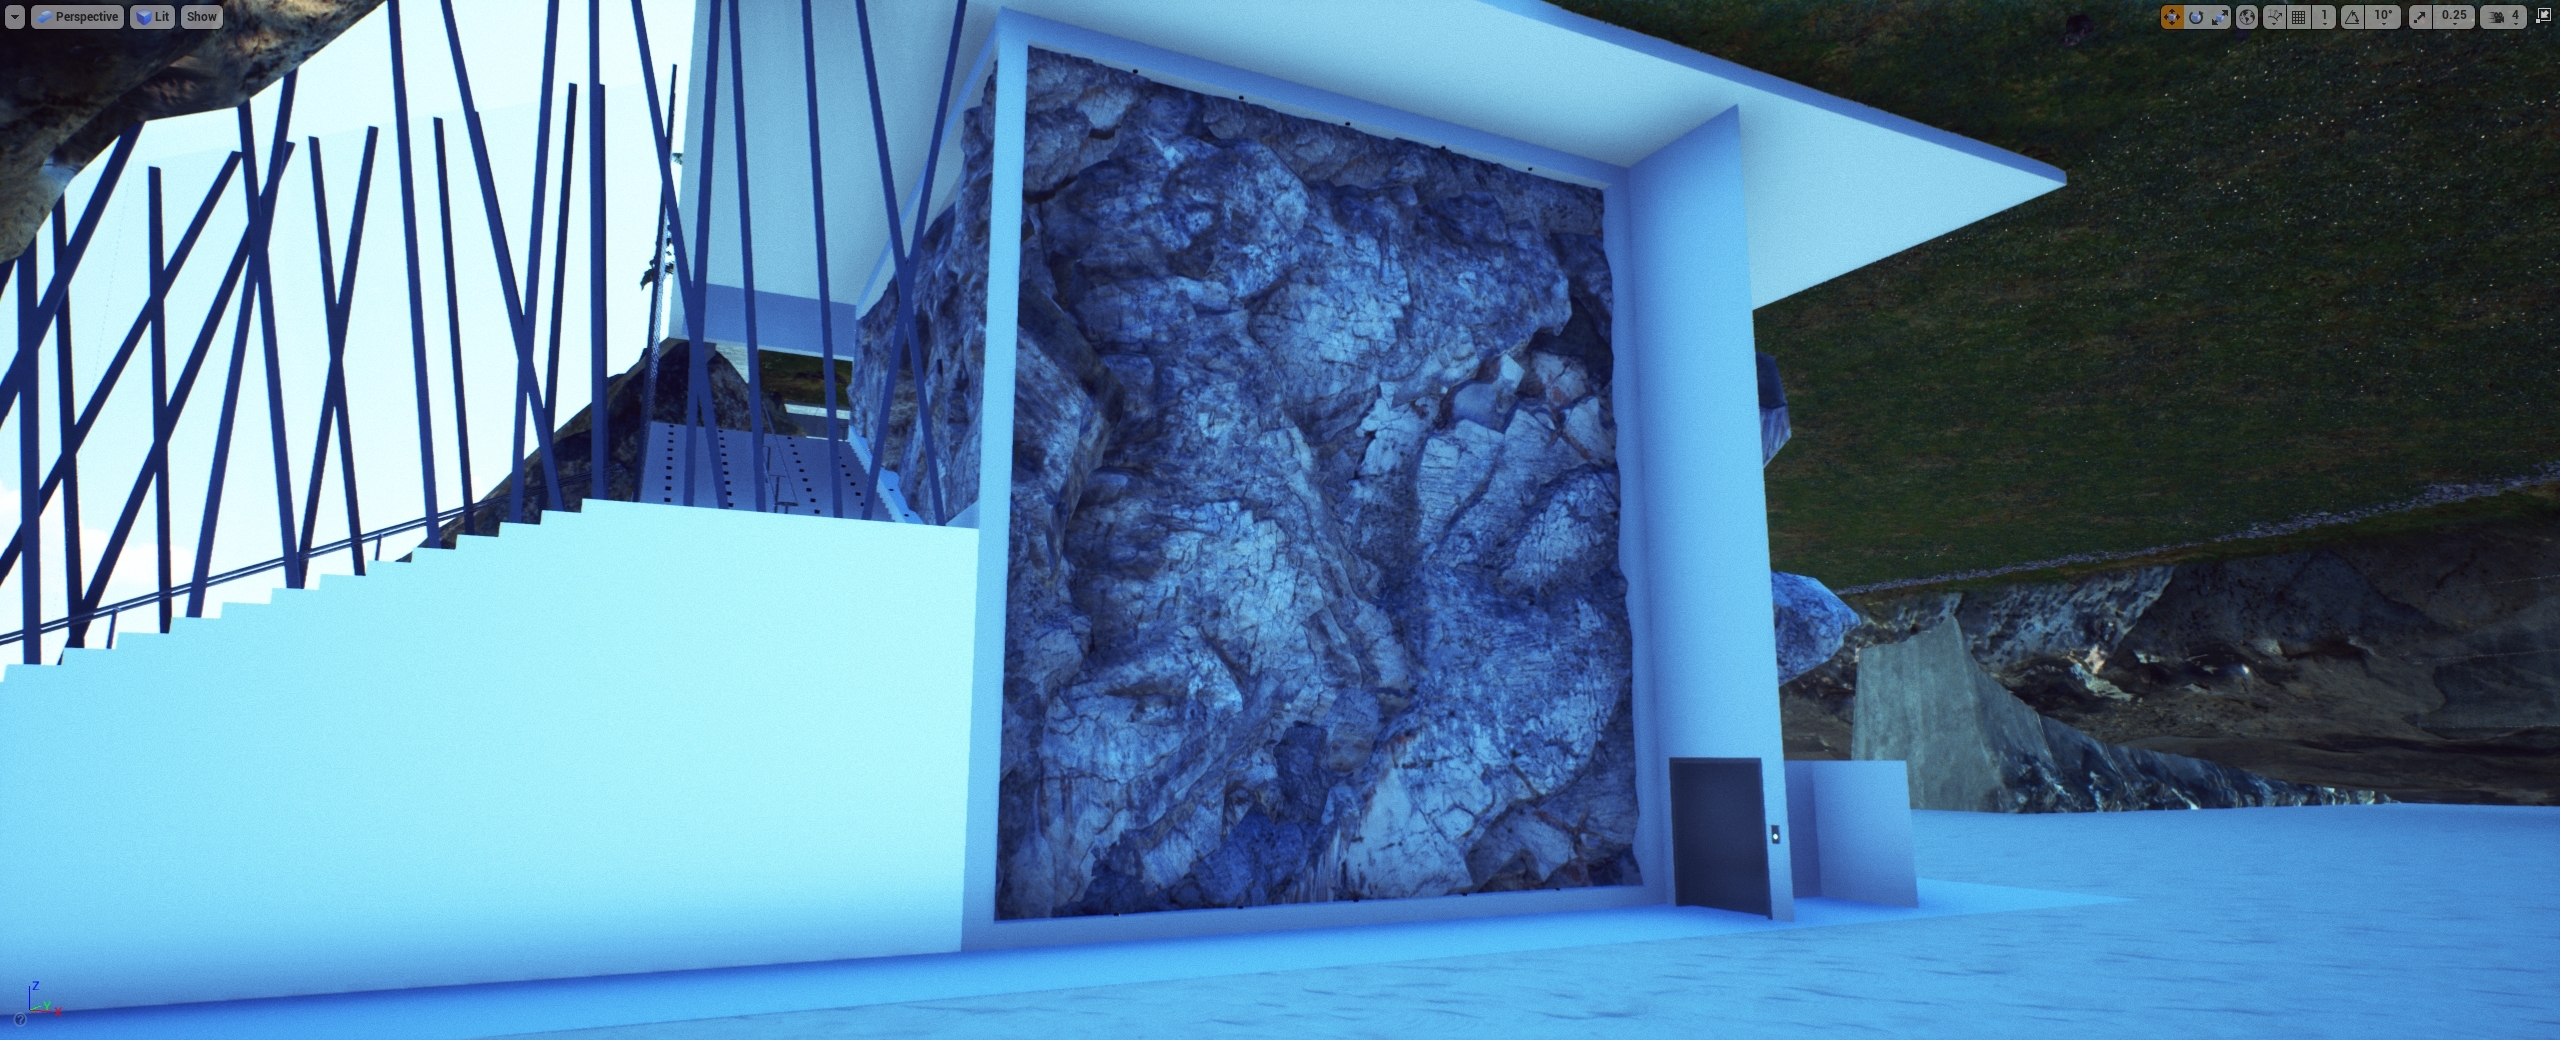
So, I started to using some more megascans on the scene, the wall was too boring, then I did a decal blending to break the whole concrete thing on 1st floor also use some ivys


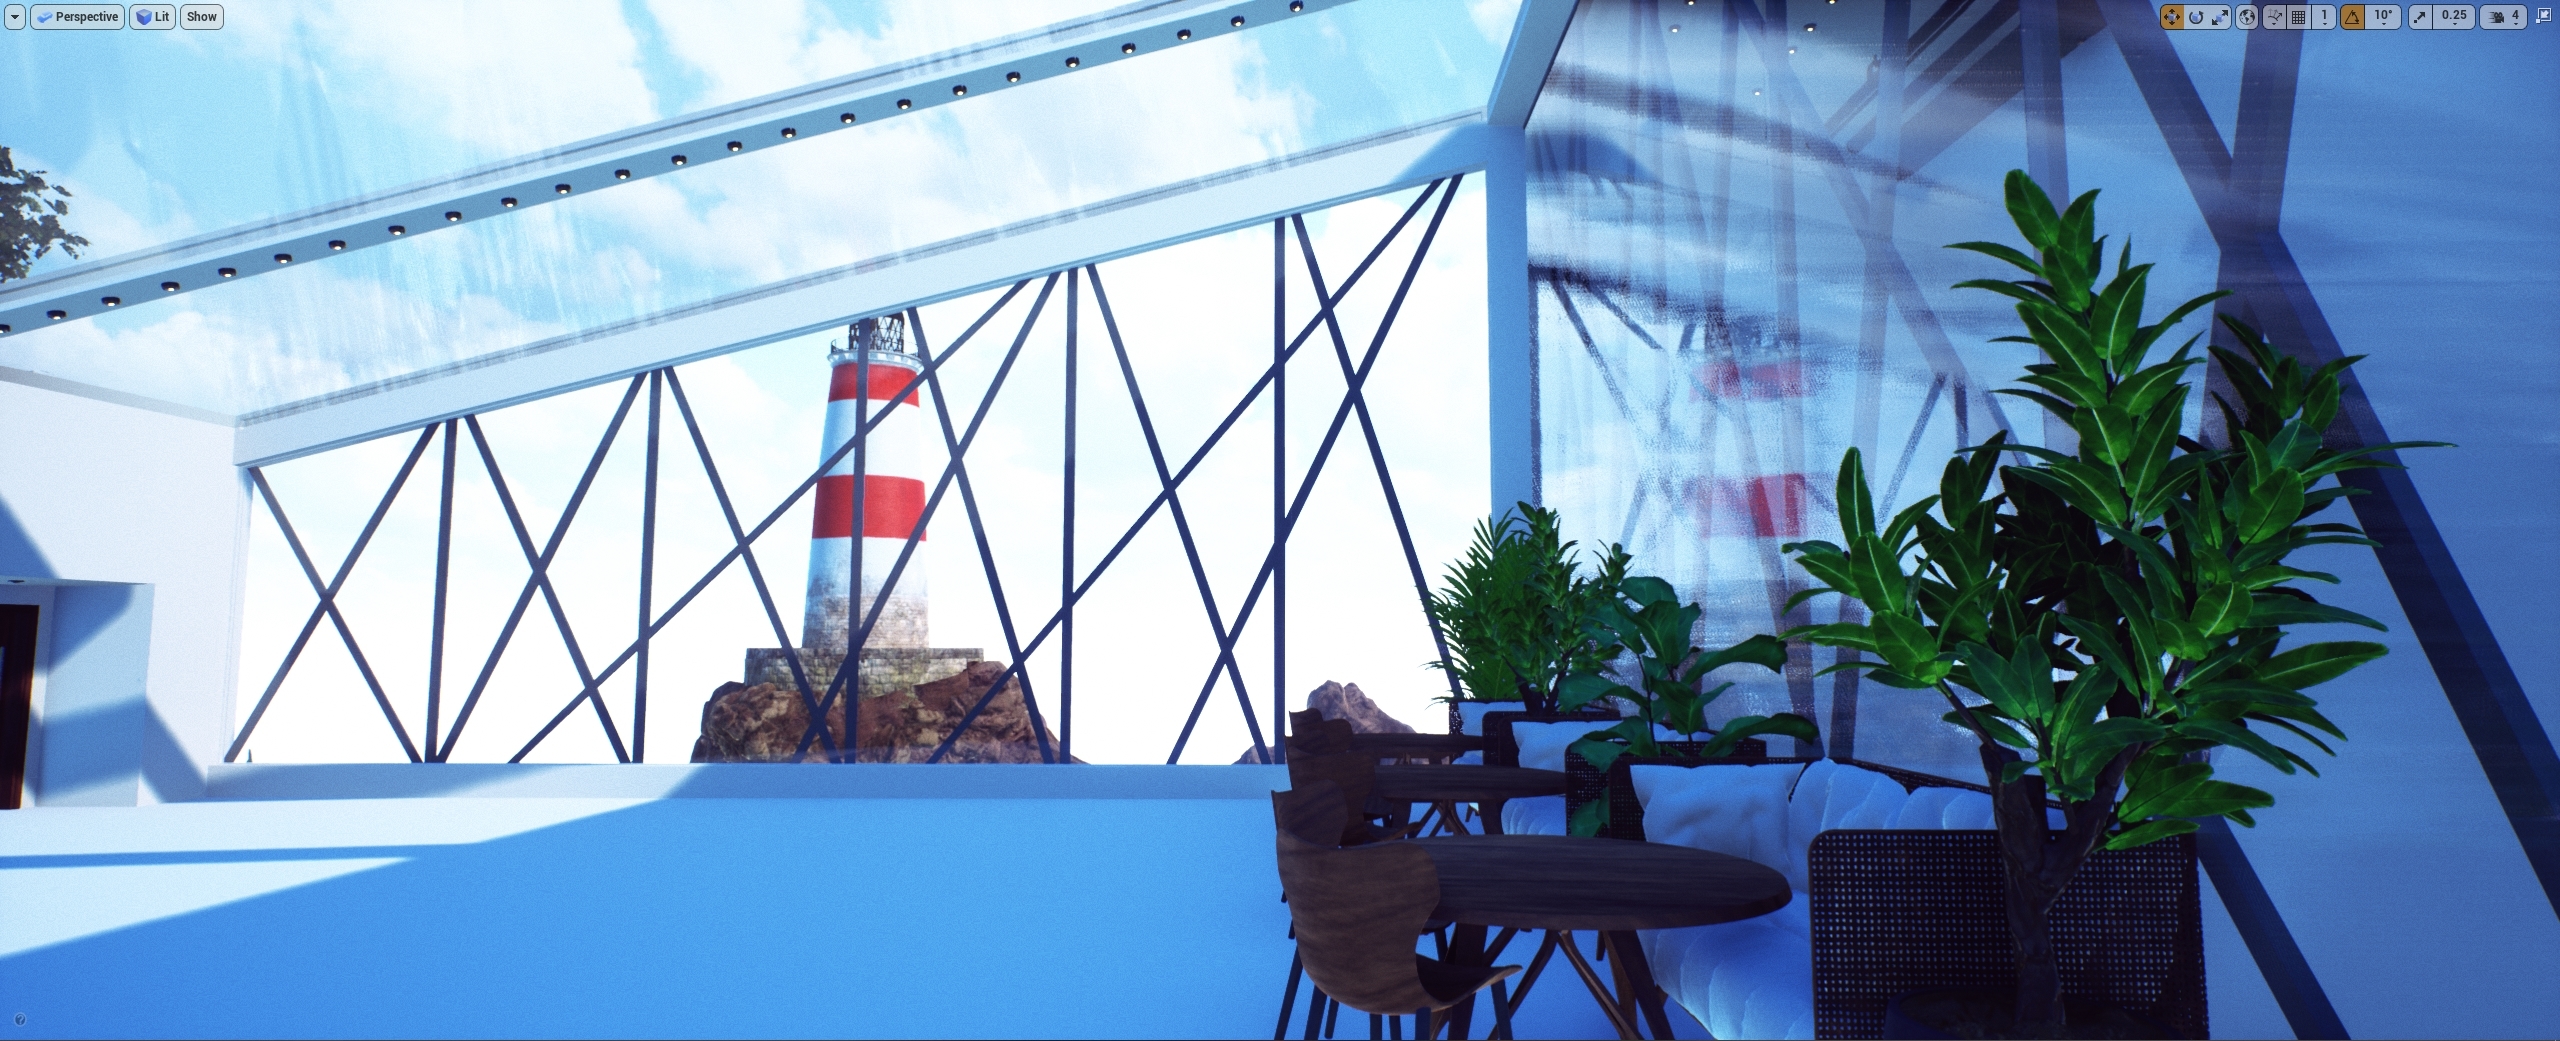
Here I started to tunning more the illumination and the post volume of the surface


and today I just finished or should I say I think the illumination tweaks are finished, had done many adjustments on light, on color of leafs (it's too strong there) and make orther changes on the whole project. After finish the captures on 1st floor I will start tweaking the undersea part and 2nd floor, this will be tricky af... but I think if everything still working as intended, this will be fine.
The part one is finished, this was a nvidia waveworks study I did to learn and understand the usage of that plugin on unreal, you can see the project here: https://www.artstation.com/artwork/rR0kdE
In that time I watch Snohetta releasing a news about they're working on a underwater restaurant, when I saw this my mind just blown away and I wanted to do something like that using unreal... due to the size of the first project, I was unable to make everything on one project, so I decided to split the projects in two parts. The beach and The Restaurant.
From that, the restaurant is almost done, I back to work on this on the end of last month and from a bunch of assets stored on my hard drive, I started build the scene and make things together.
Every single idea I had worked, thank God! and the challenge now will be the underwater part of the restaurant, right now the top/surface of the restaurant is finished, I'm taking the screenshots for showing on my portfolio and going to start the video captures of the scene soon, then I'll move to the bottom part.
About the project and things I'm using:
Outdoor trees: Dviz tree pack one and two, an amazing tree pack from friends here in Brazil with AAA quality scans of trees, shrubs, grass and etc, really worth to take a look and pretty well optimized.
Scene props: A mixture of modelling/sculpting myself and from packs where I do optimization and retextured, also I recycled many assets from my previous projects I used on unreal or other render engine to get it ready or almost done to use on this project.
The nature enviroment (island and ocean underwater): Here is also a mixture of things I made on zbrush some stuff and use megascans, since they open all their library for unreal artists, this huge effort was able for many of us improve our projects with great quality scans, thanks epic and quixel, you guys are awesome!
Illumination: This scene uses full movable light with SSGI from unreal 4.24.1 I love this screen space global illumination, this makes the movable light projects so rich, even with current beta stage, actualy this amazes me how well it works. Yeah, it's far away from perfect and even more far from using GI from raytraycing. But I don't have a RTX card, so this is what I can play with.
The fauna: As an ocean, there must to have fishes, and I used a marketplace pack to give more life on the underwater, the only fish I created (retextured, better saying) is this poor "nemo" and he isn't rigged, and even on the final scene
The ocean surface: Every single ocean shader I have sucks, except wave works, but this is not a waveworks project... so I decided to use the ocean plugin from ue4 comunity, it's amazing and works damn well for my ocean surface, you can check more and download on their discord page: https://discord.gg/Xzrbpup
Ok, enough talk, let me show you some screenshots from the project so far
Hello world:
Start placing the shit together and testing the ocean shader I have, yeah it sucks:
Yeah the island is here:
In the future, this will turn on a nice garden:
And the trees on garden, just like I wanted:
Ok, lets advance in time a bit, this is the vertical garden I imagined for this part:
The leafs are overbright and looks like radioactive shit, lol I know, but this is the first steps, not likely the end results are MUCH better, but yeah
After a few time the garden shows up (it's not like this anymore, because somehow all my brush instances where gone! I had to do the whole garden again), please disconsider the shitty light, Thanks.
This time I started to build the bottom part of the ocean using the megascans with the assets I had made:
And the bottom of the ocean start to show up...
This time was the first time I could visualize the bottom of the ocean from inside the restaurant
Then I added bubbles, small particles It is very subtle but very dense when comes closer.
So I worked on the interior part from the bottom site, the idea of this restaurant was concepted and heavy inspired on snohetta under, but I wanted to try my own vision and imagined if this whole bulding was "caved/sculpt" from the top to the bottom
This is when I discovered SSGI, holy damn shit the crappy movable light started to turn something more pleased to look at, even without the post setup ready and the rest of illumination adjustment done.
As you see I was amazed with SSGI, the luminance from movable light was gone and there is no reflection spheres capture there, just like a fckg miracle. lol
This is where I start the vertical garden wall from the bar on the bottom underwater part, it has "some" bottles that will receives light from behind, making a nicely effect, I saw an idea like this on pinterest and wanted to do something like that.
Then I back to the 1st floor and start placing the tables and chair, that kind of stuff
Start the docking area
oh noes, the ocean plugin flooded all my work, but its fixed using a custom static mesh with a "hole"
First time the whole building receives texture
And I start to placing some artifical lights, this is on the entrance
The idea of bootle "works" or kinda, I will return there when finished things on 1st floor
I know the lights are strong, but this is an testing stage, this part is where elevator from 1st and 2nd floor comes togheter
So, I started to using some more megascans on the scene, the wall was too boring, then I did a decal blending to break the whole concrete thing on 1st floor also use some ivys
Here I started to tunning more the illumination and the post volume of the surface
and today I just finished or should I say I think the illumination tweaks are finished, had done many adjustments on light, on color of leafs (it's too strong there) and make orther changes on the whole project. After finish the captures on 1st floor I will start tweaking the undersea part and 2nd floor, this will be tricky af... but I think if everything still working as intended, this will be fine.
Replies
The others I do release when the project is published,
the results are mixed for me
Pros:
- I do really liked have some people on the spaces I built, it gives a believable "life"
Cons:
- I only have a few of this actors, I need at least 15
- The actores are scans, so they had a blocky hair, I can try draw some normal on the hair but will not look AAA
The problems:
- To make it better looking, I had to splin the uv shells from actors in different material ids, on these images, they are using a single value of fresnel on the shader, but clothes can get some nice bump quality if the fresnel values are high, this causes problems to the skin, wich ones need a lower value of fresnel
- I did the retexture of these characters on substance painter, improve the texture quality from scan a bit, but still using one uv shell for everything, I cannot have eyes splited, hair, clothes, body, I could split this in a bunch of material ids and then rescale the texture on substance to avoid the waste of space from shells on the texture...
- Yeah, I could do that, but the hair still looking blocked, this is where I stop think give an extra effort on that avatars, if they had a "bald" version, I really do all this work on it, could do some grooming and use 4.24.1 hair shader, this surely will looks insanely nice, but I have zero guarantee doing a grooming on top of this blocky hair will look good, I'm trying to avoid waste of time on a bet.
- Like I said, I have a few of then, thinking on all this work * by 10 or 15 is something too late for now (not decided yet), the other problem is they aren't rigged, since this is a posed actor, only will take advantage of the idea for screenshots, videos the place will still like all the other archviz = empty.
before start working on the captures of 1st floor I will decide if get some more of these actors to place on the scene, but the results will be something like this:
but I will have to stop the working on the scene for about 12 days due to work
the big beard guy suffers to the same problem as the blocky hairs, so I painted a few white hair in it for try breaking a bit the blocky look. Here is the results (his nails have a bit more roughness on saved file, it's different from this image)
screenshots from subs painter viewport
close up on hair and his head
skin sss and roughness
the work on scanned avatars is:
- give the cloth some texture by using substance materials
- give the whole clothes some boost using new normals, wrinkles, pbr materials when can paint it on top of already existed
- give the skin some sss and roughness
- repaint their blocky hairs using normals and if needed hand paint hair in different roughness and color values
- repaint all facial hairs
- give eyes, mouth, teeth and nails some roughness
- apply some ambient occlusion and boost it's value
looks little, but latter on the scene the difference from stock scan is huge.
finished the captures of everything from ocean surface its just 5 clips of up to 10 seconds, finished also the screenshot captures
now working on ocean floor:
- got a nice hdri of underwater that helps a bit on the ocean lighting
- start working on the post process volume from outside the restaurant first, after finish all the color correction, fog density, water plane surface replacement and things outside the restaurant, but inside the water, I will move to other adjustments inside restaurant
problems so far:
- the light function of caustics is broken and I have zero idea what is causing this
- the water plane surface from plugin don't please me (it looks nice from top but not from the under), I will have to work on another plane and hope it will look good enough.
- the fog had to be done by fog cards, because this have multiple color values (greenish blue, blue greenish and this kind of underwater coloration), also not affect the whole restaurant, its a good ideia, but can broke the overall feeling of deepwater if the cards aren't smooth enough and blendable
- the post process material that makes the under water noise is causing some edgy on static meshes, this probably because of the depth of field on post volume, will back there other time and see
still to do:
- adjust the illumination from outside and inside the restaurant
- see if a render target cube do the job by separating all the adjustments I did outside and not affect inside, but sill seeing under the inside volume without affect outside (too much headache here, yeah, jesus. anyway)
- the screenshots and captures from the under restaurant and under ocean
I will be very busy due another work to do, but when have time I back to this project to finish it, so until then I will try to keep posting some little updates.
A quick edit after fix things that wasn't working
getting closer of outside under look, will test more things tomorrow and still looking for a way to have this look on giant wide glass window, the booth render target didn't worked as I expect, even making adjustments on texture, camera position, camera fov, texture resolution the projection was meh
If i didn't find a good way to do that I probably will do by post photoshop and post premiere by placing two masked sources as a friend suggest me to do.
This obviously causes issues on the whole rest of the scene, but for just taking a screenshot and capture quick video for just this part of the scene is fine, since this is not a playable level and this cheating is fine for me.
Now I have to understand why some bottles aren't getting light from behind, even if there is a rect light placed behind it, feels like some bulb/led behind just got died lol and for other parts it is super intense and lit, have to seek for a middle term here not too lit, not too off.
but the idea is getting closer from what I had in mind when started this, if I couldn't make to fix this, it's ok for me go ahead with this
I wish I can have some raytraycing here to get the full idea of the scene, the bottles do the full indirect illumination of this area, by crank the screenspace gi from ue4 I can get some gi more intense gi tint on walls and everything the falloff takes, but causes a lot of issues on other parts of the scene, so we work with we have here and try to achieve the best results like this.
The engine is crashing like hell when I try to capture screenshots 4k internal resolution (screen percentage 200%) + 4k image size, I managed to take a few screenshots from underwater, like this one and now will try to capture another batch with thick dense fog, this is important because this how it will looks when view from inside the window.
But if this is crashing for simple screenshot, can't imagine how hard will be capture videos, maybe set to 1080p and 100% screen percentage I can be able to finish this, lets see...
Its finished, feedback are aways welcome!
Please check out the post on artstation for more images and the short (hurry-up) video I made
https://www.artstation.com/artwork/9e90zo
I will post latter another post with assets I made and used on this project and also make some of the underwater free for download if someone want it to use on their projects.