It starts May 12, and ends Oct 17. Let's see what you got!
https://polycount.com/discussion/237047/the-brawl²-tournament
The Polycount Newsfeed


The Bi-Monthly Environment Art Challenge | March - April (83)
Hello everyone! Welcome to the 83rd edition of the Bi-Monthly Environment Art Challenge for the months of March and April!
This challenge is a way for real-time 3D artists to test their skills and create a piece of work based on concepts provided. It's open to those of all skill levels and we do our best to provide meaningful feedback along the way so everyone can come away from the challenge with actionable points on which they can improve their craft!
Anyone is welcome in this challenge no matter your skill level! It's a test of your own ability not a competition between members. We're all here to improve as artists and learn from each other.
- ENVIRONMENTS -
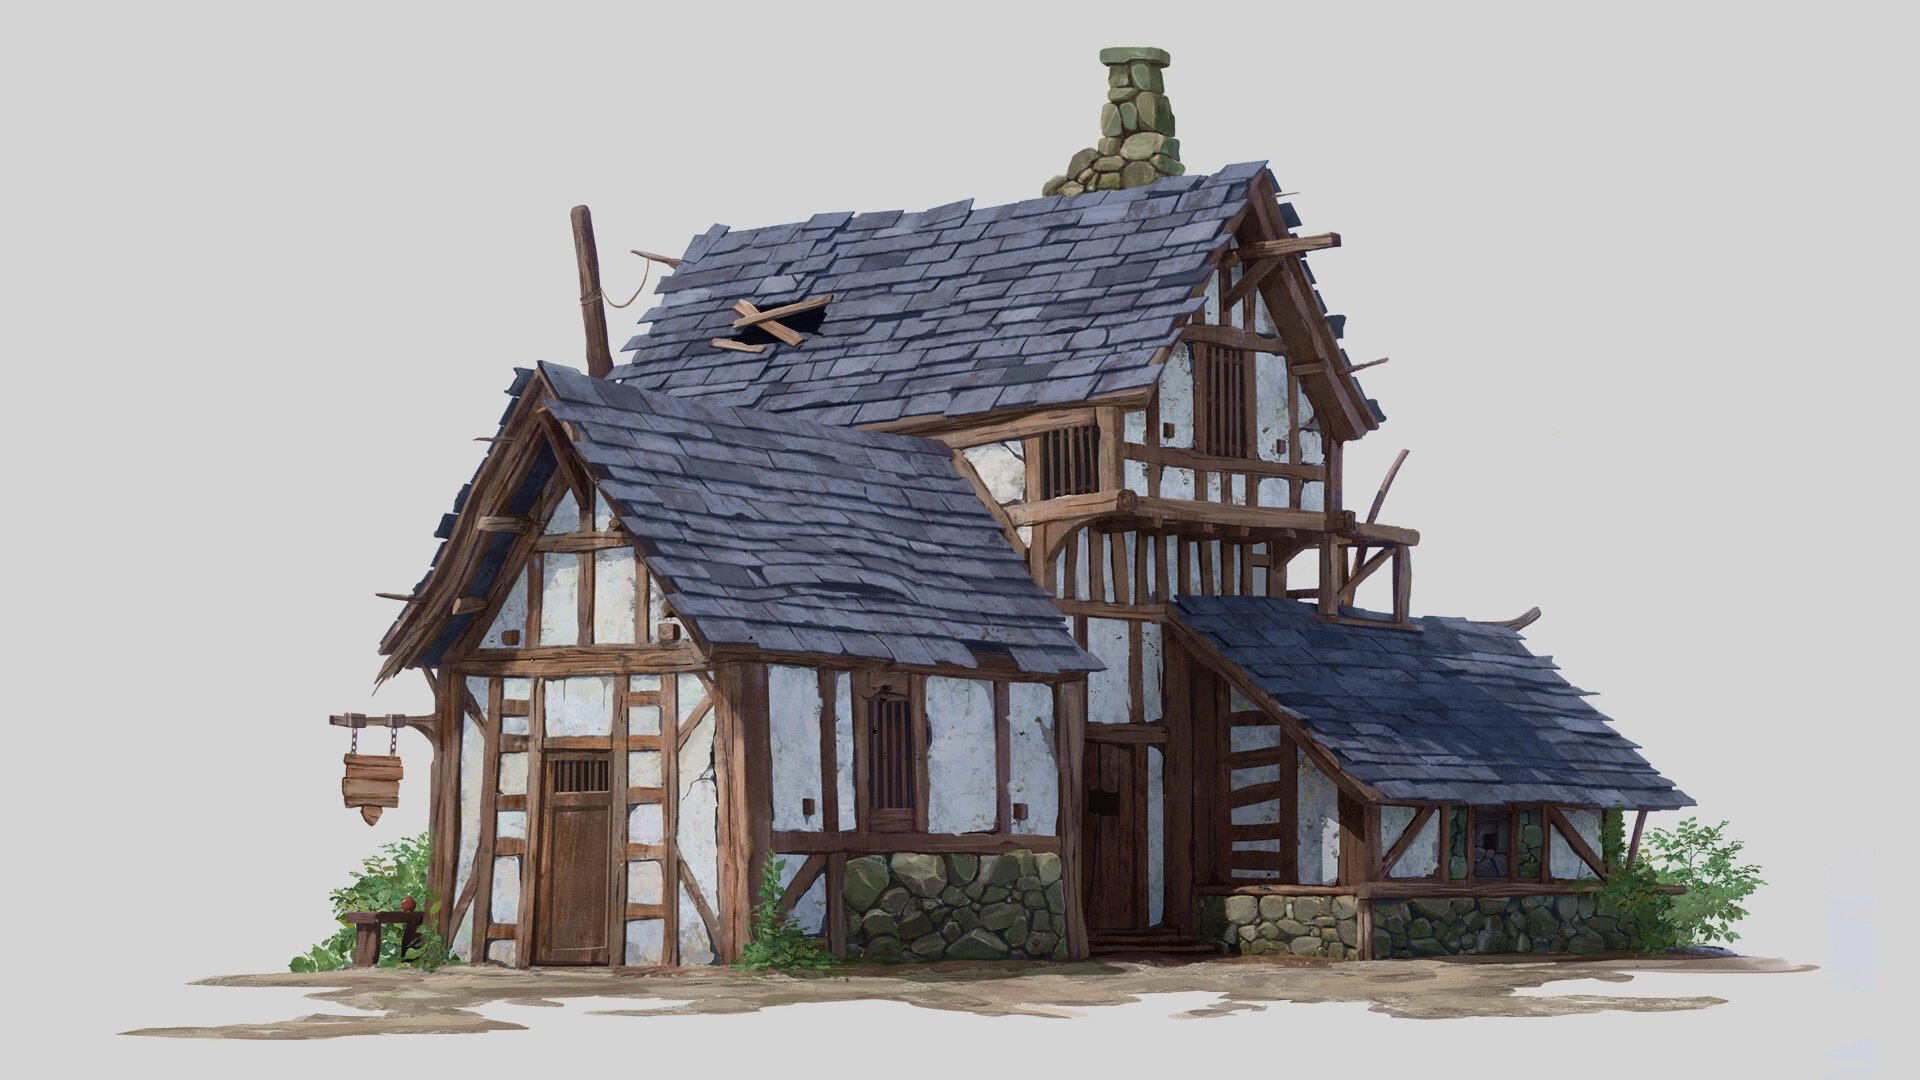
HARD SURFACE ENVIRONMENT:
Half Timbered House by James Arkwright
https://www.artgram.co/a/half-timbered-house-gIvkmC
STYLIZED ENVIRONMENT:
Wóska - Concept Arts by Inès "Ourka" Rotzinger
https://www.artgram.co/a/bird-village-environment-concept-arts
If you're looking for even more of a challenge with this one, check out the artist's link to find a view of the interior space as well!

- PROPS -
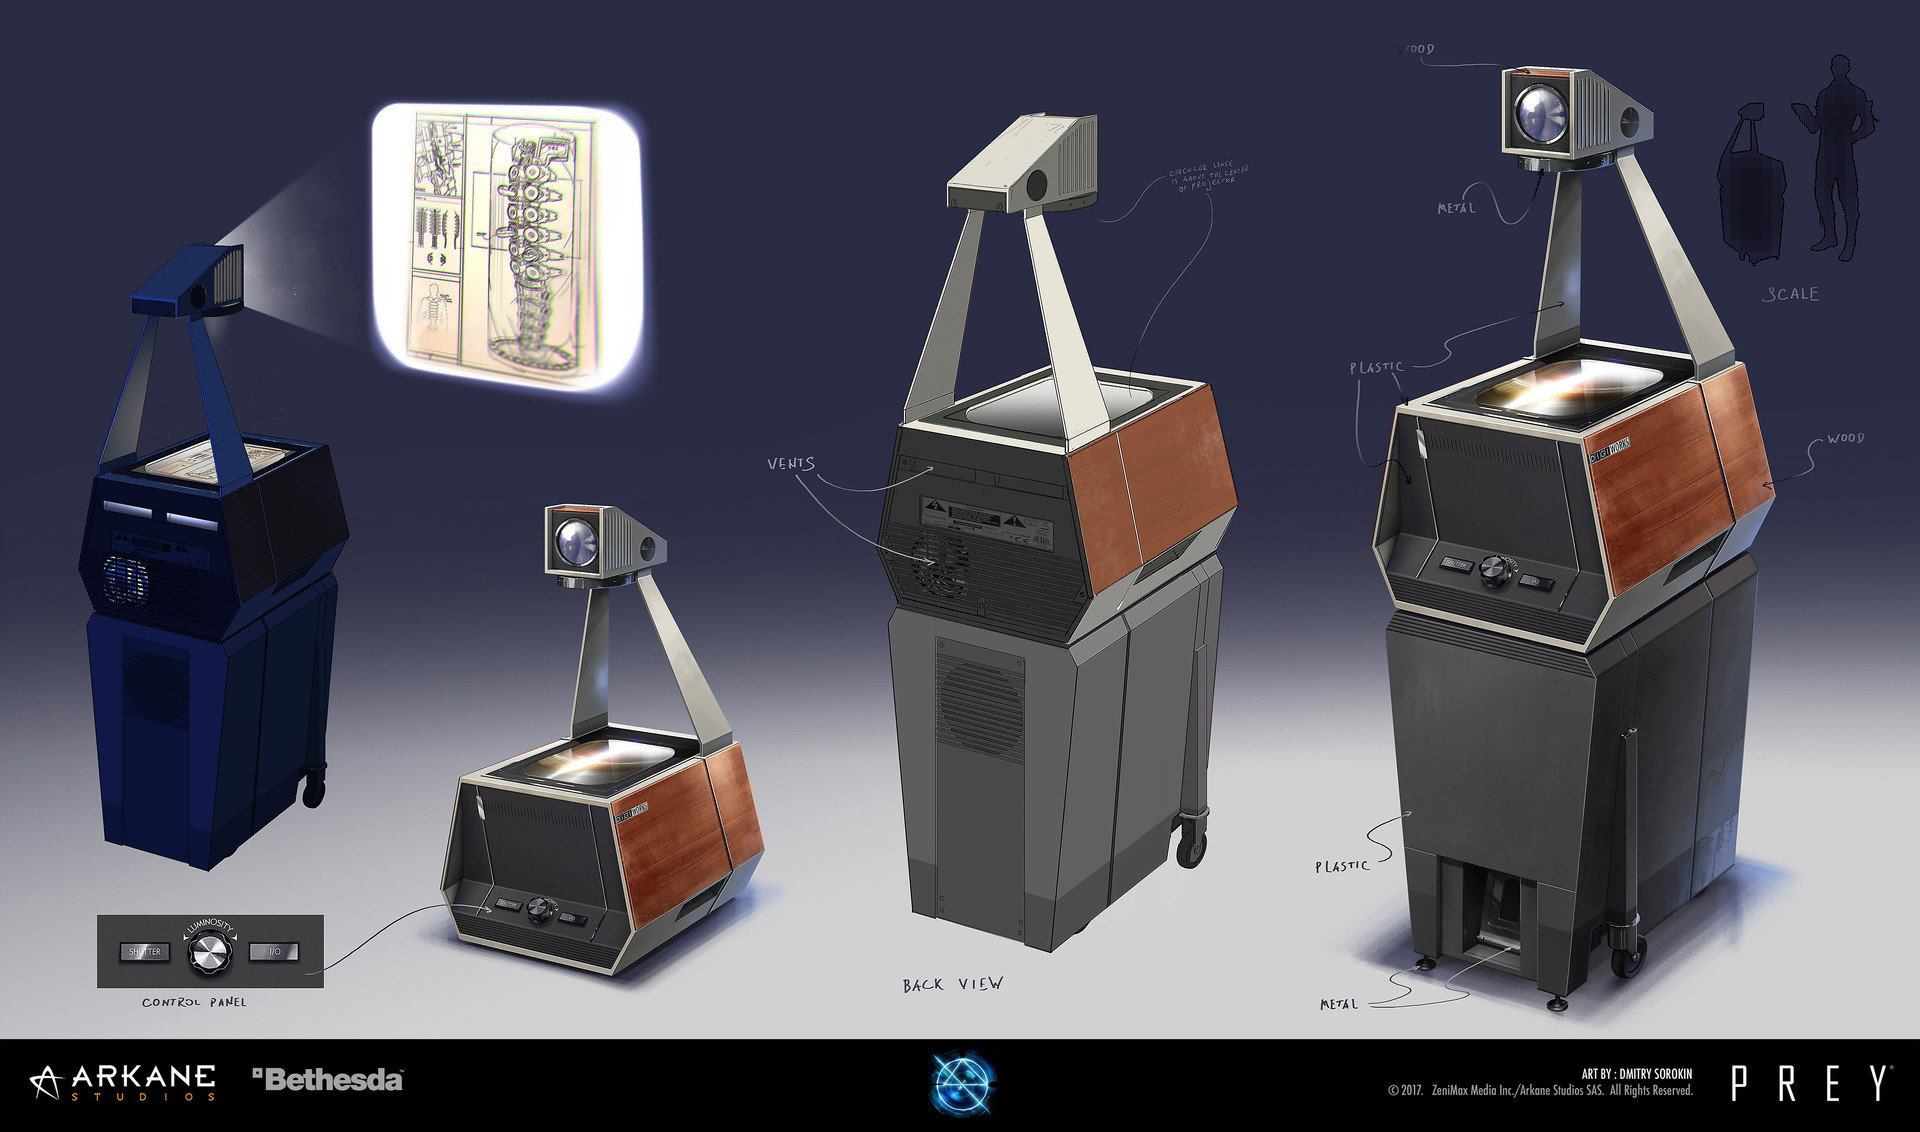
HARD SURFACE PROP:
PREY - Props by Dmitry Sorokin
https://www.artstation.com/artwork/62OD5
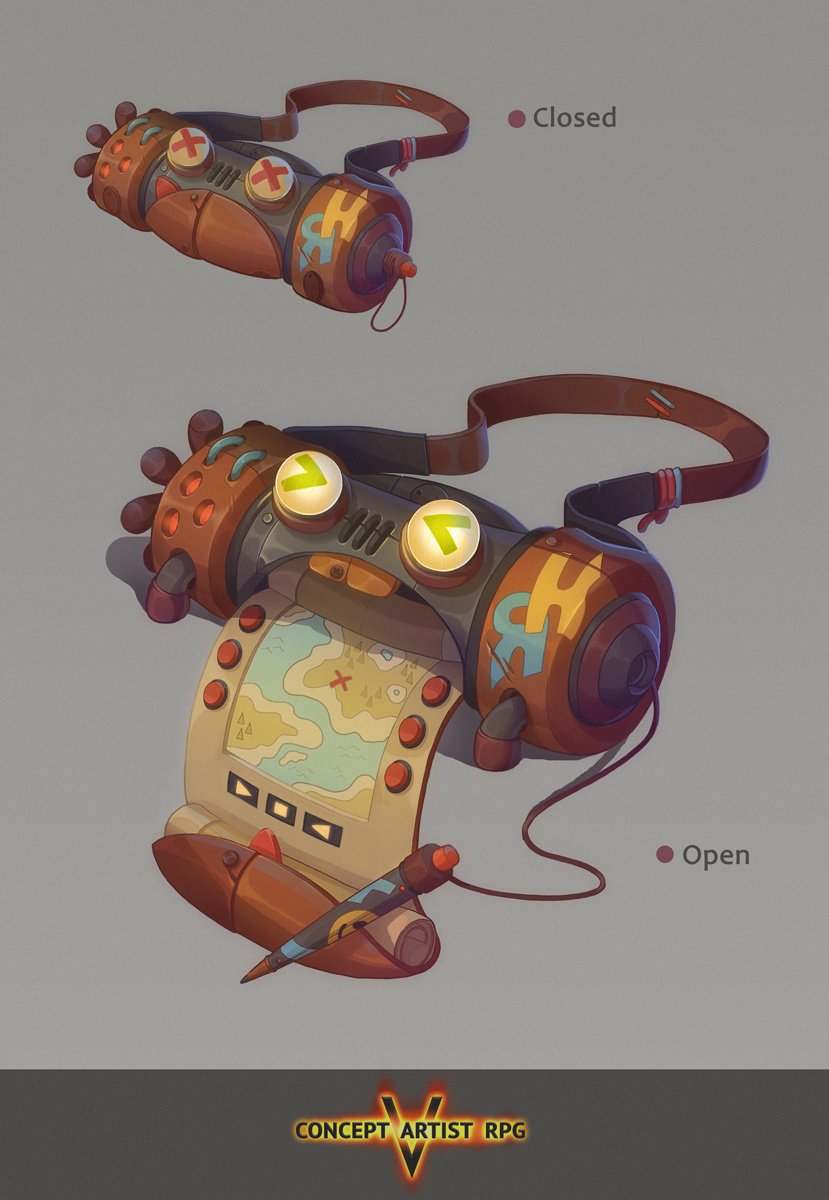
STYLIZED PROP:
Concept Artist RPG 5 by Ekaterina Bek-Nazarova
https://www.behance.net/gallery/74230707/Concept-Artist-RPG-5
- RULES -
Please read all the rules before starting:
- Try to post at least one critique for every post that you make. This will make for a better learning environment and help us all grow as artists.
- Try your best to finish as much as you can in the time frame provided, but remember even if you don't finish by the end of the challenge we encourage you to keep pushing and finish your piece!
- Post what you are working on in this thread so that way it's a more centralized place for advice and critique. Please avoid creating a new thread as we don't want to spam out the forums.
- It is recommended to use a game engine to present your work. Unreal Engine, Unity, and CryEngine are very common engines that can be used but feel free to use any alternatives that you want. (Marmoset Toolbag for example.)
- Feel free to change up your chosen concept a bit if you want! Interpret these concepts to your liking, especially if your aim is to add storytelling elements.
- If you finish your project and decide to post it to Artstation, make sure you give credit to the concept artist in the form of a link to their profile. Additionally, it is recommended to ask a concept artist for their permission to post a 3D piece based on their work before doing so.
- RECOMMENDATIONS -
- When you are just starting out making a scene, it can seem complicated or imposing. Take your time planning and blocking out, it will set you up for success later on.
- Think about how you can re-use assets, re-use textures, break it down as simple as possible and plan it out. A lot of people will break it down in their own way when they start out their challenge. Gather some reference images as well for different parts of the scene, don't be afraid to make it your own.
- We strongly encourage you to go and look at other games and see how they make their assets as well as get concept art to give it your own feel.
The goal is to learn and grow both artistically and in your ability to both give and receive critique, but don't stress about it and remember to have fun!
Good luck everyone!
 Pinkfox
Re: Foliage Project

Hey guys, breakdown of this project is now available in the article form, which you can read here:
 Sven_M
Sketchfab Spotlight | February 2023

A collection of the latest and greatest pieces from Sketchfab users
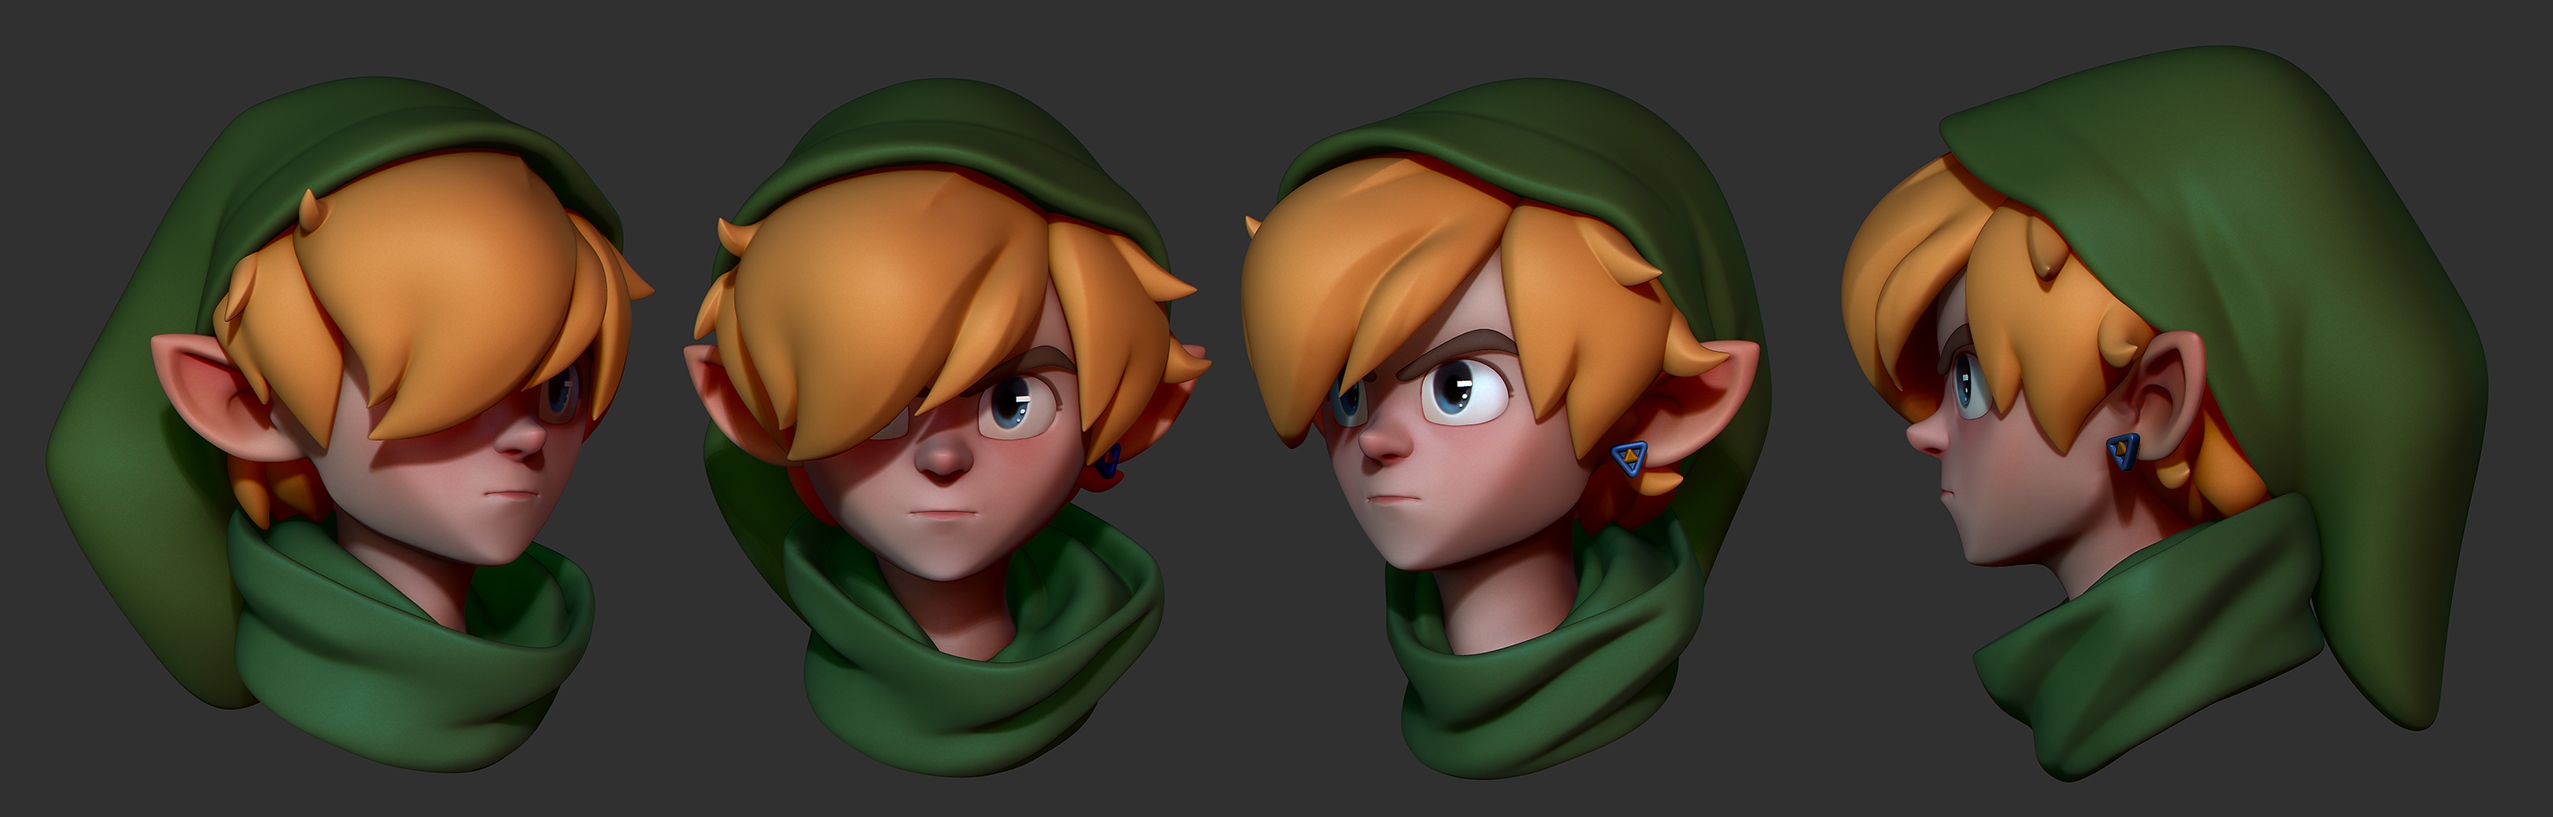
Re: Sketchbook: Fabi_G
Small project for bi-monthly environment challenge. Wanted to try out ways to animate it. For the looping fabric I tried a bone chain at first, then alembic mesh animation, finally settled with animating UV offset in Toolbag.


 Fabi_G
Re: What Are You Working On? (3D) 2023
I Started working on something personal for a change. Atm its still all zbrush dynamesh and zremesh lumps, gotta clean that up eventually.
Re: Sketchbook: Gregory Stoffel
Here's a look at the current collection. 40 more to go :sweat_smile:

 Gotferdom
Re: Show your hand painted stuff, pls!

Warrior Chicken Bust - Painted in 3D Coat and Substance
Re: Show your hand painted stuff, pls!
Hello there! Here is my latest handpainted project, Kronk from The Movie the emperor's new groove : )
More angles: https://www.artstation.com/artwork/5BmqB8

 xiphos