Mari 3.0 How to paint with specific opacity without overlaping
I am currently trying to use paint thro option and paint image or texture on to the mesh (well amt that surface that mari uses Before it bakes it in to mesh).
How do I paint with specific strength all mesh and same time not affect after the paint stroke same area again.
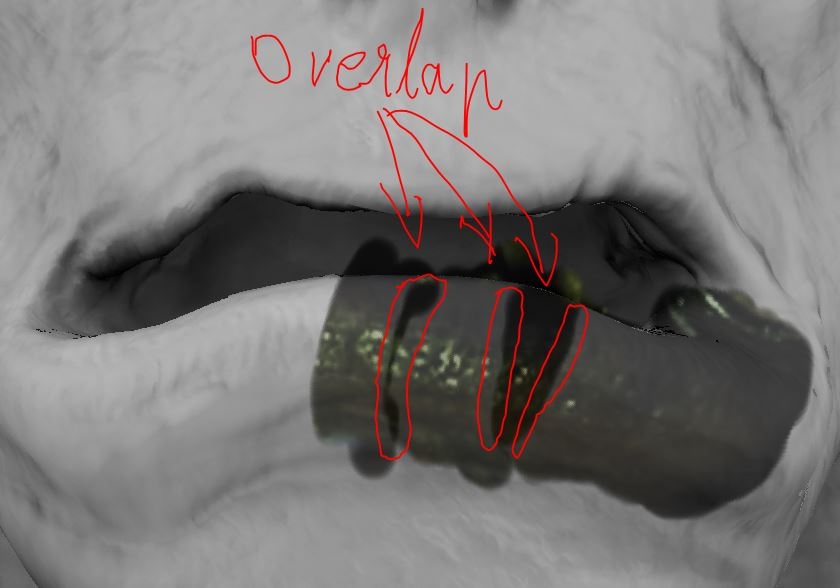
As I can try to be accurate but edges will always overlap.
Example:
1.) I make one stroke (has now painted specific data on to the layer)
2.) I release pen or mouse button
3.) I make another stroke and now it will create stroke to area where i did not have paint and it makes it with opacity that i set in the brush settings for brush but now it will paint also on top of that previous stroke I had and makes it stronger.
It is almost impossible to paint this way that strokes do not overlap.
How do I set it this way that when I paint it will add only specific opacity / depending what I have set brush to be and if that area already has textures on it with that opacity it wont add more.

Replies
Alternative solutions in Mari, give them a try and see if they work for you:
- paint with full opacity, then in Projection palette set Painting Opacity to be less than one. This lowers the opacity of the whole paint buffer, all at once.
- try to set up your brush so that you only need to paint one stroke. Then erase unwanted areas
- use the lasso tool before or after painting to quickly create a hard edge or specific shape if needed, then paint what you need with one continuous stroke.
As for not getting paint on the back of the character's mouth, I recommend using depth masking. Turn it on in the Projection palette, turn on mask preview, and adjust the start and end parameters to the depth mask so that the back of the mouth is covered in red. It might seem fiddly at first but it can really give you a lot of control for not much time spent when you get used to it
I will try that (i am new to Mari and trying to learn it).
I did look at many tutorials but they often skip stuff and questions that were not covered in tutorial arise all the time.
Atm have another issue also.
That is that when i drag and drop image on to the object (obj file) and i need to change opacity of the image (so i can see mesh behind it better). Tutorials say that use Shift + and shift - but for me it will move the image instead changing the opacity.
i found out that i can decrease opacity when i click Shift and num lock number 8
But i cant after that increase the opacity.
reloading the project and drag droping image on top of the mesh will get me back to the default setting where i can see mesh a litle bit but that is it.
I did try to reset config file but it did not help also.
Also tried to reset shortcut keys but did not help and i failed to find where i can shange the image opacity
Can you show me ia image where do you change that paint buffer will use only specific opacity?
Another option i think atm is create multiple images in photoshop with different opacity settings and save them out and bring those all in to mari
One useful tactic is to keep your left hand on the UIOP keys when using the paint through tool as switching back and forth between the paint through and paint tools will also turn the image preview on and off. That makes it somewhat less necessary to constantly adjust the image preview opacity.
As for changing the opacity of the whole paint buffer, you can find that here: