The BRAWL² Tournament Challenge has been announced!
It starts May 12, and ends Sept 12. Let's see what you got!
https://polycount.com/discussion/237047/the-brawl²-tournament
It starts May 12, and ends Sept 12. Let's see what you got!
https://polycount.com/discussion/237047/the-brawl²-tournament
Bloodborne Fanart - Hunters Dream UE4
Hello everyone!
Here is my latest project, the hunters dream from Bloodborne. I'm a huge fan of the game so I just couldn't help myself! I wanted to do something from the game and I really like the hunters dream area of the game so that's what I picked
I hope I managed to pick up on the style as well as adding a bit of flavor on my own.
I used this project to fully learn Substance Painter which is a very powerful tool, I love it! I might not have pushed it to its full potential but I got a very good grasp on how to use it in the future. All the tileable textures are made in Substance Designer.
The assets are a combination of highpoly modelling and sculpting in Zbrush.
I will also post a full breakdown later this week, hopefully someone will find it useful
Cheers!
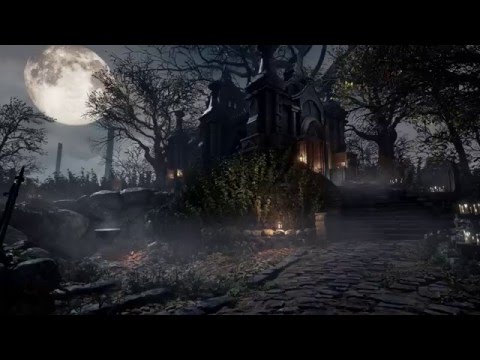 https://www.youtube.com/watch?v=0X7Vj-MO77w&feature=youtu.be
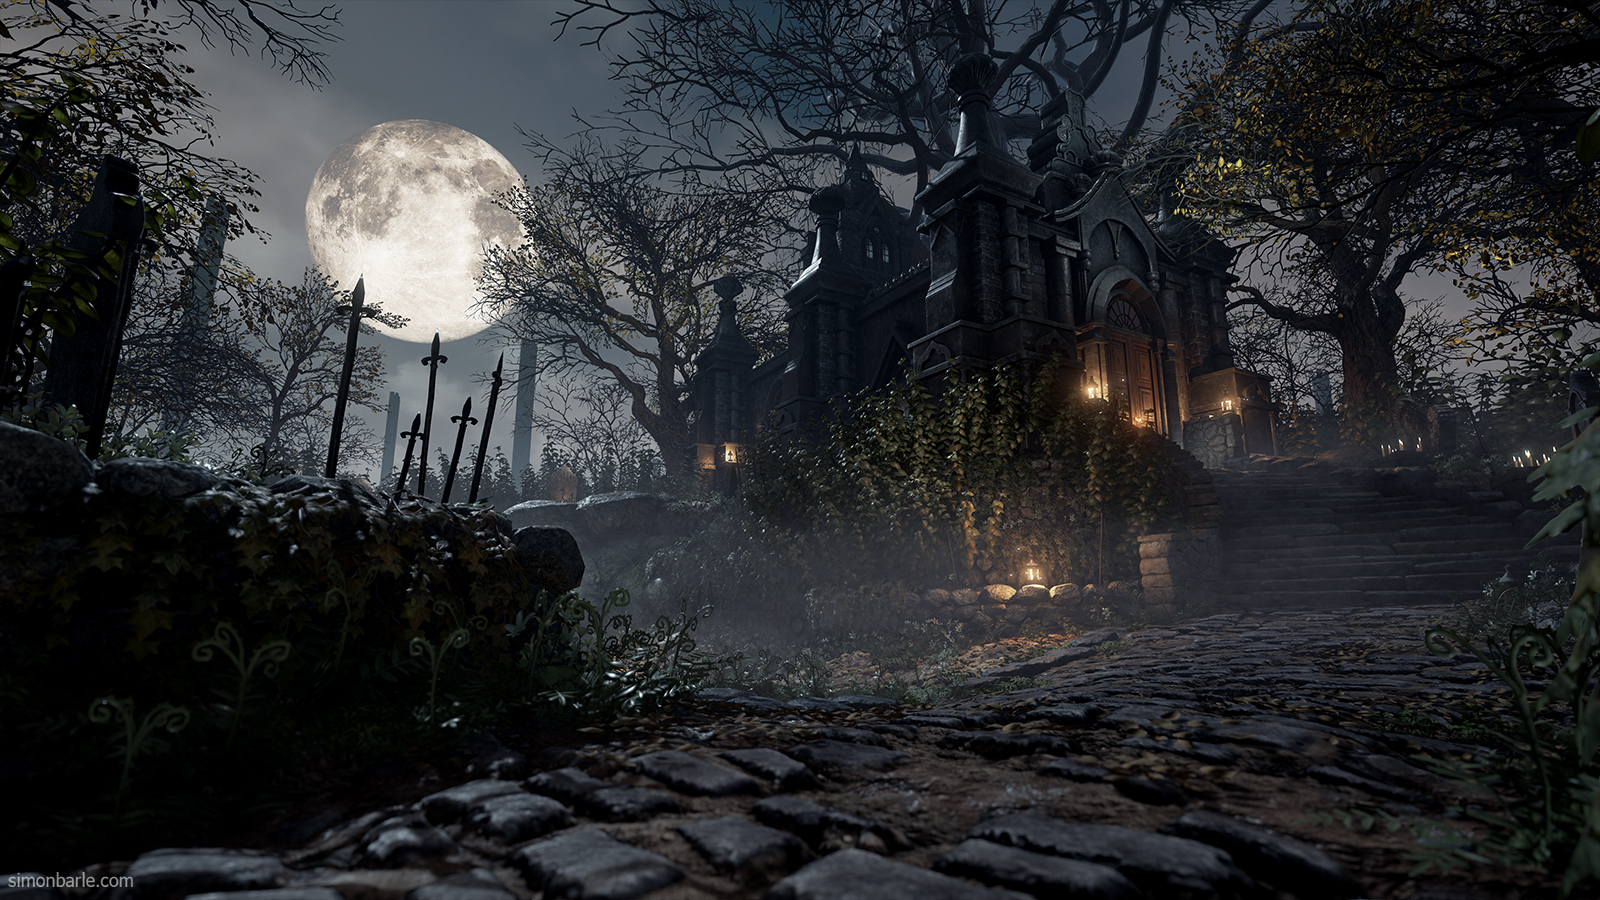
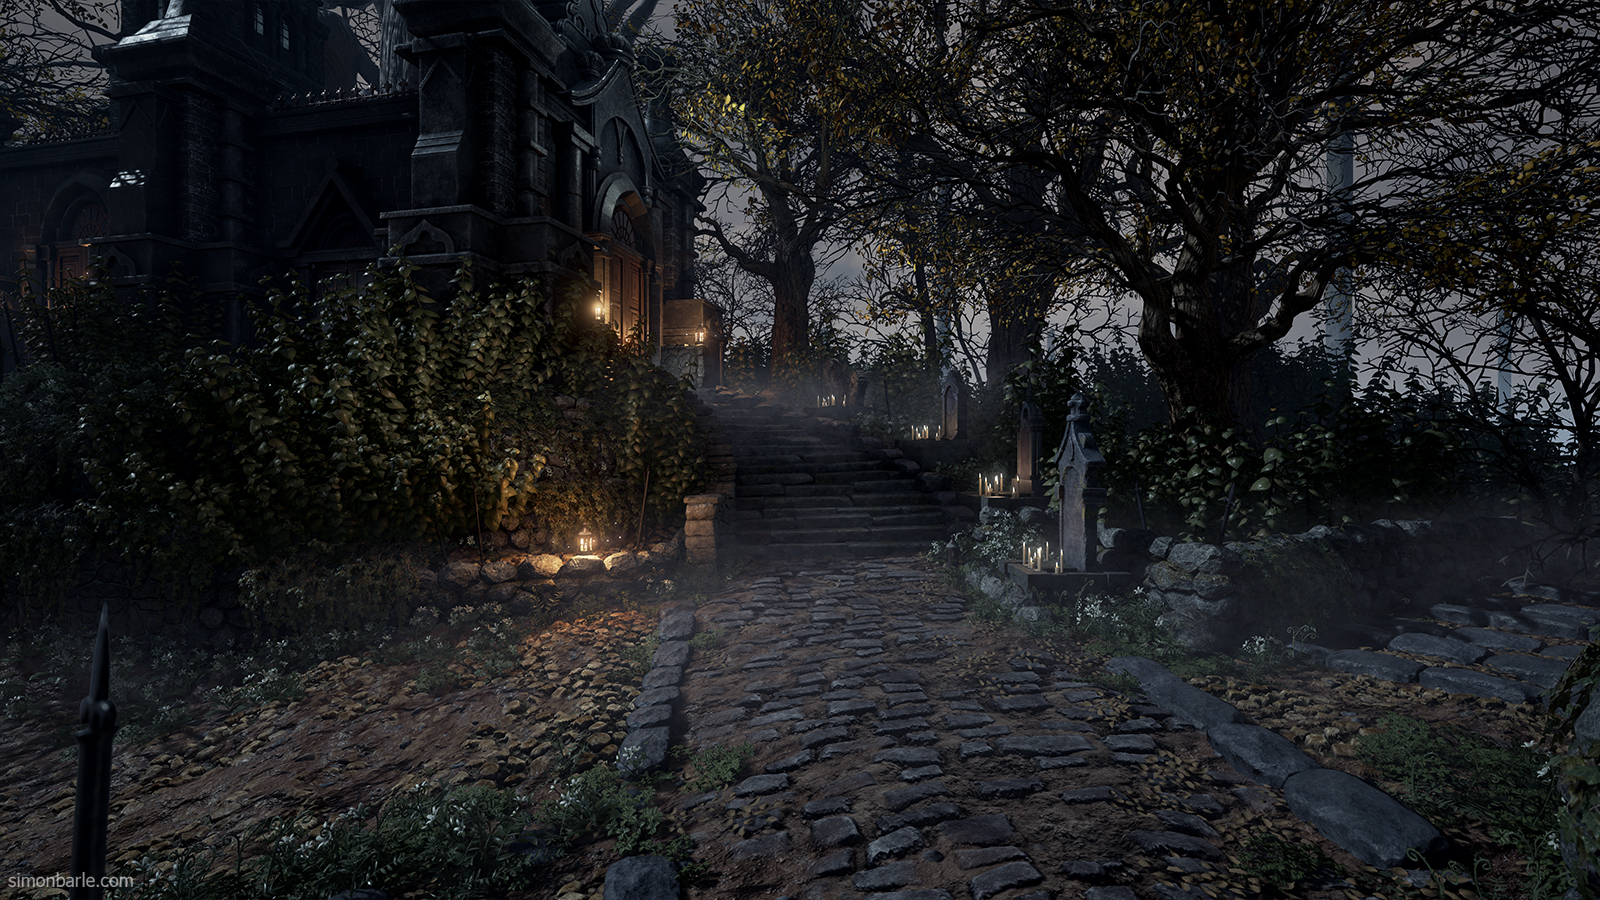
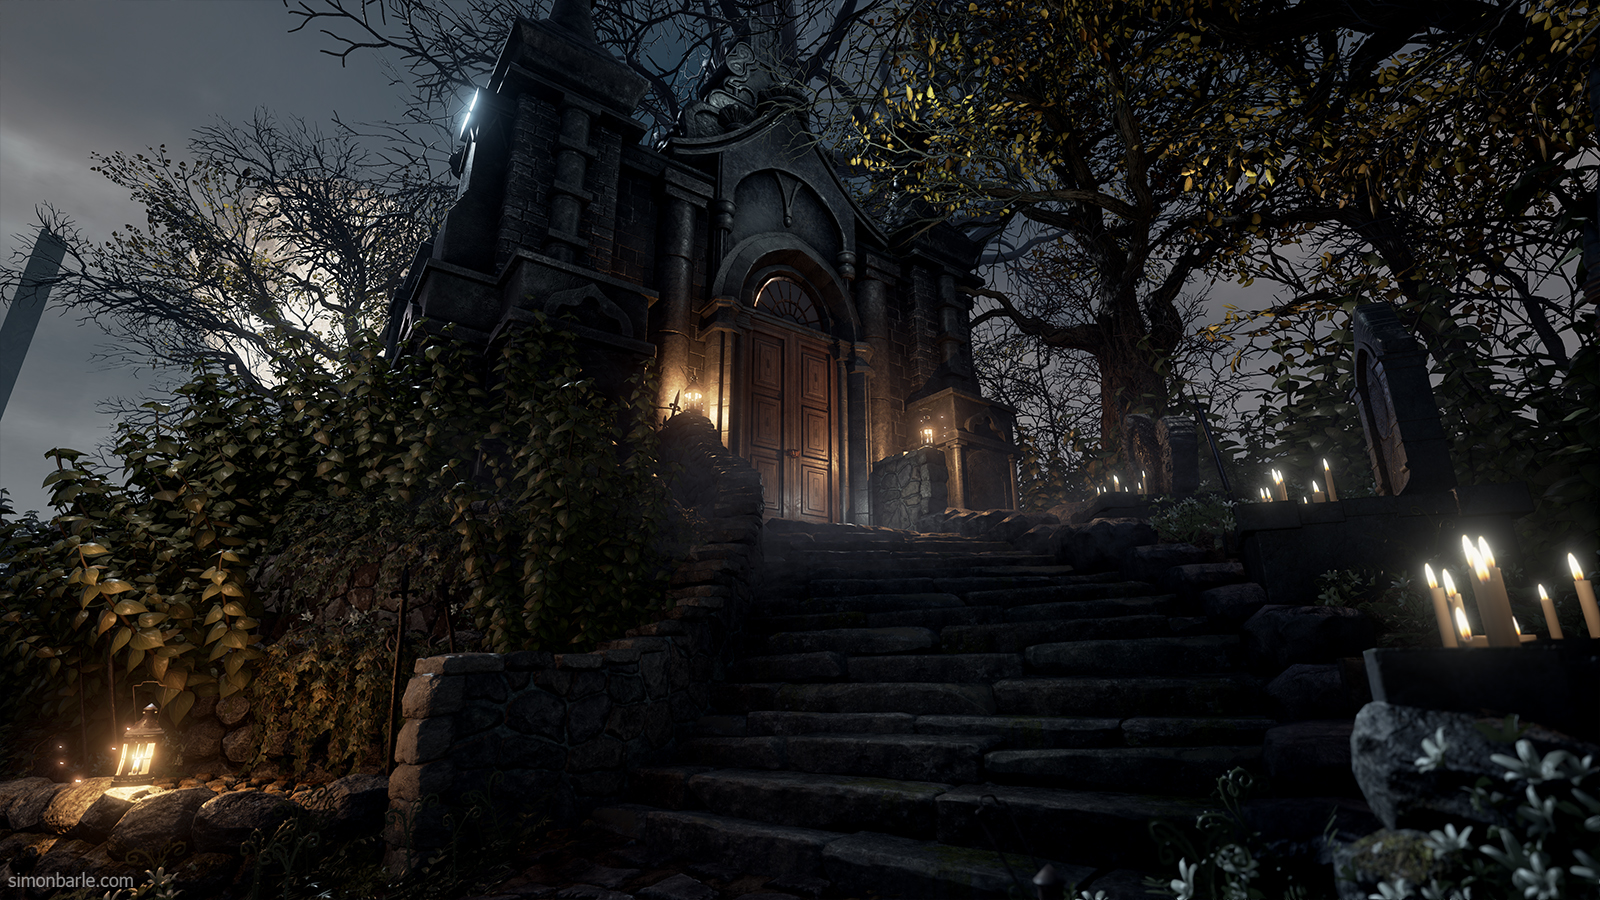
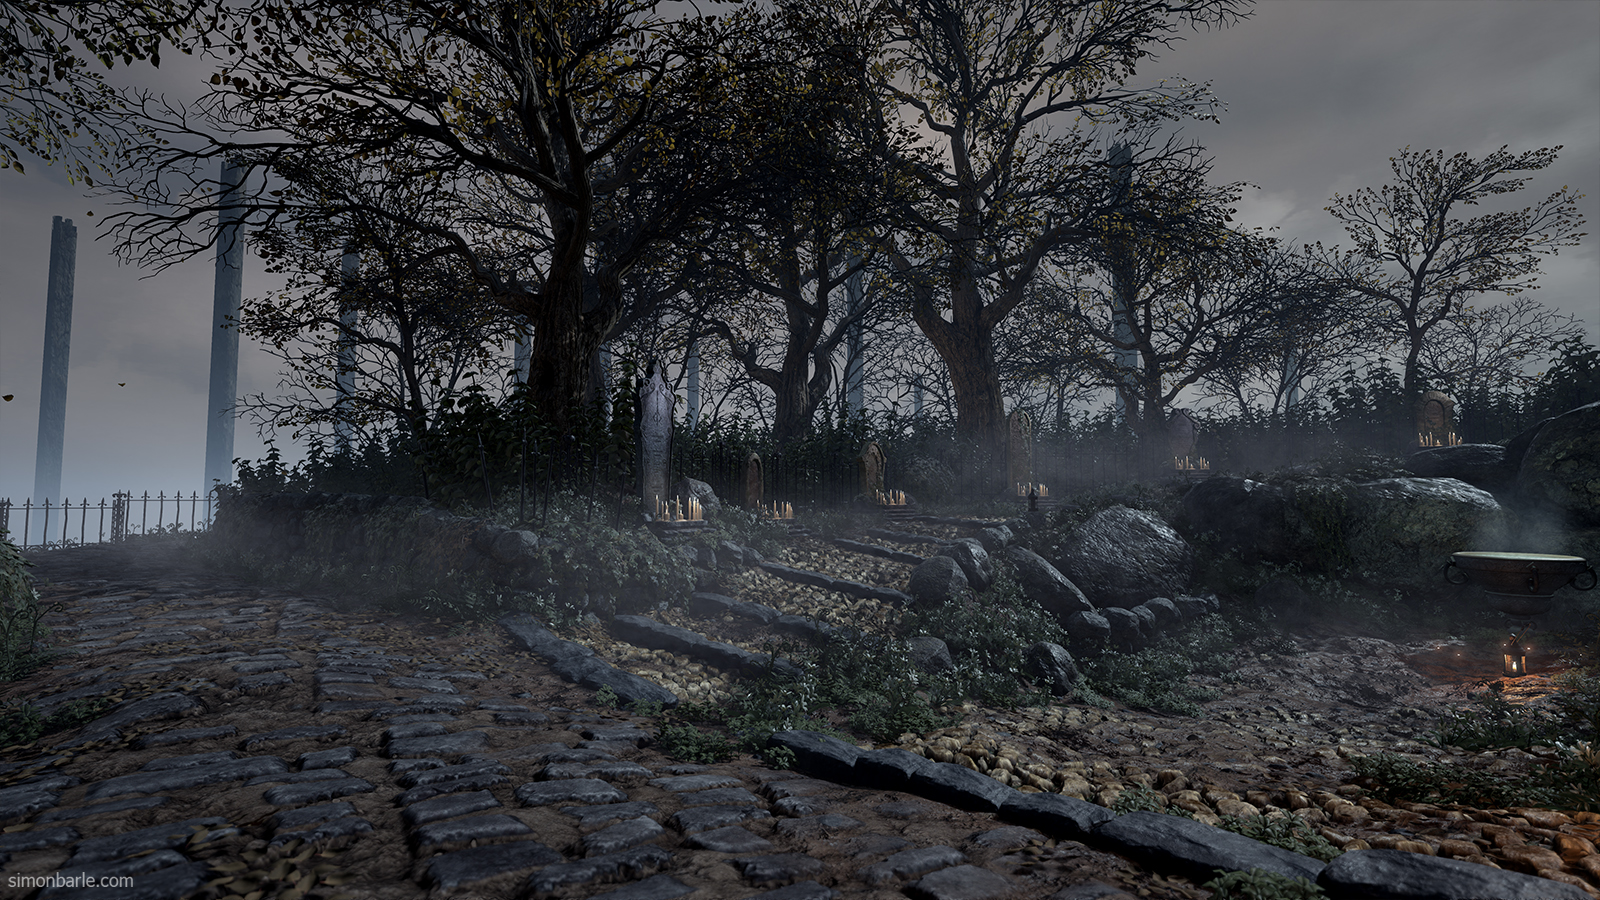
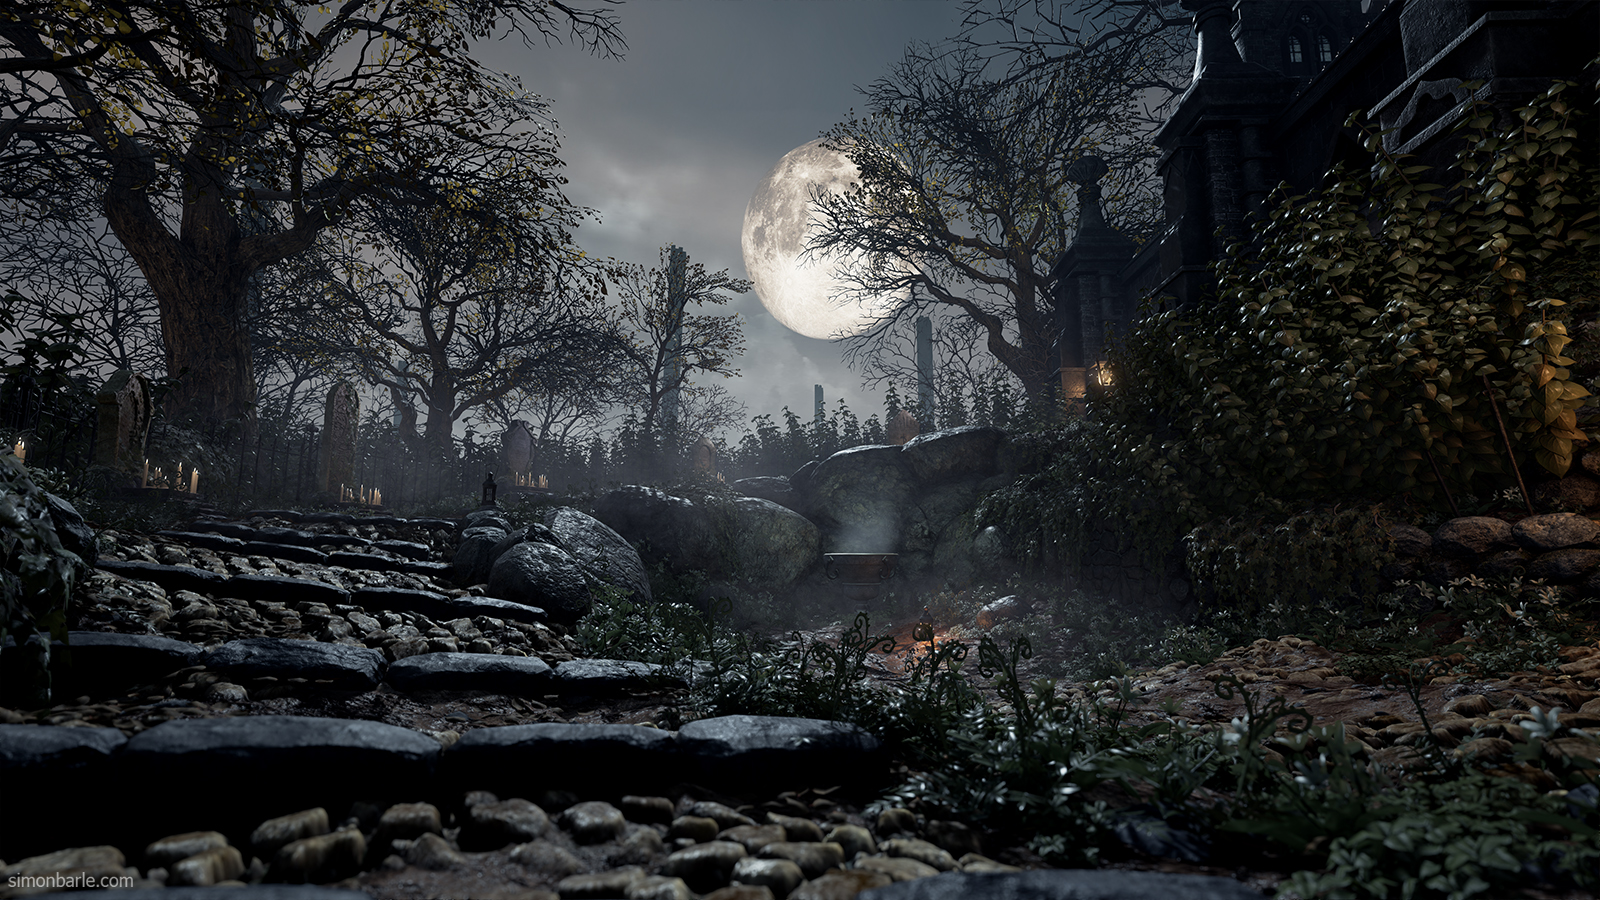
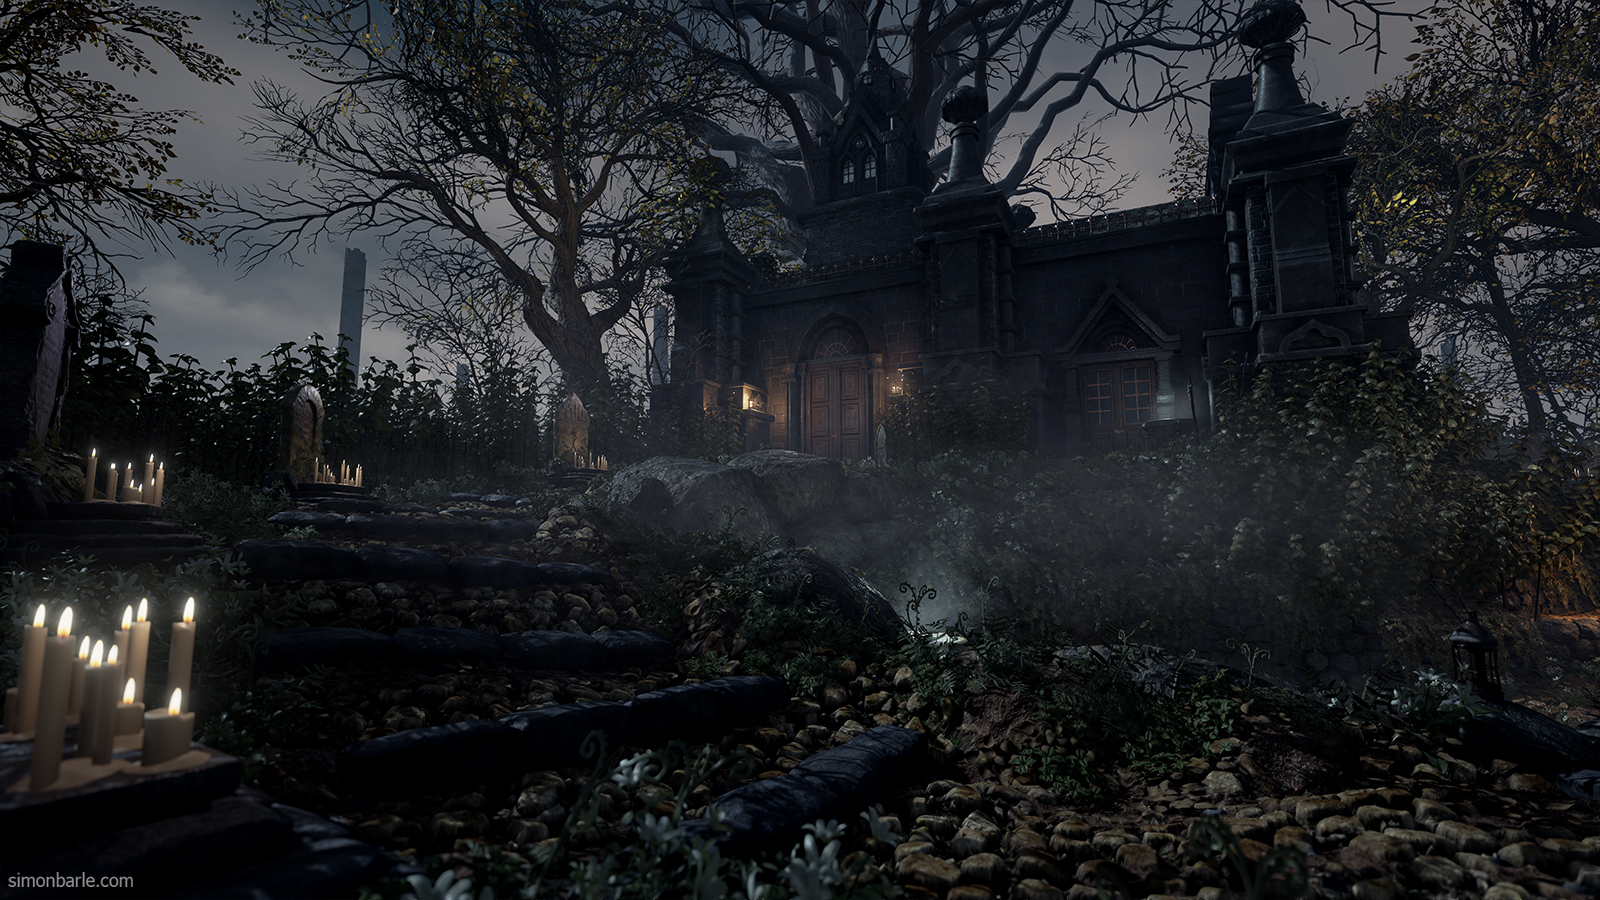
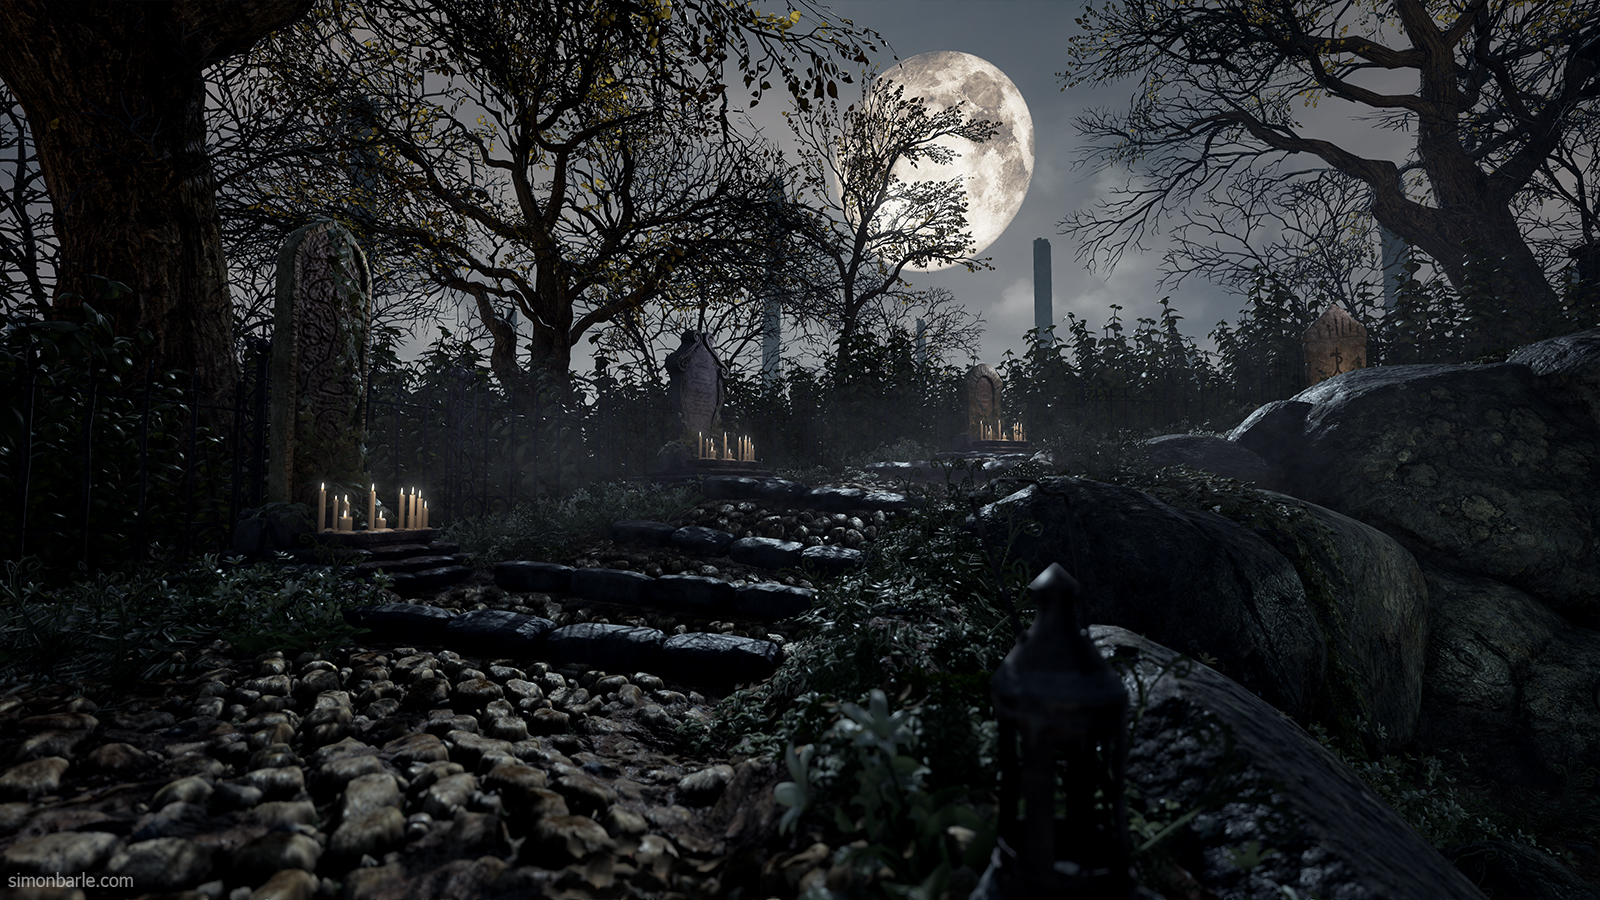
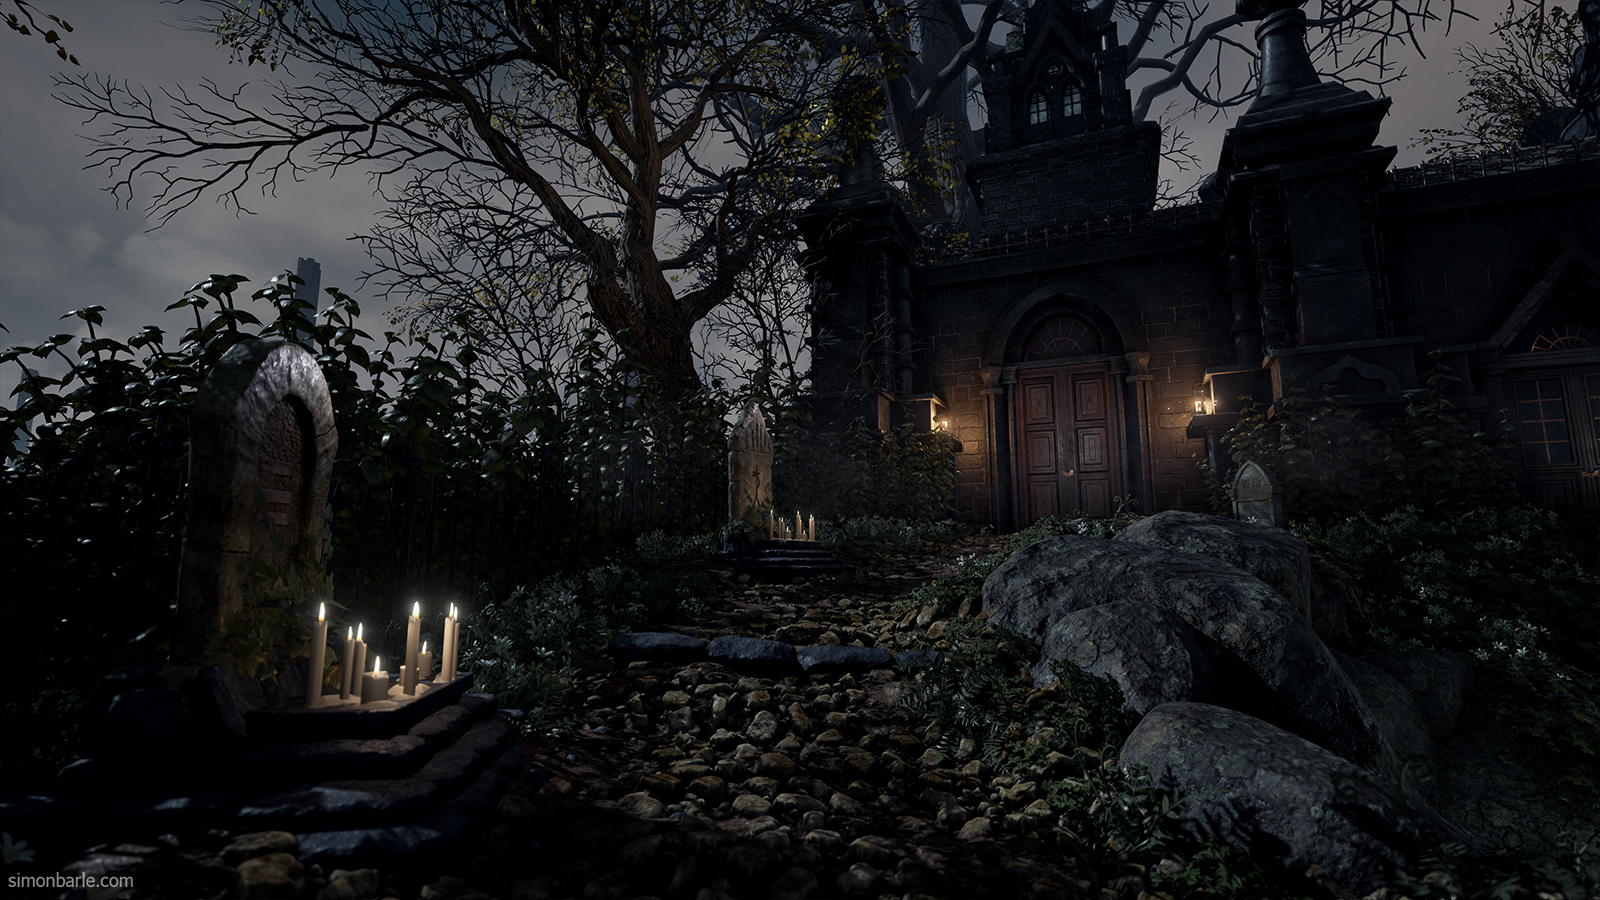
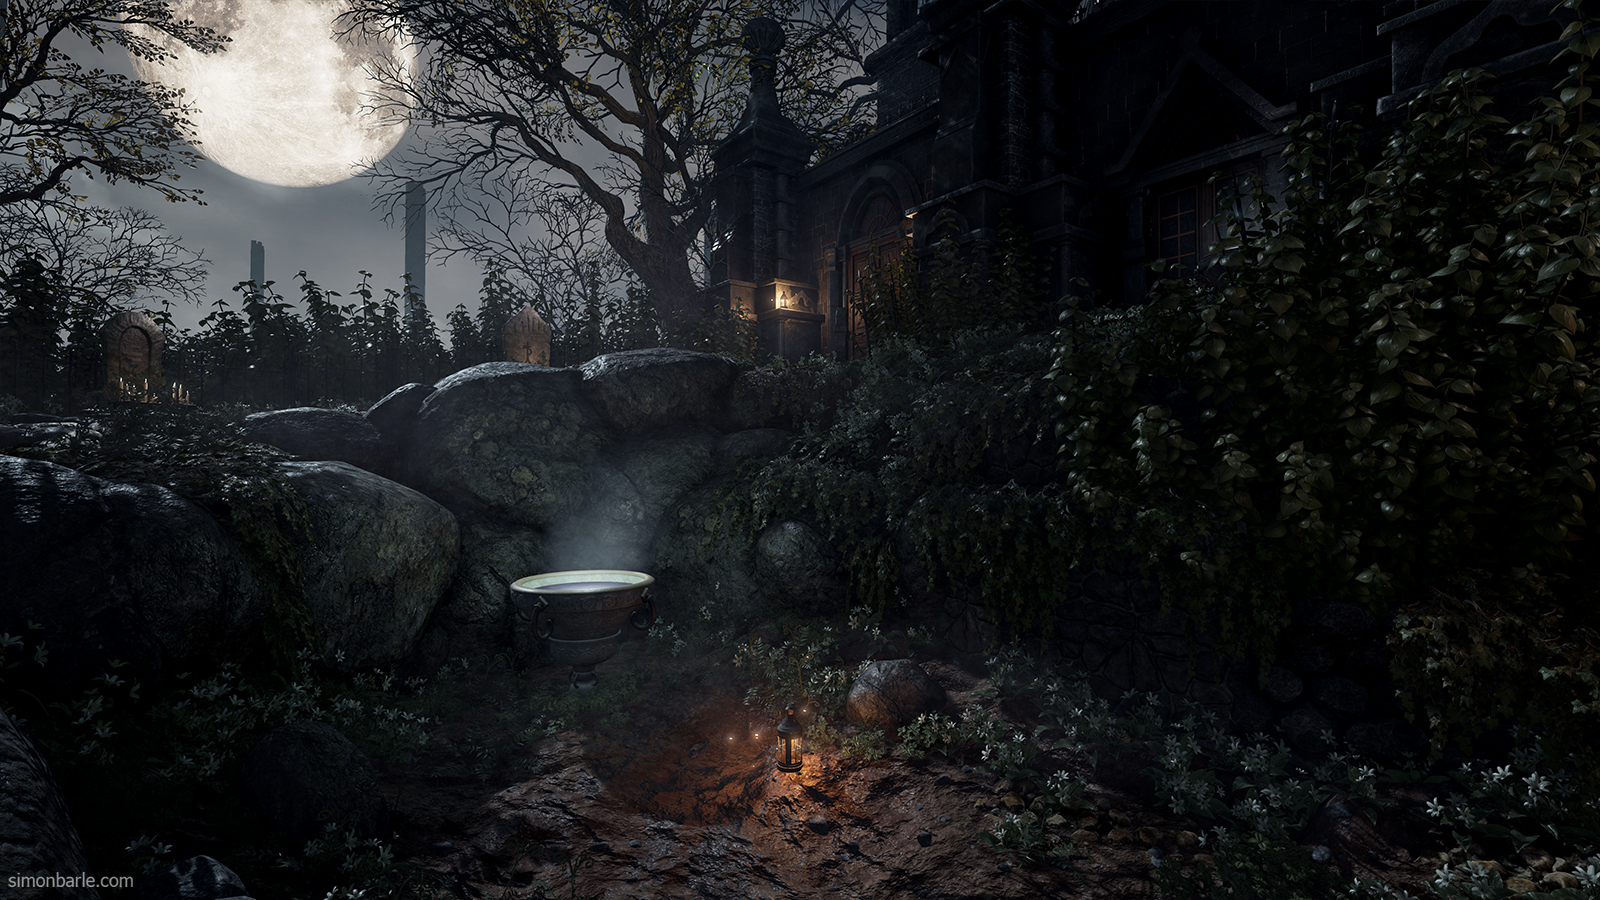
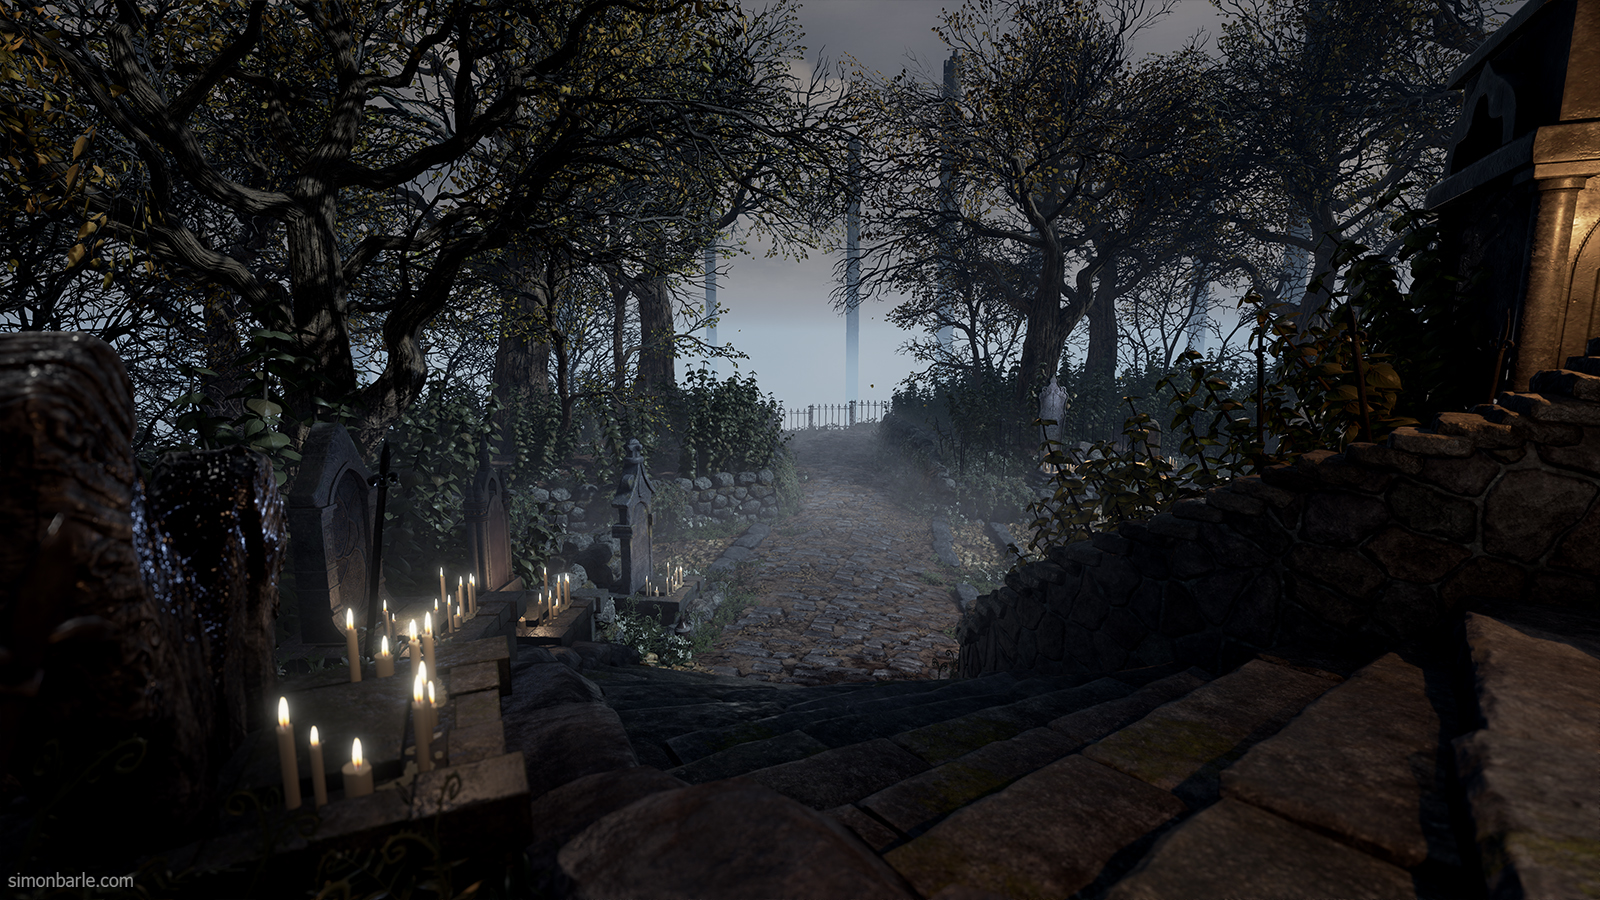
Here is my latest project, the hunters dream from Bloodborne. I'm a huge fan of the game so I just couldn't help myself! I wanted to do something from the game and I really like the hunters dream area of the game so that's what I picked
I hope I managed to pick up on the style as well as adding a bit of flavor on my own.
I used this project to fully learn Substance Painter which is a very powerful tool, I love it! I might not have pushed it to its full potential but I got a very good grasp on how to use it in the future. All the tileable textures are made in Substance Designer.
The assets are a combination of highpoly modelling and sculpting in Zbrush.
I will also post a full breakdown later this week, hopefully someone will find it useful
Cheers!
 https://www.youtube.com/watch?v=0X7Vj-MO77w&feature=youtu.be


Replies
Well done. This looks spot on, you captured the Dream perfectly.
I played the hell out of this game, well done man.
May the good blood guide your way.
Obviously the vegetation is a lot better than the actual game but I feel like the fog could be dialled up a bit just to sell that dream-like setting. I love it though
I'm gonna try to give a bit of insight to my process and the different assets and materials I used, its by no means any high end sculpting stuff but it did the job for me
I quickly blocked out the basics shapes the first evening I started, I was going of a screenshot from the game so I tried to match that image as my "anchor point" and then built the rest from there. I basically sat with the game running on my TV while I worked and constantly tried to match up measurements and placement by eye.
This is one of the first images I took, I borrowed some rocks I made in a previous project to save some time and the vegetation is just a flat color on some poked polygon planes with a stem.
The different buffers and lighting of the scene,
I went with slightly warmer tones in by base colors as the blues will always be added from the skylight so I rather have a bit more colors and slight warmth to avoid everything turning a blue-ish gray.
A lot of the materials in Bloodborne has a lot of spec, so I made everything a little bit shiny to get the same feel so my surfaces are in general pretty smooth but has a lot of variation to avoid everything looking like clingfilm.
An image showing how I approach additional lighting by using it to help bring out darker areas and help bringing out silhouettes/rim lights. The scene utilizes fully dynamic lighting so I relied on the Distancefield AO and skylight to provide most of my shadows so most of the point lights doesnt cast shadows, exception is the lantern lights.
The scene also uses Global Illumination
I used Substance Designer and Painter for all my texturing, here are some of my fully procedural materials and the different buffers. I utilized my smoothness map as a specular map as well by inverting it and powering it and then using a Min node with 0.5 so I don't go over the default value. Mostly I use pretty flat values of 0.5 but this kind of helps getting rid of some unwanted spec in crevices and dirt. It works pretty well for terrain materials as it gets rid of the "plasticy" look that can happen with a flat specular value
I tend to bend the rules a bit but I think that's ok as long as you know why you do it
Here is the tiling shader material I used,
I also channel packed my tiling and terrain textures into 2 textures. I used BC7 for my normal map which enables it to have additional information in its alpha channel where I packed my smoothness since it is a linear texture. I packed my displacement in my base color as both are SRGB textures. I needed to some math on the normal map to get it into the correct space again but its a cheap operation.
Here is the Workshop mesh, it is built in Maya using the parts seen below
Some of the trims and details where modeled and just re-used the existing textures to save on time.
Here are a breakdown of all the props I used to create the scene:
And finally some sculpts and textures:
I didn't really care much for sculpting details, I settles with the overall shapes and larger forms then did the rest in Substance Painter as it is a lot quicker in my opinion.
All assets went through Substance Painter where I did all my texturing and detail normals.
Hopefully someone found it useful! Cheers!
24 was just something I put in since I had troubles with the building walls not getting tessellated enough to support any good displacement
Actually no, haha. 80lvl ask for a written piece but the rest of it was just linked from various sources but it was to my youtube account atleast