The BRAWL² Tournament Challenge has been announced!
It starts May 12, and ends Oct 17. Let's see what you got!
https://polycount.com/discussion/237047/the-brawl²-tournament
It starts May 12, and ends Oct 17. Let's see what you got!
https://polycount.com/discussion/237047/the-brawl²-tournament
Realistic Scifi Pistol

polycounter lvl 6
Hello everyone! First time posting on polycount. I have been working on a scifi pistol for one of my college classes and wanted to make a progress thread.
Any feedback is more than welcome!
This is the Concept Im working off of

Going to make a second pass at the high poly to fix some of the pinching and add detail to a few areas.
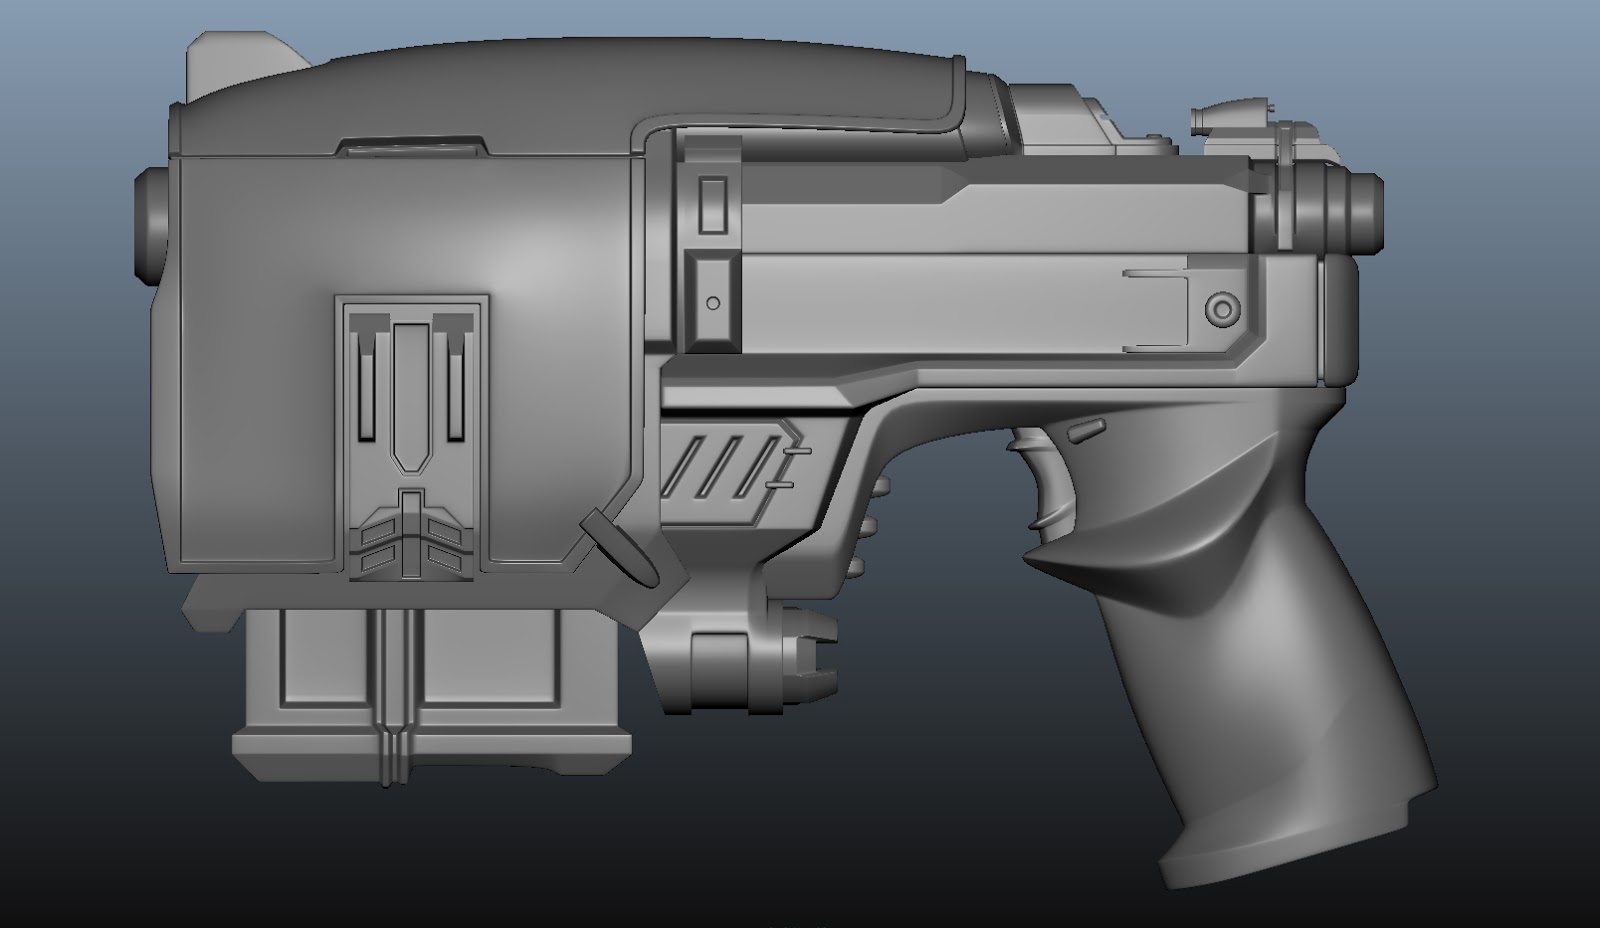
Here is what I have so far:

Any feedback is more than welcome!
This is the Concept Im working off of
Going to make a second pass at the high poly to fix some of the pinching and add detail to a few areas.
Here is what I have so far:
Replies
I've also been going through the pieces mentioned in my instructor's feedback last week and adding detail and fixing certain areas.
So far what I've added:
Cuts in the large steel piece in the back of the gun
Screw cut in for the back rubber area
Enlarged the lense on the top
Extended the detail on the body and added an extra screw
Game the button near the trigger some extra form
Separated the barrel from the frame and gave it some extra cuts
Detail to he magazine
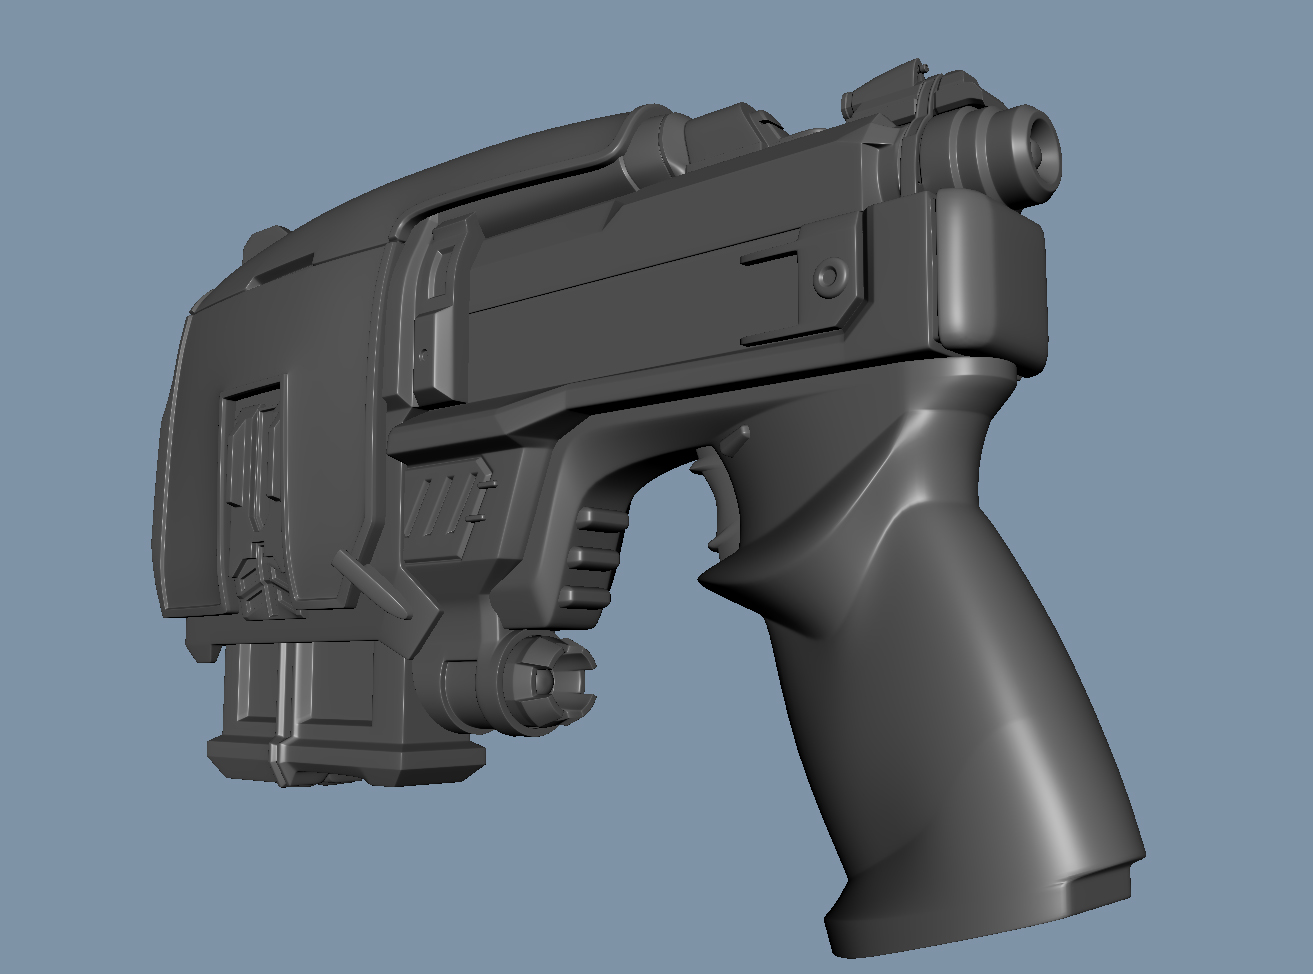
Hey Everyone! Little more progress here on the pistol. I remodeled the front cover because I was getting some smoothing issues and added a detail to the bottom of the grip. Going to start moving onto the lowpoly from here. Let me know if you have any feedback!
There were a few things that caught my eye so I made a quick mock-up to point them out.
1. The bright yellow section (profile) should protrude and not be inset. It reads as the part of the outer casing that protrudes the most, (barely). The dark carbon fiber/patterned plastic bordering it should actually be inset by comparison, but only by a little.
2. The casing has more of a plane change than your model seems to be conveying. The lowest section to the middle section should have a more distinct plane change while the middle to upper section is more gradual (and the upper section essentially turns into a continuous curve over to the other side).
3. Dark red section is actually deeply inset into the pistol housing to the point where the inner part (blue glowing energy thing) is practically it's own separate component and should be modeled as such.
4. was just a note to myself, It appears you are already breaking up the piece into individual components instead of trying to model it as a single piece. I don't know if any of this will help but hope it does.
Good work!
In addition I was working on the low poly model this week. Had some difficulties in this area trying to decide where to keep geometry and where to take it away.
Feedback would be very much apprecieted!
This is what I have as of now:
Should be starting up on the unwrap this week. Thank you!