It starts May 12, and ends Oct 17. Let's see what you got!
https://polycount.com/discussion/237047/the-brawl²-tournament
Best Of
Re: The Bi-Monthly Environment Art Challenge | May - June (78)
Only worked on this for about 3 more hours before a headache hit me, but I think I'm mostly done with my blockout (which in my case tends to involve basic solid colours so I can get a feel for how everything works together). Interested in hearing any feedback before I go further with this.
Only thing I might change before moving on is switching the central bright blue light to some torch lights from a cave that descends below the tree, as I really like having the specular reflections right under the entrance.
@simonBreumier Really appreciate the pointer you gave regarding the roots! It lead me to notice that the terrain climbs higher than what I had in my version. Really like how your prop is looking, though I can't tell if the two-way sign on the side is a bit too thick in your model, or if that's just the normals messing with my perception.
Edit: Would anyone have any suggestions on how I could achieve surface water caustics in UE5? Not too sure how I could go about doing it other than maybe some lights with alpha masks to simulate caustics.
 PeculiarSana
Re: Sketchbook: Frank Polygon
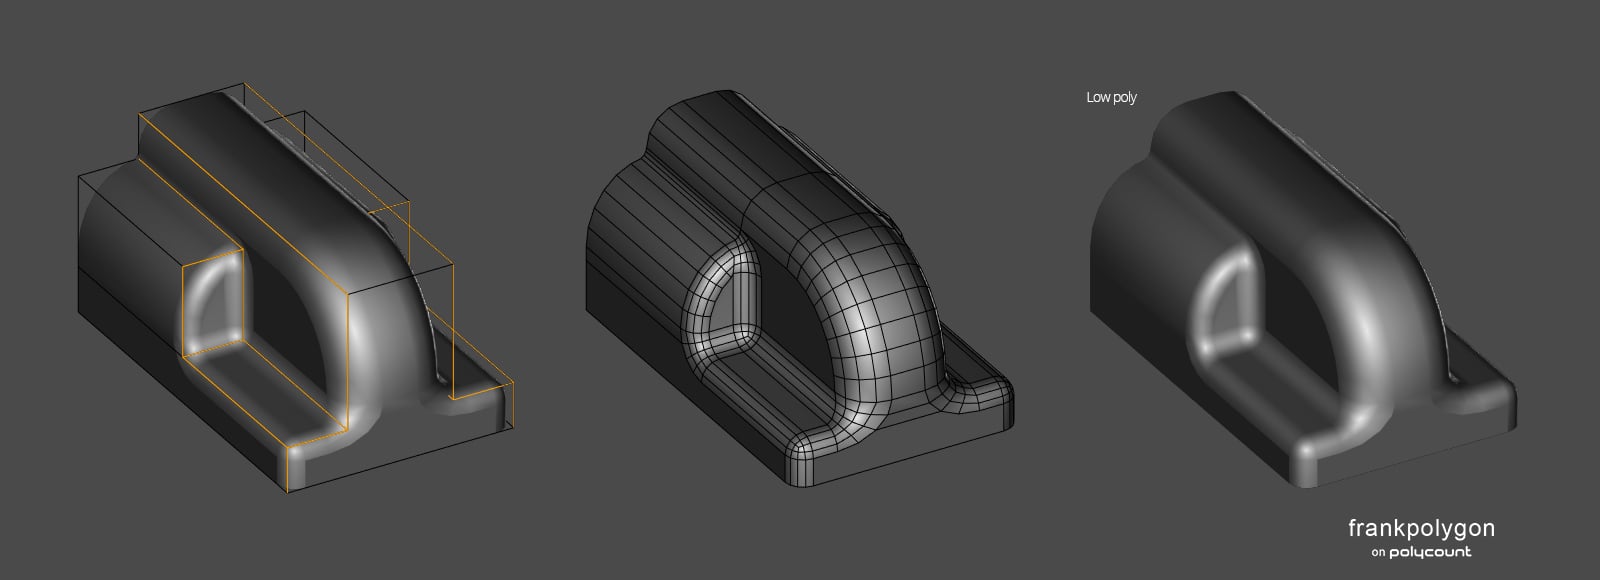
Subdivision block out: stamped dust cover.
This is a quick look at how multiple bevel / chamfer modifiers can be used to generate relatively complex shape intersections from a simple block out. Basic modeling operations are used to create the rough block out and leaving the mesh a quad grid makes it a lot easier to visualize different topology routing options.
All of the extraneous geometry is then cleaned up with a limited dissolve operation. While this isn't strictly necessary, it does improve the visual cleanliness of the mesh. If the final base mesh is going straight through to a subdivision modeling workflow then it probably makes sense to just leave the quad grid in place.
Each set of curved features has it's own bevel modifier that's controlled by separate vertex groups. This means that changing the shape profile or number of segments in each curved surface is easy as going into the modifier panel and adjusting the settings. Since the geometry generated by these modifiers remains editable, it's possible to adjust the density of the mesh throughout the entire block out stage. Which makes it a lot easier to do segment matching as shapes are added or revised.
After blocking out the basic proportions and primary shapes, rounded edges can be added with another bevel modifier. Edge weights are used to control both the placement and width of the rounded edges. Adjusting the smoothness of the shapes is easy as changing the number of segments generated by the bevel modifier. Which makes it really easy to preview low poly optimizations.
Once the appropriate level of mesh density is established, any stray geometry can generally be removed with either weld or planar decimation modifiers and the rest of the n-gons in the mesh can be filled with a triangulation modifier. Parts of the mesh that are larger or closer to player's camera will tend to need slightly more geometry than shapes that are smaller or further away. In certain situations it may also make sense to do some final manual cleanup with edge dissolve operations.
The same sort of approach can be used to generate a high poly from the block out but the base mesh can be a lot simpler, since that makes it a lot easier to solve any topology flow issues and the subdivision modifier will smooth out the entire surface of the mesh. Constrained cut and join through operations can be a quick way to organize any trouble spots in the base mesh's topology flow and final support loops can generally be added with another bevel modifier.
Re: The Bi-Monthly Environment Art Challenge | May - June (78)
Heya! This is my first time participating in one of thsese as I've always just missed out on the previous ones, but I'm excited!
I decided to go for the stylized environment, as I've been wanting to practice my skills with similar artstyles for a long time, and it gives me a good reason to get better at UE.
This is the result of a few hours of basic blockout (and bashing my head against a wall trying to get Unreal Spline Meshes to work how I wanted). Really happy with how it's looking so far! While I'm terrified of having to work on vegetation materials (most notably the leaves and grass), I'm still just as impatient to reach that point since I'm really motivated to push myself to get them to look as good as I can!
I'm seriously impressed with how quickly the rest of you sped through your own projects, and they all look amazing!
 PeculiarSana
Re: The Bi-Monthly Environment Art Challenge | May - June (78)
Hey! Wow, people got really fast on this one !
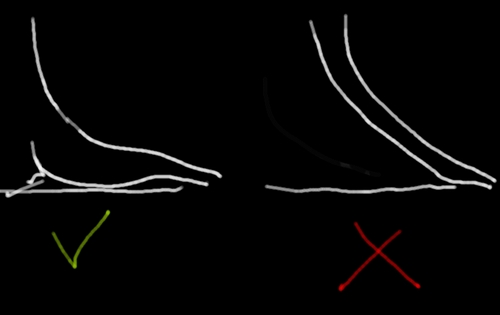
@PeculiarSana, nice blockout! One thing I see on your work for now is that it doesn't feel like the tree roots are sitting on the ground as much as they do on the concept. I'd say you could make their point of contact with the ground much closer to the tree, a bit like that (I overdid it a bit though):
Getting those root shapes right at the blockout phase will really help with the final tree shape, as it'll really make it feel like the tree is invading/sitting on the shrine.
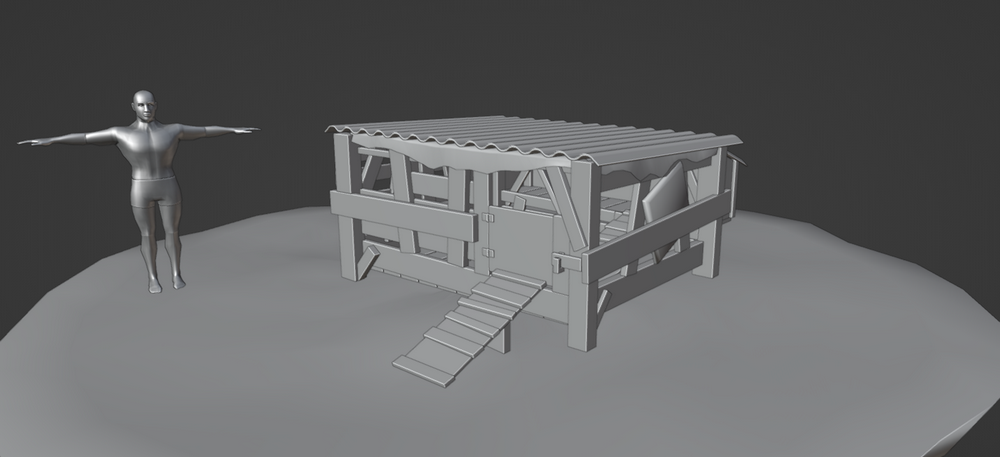
For me, I went for the hard surface prop:
I'm planning to combine a trim sheet (for the wood planks, sign, the grill) with some tileable textures (fabric, steel, mud, basic wood maybe). For the trim, I think I'll make a shader that'll allow tint variations and add baked AO to make a rust/moss mask. My goal is to try to make this asset with a good texel density but the least materials/large textures as possible (so I might even put the fabric on the trim, maybe also the steel, though the roof is big so I might not have enough space to put it there).
 simonBreumier
Re: What Are You Working On? (3D) 2022
More images: https://www.artstation.com/artwork/ZelgX8
 aladosha
Re: The Bi-Monthly Environment Art Challenge | March - April (77)
Finished the train and tried to do some of the graffiti/chalk. I still want to finish the rat and the teddy bear, and to see if i can get better render results in toolbag, and tweak some of the textures, but this is pretty close to finished I think.
 jgarrison
Re: Please review my portfolio.
Hey Andrew! Always cool to see someone on Polycount also from BC.
Hide the ones I've marked with an X. The others are cool. The ship is dope but the textures are so noisy its hard to look at, and the sails are super shiny. I think you could spend another few weeks on the textures for this ship. I'd like to see more images referencing how you make stuff, showing uvs, showing textures. Currently wondering for your last project if you sculpted the tree, made the flowers, etc.
Moving forward, remember, its not about quantity. If you choose your next project wisely, and focus on making it damned near perfect, it could be a job lander. Your portfolio can definitely keep improving. but if you remove these projects I've marked with an X, I don't see why you wouldn't be able to start applying for jobs. I like the direction your art is going, keep pushing yourself and moving forward. Good luck :)
 Ashervisalis
Re: The Bi-Monthly Environment Art Challenge | May - June (78)
Small update: got the textures put in for everything and adjusted some lighting in the scene. Still working on getting that water looking right.
 Its0urFate
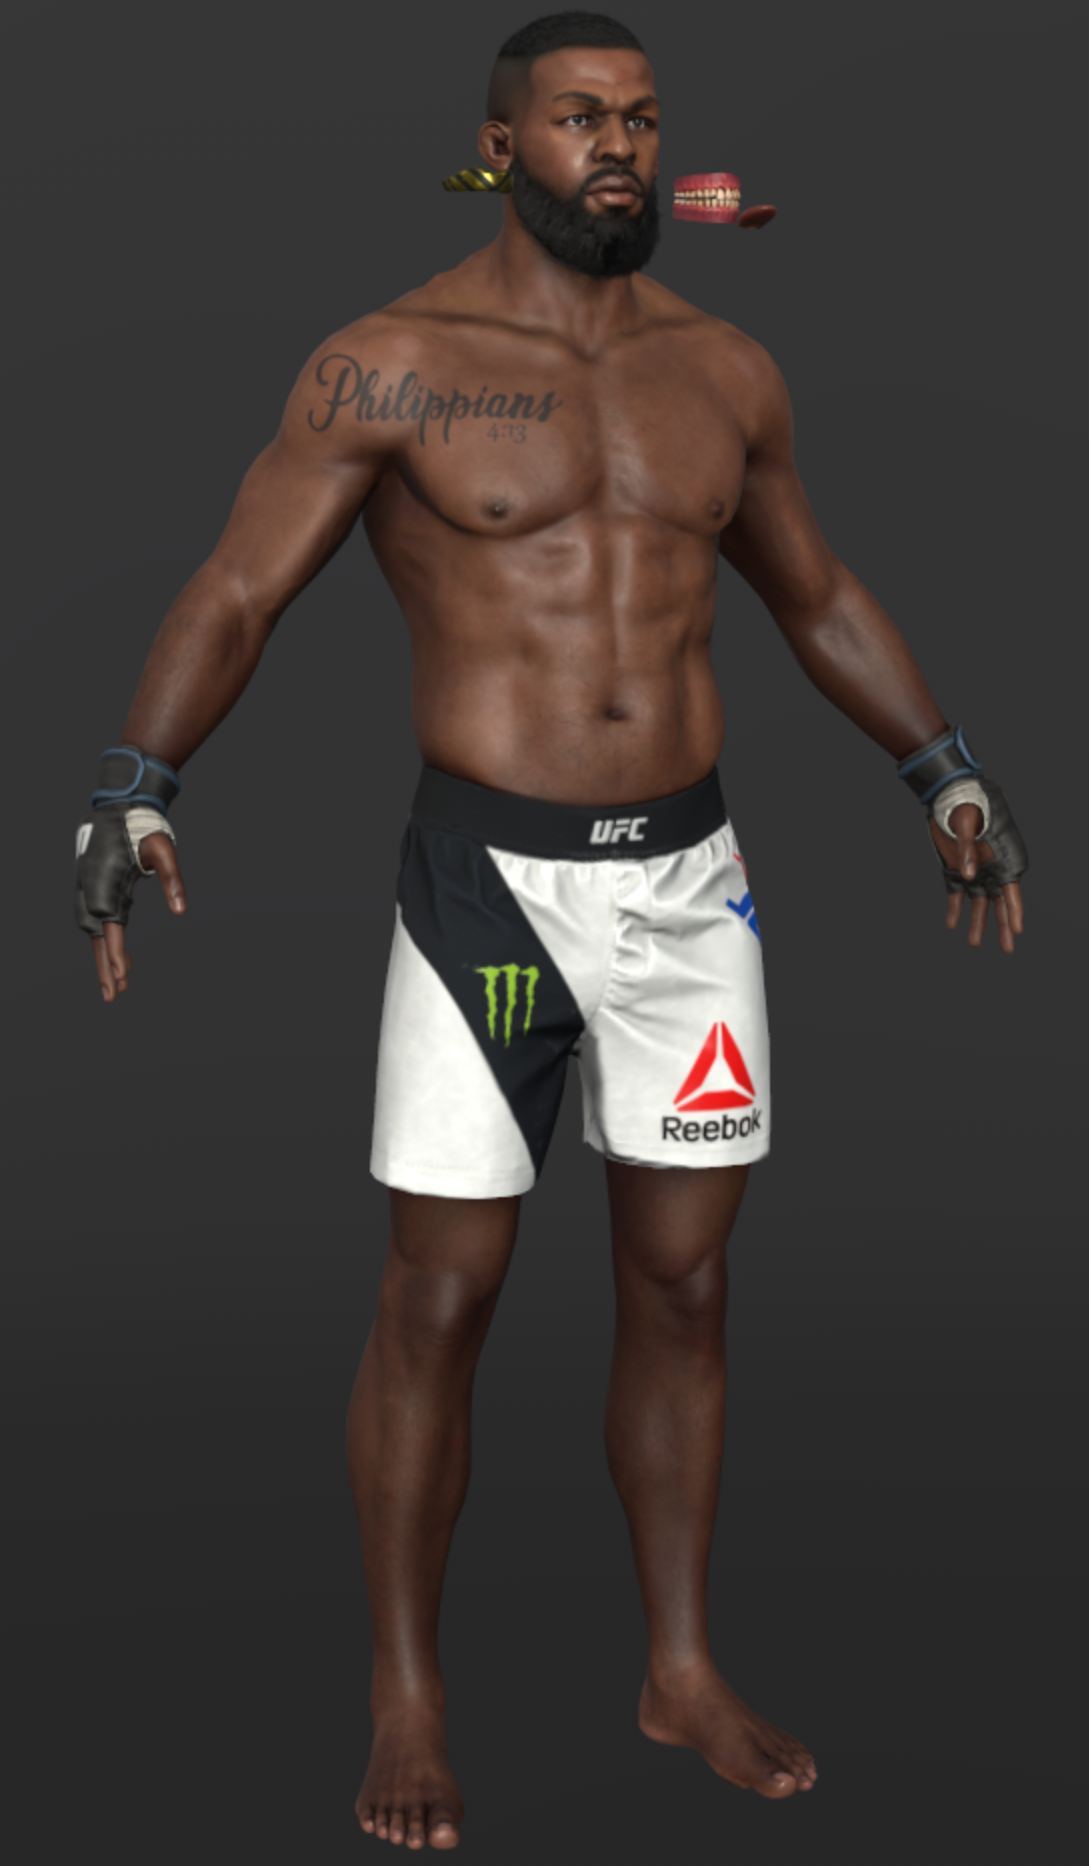
Re: UFC: Jon Jones
Texture Updates in Substance!
Hey folks, it's been a while since I've posted, here are some updates:
I'm happy with the texture process that I've done in Substance Painte, so I'll be moving onto the Lighting in UE5.
 Denzil_forde
Re: Part of the big nothing?
Whoa. Had to check site logs to see what this was. I dislike when people edit out posts, but reading that one, I get why you blanked it.
Please, @timv do talk with a professional mental health provider, it really does help.
People don't talk about reaching out for professional help but I've done it, as have many, it's a great resource that people can really benefit from. Take care.
 Eric Chadwick


